Highlights for Brunette

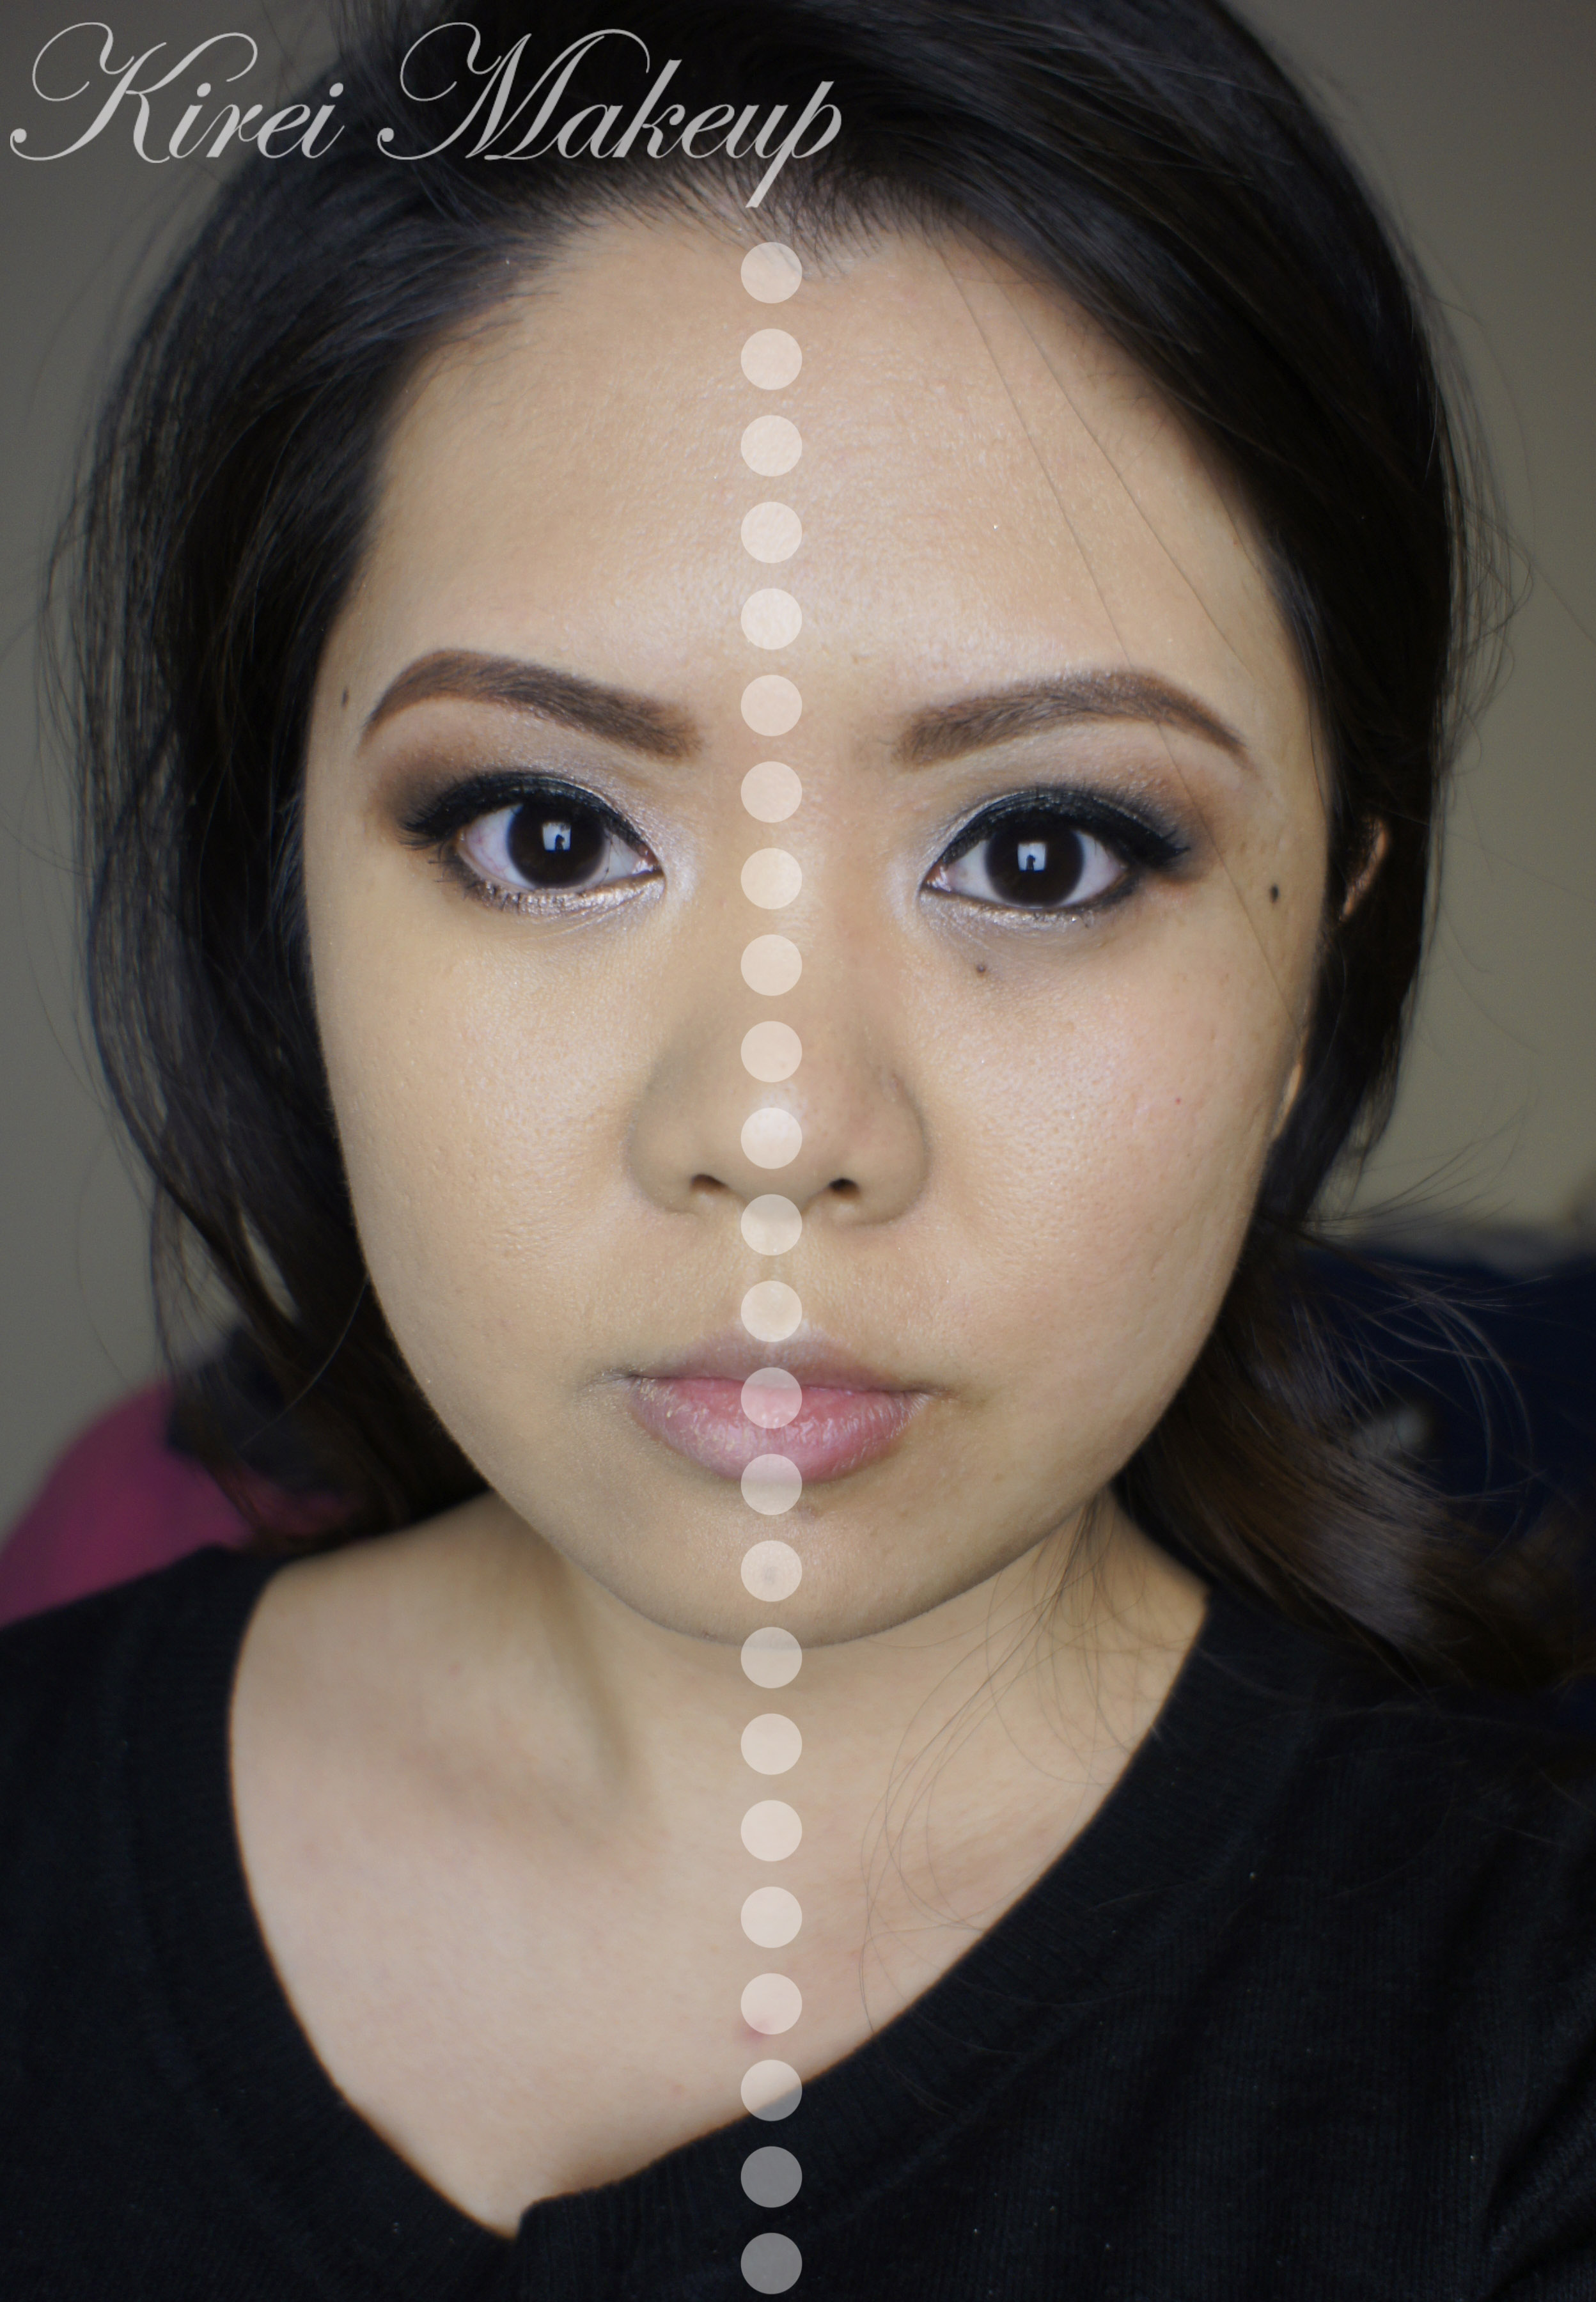
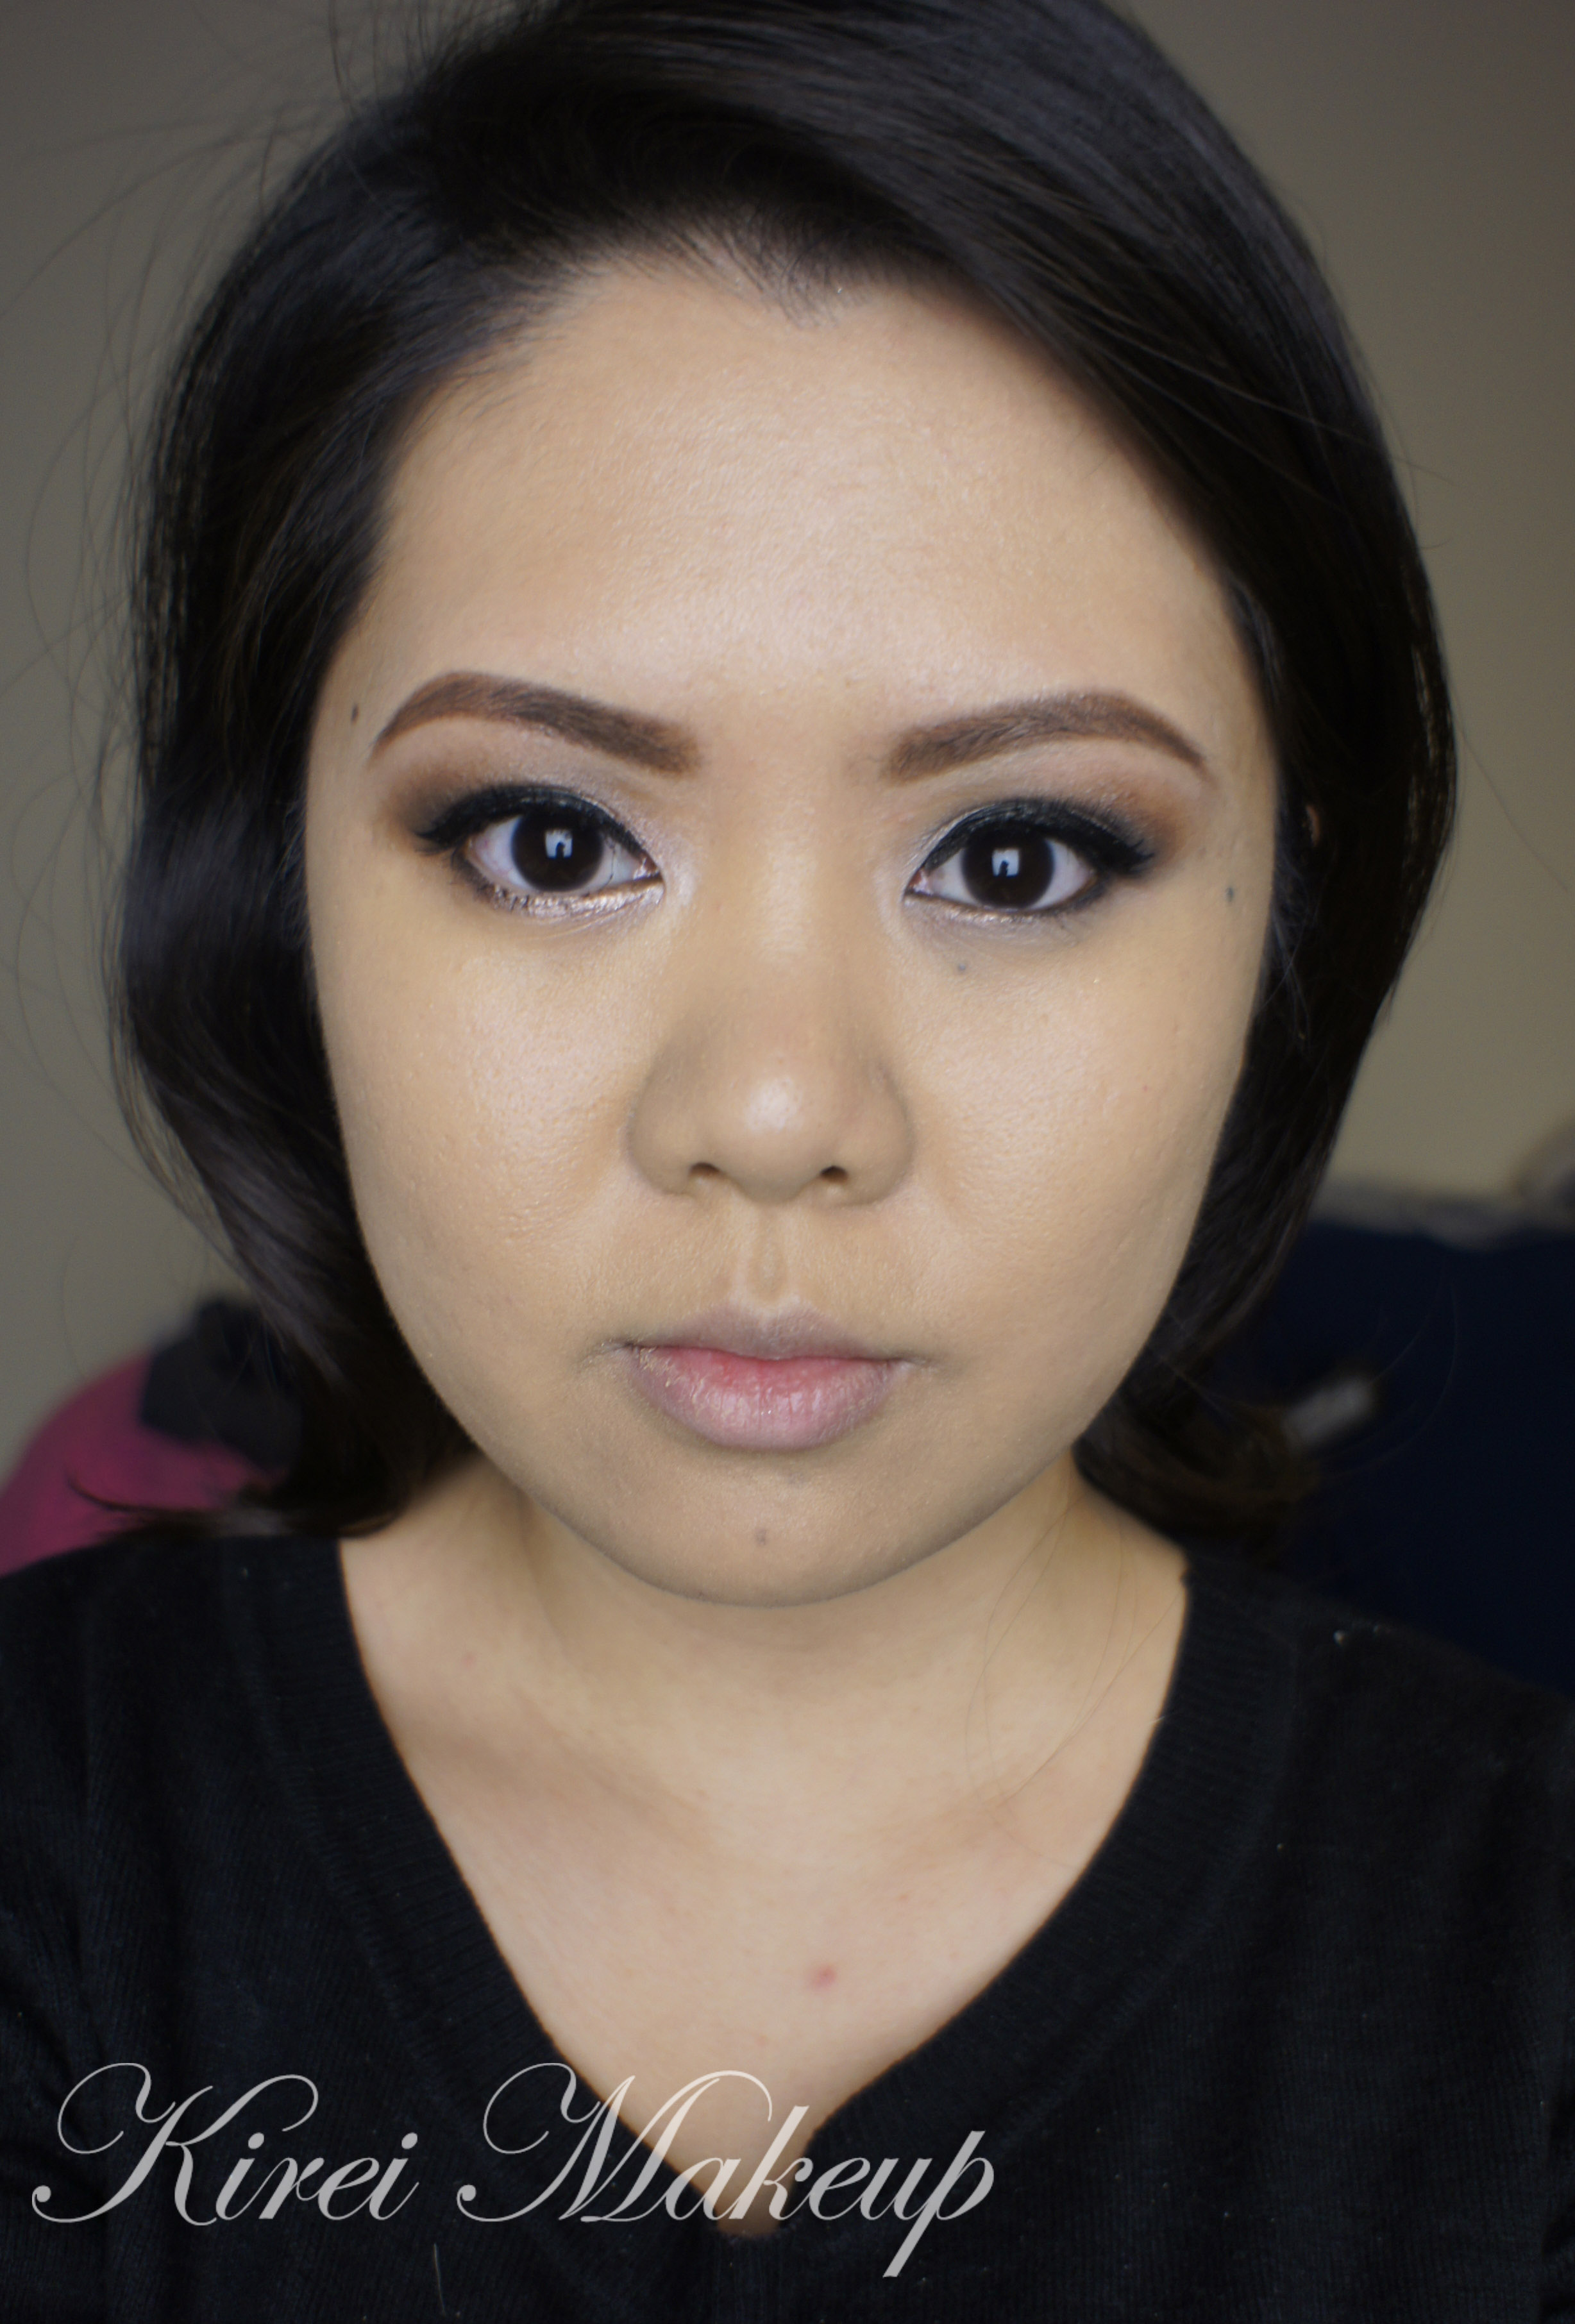
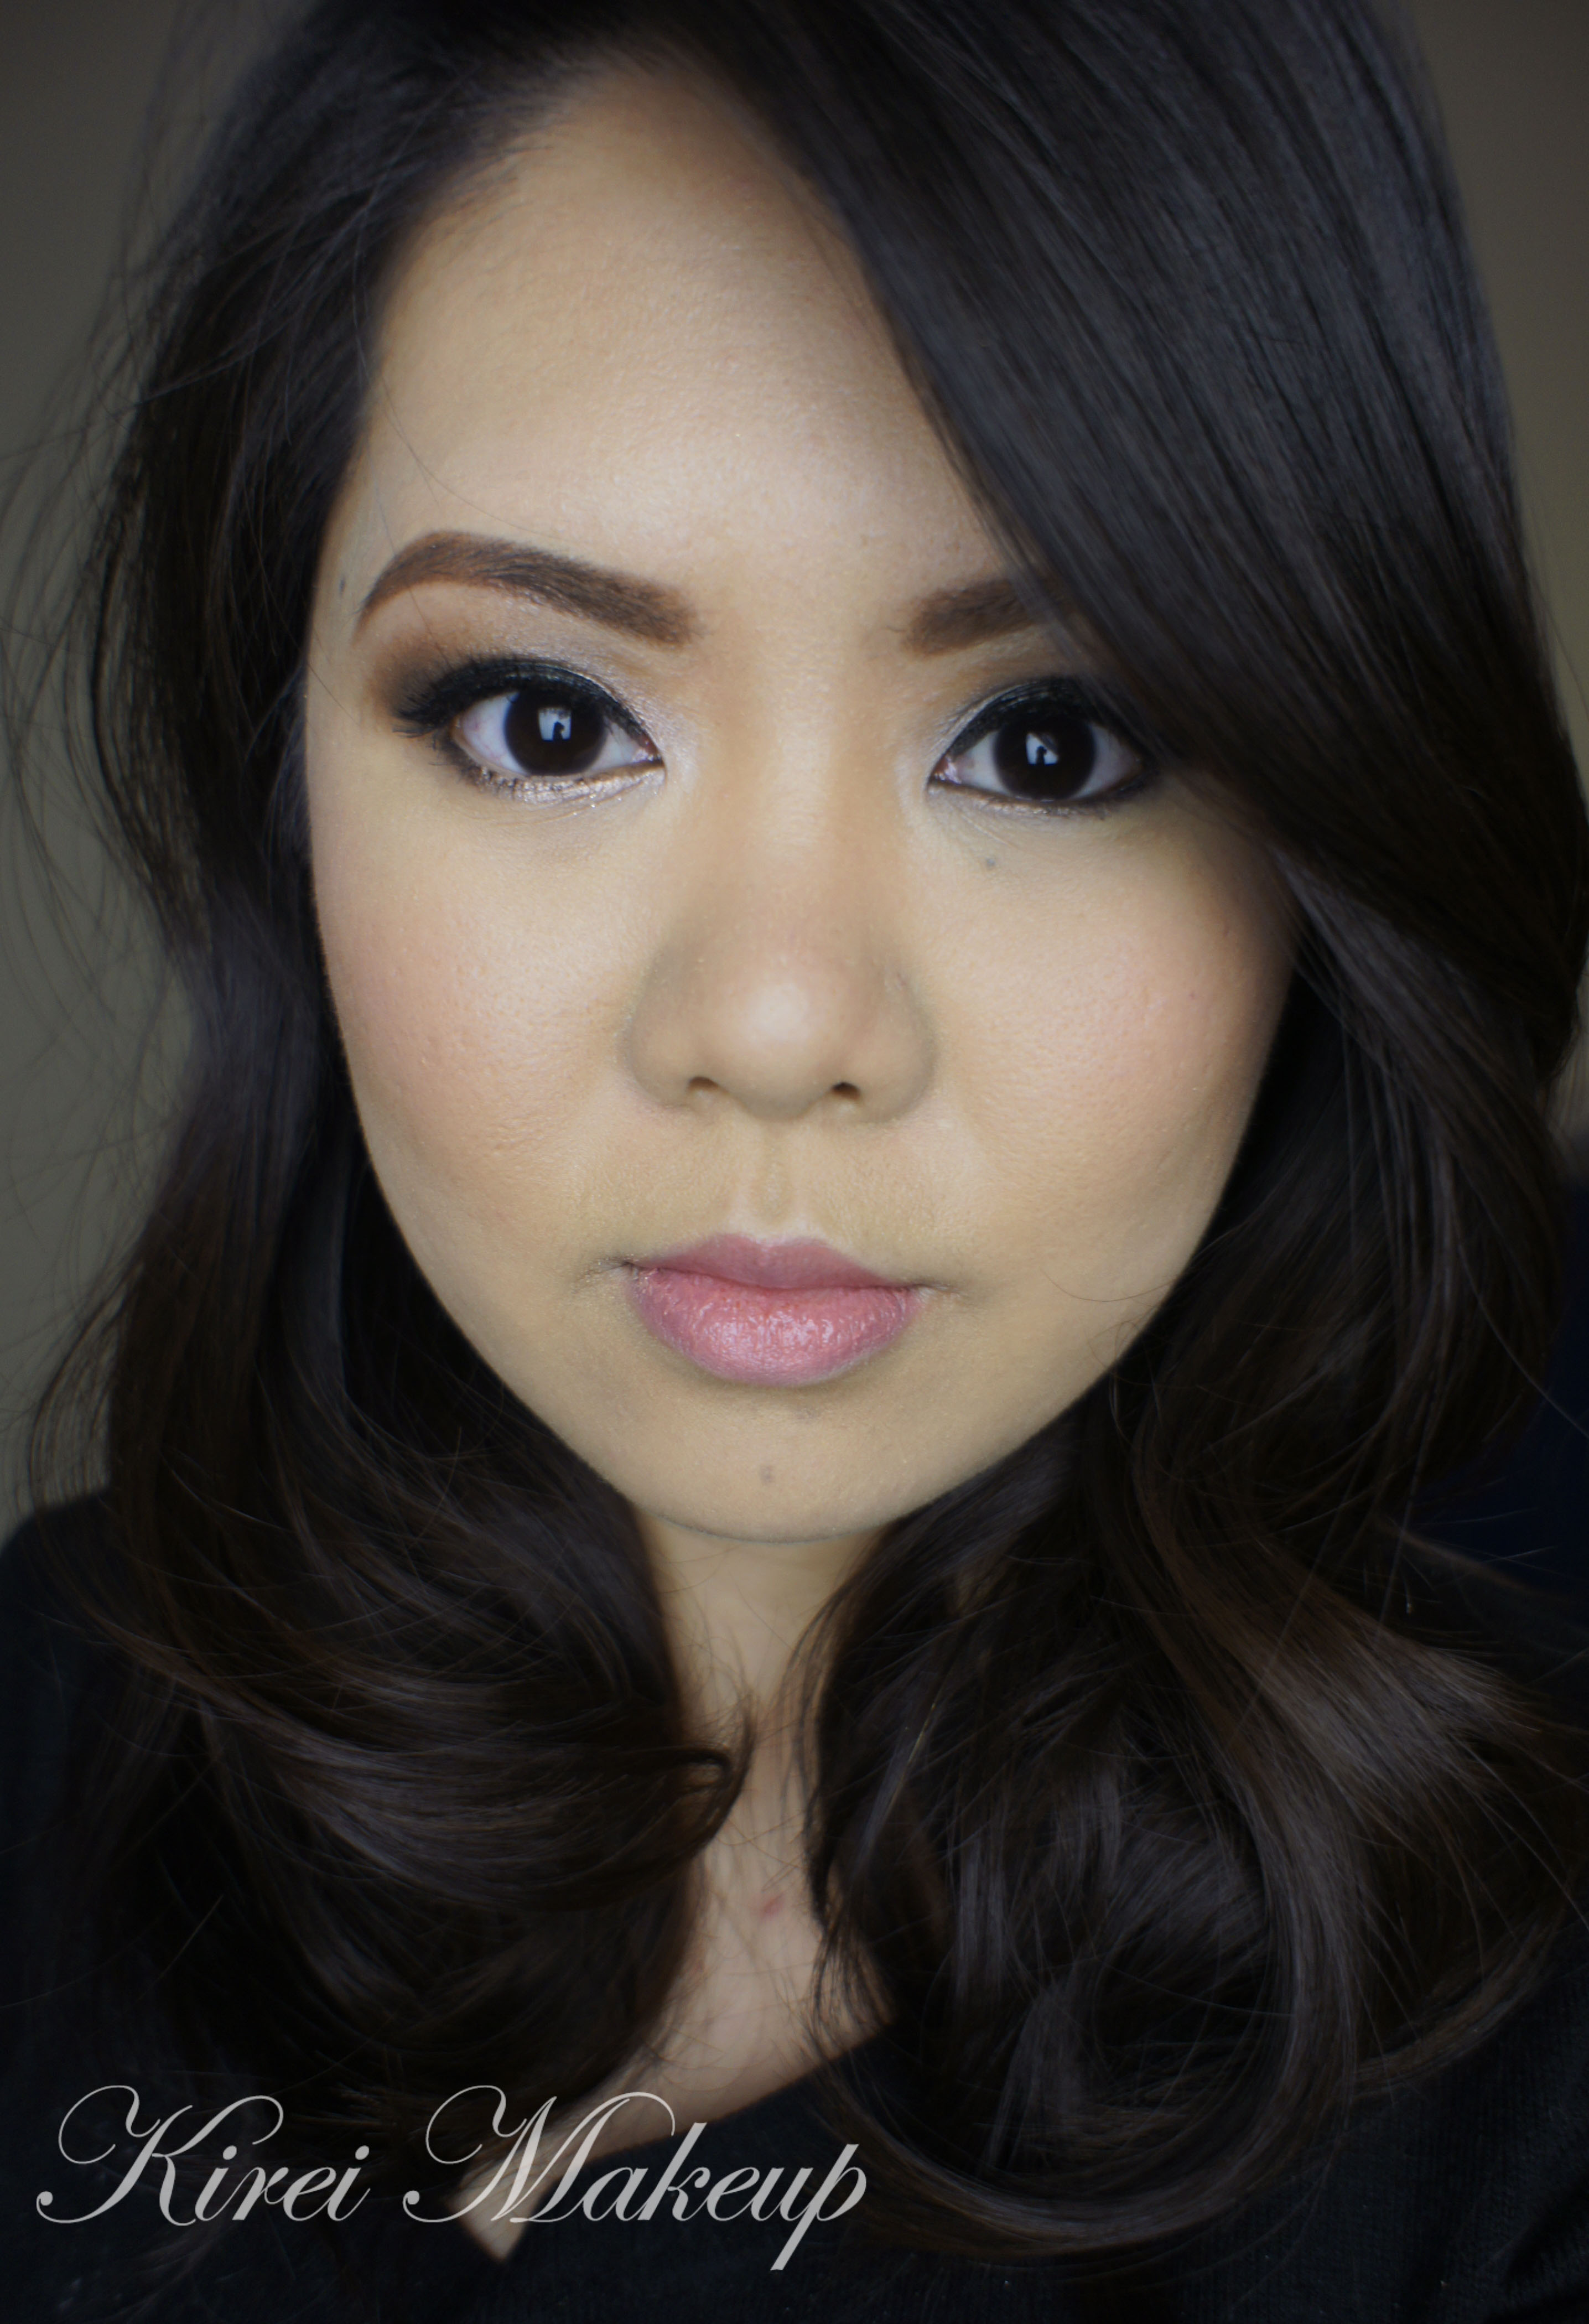
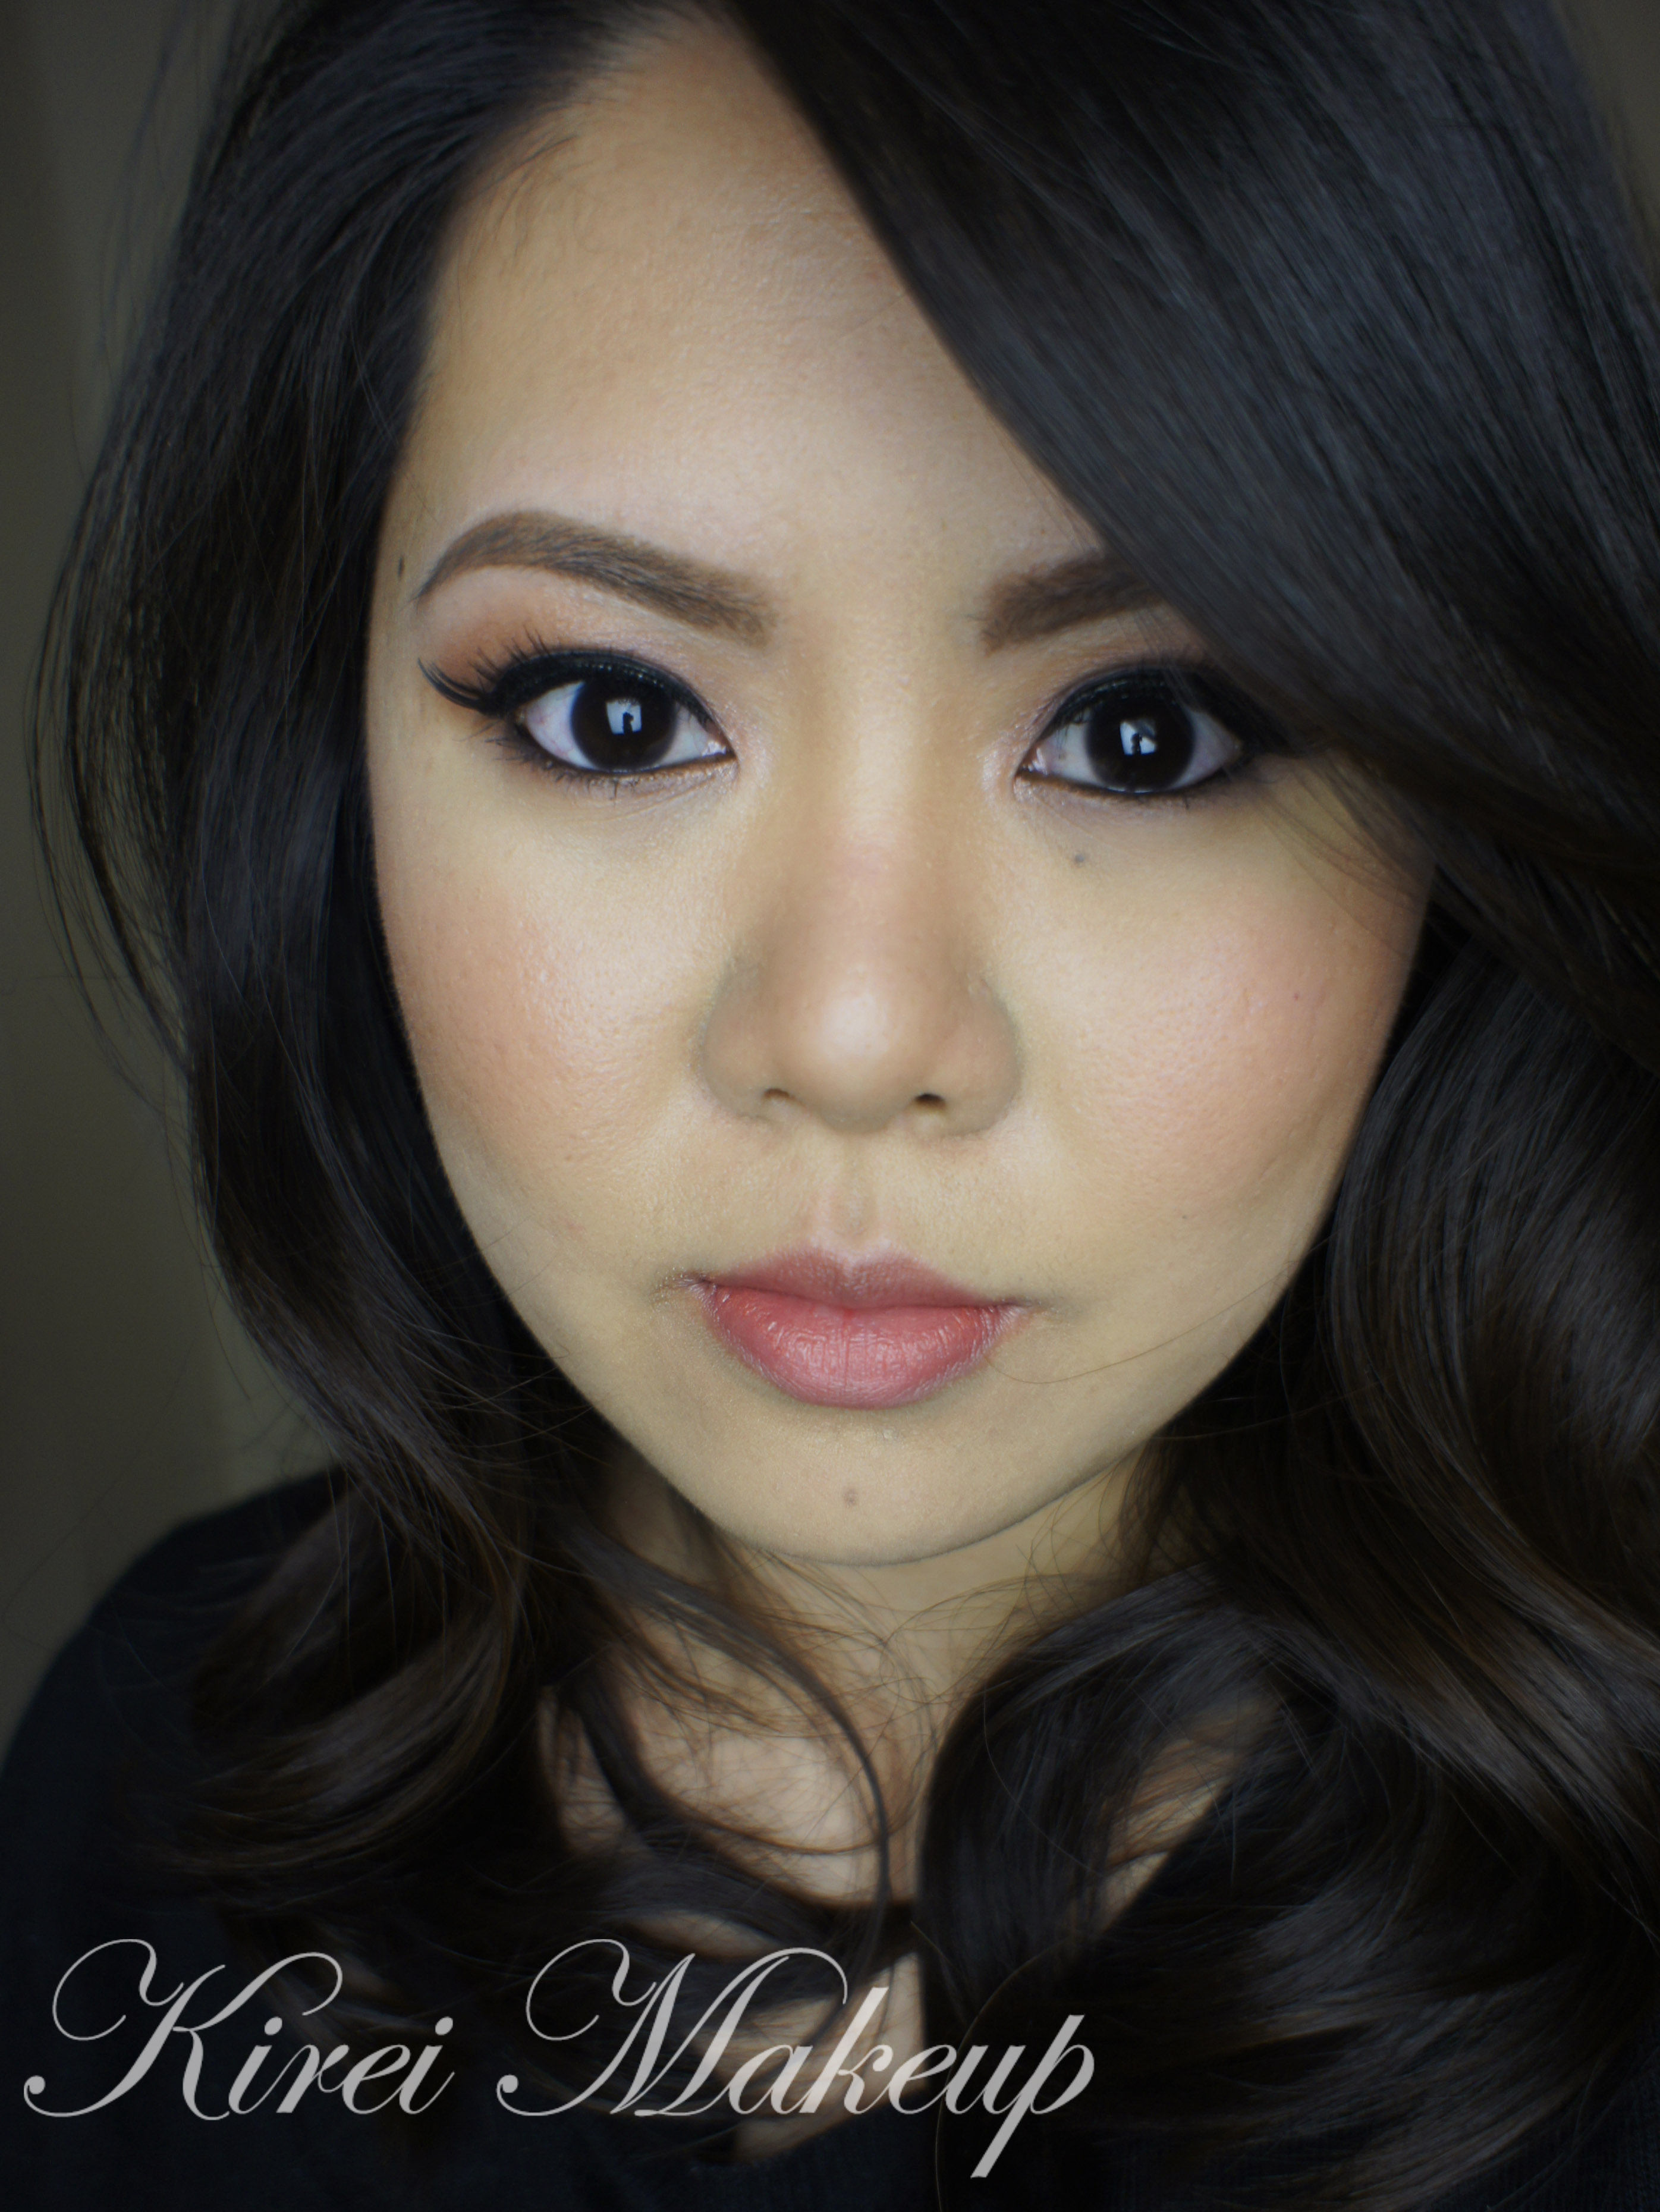
Howdy, everyone?! As you all know, I’ve recently went to the salon to get a trim, and a little bit of highlights on my hair. A lot of people have messaged me requesting for a post on these highlights for Brunette. So, here goes the full detail on how I get these highlights!

First of all, I get my hair done by a professional. I think highlights, color and trim should be left to the professionals whenever possible. I do not recommend you doing this at home with a DIY kit. I went to The Hairem Salon at Locke Street, Hamilton, Canada. My hairstylist is Vera, and I recommend her for anyone who is interested in getting their hair done.

I went to Vera and showed her a few pics from Pinterest showing I wanted to put in some highlights. Now, if you have been following me for a while, you’d have known that I’ve had very subtle caramel brown highlights back in 2011 (e.g. Fresh Look post), which was also done by Vera. I was very happy with the result back then, and I’m pretty comfortable with her handling my hair. I’ve been going to her since 2011, so she knows what I like.

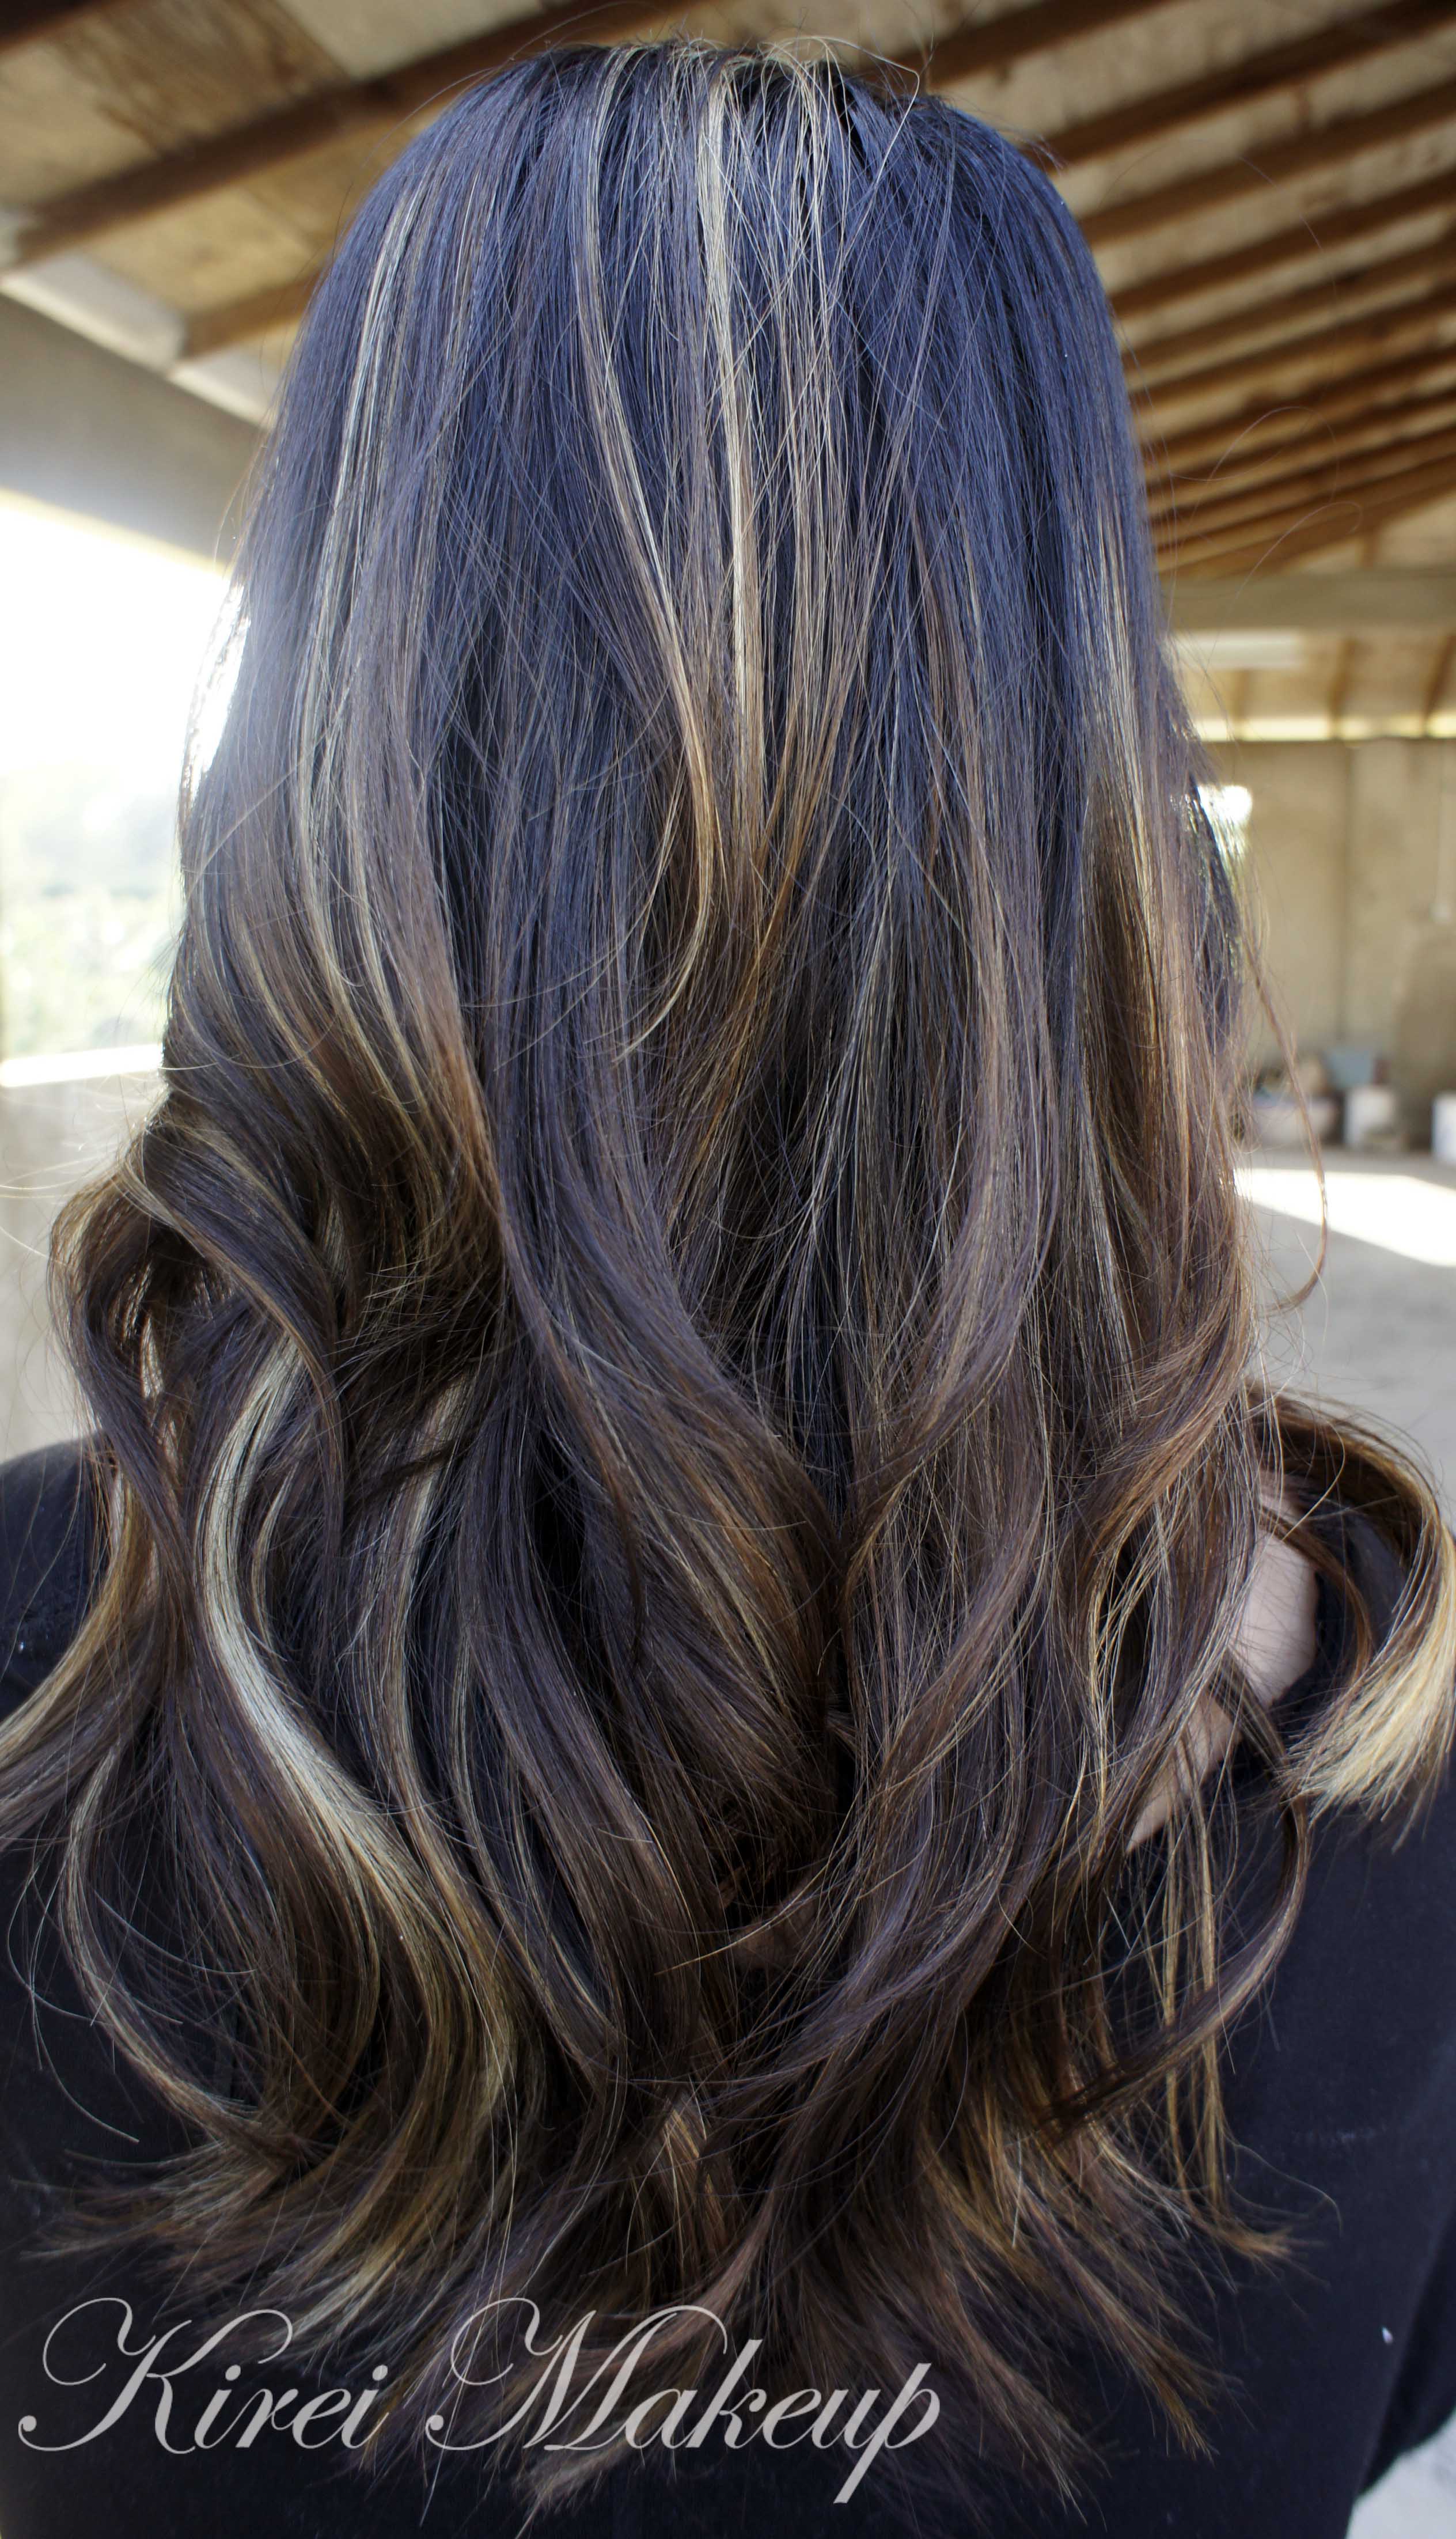
Anyways, I told her this time I was willing to go lighter and bolder than before. She loved the ideas, and told me that she’d have to bleach a few pieces of my hair, and for the bottom layers she was going to put in my fav. caramel highlights. I said no problem, go ahead! In addition, she also mentioned she was going to give me the ombre look.


Blonde highlight on Asian

As far as I know, Vera added caramel highlights on the bottom layers, and she bleached some part of my hair, esp. the front and top layers. Then, after a quick wash, she added 3 different toners on my hair – dark (for the top section), medium and light (for the bottom section).

After about 3-hour on the chair, my hair was colored, trimmed and blow-dried! The damage was pretty intense on my wallet (ard $200), but it was all worth it! I was worried that the bleach might turned my hair brassy and dry, but not at all! It was soft, and to my surprise, very blonde! I can never imagine my hair that light, since I’ve had bad experience in the past with bleach. Usually my hair just turned orange if bleached, you would know if your hair is as dark as mine. Usually, us Asians don’t get that lucky with bleach. However, I’m so glad it turns up blonde! Vera said she had to use the 40% (developer) on my hair.

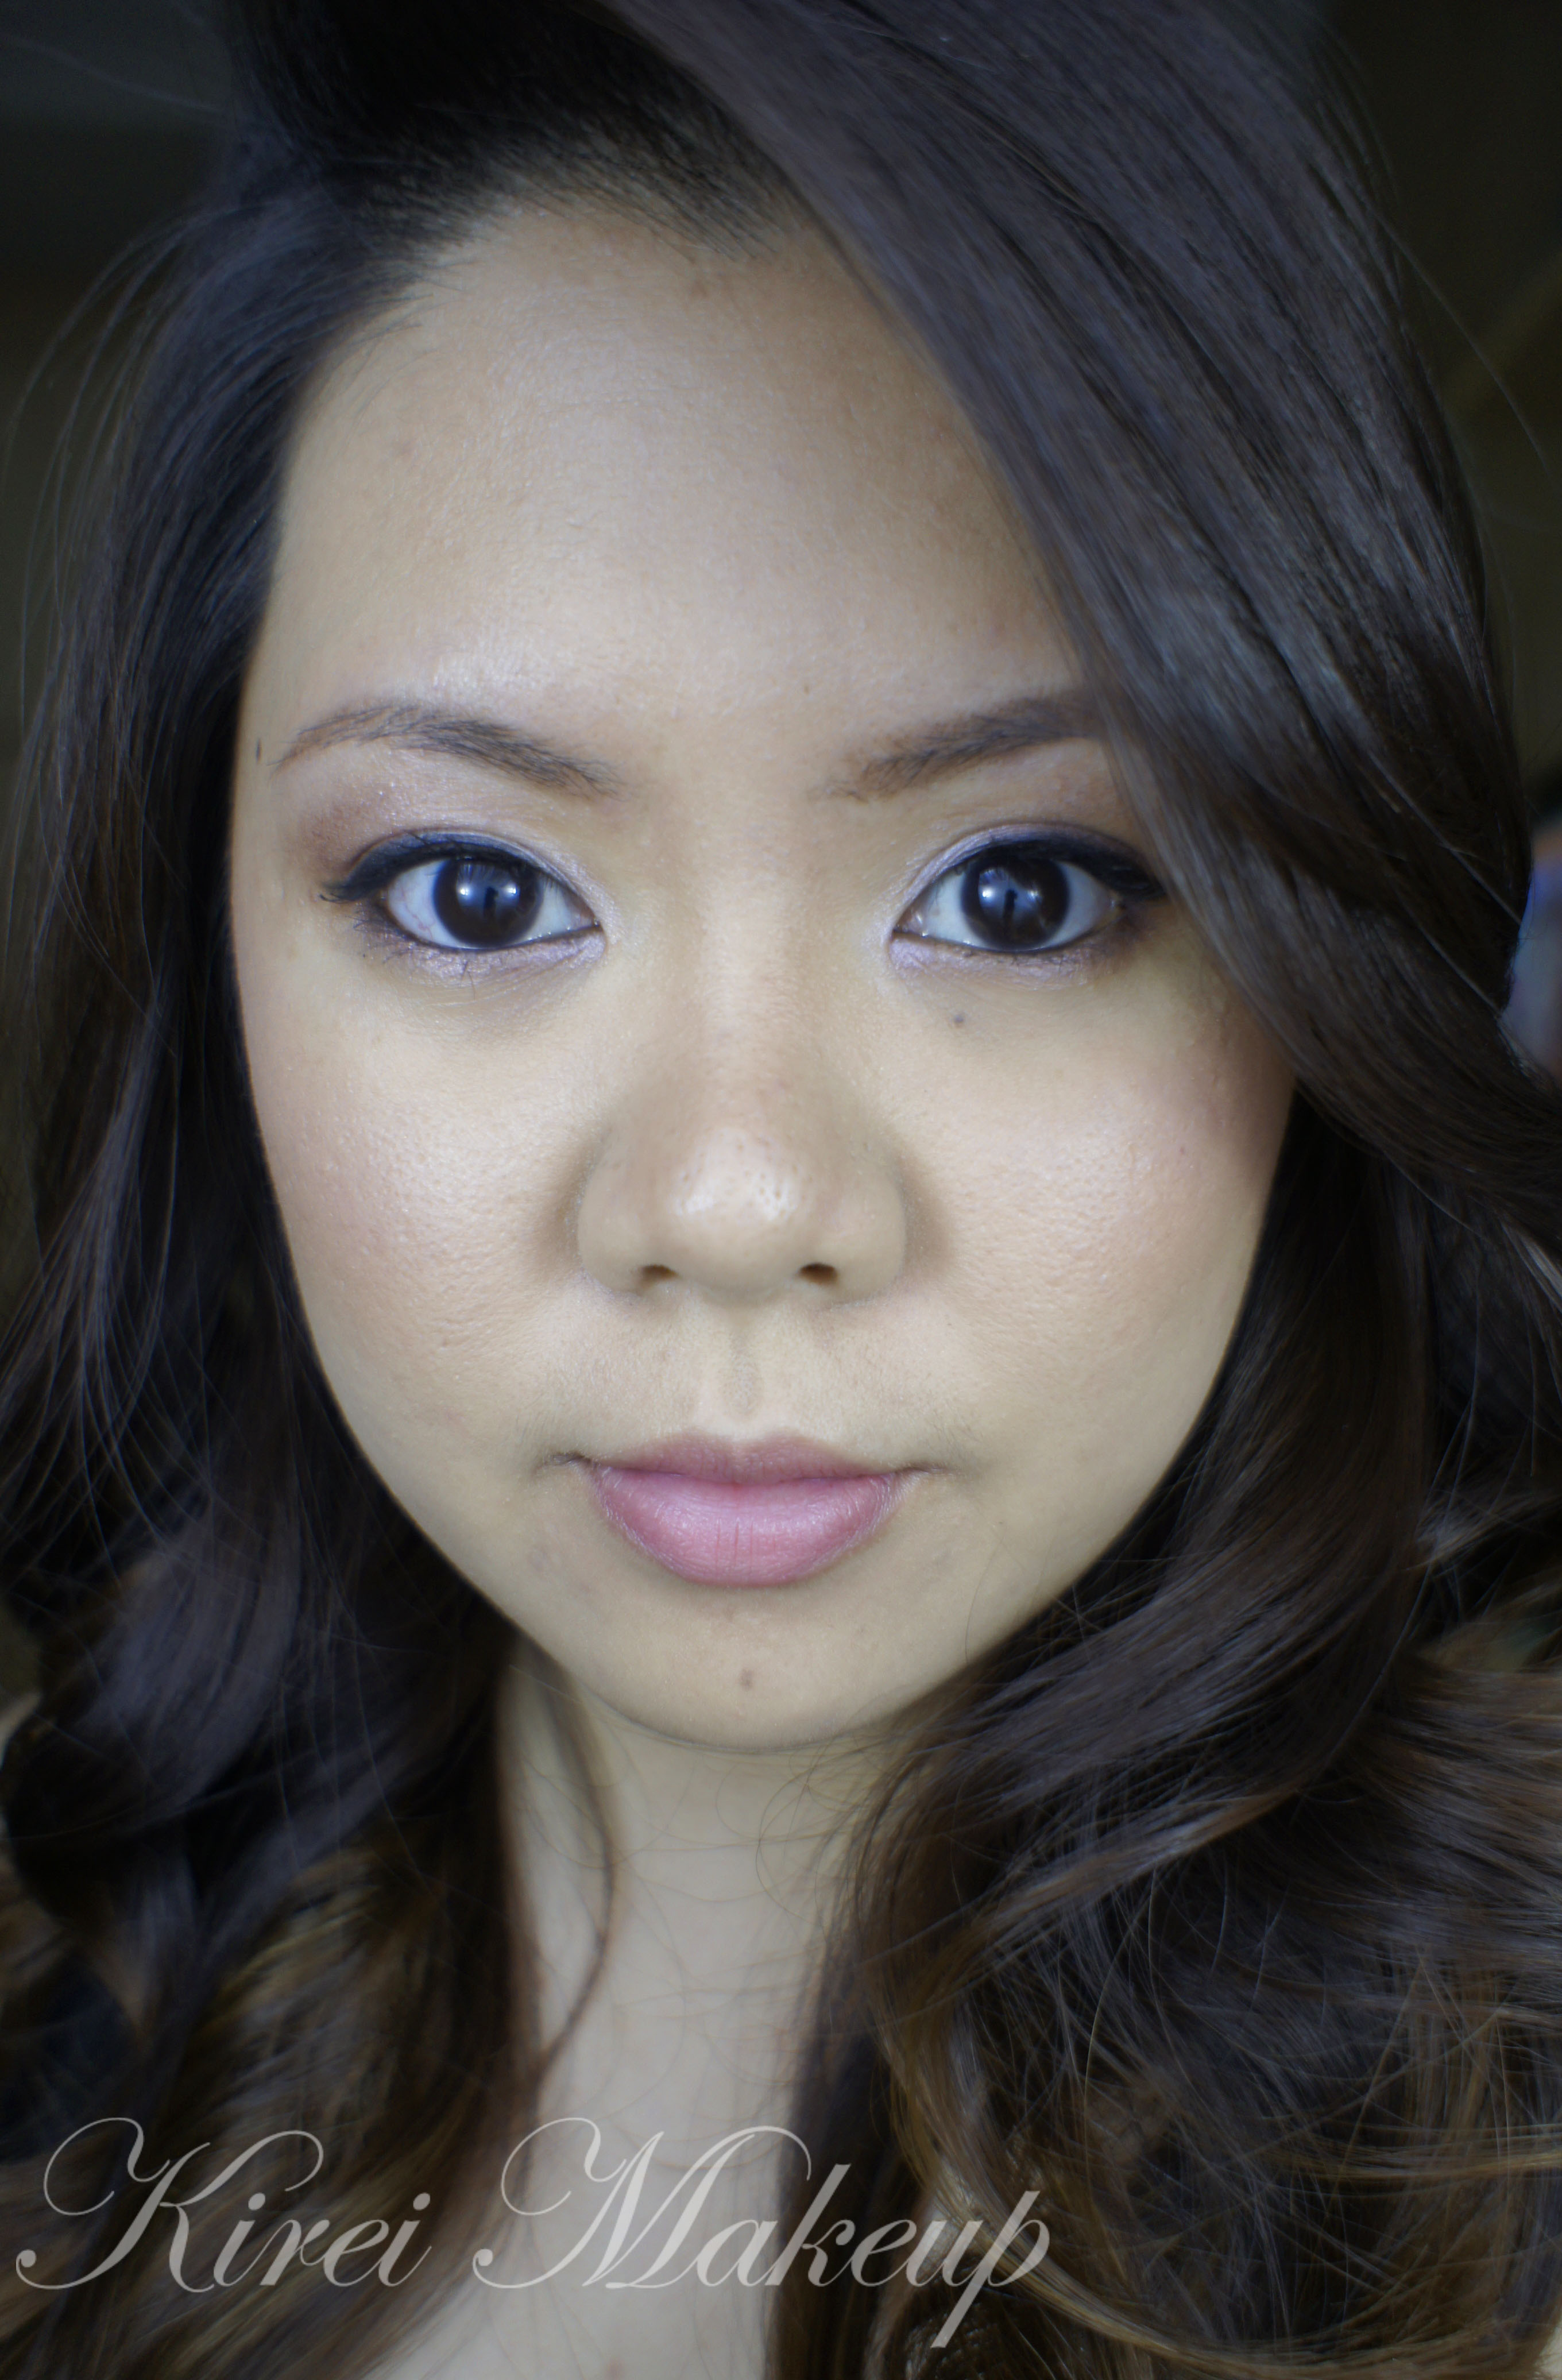
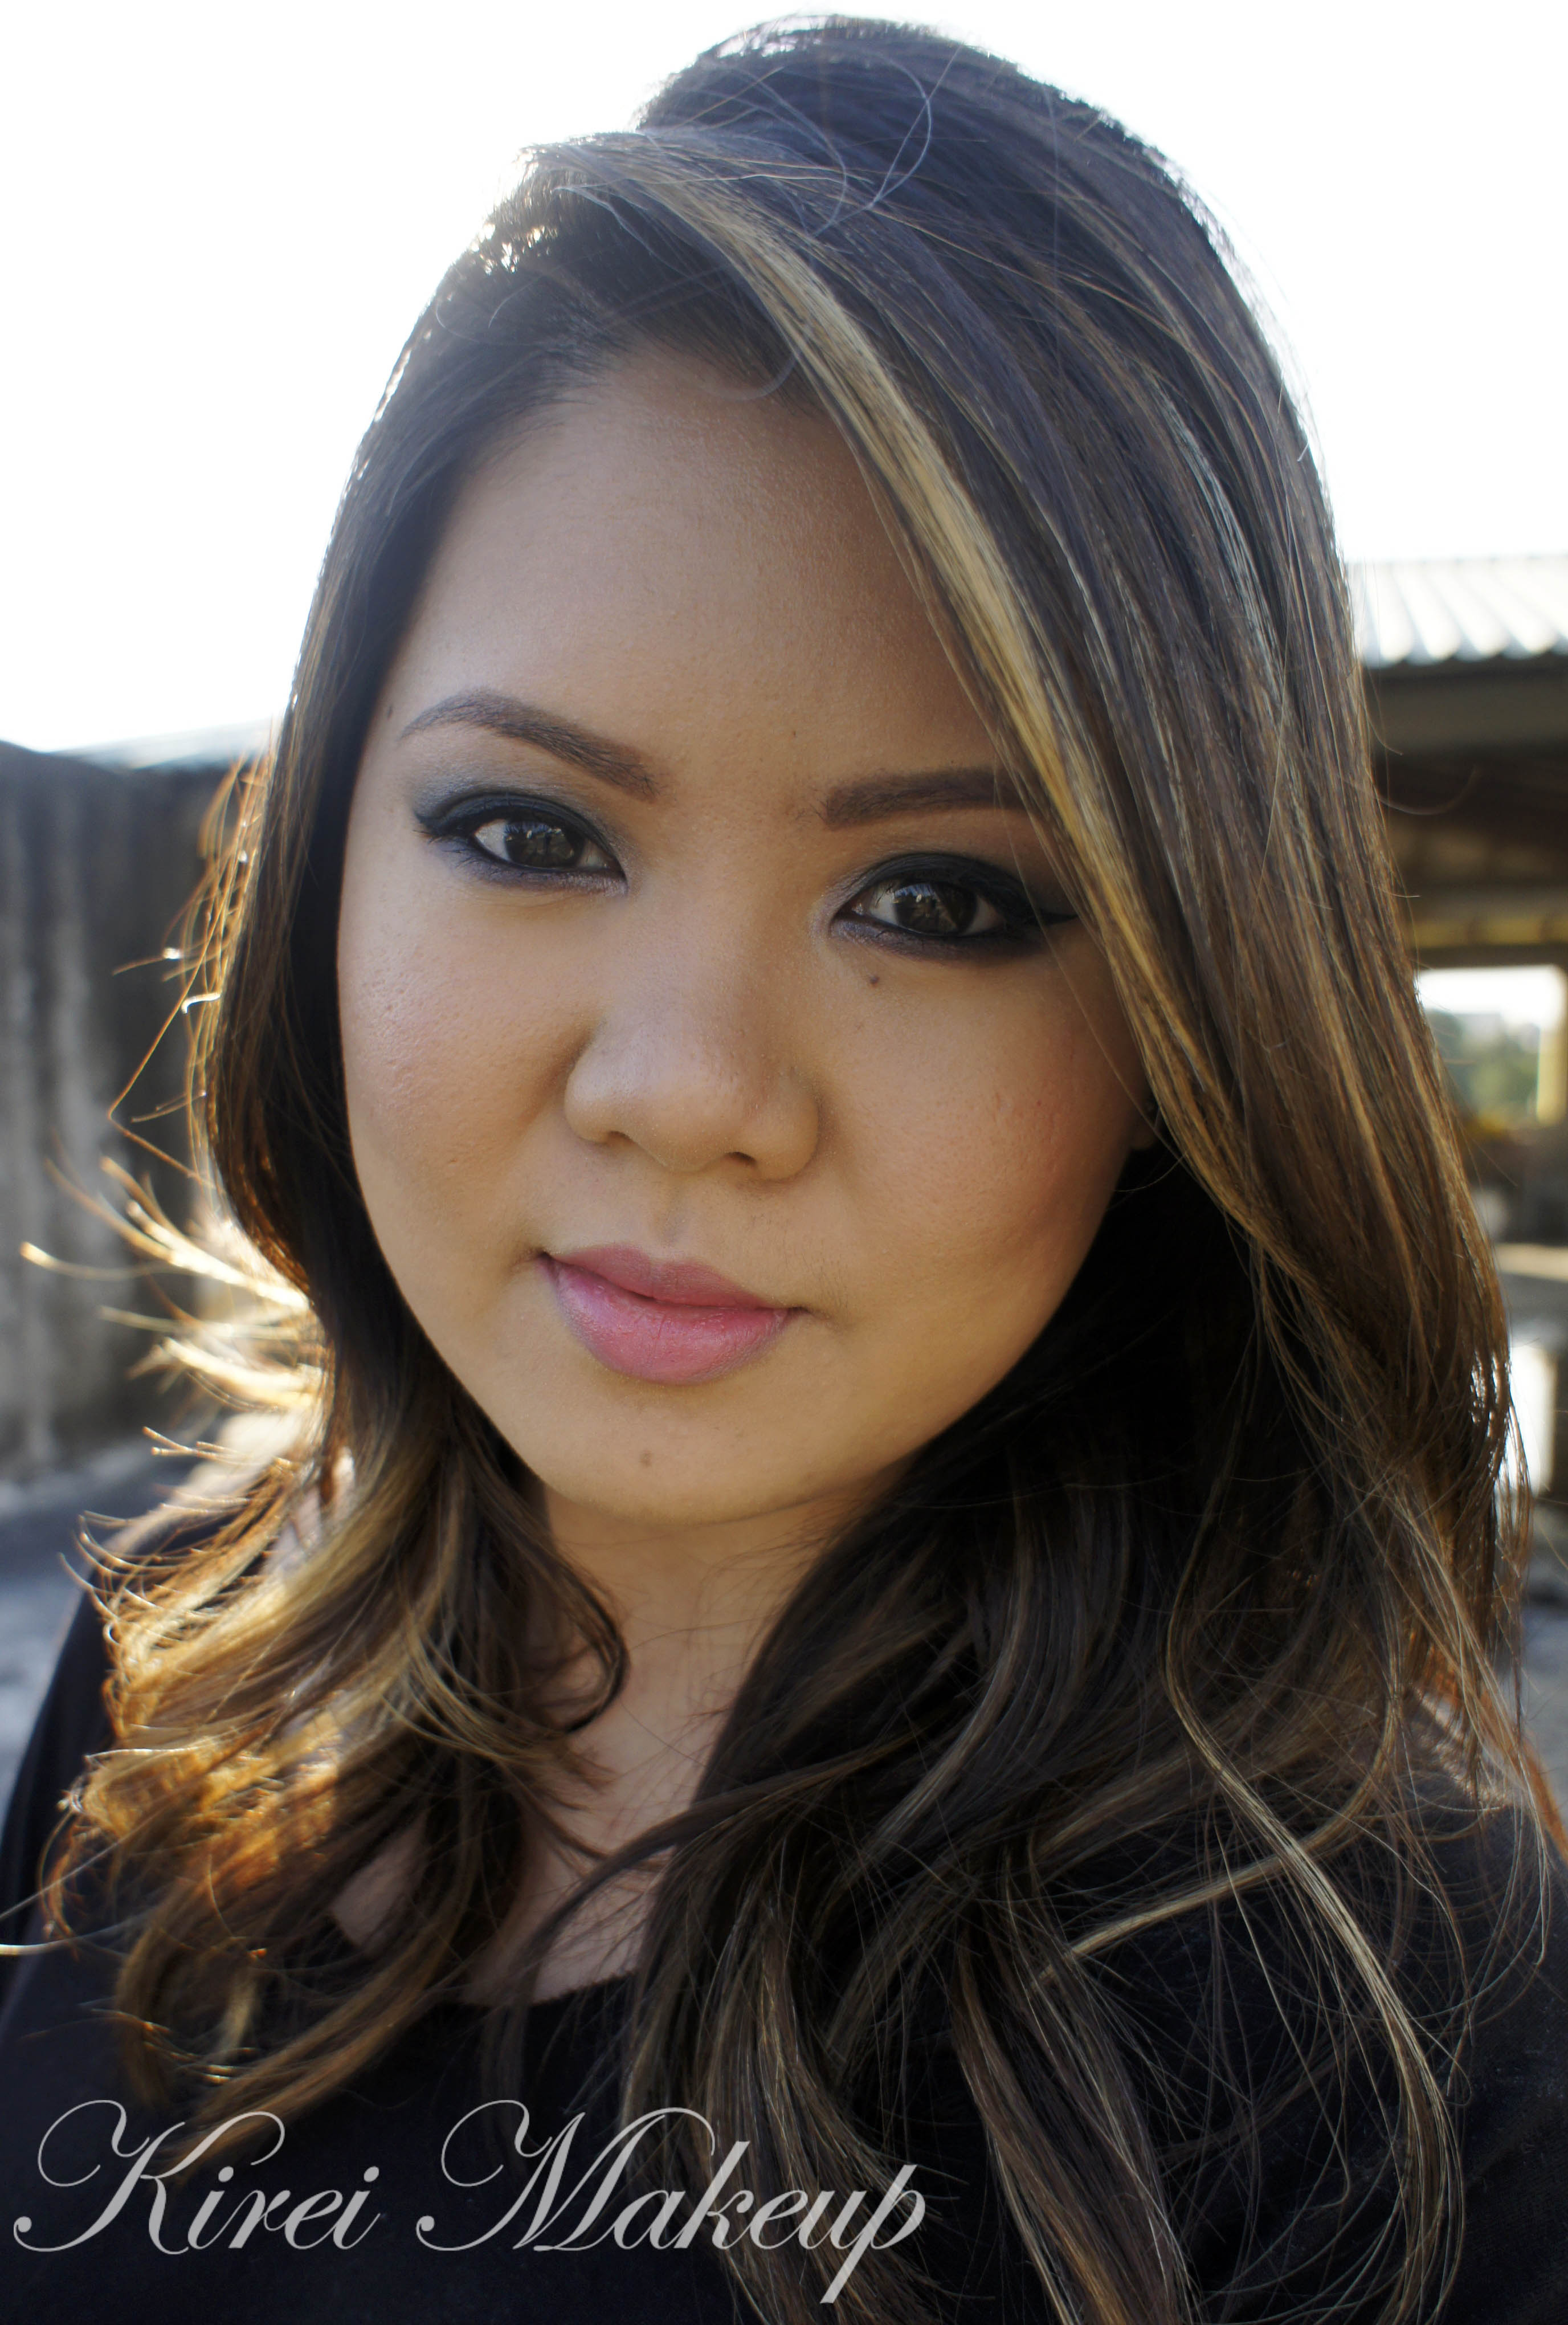
I was quite surprised when a lot of my followers on Instagram, friends, and fellow bloggers mentioned how good my hair looks! Yay! Feel free to use my pictures and be brought to your hairstylist if you want similar highlights.

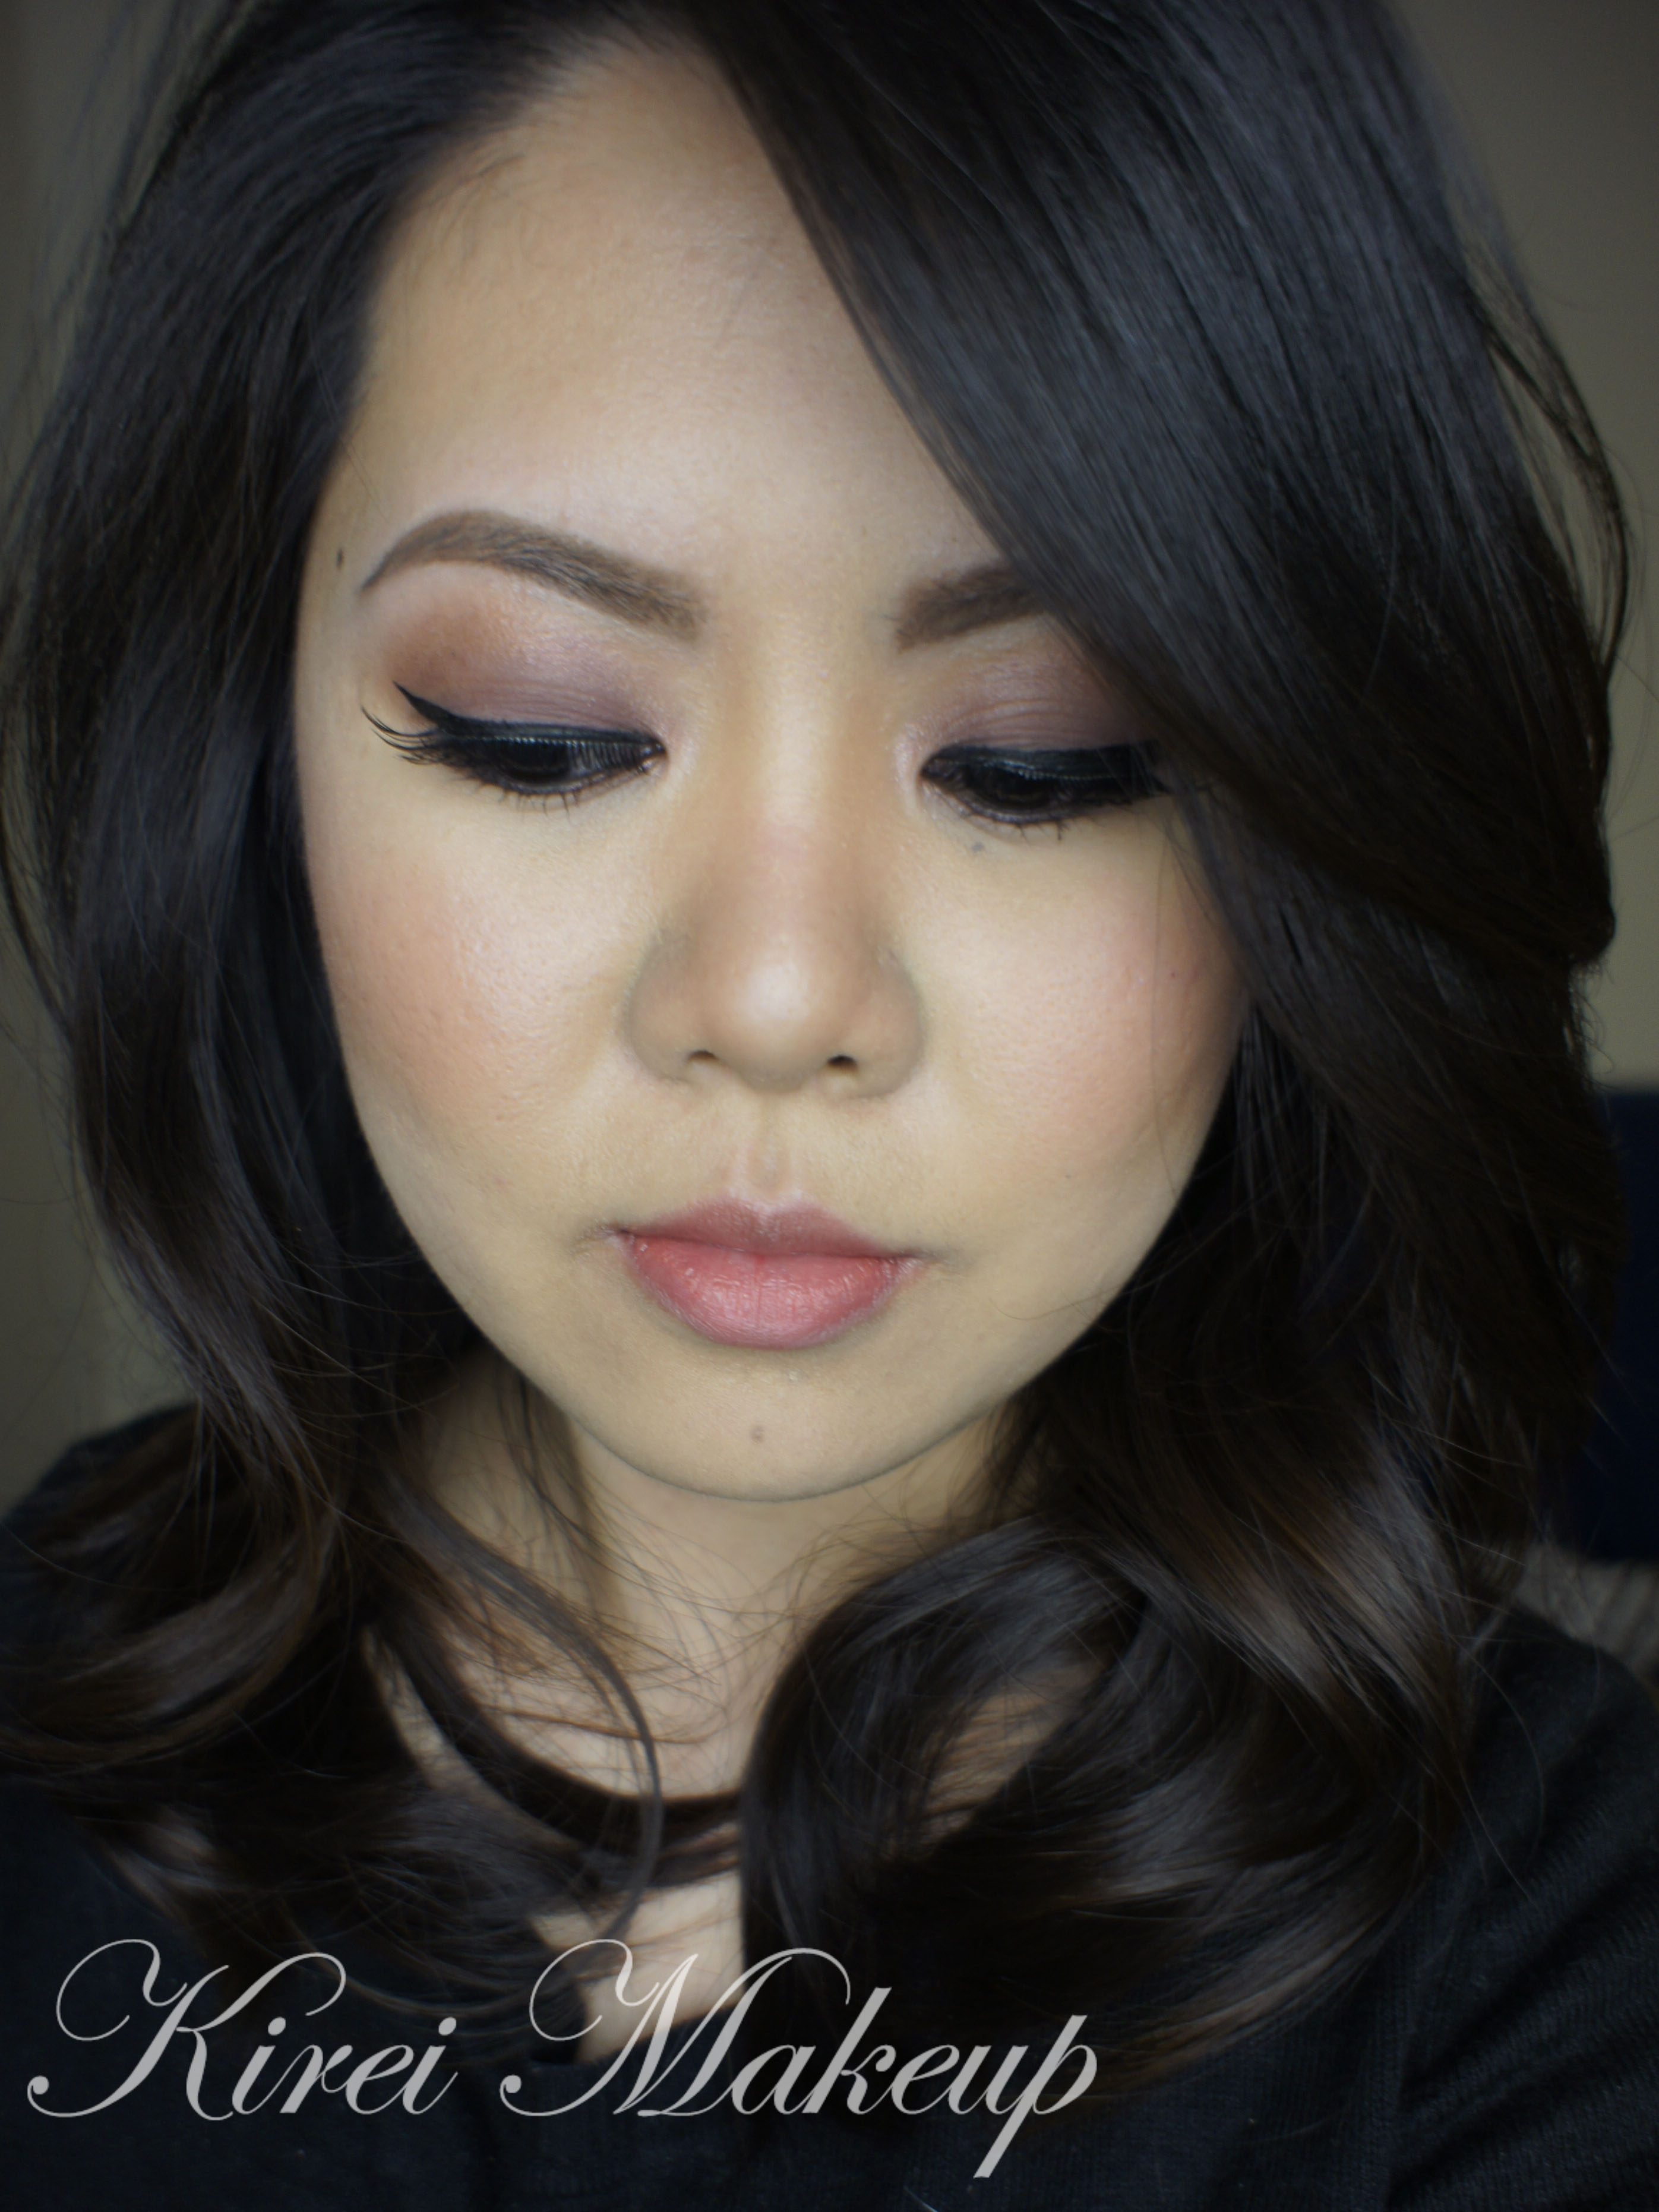
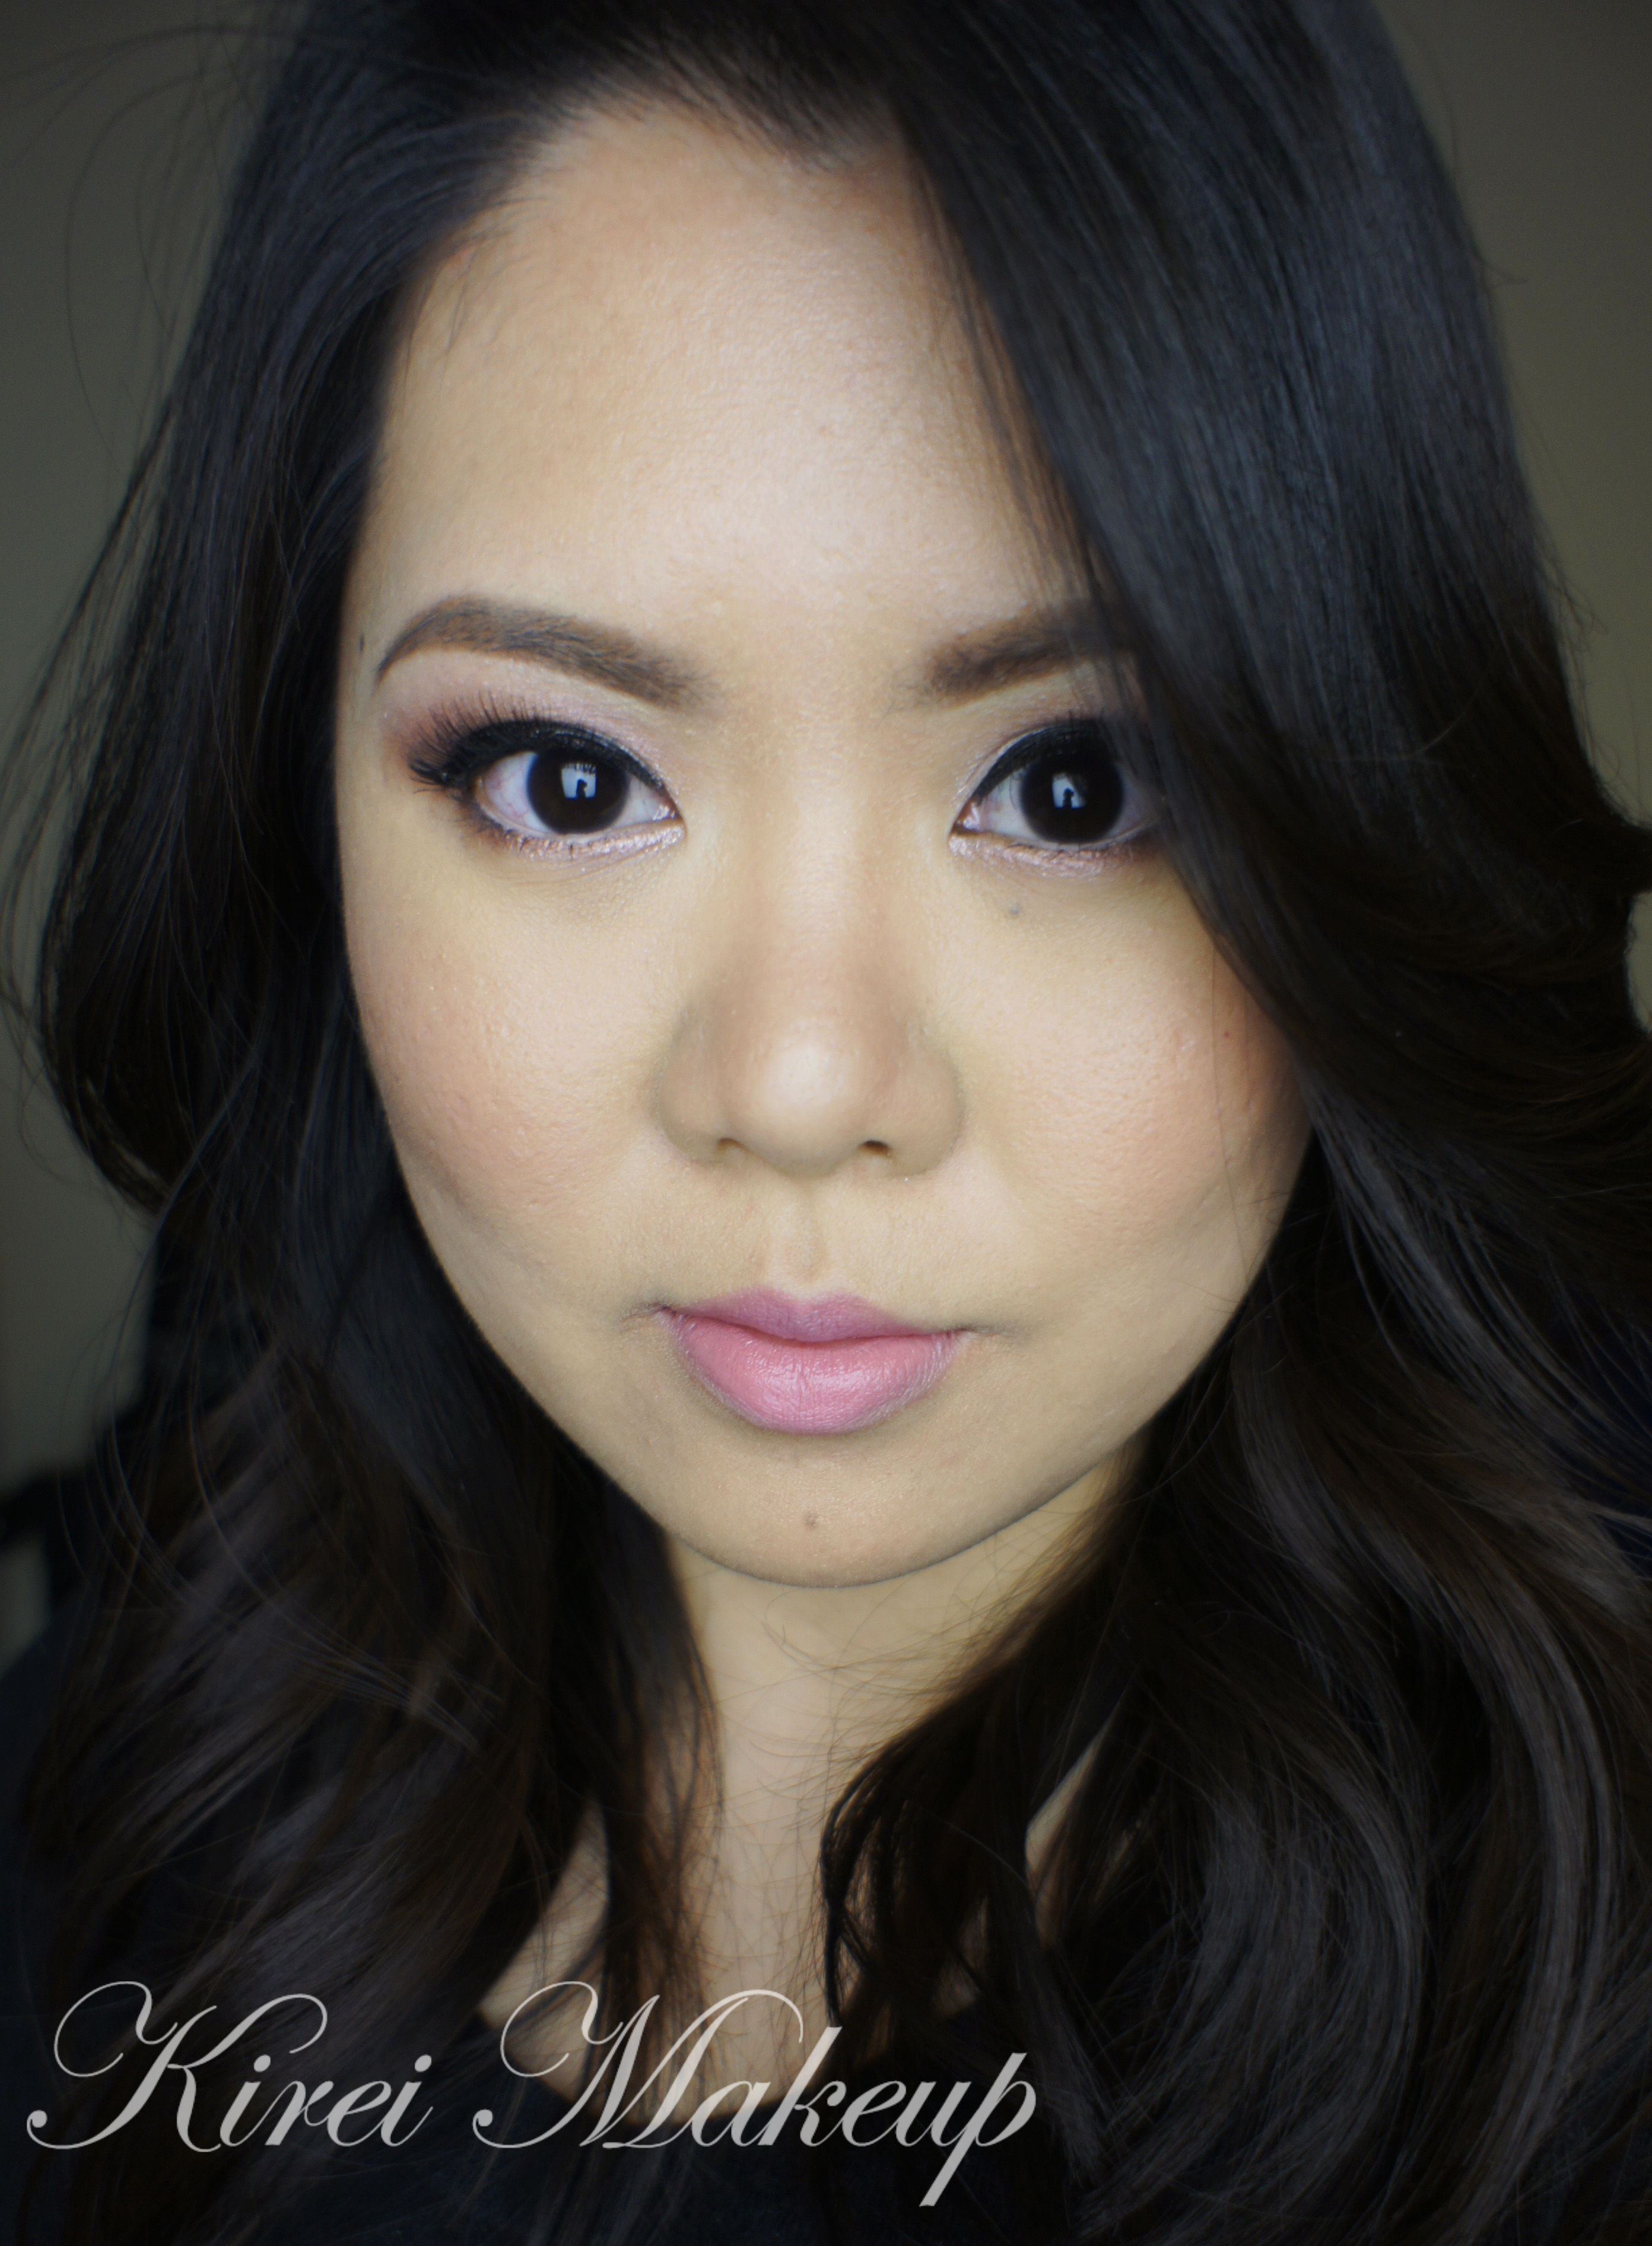
I simply love how different my hair look when I’m out in the sun! It’s super gorgeous, and golden! I do miss my old dark hair, but I’m ecstatic to have these highlights in! I love how the blonde pieces are peeking through everywhere. Since there aren’t too many blonde streaks, the whole look isn’t tacky, you know what I mean? It’s still different, and chic at the same time. I love my caramel highlights and the ombre effect it gives.

It has been 3 weeks since I had it done, and it still looks amazing! If you want to see more pictures of my hair straight with the highlights, go over to my Instagram! I’ve posted several pics of my hair there, as well as a picture with Vera.

ombre hair

If you want to go to Vera, below is her contact info:

The Hairem Salon

144 Locke Street South
Hamilton, ON
Canada

Phone no: (905) 296-7493


Disclaimer: I am not affiliated nor endorsed by The Hairem Salon. All services are paid by me using my own money. All review on this blog is based on my honest opinion.

Product of The Week: Cover FX Cream Foundation Review

I’ve recently purchased a few Cover FX Cream Foundations, 3 to be exact, and their cream foundation brush. I have had used the Cover FX foundations before, back when I went to makeup school, Complections, it was part of our makeup kit. So, today’s post will be an in-depth review of this foundation. Please bear with me, but if you can’t scroll all the way down for the pictures, and Pros and Cons!

That was in 2010/11, fast forward to 2014, I’ve finished my kit supply, used another brand, and yet I couldn’t help but drawn into the Cover FX cream foundation again. I heard that the foundation was reformulated, and I was intrigued.

See, back then, this foundation was notoriously known in my class as a hard to blend foundation. We were taught to mix it with either primer or moisturizer before application. If you didn’t mix it well, the foundation will become patchy upon application. Nevertheless, it was one of the best cream foundation I’ve ever used – great for every skin type (esp. sensitive skin), a large range of shades based on real people, full coverage, and very pigmented. You don’t even need to buy an extra concealer for it.

coverfx cream foundation review

So, I gave the foundation another try as soon as they arrived, and I realized that this time the foundation is much more emollient. It’s creamier, and blends a lot easier compared to the old ones. I didn’t even have to mix it with moisturizer or primer. I went over to Twitter and asked them if they’ve changed the formulation, and they replied it with a Yes, and apparently, they also added antioxidants and vitamins into their foundation.

I don’t recall the old foundation came with SPF, however, this new ones do – SPF 30. I did not check for flashback, because I didn’t realize it has SPF. I’ll give an update once I checked for it next time I use it.

coverfx cream foundation review

Along with their foundation, I also owned their cream foundation brush. Back then their brush handle is longer and the bristle was made from goat hair. I love that brush, and it gives the most beautiful finish to the skin. So, I thought, well I need another one! The NEW Cover FX cream foundation brush, however, has a synthetic bristle. It feels different, and I have yet to give it a try. I sure hope it’ll give a beautiful finish too! I’ll do a brush review next time, since this post has a lot of information already!

coverfx cream foundation review g20

Ok, so I bought 3 colors – G20, G40, and N110. My base shade is G40, it’s the most perfect shade for my skin so far. I’m usually an in-between shades, for example for MAC I’m in between MAC NC25-30. I also have a darker face compared to my chest, so I have to be careful when choosing my foundation. With the Cover FX, however, I used G40, and it matches perfectly to my chest and face. The G20 is about 2 shades lighter, and I used it as highlighter. For the contour color, I chose N110 which is a lot darker than my skin, and it has equal part yellow and red undertones.

coverfx cream foundation review g40

What is Cover FX Total Cream Foundation?

A rich emollient based cream foundation with SPF 30 offering flexible coverage.
An antioxidant-rich, 2-in-1 concealer and foundation offering broad spectrum SPF 30 protection with medium to full, buildable coverage.What it does:
This foundation provides an all-day radiant finish that nourishes and protects with anti-aging benefits. The buildable formula can provide medium to full coverage and offers SPF 30, full UV protection, and all-day wear.

Provides optimum coverage of skin imperfections such as acne, redness, under eye circles, uneven skin tones, post-surgical bruising, vitiligo, and tattoos and protection from wind, sun and pollution.

This clinically tested product does not contain the Inflammatory Five: gluten, mineral oil, fragrance, parabens or talc.

(Cover FX, 2014)


coverfx cream foundation review for mac nc30

(Bare Face)

Coverage
Sheer to Full coverage! You can make this as sheer as you want, or as full as you want. I’m not joking! This foundation has the best type of coverage. If you want it sheer, you can apply it with a damped sponge (or beauty blender), if you want a full coverage you can apply it using a foundation brush. Choose whatever coverage you want, and it will work. Sheer, medium, or full, whatever floats your boat!
If you take a look at my pictures below, you’ll see how it covers everything from my redness (around my nose, and cheeks), uneven skintone (i.e darkness on my chin), blemishes, under eye circles, and my huge pores. My skin looks pretty amazing on the last picture on this page, no?!
Finish

This foundation has a semi-matte finish. It says on the website that it’s a radiant finish, I’m not sure what “radiant” finish is. I think this foundation has a semi-matte finish. It’s not completely natural, you can still see on the pictures below that it is somewhat matte, but not completely.

coverfx cream foundation review for nc30

(Left: with CoverFX; Right: Bare Face)

Shade
28 shades ranging from Pink (P), Neutral (N), and Golden (G). Pink shades have a pink undertone, Neutral has equal parts of yellow and pink, while Golden has a yellow undertone.
The shade comes with a numbering system as well, ranging from 0 – 110; with 0 being the lightest and 110 the darkest. The Pink shade comes in P10-P60, Neutral comes in N0-N110, and Golden comes in G10-G80.
Price
CA$42 for 10g/0.33oz. If you are a Pro Makeup Artist, you can register for membership to get 40% off. If you are a working professional in the beauty/fashion industry, you can also register for membership to get 30% off.
If you are not a professional, you can still buy it from the Cover FX website and get 15% off on your first purchase!

coverfx cream foundation review g40

(With Cover FX Cream Foundation)

Pros:

  • Great for every skin type – oily, dry, mature, sensitive, combination.
  • A huge range of shade – 28 shades for all undertones! Amazing!
  • Buildable coverage – sheer to full.
  • Doubles as concealer.
  • Lasts for the whole day – I’ve worn it for 8hr set with powder. With the old ones, I’ve used it for photoshoots and short film, as well as theater makeup, which work for the full day, barely needing any touch-up.
  • Price is reasonable, considering the discounts.
  • Semi-matte finish.
  • It has SPF 30.
  • Can be used to cover any imperfections, as well as tattoo.

Cons:

  • Can’t think of any!

On the picture below, I’ve done a little bit of contouring and highlight using N110 and G20. I’ll show you guys how I do it next time! For the full makeup tutorial (eyes, lips, cheeks etc), I’ll post that tomorrow, or the day after tomorrow.

coverfx cream foundation review g40

(Pores, begone!!!)

Disclaimer: I’m not sponsored, nor affiliated with Cover FX. Clicking on the links will not earn me any monetary profits.

Rosy Mauve Makeup using Urban Decay Naked 3

Today’s tutorial is a requested look from one of my followers on Instagram through direct message. She wanted an Urban Decay Naked 3 look that’s not too smoky. I created this rosy mauve makeup using Urban Decay Naked 3 for her, so I hope everyone will enjoy it!

The look is very simple. However, I decided to add the winged liner and Gwiyomi lashes for some added drama for the camera. I also, recently, just bought CoverFX cream foundations, so I decided to play around with it for highlighting and contouring as well. I’m going to do a review soon for the CoverFX products.

Anyways, let’s get the tutorial started! You can skip the winged liner and eyelashes, feel free to omit some of the steps to make it suitable for you!

soft makeup using ud naked 3

How-to:

1. I prepped my eyelid using UD Primer Potion. Then, I applied Nooner on my eyelid using the flat eyeshadow brush that comes with the UD Naked 3 palette.

2. I applied Liar on the crease using the blending brush end from the Naked 3 palette.

3. Using Crown Brush Pro Blending Fluff C433, I blended out the edge of Liar so there’s no harsh edge.

4. Using the tip of the flat eyeshadow brush from UD Naked 3 palette, I applied Nooner on the lower lid. I also applied Trick on the inner corner of my eyes.

5. I lined my waterline, tightline, and upper lash line using Urban Decay  24/7 Glide-on Eyeliner in Perversion.

6. Using an angled eyeliner brush, I applied Blackheart along the upper and lower lash line. If I wear this makeup to go out I definitely would stop here and go on to mascara and my eyebrows.

7. I created a winged eyeliner using L’oreal Super Liner Ultra Sharp Tip.

8. I curled my lashes and applied Cover Girl Lash Blast mascara on both top and bottom lashes.

9. I applied Gwiyomi Sarah false eyelashes, and filled in my brows using Anastasia Brow Wiz in Ash Blonde and Brunette.soft makeup using ud naked 3

10. On my face, I applied CoverFX Cream Foundation in G40 using their cream foundation brush.

11. I highlight using CoverFX G20, and contoured using N110 (will do a tutorial on how to do this next time).

12. I set my face using NARS Setting Powder.

13. I applied Benefit Hervana on my cheeks as blush.

14. On my lips, I applied Clinique Chubby Stick Lip Balm in Mega Melon.

urban decay naked 3 tutorial

Products used

Eyes – UD Naked 3 palette, UD 24/7 Glide-on eyeliner in Perversion, L’oreal Super Liner Ultra Sharp Tip, Cover Girl Lash Blast mascara, Gwiyomi Sarah false eyelashes, and Anastasia Brow Wiz (Ash Blonde+Brunette)

Face – CoverFX Cream foundation (G40, G20, N110), NARS Setting Powder, Benefit Hervana blush, and Clinique Chubby Stick Lip Balm Mega Melon.

Valentine’s Day Makeup using UD Naked 3

Update Jan. 13, 2016: I have a new Valentine’s day tutorial on youtube using UD Gwen Stefani palette! Come check THIS VIDEO OUT if you haven’t already.

Happy mid-week, everyone! Valentine’s day is just a few weeks away, and I wanted to create a soft, feminine makeup using UD Naked 3. This Valentine’s Day makeup is girly, warm, and rose-hued. The eyes are made to look bigger and brighter. I’ll do another smoky eyes tutorial using UD Naked 3 for Valentine’s day next time.

I know I’ve been using UD Naked 3 a lot, but I can’t help it! It’s so pretty and gorgeous, how can I resist it?! It’s one of those palettes that does not have much browns and grey, but at the same time it’s neutral enough to be used daily and in different ways.

I’ve done several different tutorials using UD Naked 3, and you can find it here: Rose Smoky Eyes, Look#2, Rose Smoky Eyes 3, Soft and Romantic, as well as a review in Product of the Week.

I’ve also added a Youtube Video tutorial using UD Naked 3 palette!

valentine's day makeup

I prepped my eyelids using UD Primer Potion.

How-to:

1. Using a flat eyeshadow brush, I applied Dust on the inner half of the lid.

2. Using a clean flat eyeshadow brush, I applied Buzz on the outer half of the lid, leaving the middle part empty if you’d like. If not, that’s fine as well.

3. Using a flat eyeshadow brush, I applied Burnout to the middle of the eyelid. This will act as a good transition color between Dust and Buzz.

4. Using the tip of a flat eyeshadow brush, I applied Liar on the crease to create a bit of depth without going smoky.

5. I applied Factory on the outer V, and blended it out using a blending brush.

6. On the lower lid, I applied Dust on the inner corner, Buzz in the middle, and applied Factory on the outer half using an angled eyeliner brush.

7. I created a winged eyeliner on the upper lash line using L’oreal Super Liner Ultra Sharp Tip.

8. On the waterline, I applied white end of Revlon Photoready Kajal eyeliner in Cleopatra. I applied the black end of this eyeliner on the outer third of my lower lash line.

9. I curled my lashes and applied Cover Girl Lash Blast mascara. I also applied false eyelashes from Gwiyomi boutique (Indonesia-based).

10. I filled my brows using Anastastia Brow Wiz in Ash Blonde and Brunette.

urban decay naked 3 tutorial

11. On my face, I applied UD Naked Skin foundation using a Sigma Round Kabuki Brush.

12. I lightly contour my face using MAC Shadowy powder and NARS Ita Kabuki Brush.

13. I applied MAC Cubic on my cheeks.

14. On my lips, I applied MAC Please Me lipstick.

valentine's day makeup

Products used:

  • Eyes – UD Primer Potion, UD Naked 3 palette, Revlon Photoready Kajal Intense Eyeliner in Cleopatra, L’oreal Super Liner Ultra Sharp Tip, Cover Girl Lash Blast mascara, Anastasia Brow Wiz in Ash Blonde/Brunette.
  • Face – UD Naked Skin foundation, MAC Shadowy powder, MAC Cubic, MAC Please Me.

Red Invasion [Collaboration]

Lately, my Twitter has been flooded with chats between several Indonesian Beauty Bloggers and myself. These bloggers are: Yonna Kairupan, Iva Asih Era Chrysta, Lauren Renturquise, Sha Aullia, and Riyanti Teressa. So, we decided to do a little collaboration and we wanted to paint the town red 😉 By town, I mean the Indonesian Beauty Bloggers Facebook page.

Anyhow, we decided to do red lips look, and Yonna had posted hers on her youtube page. I decided to post mine next and the obvious choice for me was to use MAC Russian Red (again). I can never get tired of MAC Russian Red, it’s just so gorgeous! It’s definitely my favorite.

For the eyes, I think I wanted to pack more punch on it, so I did a slightly more smoky look than the other tutorial in MAC Russian Red post. I also added a set of false eyelashes on me lashes, since I bought a new one. I don’t love the falsies, but I don’t mind it. Not long enough and not thick enough. Oh well! I also used my new Sleek Makeup iDivine Storm palette, but there’s no name for each shade for this palette. So, I named the shades on the tutorial below based on the hue of each eyeshadow. If you’re confused, just leave the question below 🙂

How-to:

1. I applied MUFE Aqua Shadow in 28E all over the lid.

2. Using a clean fluffy brush, I applied the matte light brown from Sleek Makeup iDivine Storm palette.

3. Using another clean fluffy brush, I applied matte dark brown from Sleek Makeup iDivine Storm palette.

4. I applied the champagne shade from Sleek Makeup iDivine Storm palette on top of the MUFE Aqua Shadow 28E with a flat eyeshadow brush.

5. Using another blending brush, I applied black from Sleek Makeup iDivine Storm palette.

6. I applied both champagne (inner corner) and black (outer corner) from Sleek Makeup iDivine Storm palette on the lower lid using an angled brow brush.

7. Using Kanebo Kate Super Sharp eyeliner, I created a feline flick/cat-eye liner/winged liner on the upper lash line.

8. I curled my lashes and applied Maybelline Volume Express Turbo Boost mascara on both top and bottom lashes.

9. I lined the outer half of my waterline using L’oreal Voluminous Smoldering eyeliner.

10. I applied DUP eyelashes in 906 on the top lashes.

11. For the brows, I applied MUFE Aqua Brow Gel.

sleek makeup storm

12. On my face, I applied Urban Decay Naked Skin foundation.

13. I applied MUFE HD concealer to cover my blemishes and under eye circles.

14. I powdered my face using Cinema Secret loose powder.

15. I contoured my face using NARS Kabuki Ita brush and MAC Shadowy powder.

16. I applied MAC Fleur Power on my cheeks.

17. I lined and filled my entire lips with MAC Redd lip liner.

18. I, then, applied MAC Russian Red on my lips.

asian red lips

Dr. Jart+ Sambut V7, Multivitamin Pencerah Wajah Untuk Semua Gender [Press Release]

Brand Dermatologis Global Korea Garap Pasar Indonesia

Tiap pria dan wanita ingin bebas dari kulit kusam, pigmentasi, flek dan spot hitam. Akan tetapi faktor usia, genetis dan kondisi lingkungan kerap menjadi penyebab munculnya berbagai problem pada kulit wajah. Ditambah lagi, saat ini berbagai golongan usia kerap menghadapi masalah serupa. Maka dari itu, bertempat di Upperroom Annex Building, Dr. Jart+, brand dermatologis global terkemuka Korea hari ini meluncurkan seri pencerah wajah terbaru yaitu V7. Merupakan seri pencerah kulit wajah yang akan mengembalikan rona wajah anda yang kusam akibat sinar matahari maupun polusi udara dengan memberikan 7 vitamin meliputi vitamin A, B3, B5, C, E, F dan H.

Dr. Jart+ berfokus terhadap keamanan produk dengan melarang penggunaan bahan-bahan yang dapat menimbulkan iritasi kulit dengan prinsip bebas aroma buatan, bebas pewarna buatan, bebas pengawet buatan, dan bebas alkohol. Hadir memberikan solusi yang aman dan terpercaya, Dr. Jart+ telah melalui beragam tes untuk kulit hiper-sensitif maupun berbagai macam jenis kulit sensitif.

Vera Liono, Brand Manager Dr. Jart+ Indonesia menuturkan, “Sebagai pionir brand dermatologis global, Dr. Jart+ menghadirkan V7 yaitu produk pencerah pertama dengan kandungan vitamin terbanyak yang berfungsi mengencangkan, menenangkan, memutihkan, kaya akan anti oksidan, menjaga elastisitas dan regenerasi sel aktif. Sejak diluncurkan tahun 2004, Dr. Jart+ mendapat respon yang sangat baik di dunia perawatan kulit wajah internasional dengan angka penjualan tercepat dalam waktu singkat. Setelah melebarkan sayapnya ke berbagai negara seperti Jepang, Hong Kong, Amerika Serikat, Inggris, Thailand, Filipina dan Singapura, sekarang kami hadir di Indonesia. Kini penggemar kosmetik dapat menemukan produk perawatan wajah yang aman dan teruji klinis. Outlet kami dapat ditemukan di Alam Sutera, Matahari Departmen Store Taman Anggrek dan Lotte Shopping Avenue.”

“Merupakan sebuah kebanggan bagi kami untuk merilis Dr. Jart+ di Indonesia. Sejak diluncurkan tahun 2004, Dr. Jart+ menjadi produk perawatan dermatologis terkemuka di Korea. Melalui komitmen dan kinerja berkesinambungan, kami optimis Dr. Jart+ akan menjadi brand skincare terbaik dan terpercaya oleh banyak pelanggan di Indonesia seperti halnya di Korea dan dunia. Kami pun akan terus berkontribusi dalam menjaga serta memberi rasa aman pada kehidupan Anda dengan menghadirkan produk dermatologis No.1. Kami yakin, sekarang pelanggan kosmetik tidak perlu kuatir dan dapat langsung memilih produk perawatan wajah terbaik langsung dari ahlinya” ungkap Lee Jin-Wook, CEO Dr. Jart+ menambahkan.


Saat ‘cantik’ bertemu dengan ‘seni’

Nama Dr.Jart+ tercipta dari inisial pendirinya ‘J’ dan kata ‘Art’ yang dalam bahasa Inggris berarti seni, yang menjadikan konsepnya berbeda dari konsep produk perawatan kulit kebanyakan. Karena mengusung visi nya sebagai merek yang memfokuskan pada pemulihan dan perbaikan kulit sebagai hasil penelitian bionik terbaru, Dr. Jart+ telah membangun merek yang terpercaya dengan harapan akan menunjukkan sisi artistik dari perawatan kulit.

Dr.Jart+ mengedepankan teknologi ilmiah dalam meracik produk-produknya dari bahan alami serta dikemas menggunakan sistem berteknologi tinggi yang mengoptimalkan fungsi dari setiap bahan yang digunakan. Hal ini dilakukan dengan tujuan dapat menciptakan tampilan kulit wajah yang cantik dan sehat serta menjadikan Dr.Jart+ sebuah merek terpercaya.

Solusi cerdas untuk kulit hiper-sensitif

Dr. Jart+ fokus terhadap keamanan produk dengan melarang penggunaan bahan-bahan yang dapat menimbulkan iritasi kulit dengan prinsip bebas aroma buatan, bebas pewarna buatan, bebas pengawet buatan, dan bebas alkohol. Dr. Jart+ memberikan solusi yang aman dan dipercaya serta sudah melalui beragam tes untuk kulit hiper-sensitif dan berbagai macam jenis kulit sensitif.


Rangkaian Produk Dr.Jart

V7
Varian seri V7 merupakan seri dengan kandungan vitamin, yang meregenerasi kulit rusak sehingga kembali seperti sedia kala dan sehat melalui kandungan 7 macam vitamin yang dibutuhkan kulit.
Noda dari pigmentasi, jerawat, atau masalah kulit lainnya akibat stres dan kebiasaan buruk sehari-hari dapat diperbaiki dengan adanya kandungan regenerasi vitamin tersebut. Rangkaian V7 Terdiri dari:
* V7 Turnover Booster (Toner): Rp 508.000,-
* V7 Renewal Serum: Rp 638.000,-
*V7 Relief Vita Drop (Emulsion): Rp 458.000,-
*V7 Vitacream (Spot treatment): Rp 578.000,-
*V7 Beauty Balm (Make Up): Rp 488.000,-


Dr. Jart V7

BB Cream

Satu-satunya BB Cream dengan varian terlengkap sesuai dengan warna kulit, tipe kulit, dan fungsi. Temukan BB Cream yang sesuai dengan karakter kulit Anda. Tersedia dalam beragam jenis:

* Rejuvenating Blemish Base (Silver Label): Kulit sensitif: Rp 408.000,-
* Skin Perfection Blemish Base (Black Label): Kulit kering: Rp 488.000,-
* Premium Blemish Base: Kulit kering dan menua: Rp 648.000,-
* Regenerating Blemish Balm: Whitening: Rp 528.000,-
* Renewalist Blemish Balm: Kulit menua: Rp 278.000,-

Dr. Jart BB creams

Most Moist

Seri pelembab pertama yang bebas pengawet buatan, melainkan menggunakan pengawet alami dari KIMCHI. Meminimalkan hilangnya kelembaban dan menjaga kelembaban tersebut agar tetap bertahan pada kulit selama 24 jam.

Varian Most Moist terdiri dari:

* Most Moist Water Act Skin Mist: Rp 328.000,-
* Most Moist Water Up Serum: Rp 548.000,-
* Most Moist Water Sure Gel Cream: Rp 458.000,-
* Most Moist Water Max Sleeping Mask: Rp 458.000,-
* Most Moist Waterfull Hydrogel Mask: Rp 488.000,-
* Most Moist Water Fuse Blemish Base: RP 458.000,-

Dr. Jart Most Moist

Ctrl+A

Seri perawatan dengan bahan aktif AC-Fensine untuk kulit berjerawat ini bekerja dengan meningkatkan sistem pertahanan/perlindungan kulit terhadap bakteri jerawat untuk membantu kulit memperbaiki jerawat dengan sendirinya dan mencegah timbulnya jerawat baru.

Varian Ctrl-A terdiri oleh:

* Drying Spot Corrector: Rp 378.000,-
* Sensitive Sun Protector: Rp 338.000,-
* Spot Out: Rp 338.000,-
* Soothing Moisturizer: Rp 348.000,-
* Clarifying Toner: RP 328.000,-
* Speedy Clear Serum: Rp 458.000,-
* Liquid Foam: Rp 338.000,-
* Spot Cover: Rp 298.000
* Beauty Balm: Rp 448.000,-

Dr. Jart Ctrl-A Line


MAC Russian Red

As you all know from my Twitter, I’ve been looking forward to use my M.A.C Russian Red lipstick again. I know, I know, it seems like this week is a MAC week. Well, can’t be helped, I’m trying to fall in love with MAC again! Afterall, MAC was one of the reasons why I went into makeup in the first place.

So, talking about MAC Russian Red, this is the best true-red lipstick. If you want a cooler red, you can try MAC Ruby Woo instead. I also love how this lipstick has a matte finish to it. I’m not a big fan of shiny or glossy lips, so I love how even though this lipstick has a matte finish, it is not drying. It also helps if you prep your lips before application to ensure your lips aren’t chapped.

I purchased this Chanel quads in Intuition in February and didn’t have the chance to play with it, so I had to use it for this look. I love how soft and pretty the eyes look. If you are looking for a neutral, day makeup, do try the eye-look and you can skip the red lipstick.

I’ve done a similar look in Battle of the Classics.

How-to:

1. Using a flat eyeshadow brush, I applied the gold eyeshadow from the Chanel Intuition quad.

2. Using a fluffy blending brush, I applied the deep brown shade from the same quad on my  outer V and on the crease. I used whatever was left on the brush and swept it along the lower lash line.

3. I blended out the crease using a clean fluffy brush.

4. Using an angled eyeliner brush, I created a winged liner along the upper lashline.

5. I applied MAC Chromagraphic liner in NC30 on my tightline.

6. Using a small flat shader brush, I applied the pink highlighter shade from Chanel Intuition quad on the inner corner of the lower lid and under the brow.

7. I curled my lashes and applied Maybelline Volume Express mascara on both upper and lower lashes.

8. I filled my brows in using MUFE Aqua Brow Gel.

9. For extra drama, I applied Quo false eyelashes.

natural wedding makeup

10.  For the face, I applied MUFE HD Foundation using a foundation brush.

11. Using whatever was left on the brush, I swept it across my lips.

12. I lined and filled my lips using MAC Redd lip pencil.

13. Using a lip brush, I applied MAC Russian Red on my lips.

14. I powdered my face using a loose translucent powder.

15. I contoured my face using MAC Shadowy and applied MAC Fleur Power on the cheeks as blush.

asian red lips

M.A.C Old Gold Duochrome

So, yesterday we’ve talked about M.A.C Melon loose pigment. Today, I want to show another of my favorites which is M.A.C Old Gold. If you’ve read my blog way back in 2008, I’ve always talked about M.A.C Duochrome eyeshadows and pigments. I’ve always loved these duochrome products and I think that they don’t get enough credits for their amazingness!

M.A.C Duochrome is basically 1 eyeshadow with 2 colors. For example, M.A.C Old Gold (which I used below) actually is a shade of bronzy gold, with green shimmers. If you apply this dry on your skin, you’ll get a gold shade with orange undertone. However, if you apply this eyeshadow wet OR on top of a dark base, you get the green shimmers to show through instead of the gold.

A few examples of MAC Duochromes are: Club eyeshadow (brown with blue), Stars ‘n Rockets (pink with purple), Blue Brown pigments (brown with blue), Reflect Transparent Teal (clear glitter with teal) etc. You get the idea 😉

So for this look, I wanted to show the easiest and fastest way to use this duochrome. So fun, and easy!

How-to:

1. I applied L’oreal Voluminous Smoldering eyeliner all over the lid, and blended the crease using a fluffy blending brush. You can use whatever dark base you want, whichever works for you.

2. Using a damped synthetic art brush, I mixed M.A.C Old Gold pigment on the back of my hand, and then applied it all over the lid.

3. Using a small fluffy brush, I applied MAC Old Gold pigment slightly above my crease. I applied this pigment dry.

4. Using a clean UD Fluffy brush, I blended the crease to remove any harsh edge.

5. I lined my waterline and lower lid using L’oreal Voluminous Smoldering eyeliner. Using a clean pencil brush, I smudged the eyeliner.

6. Using a damped angled eyebrow brush, I once again mixed Old Gold at the back of my hand. I, then, applied it on top of the  smudged liner.

MAC Old Gold pigment

7. Using a flat eyeshadow brush, I applied Martini from Sleek Makeup iDivine Snapshot palette on the inner corner of the eye.

8. I created a winged or cat-eye liner using Kate Super Sharp eyeliner.

9. I filled my brows using MUFE Aqua Gel Brow.

10. I curled my lashes and applied Maybelline Express Volume mascara.

11. For added drama, I applied Quo false lashes.

12. I applied MUFE HD Foundation all over my face using a foundation brush.

13. I applied Benefit Hervana on my cheeks, and contoured my face using MAC Studio Tech NW 55.

14. For the lips, I applied Chanel Confidentielle lipstick to complete the look.

mac duochrome

Summer Splash

This look today is one of my fav. summer makeup. It doesn’t matter where I am in the summer, somehow I always seem to resort back to this look. It’s very light and bright, and of course you can always eliminate some of the steps below to make it easier and to suit your own look. Most of the time, I only used the MAC Melon pigment on my lid with mascara, skipping the liner and the contour colors altogether.

Anyways, the 2nd look to this post used an orange lip liner. I don’t know where my orange lipstick is, so I only used the lip liner to fill my entire lip. Of course you can change the lips to whatever color you want, red, pink, or even nude. No rules, just fun playful makeup.

How-to:

1. Using a synthetic brush, I dipped the brush in water and then dipped it in MAC Melon pigment. I mixed it at the back of my hand to turn it into a paste form and applied this paste to my lid, and on the inner corner of the lower lid.

2. Using a shader brush, I applied MAC Bronze eyeshadow on the outer V and on the crease. I used whatever left on the brush and ran it through the lower lid.

3. Using a clean fluffy brush, I blended the crease to remove any harsh edge.

4. I applied Smashbox Deep Golden Brown on the outer corner, blending it inwards. I focused most of the color on the outer V of the lid.

5. Using whatever left on the brush, I applied it on the lower lid.

6. Using an angled eyeliner brush and MUFE Aqua Black, I created a winged liner along the upper lash line.

7. I lined my waterline using whatever product remained on the brush from step 6.

8. I curled my lashes and applied Maybelline Express Volume Turbo Boost mascara on both top and bottom lashes.

9. I filled my brows in using Shu Uemura Hard Formula 9 brow pencil.

natural makeup

10. I applied UD Naked foundation all over my face using a foundation brush.

11. I contoured my face using MAC Studio Tech in NW 55. (If you want to know how I contour my face, check out this post for powder contouring or here for cream contouring)

12. I applied MAC Peaches blush on the cheeks.

13a. For the lips, I applied YSL Pur Couture rouge no. 17 using a lip brush.

natural bridal makeup

13b. For the orange lips, I lined and filled my lips using MAC Entertain Me lipliner.

orange lips

Lily Cole Bodyshop Shimmer Cube Look #2

I wanted to do another tutorial using the Lily Cole BodyShop Shimmer Cube that I bought in April. I’ve done a review in this post Body Shop Lily Cole Shimmer Cube, and a tutorial in this Spring Lilac post. I really love the eyeshadow combination, and wanted to create another look that’s wearable and not too over the top, yet at the same time there’s still a play of colors on the eyes.

I decided to use the eyeshadows dry for a sheer wash of color. If you like a more intense color, feel free to apply the eyeshadows wet. I like how this look ends up to be very light and just enough. I think it’s perfect for the Summer, esp. since the weather is getting really hot in Jakarta.

How-to:

1. I applied the Live Lilac eyeshadow from BodyShop Lily Cole Shimmer cube using a flat eyeshadow brush all over my lid.

2. Next, I applied Think Pink eyeshadow from Bodyshop Lily Cole Shimmer cube on the outer half of the lid using a flat eyeshadow brush.

3. On the outer corner only, I applied Go Violet using a flat eyeshadow brush.

4. Using a clean blending brush, I blended Go Violet on the crease.

5. I applied Think Pink on the lower lid, as well as Go Violet on the outer corner of the lower lid using a small shader brush.

6. I dabbed Live Lilac on the inner corner of the lower lid using a pencil brush.

7. Using L’oreal Voluminous Smoldering eyeliner, I lined my waterline, tightline and along the upper lash line creating a small flick at the outer corner.

8. I filled my brows using Shu Uemura Hard Formula 9 eyebrow pencil.

9. I curled my lashes and applied Maybelline Volume Express Turbo Boost mascara.

Lily Cole Bodyshop Shimmer Cube

10. For the face, I applied Urban Decay Naked foundation using foundation brush.

11. On the cheeks, I applied Benefit Hervana.

12. I completed the look by applying Clinique Chubbystick Lip pencil in Bountiful Blush.

Lily Cole Bodyshop Shimmer Cube