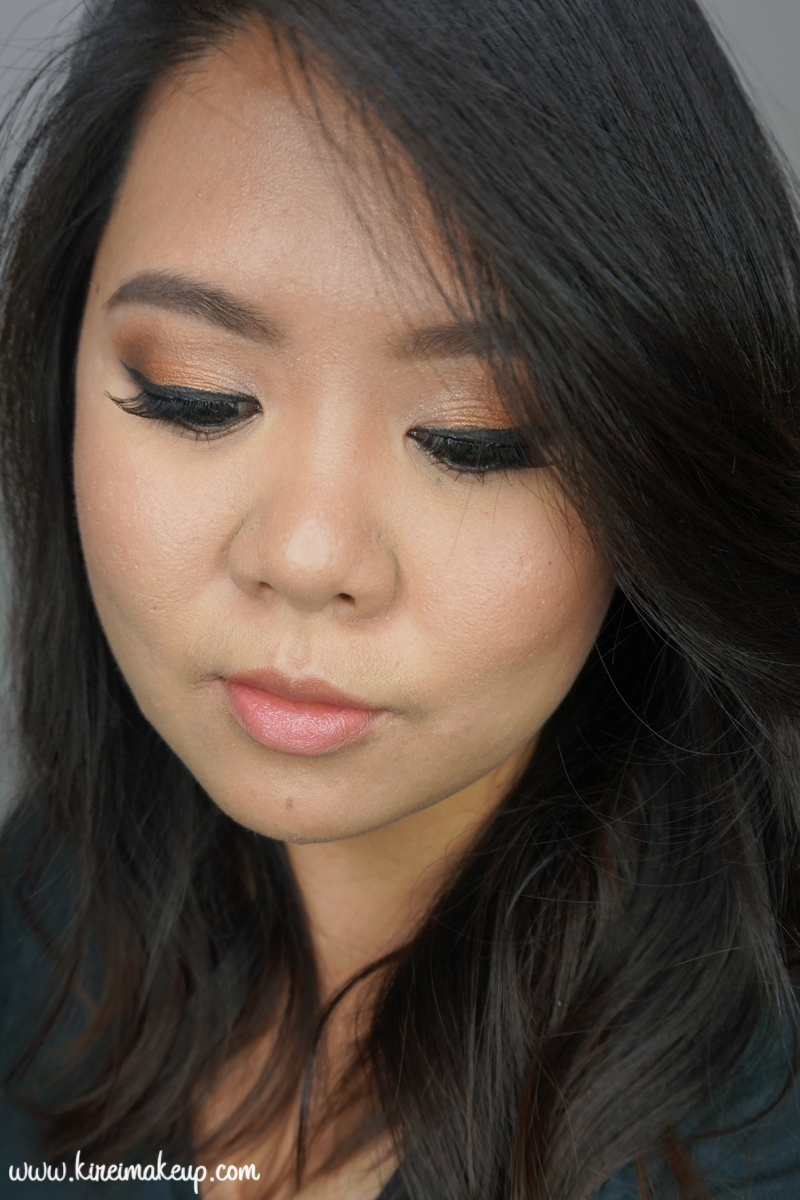
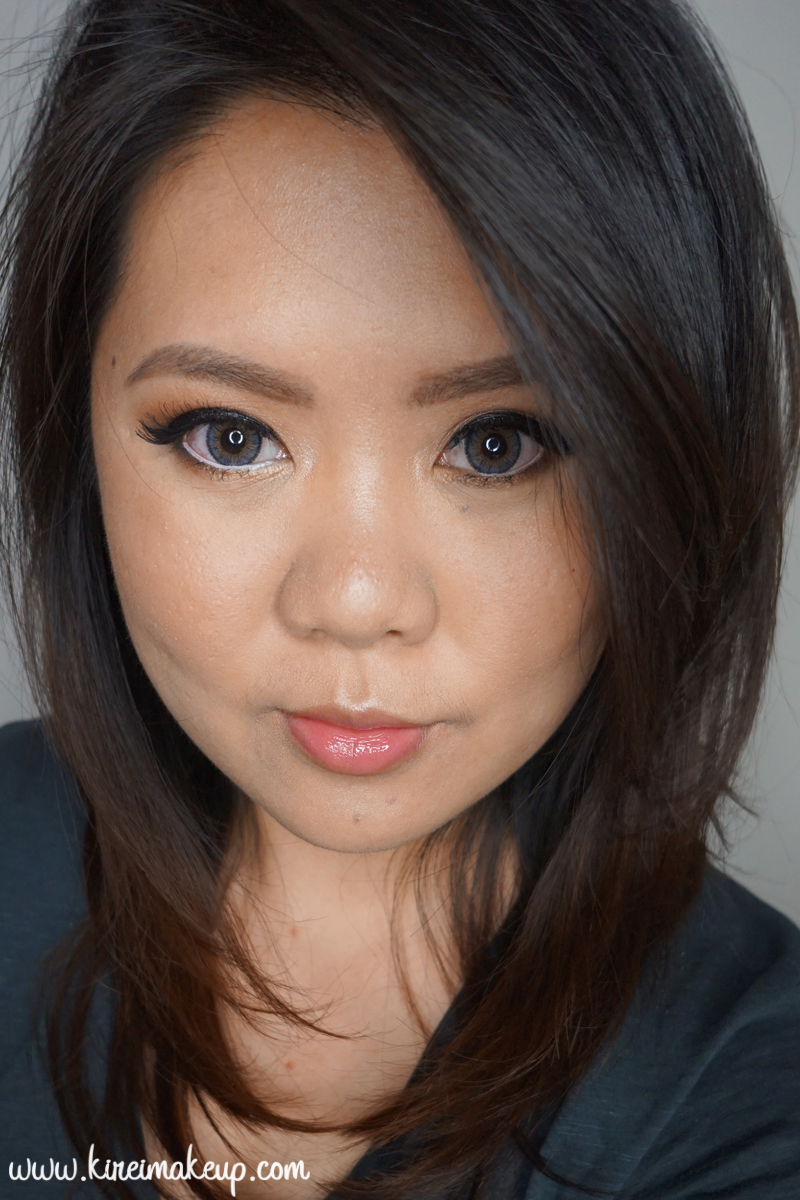
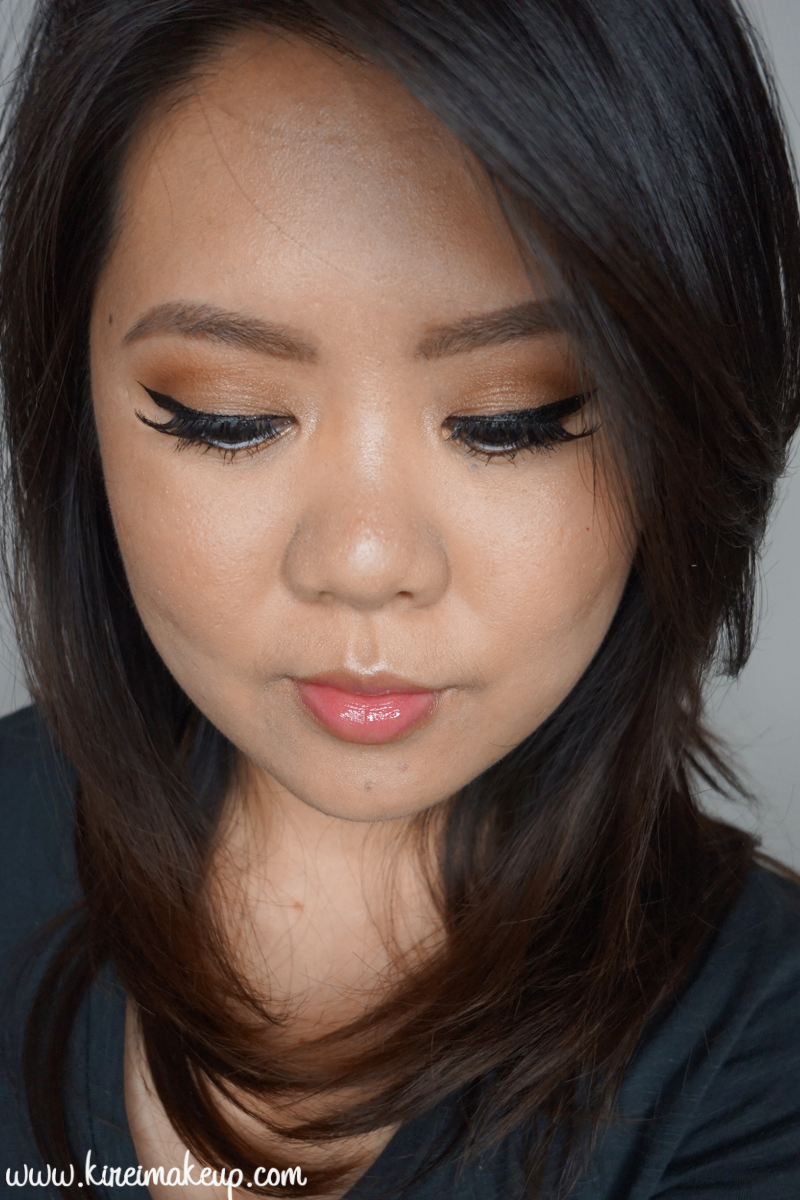
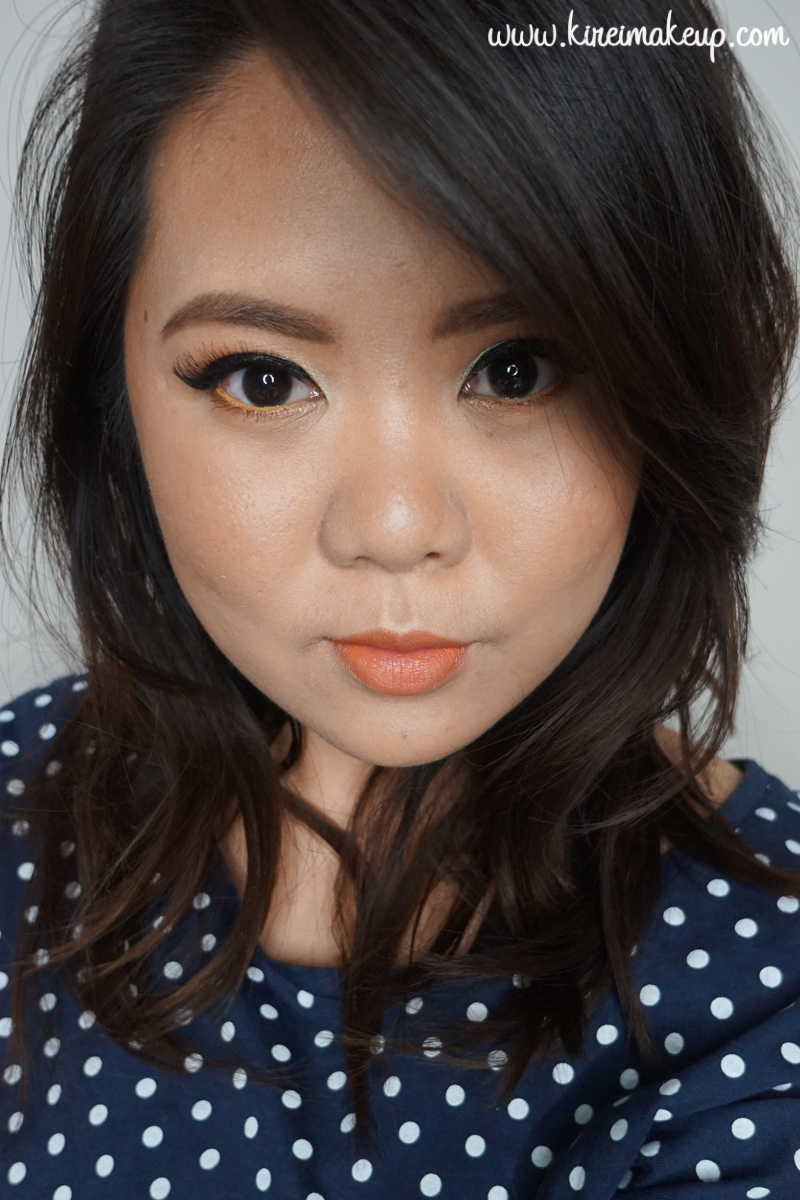
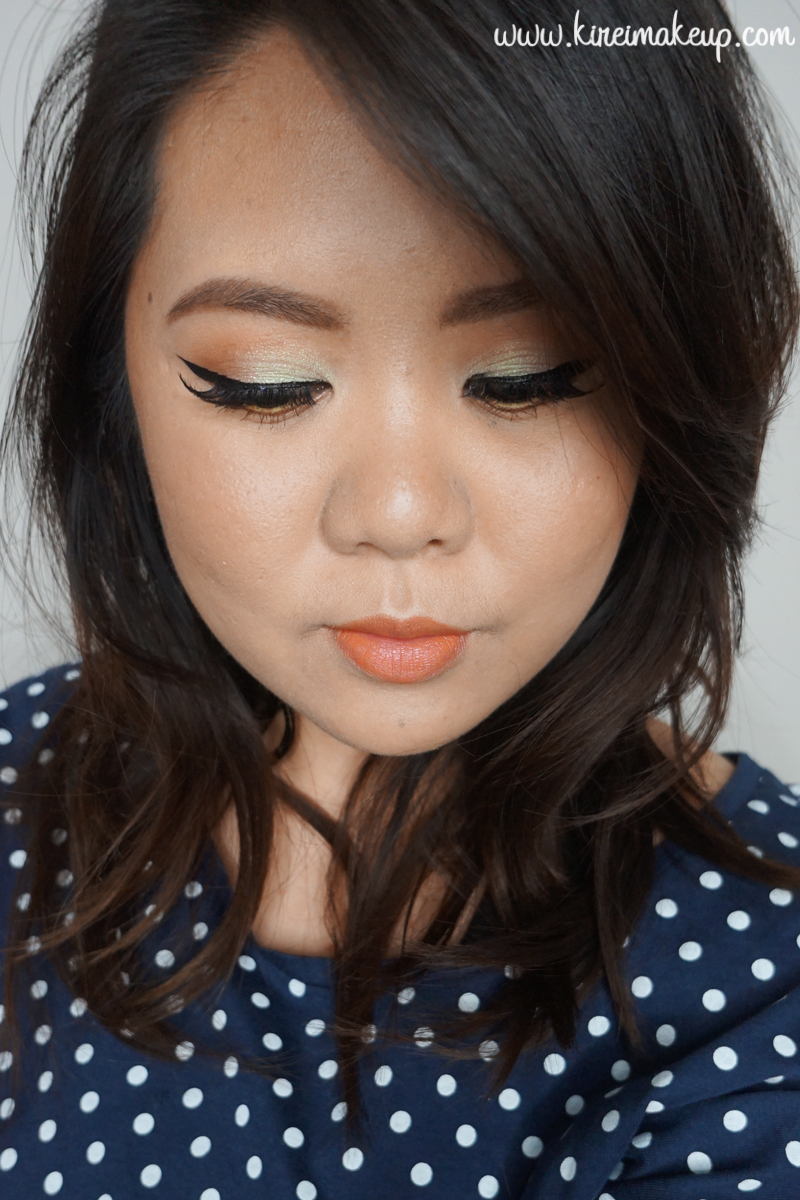
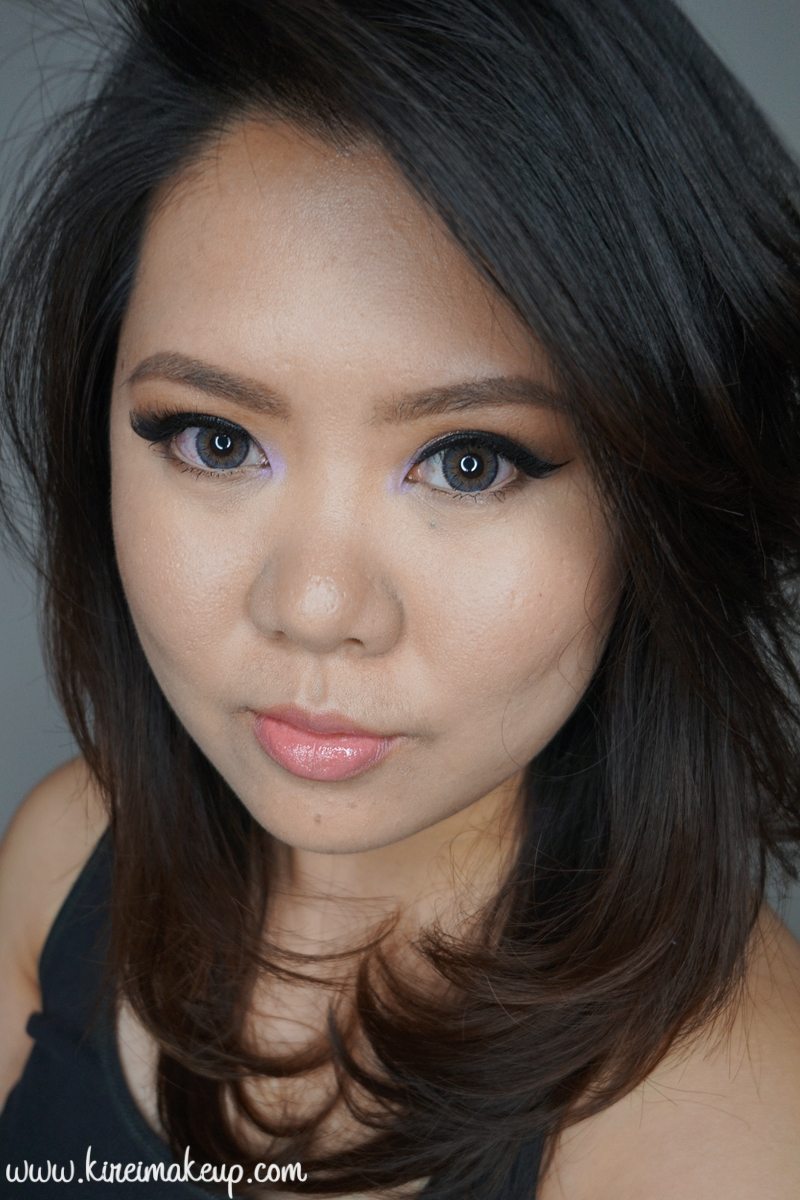
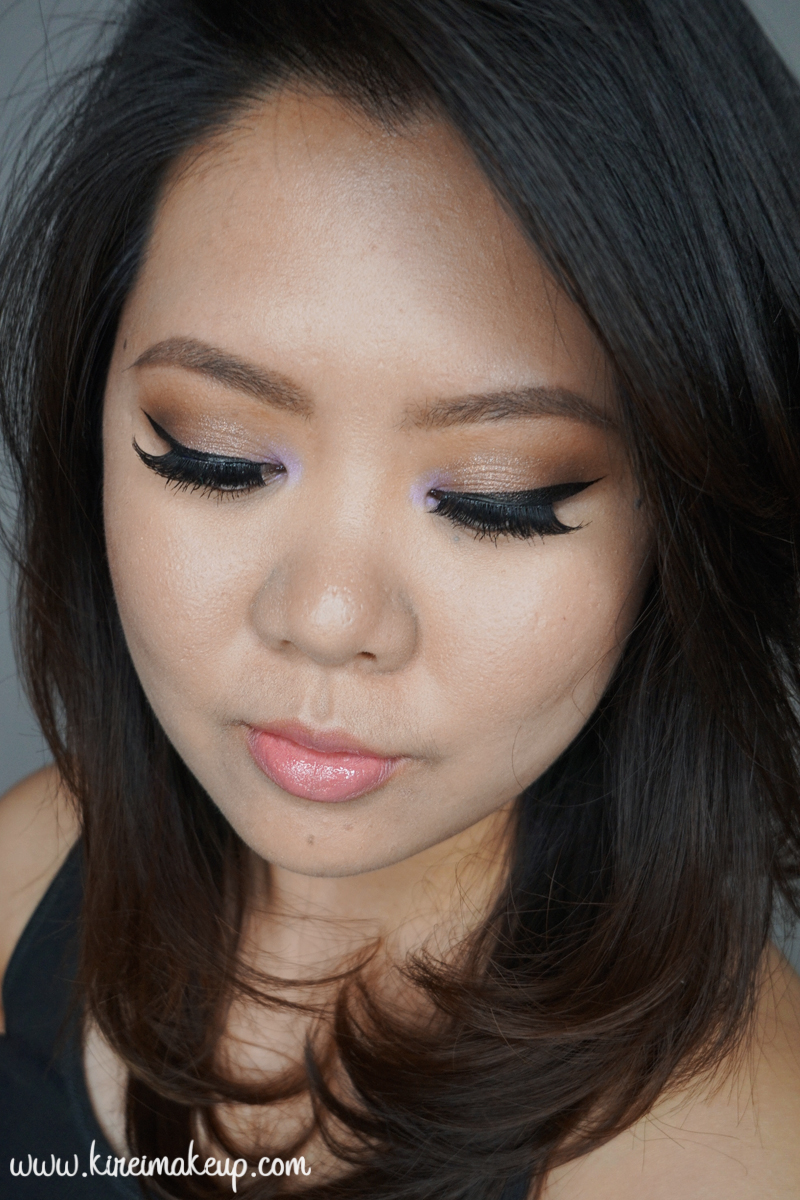
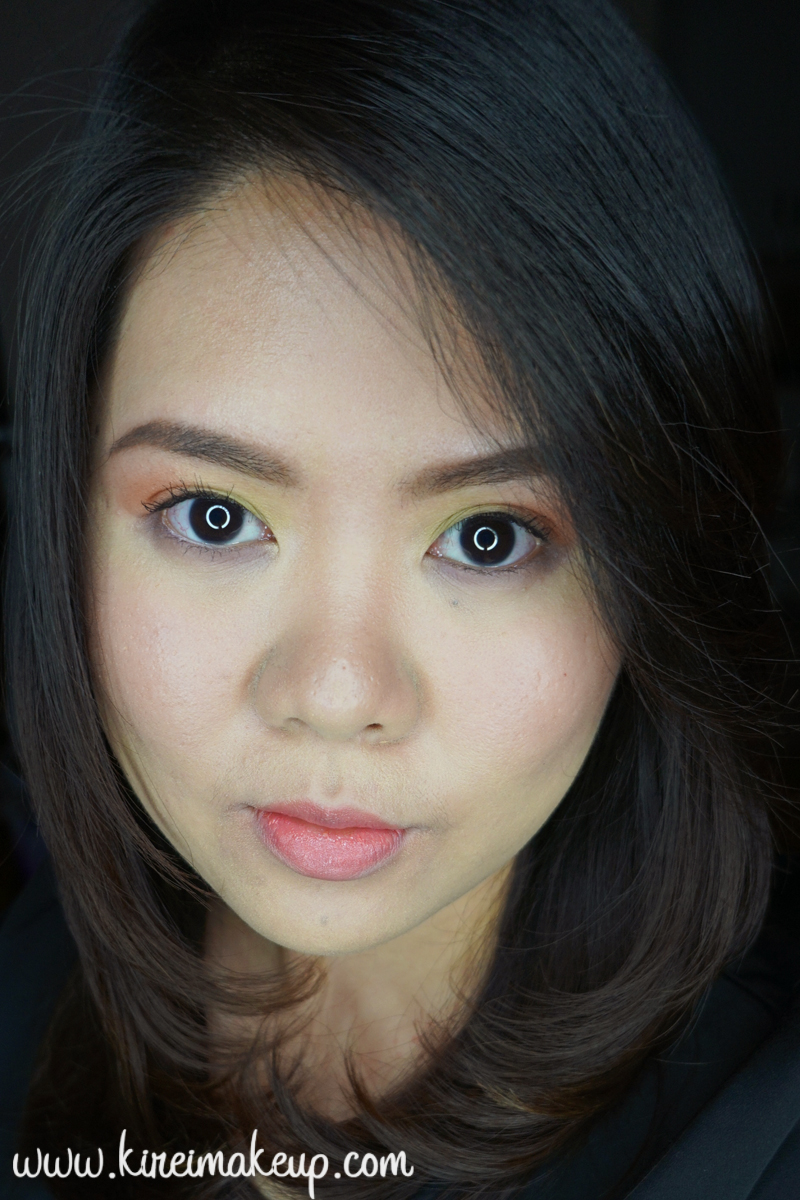
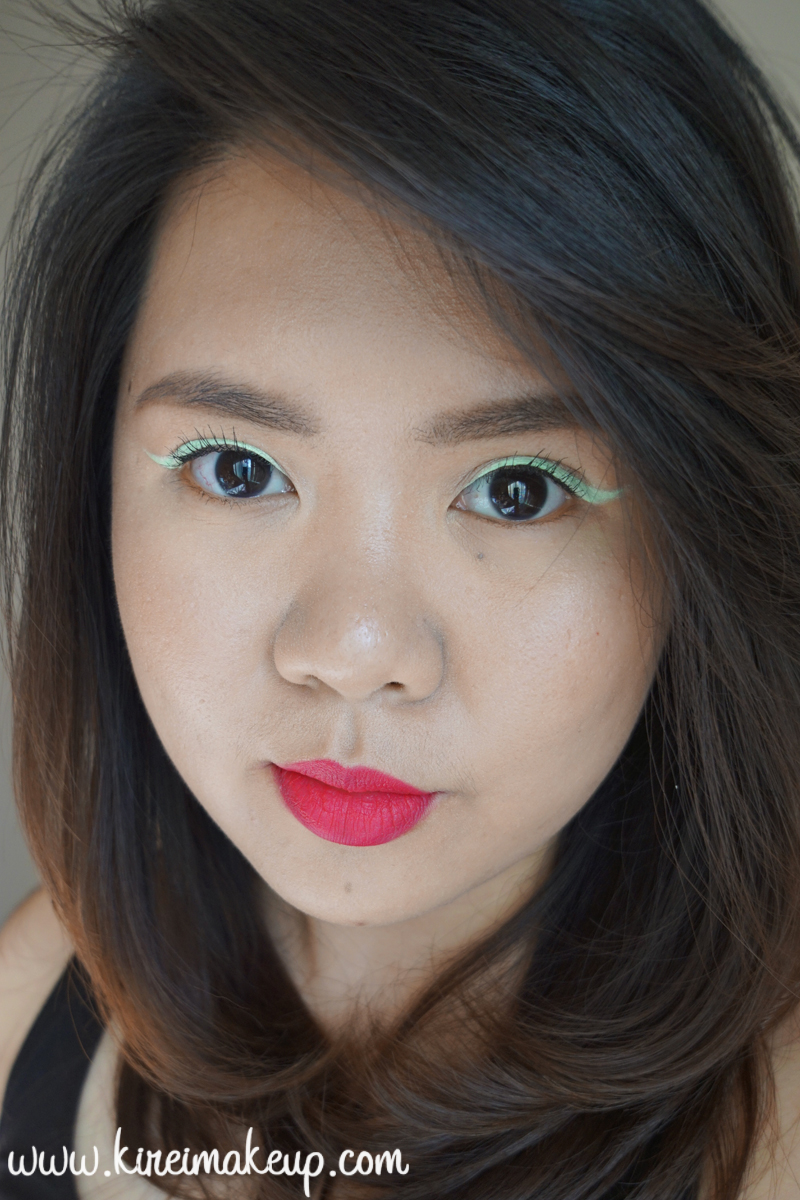
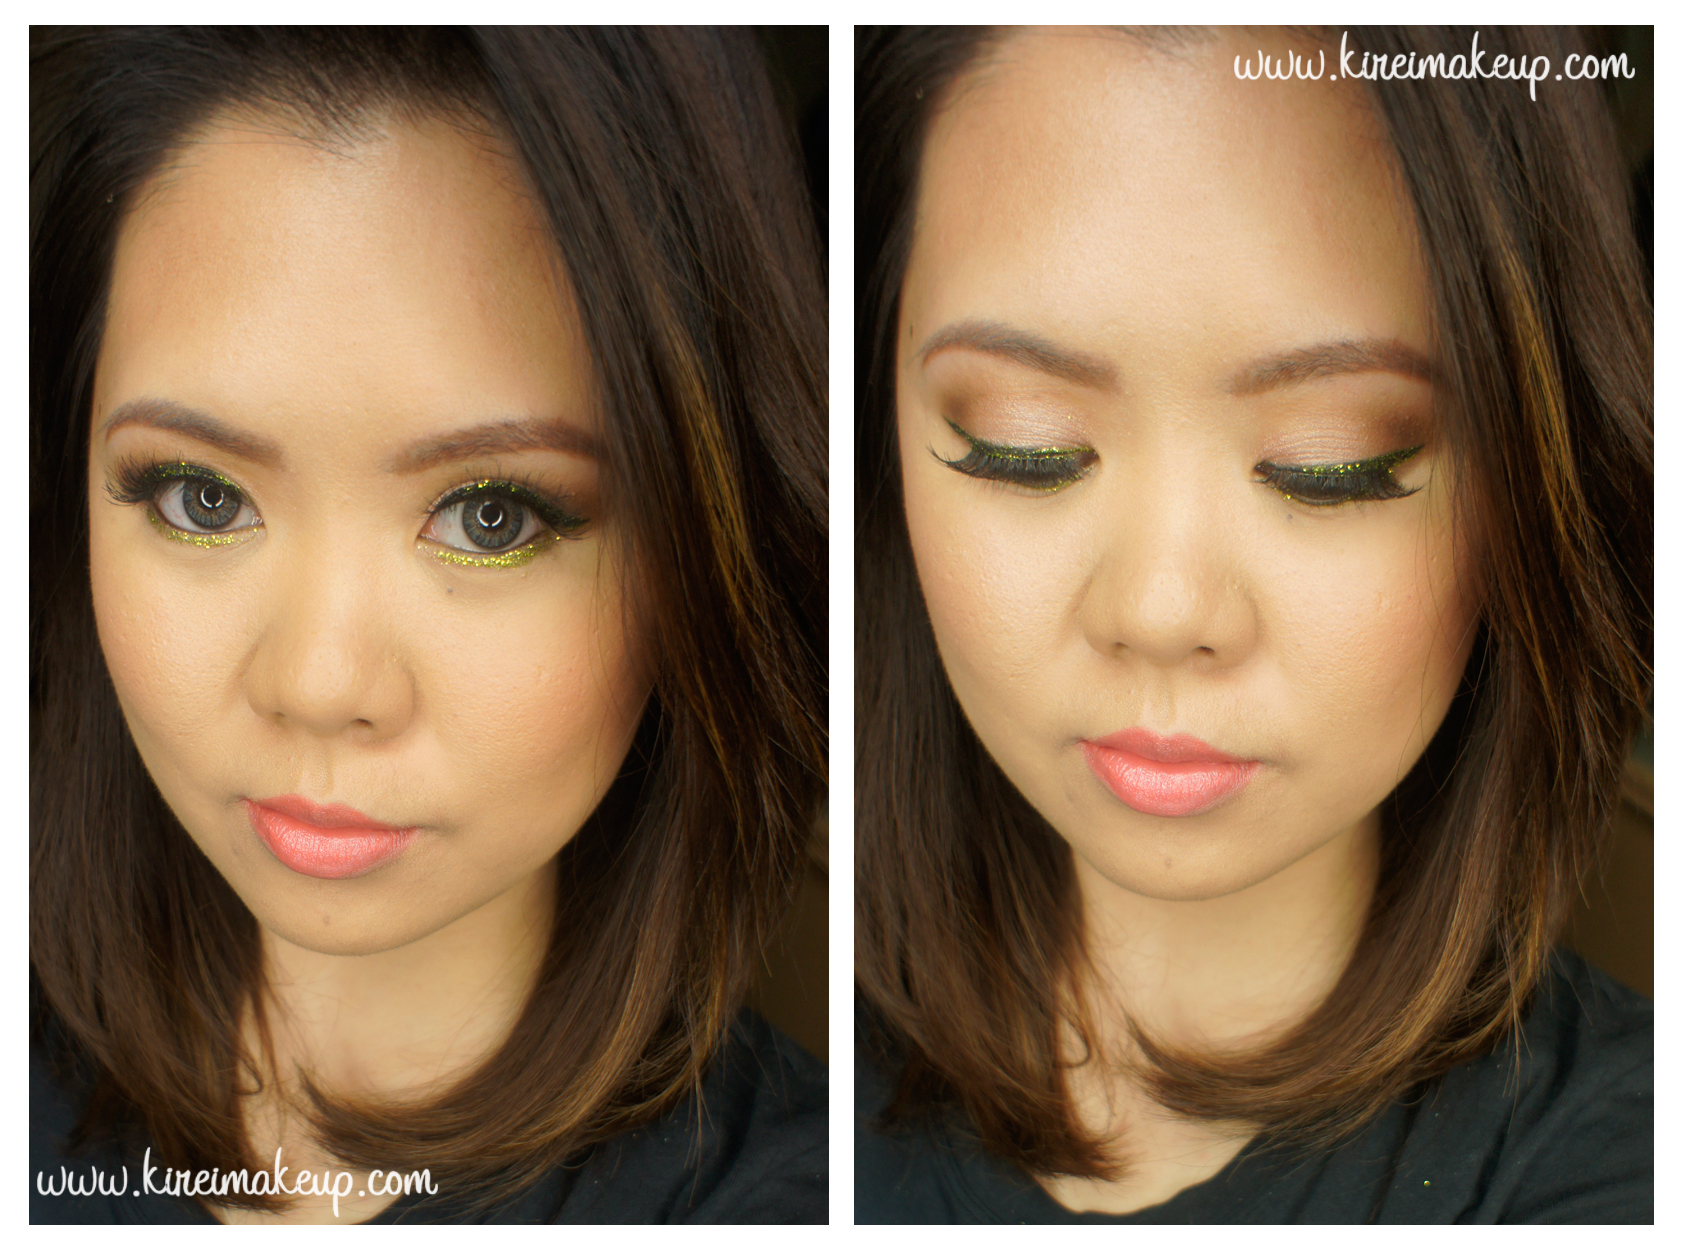
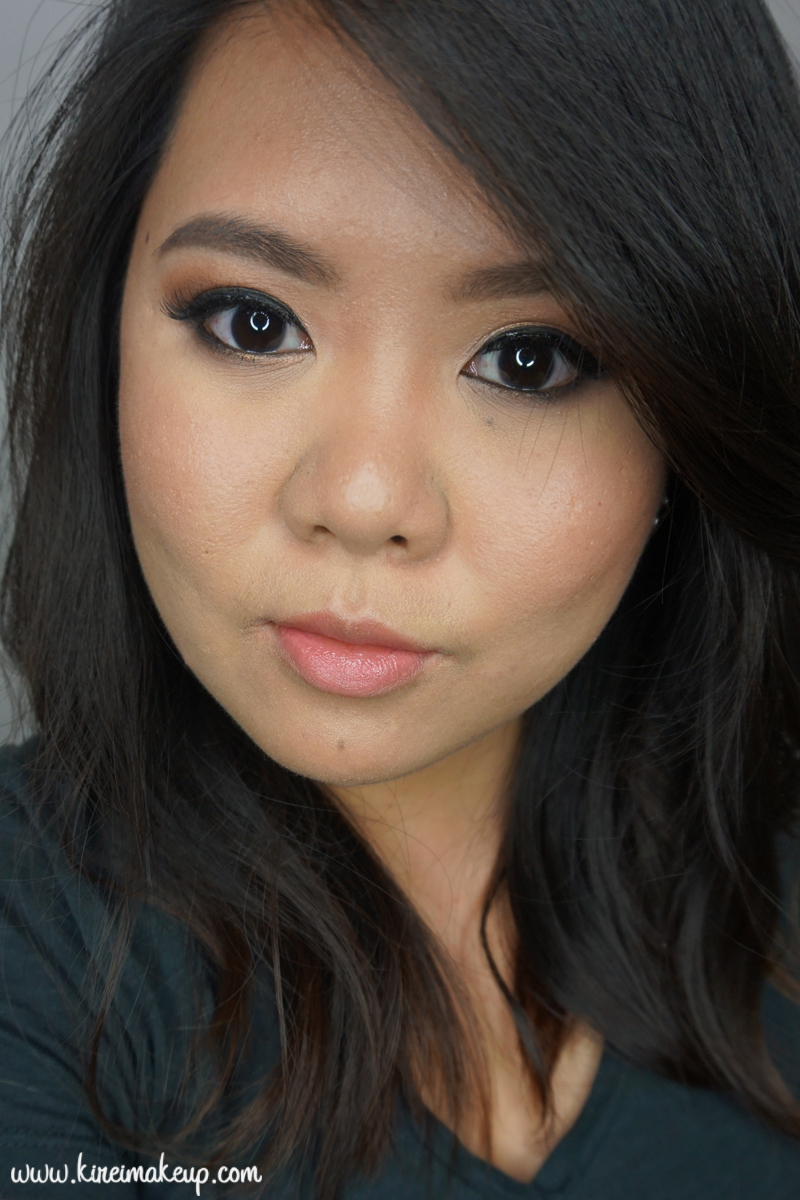
Last Saturday I had the chance to do a makeup job for a wedding party. I’ve decided to share this Asian bridal makeup look, similar to what I’ve done last Saturday on today’s post. The bride was looking absolutely gorgeous, and I’ve shared a picture of her before and after on my Instagram. Today’s tutorial is not exactly the same as what I’ve done on my client, but it still uses similar shades. On my bride, I used a lot more warmer brown and darker outer V.
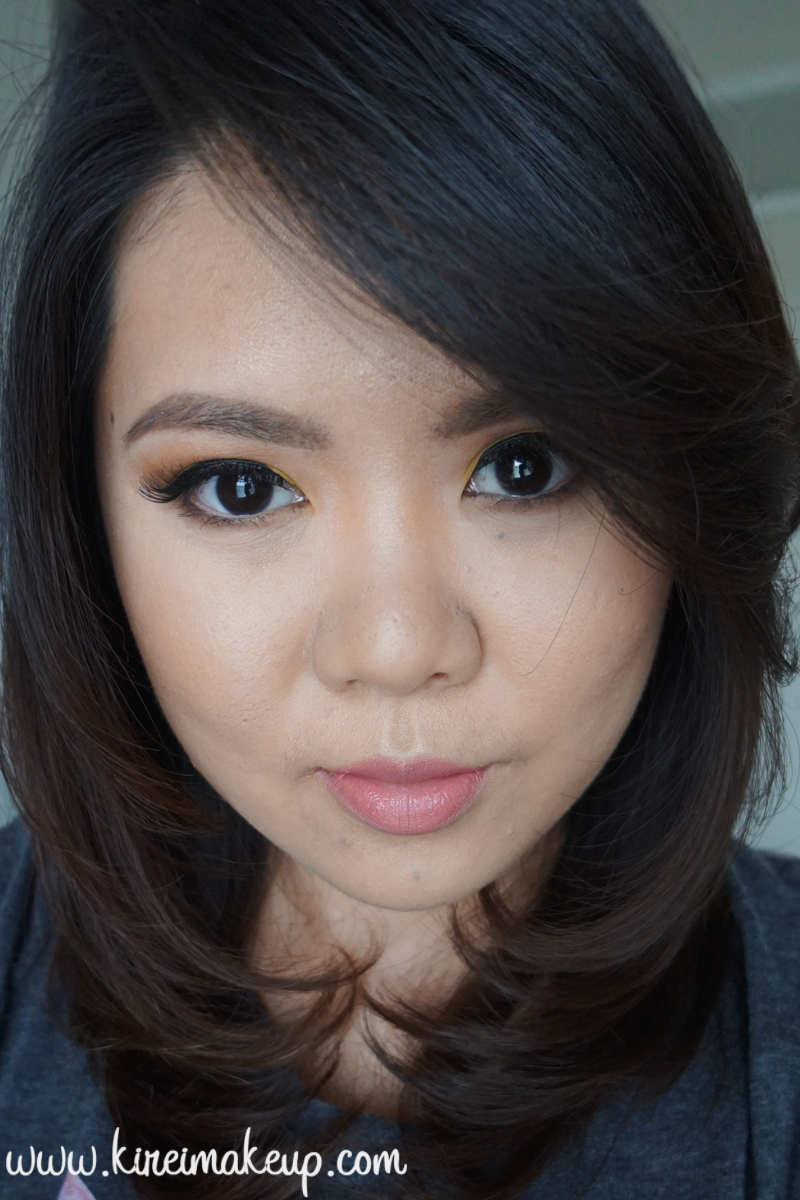
The focus is on the skin, where I want my skin to still look like skin but a better version of it. I really like the look of a dewy skin without making it look like I have a ton of makeup products on. This is very important to me because I really want my skin looks natural, and not cakey.
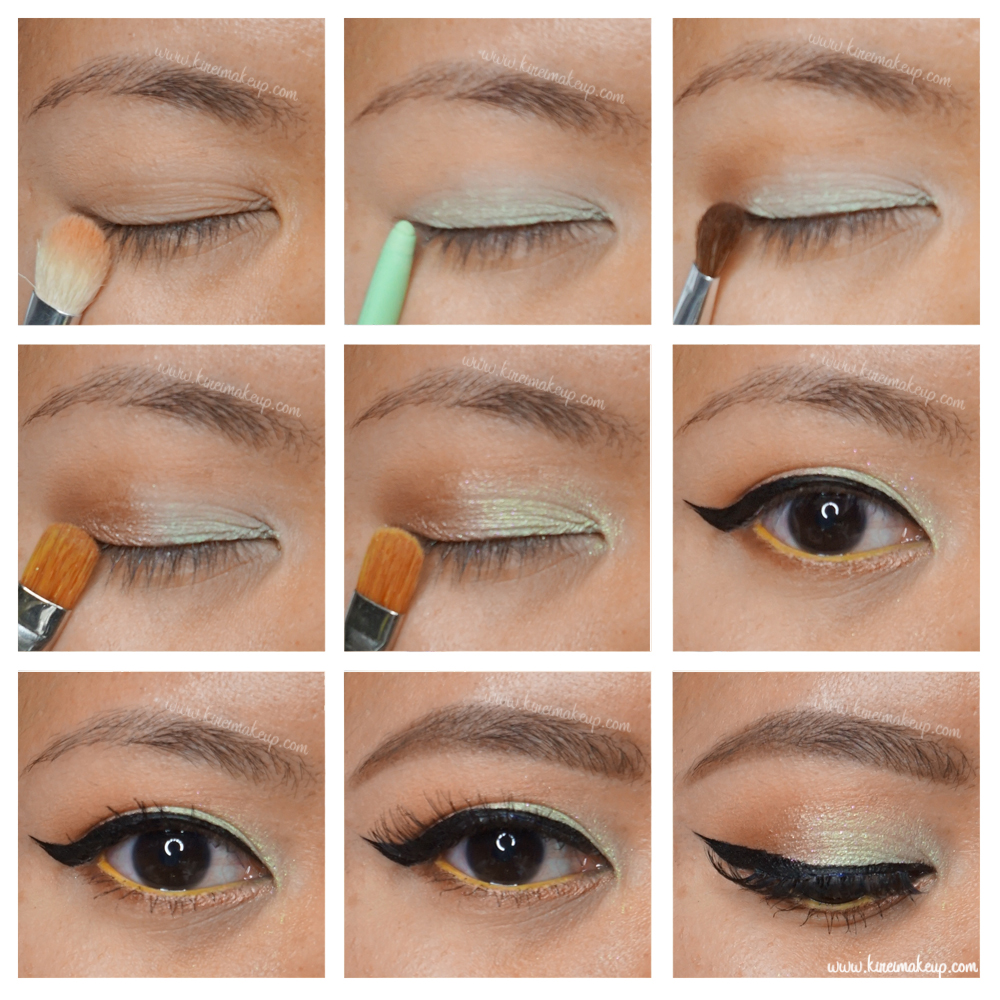
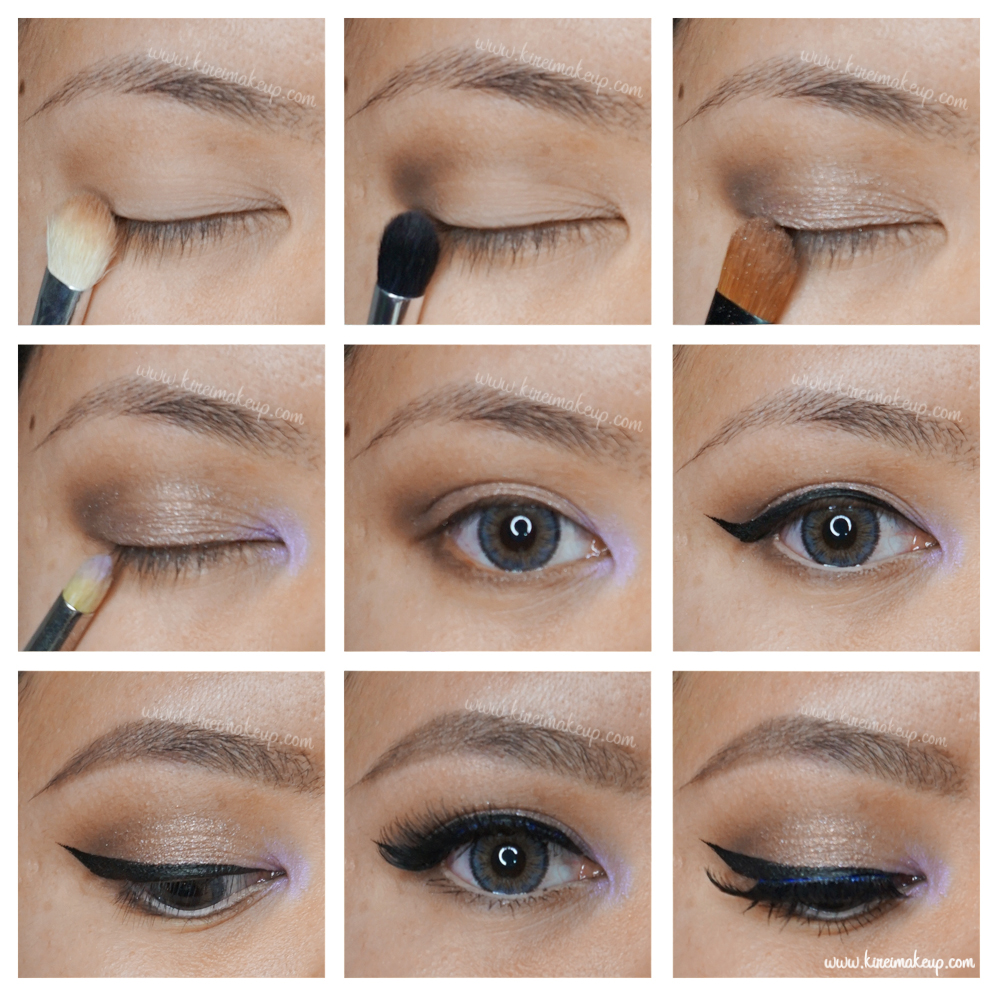
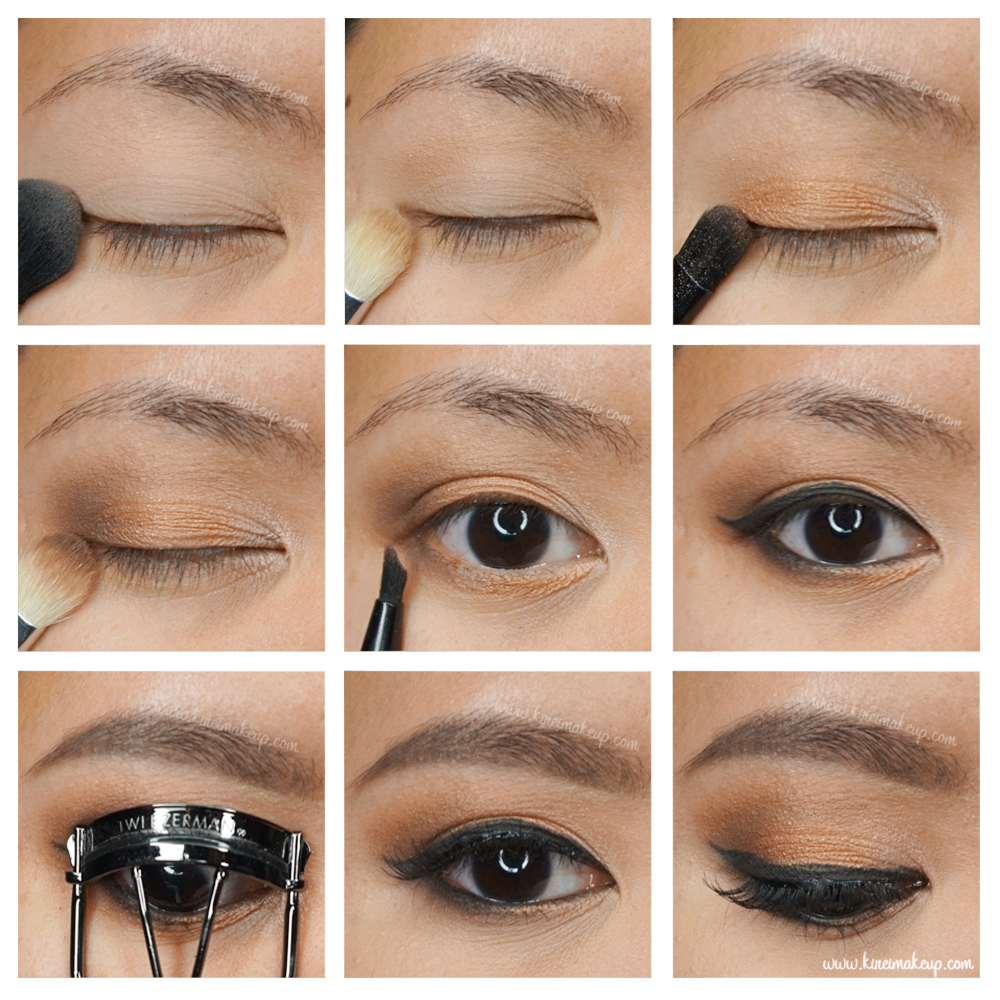
Also featured on this post are my Tweezerman brushes and eyelash curler sent to me by Preen.me as part of their PreenMeVIP program. The brushes and tools used are the blender brush, shader brush, line glider brush, and ProMaster eyelash curler. Not in picture, Tweezerman brow brush used to fill in my brows.
Products used
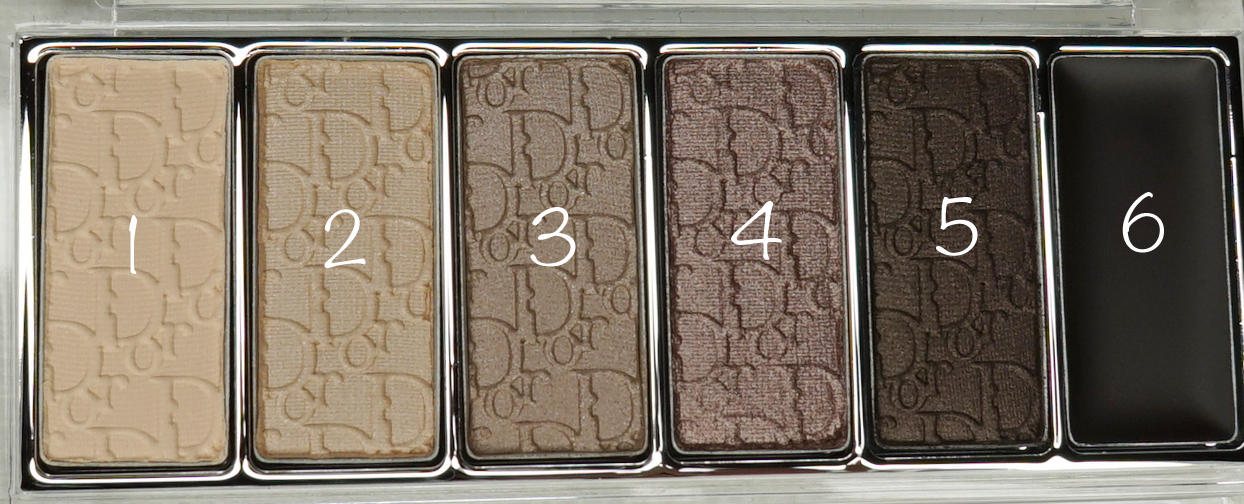
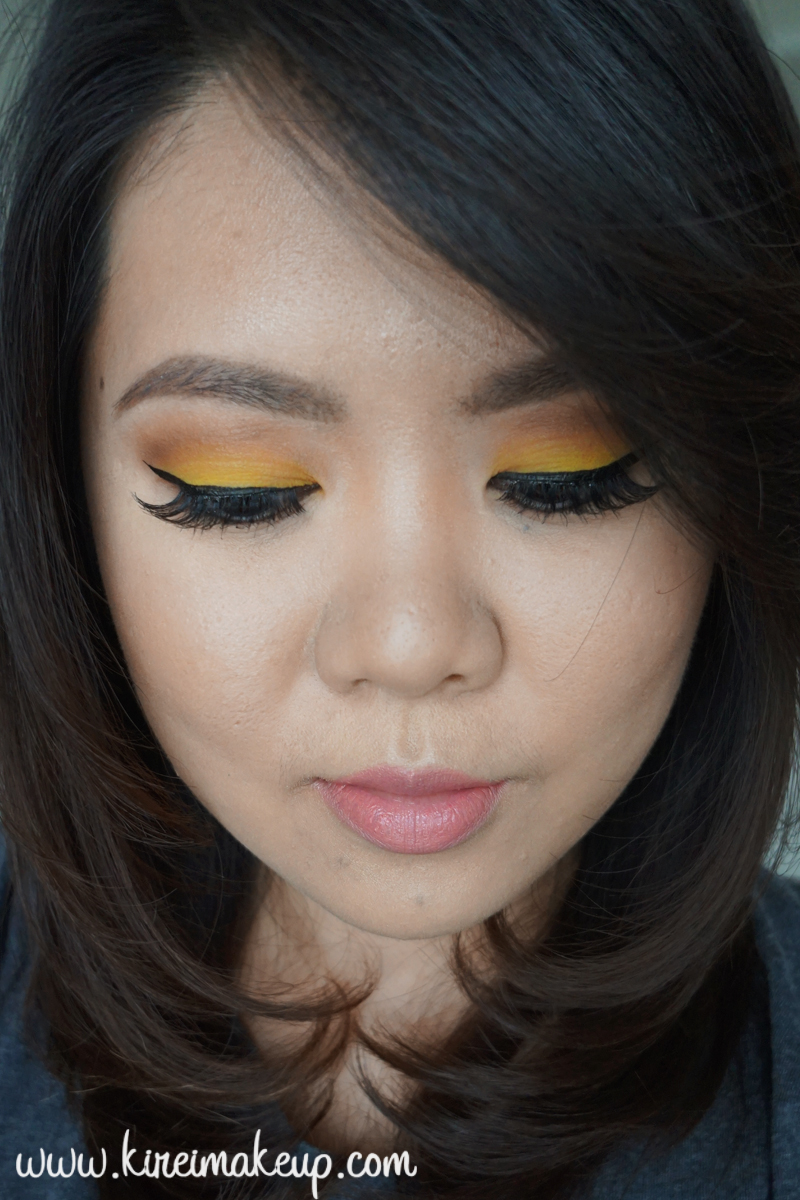
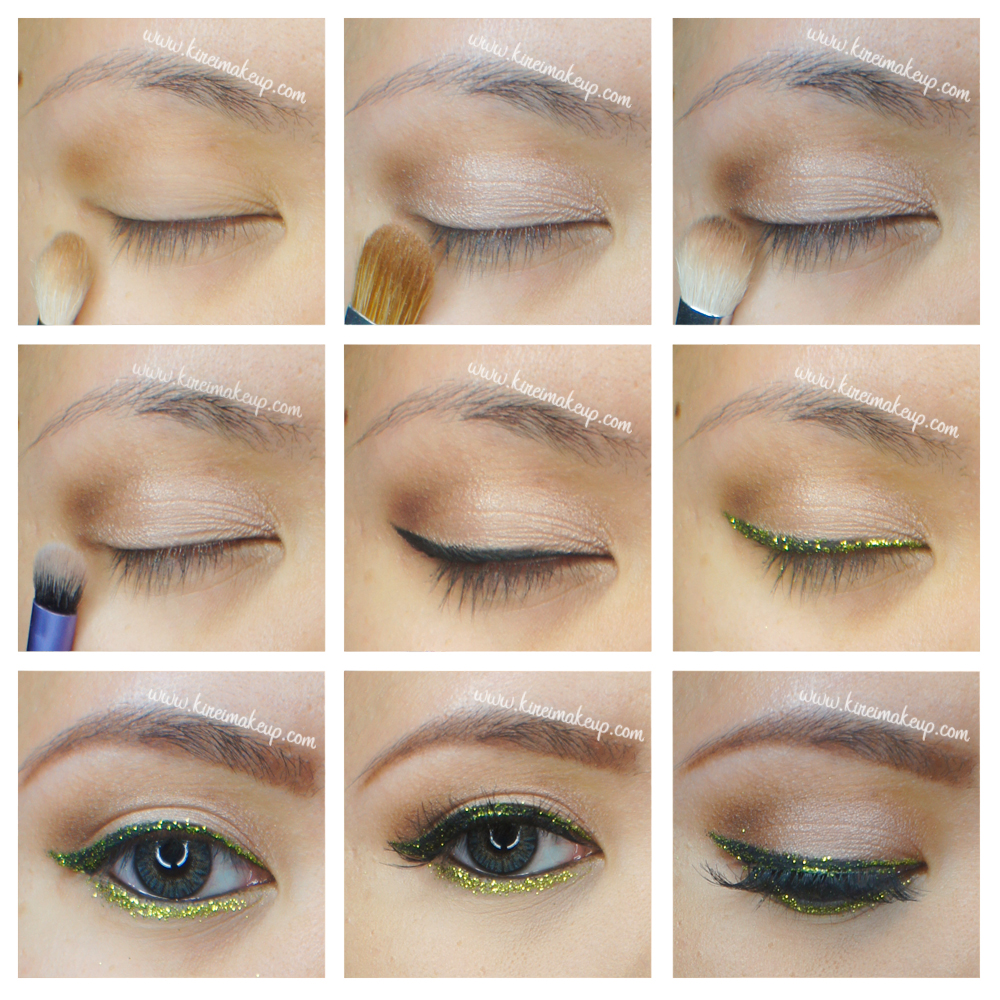
Eyes
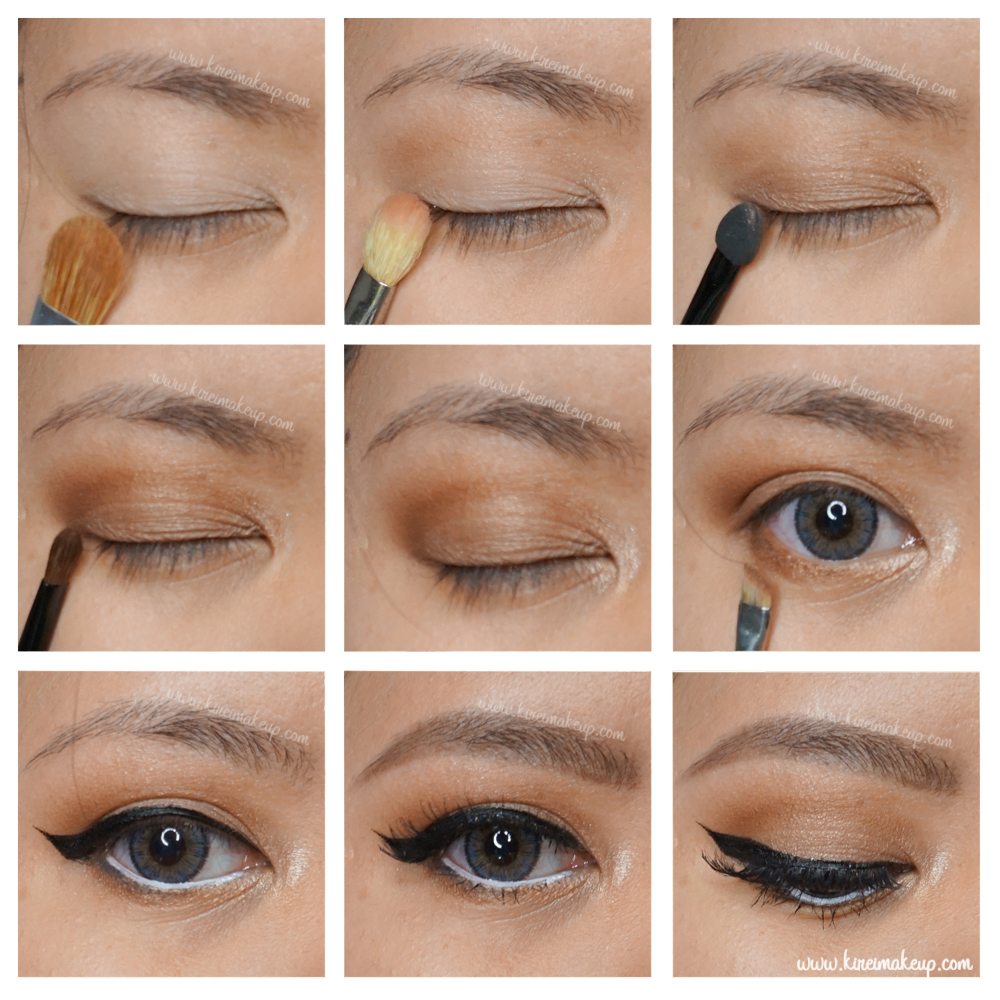
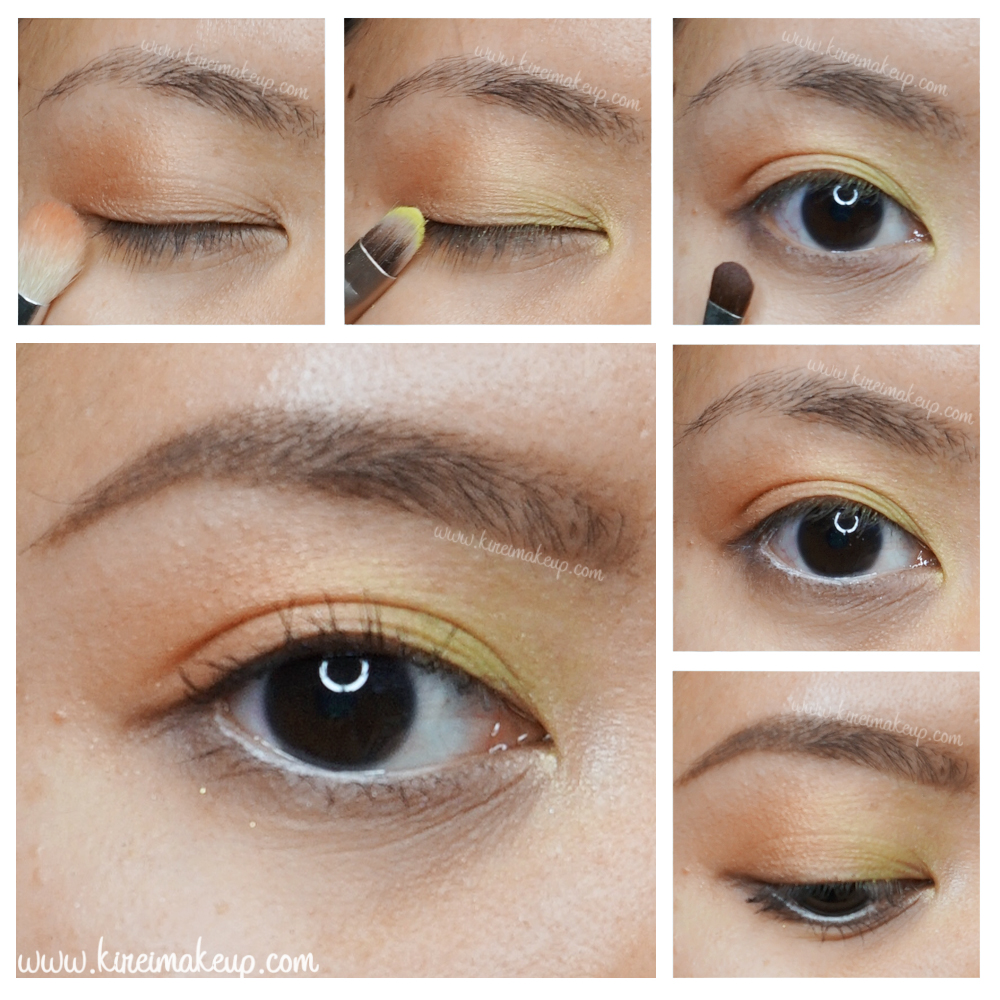
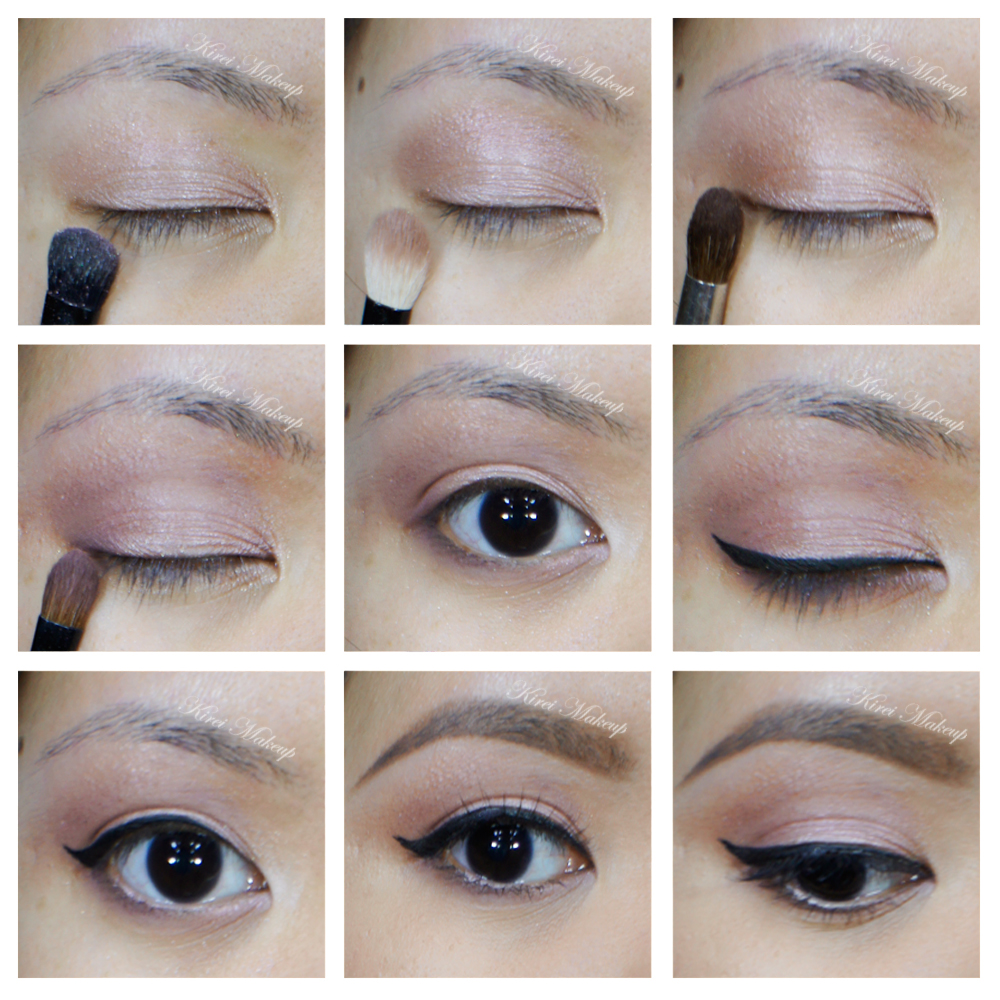
- Primer – Urban Decay Primer Potion “original”
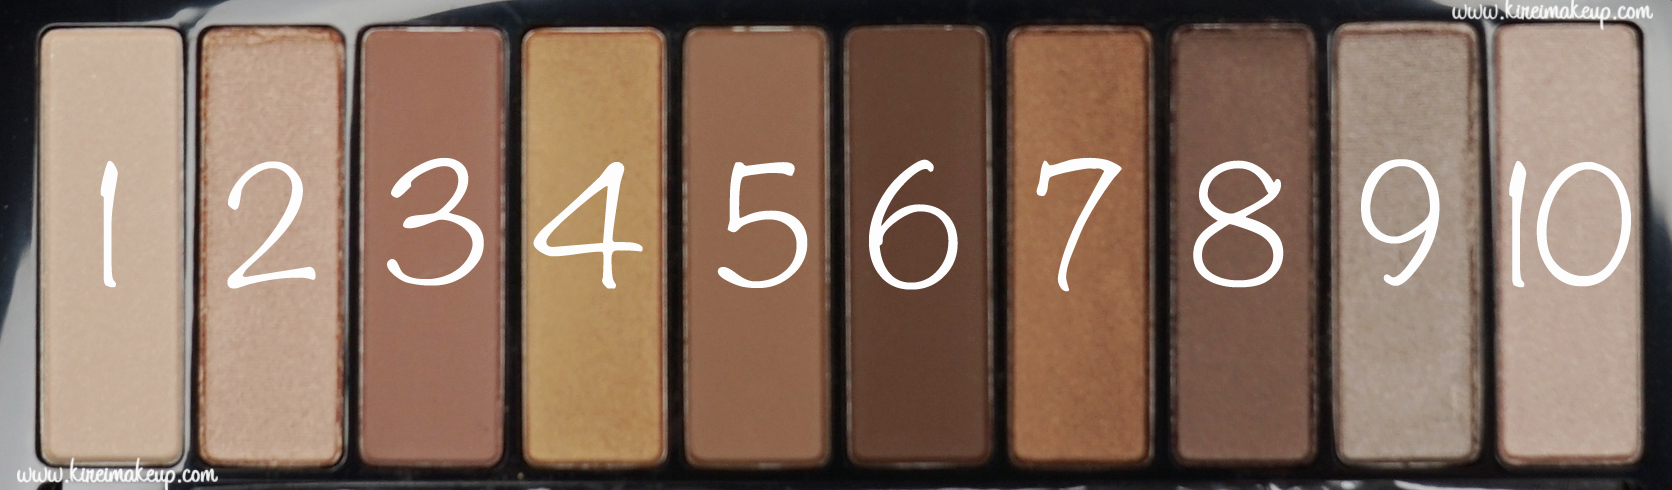
- Base – MAC “Brule”
- Crease – MAC “Cork”
- Inner corner – MAC “Naked Lunch”
- Center of lid/lower lid – MAC “Amber Lights”
- Outer V/lower lid – MAC “Sketch” mixed with “Brun”
- Lower lash line – MAC “Carbon”
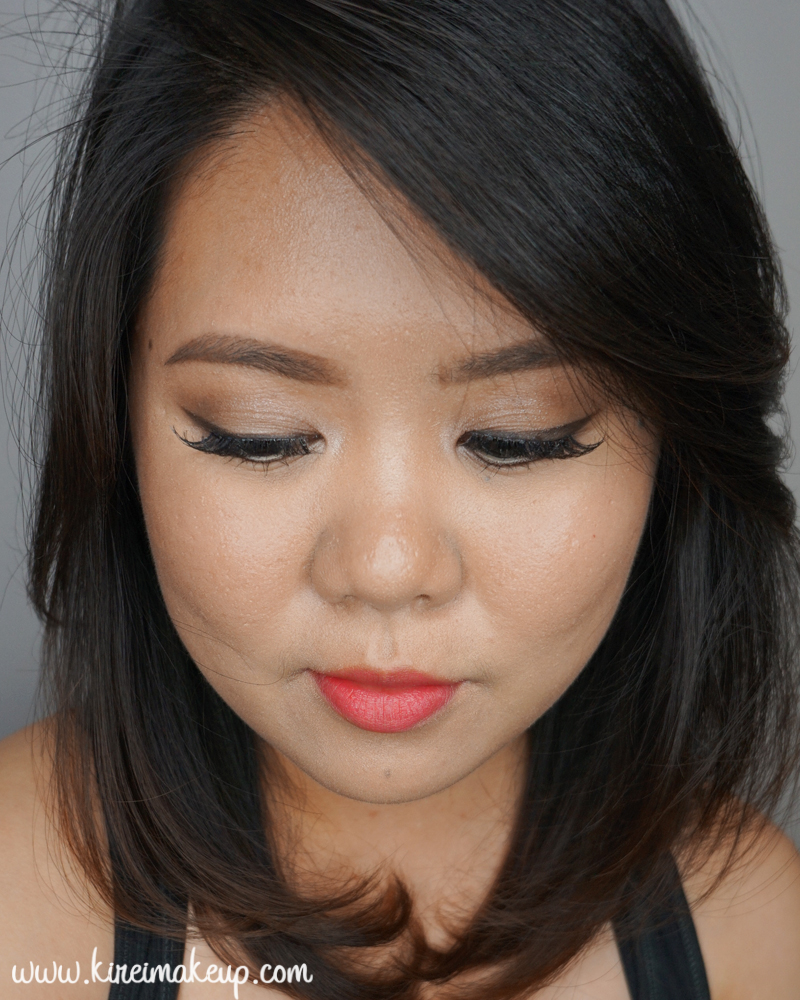
- Winged liner – Maybelline gel liner “Black”
- Waterline – MAC “Smolder” kohl pencil
- Brows – ABH Brow Pomade “Taupe” + “Medium Brown”
- Falsies – Ardell “Demi Wispies”
Face
- Foundation – CoverFX Cream foundation “G40” (applied using a damped sponge)
- Concealer – MAC “studio fix concealer NC30”
- Setting Powder – Cover FX translucent powder
Cheeks
- Contour – Becca “Lowlight Sculpting Perfector”
- Blush – Smashbox Halo Blush powder “In Passion”
- Highlighter – The Balm “Mary-Lou Manizer”
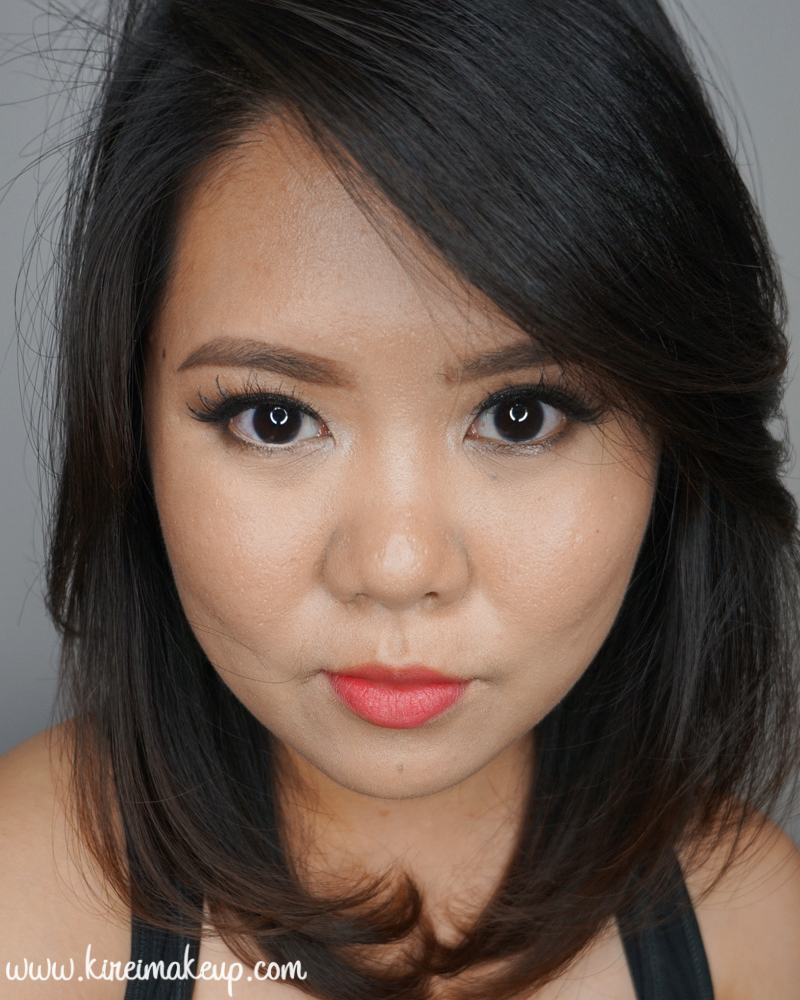
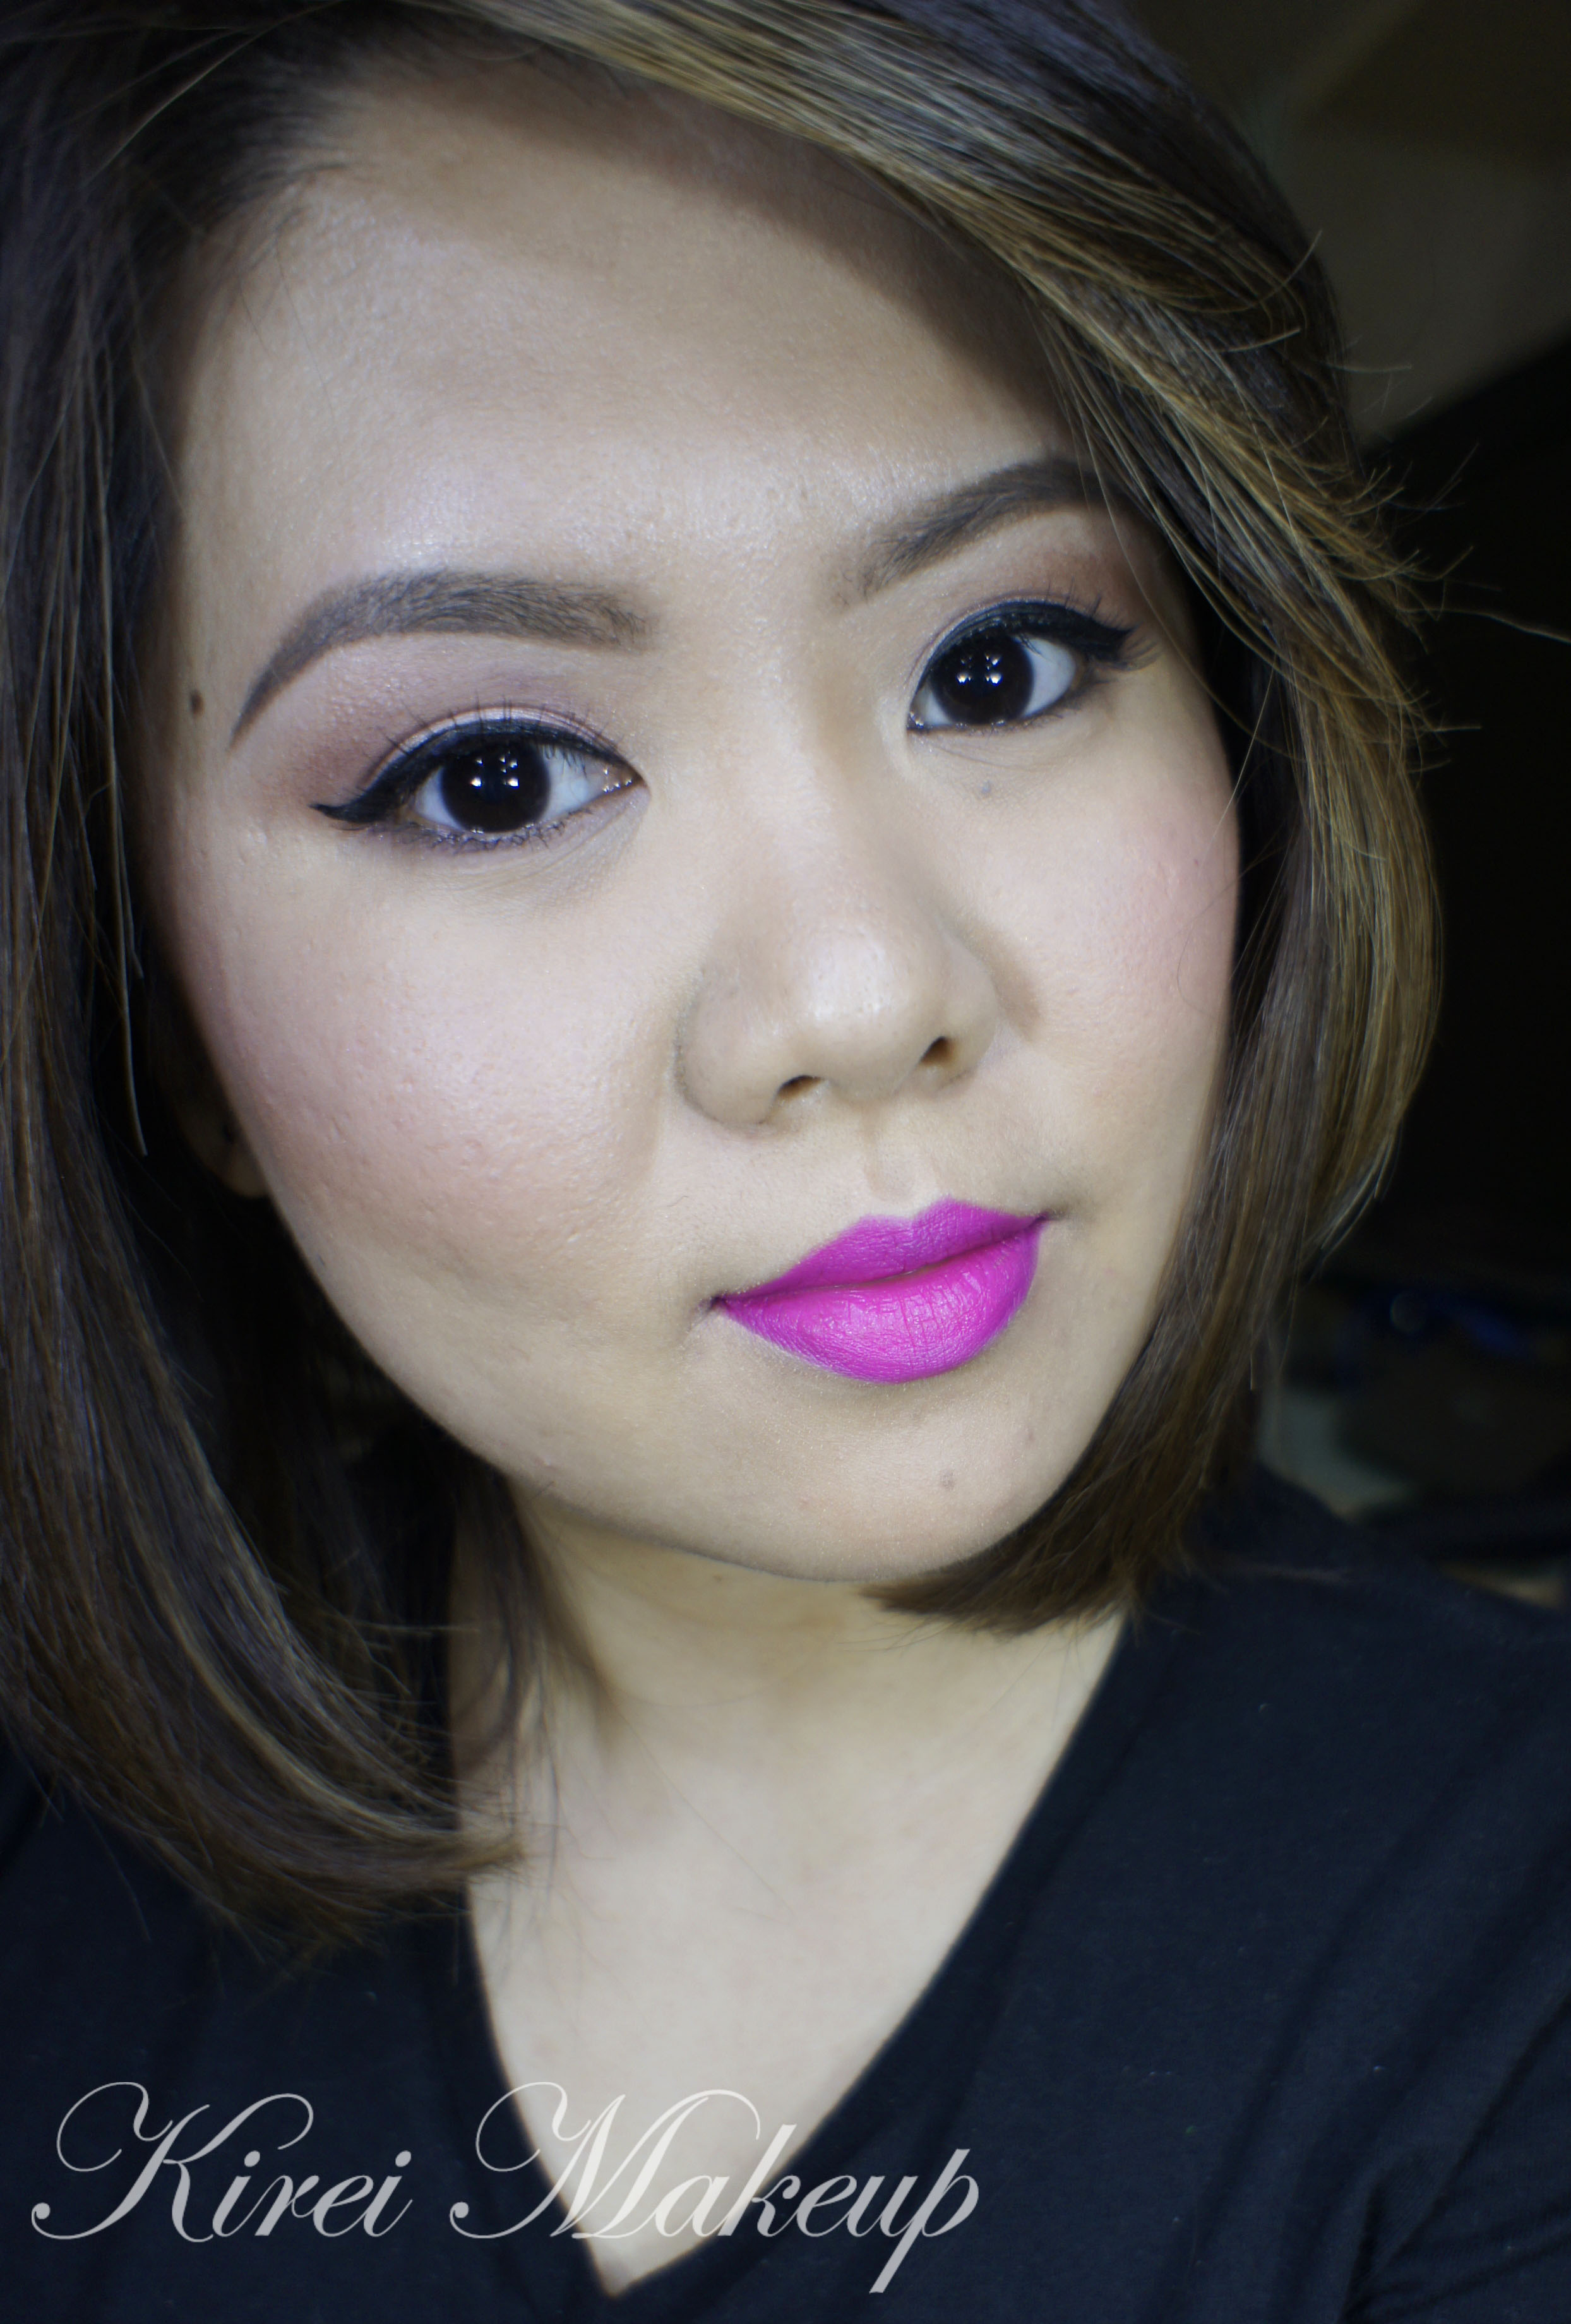
Lips
- Lip pencil – MUFE Aqua Lip pencil “Vibrant Pink (15c)”
- Lip color – Sephora Oil Infusion Color & Care “Pink Granita”