As mentioned on my IG Stories, today I’ll be sharing with you guys this gorgeous Glitter Red Lips using Pat McGrath Lust 004 Bloodwine Lip Kit. I actually bought this Bloodwine kit from her website, but as it turns out Sephora also carries them now! So, I also went ahead and bought the Everything kit, and now I have 2 Bloodwine kits. Anyways, watch the video below for the tutorial and a quick review on this lip kit. Read more below for more pictures and info regarding the Pat McGrath Lust 004.
Category: Runway inspired Look
How-to Apply [Red] Lipstick
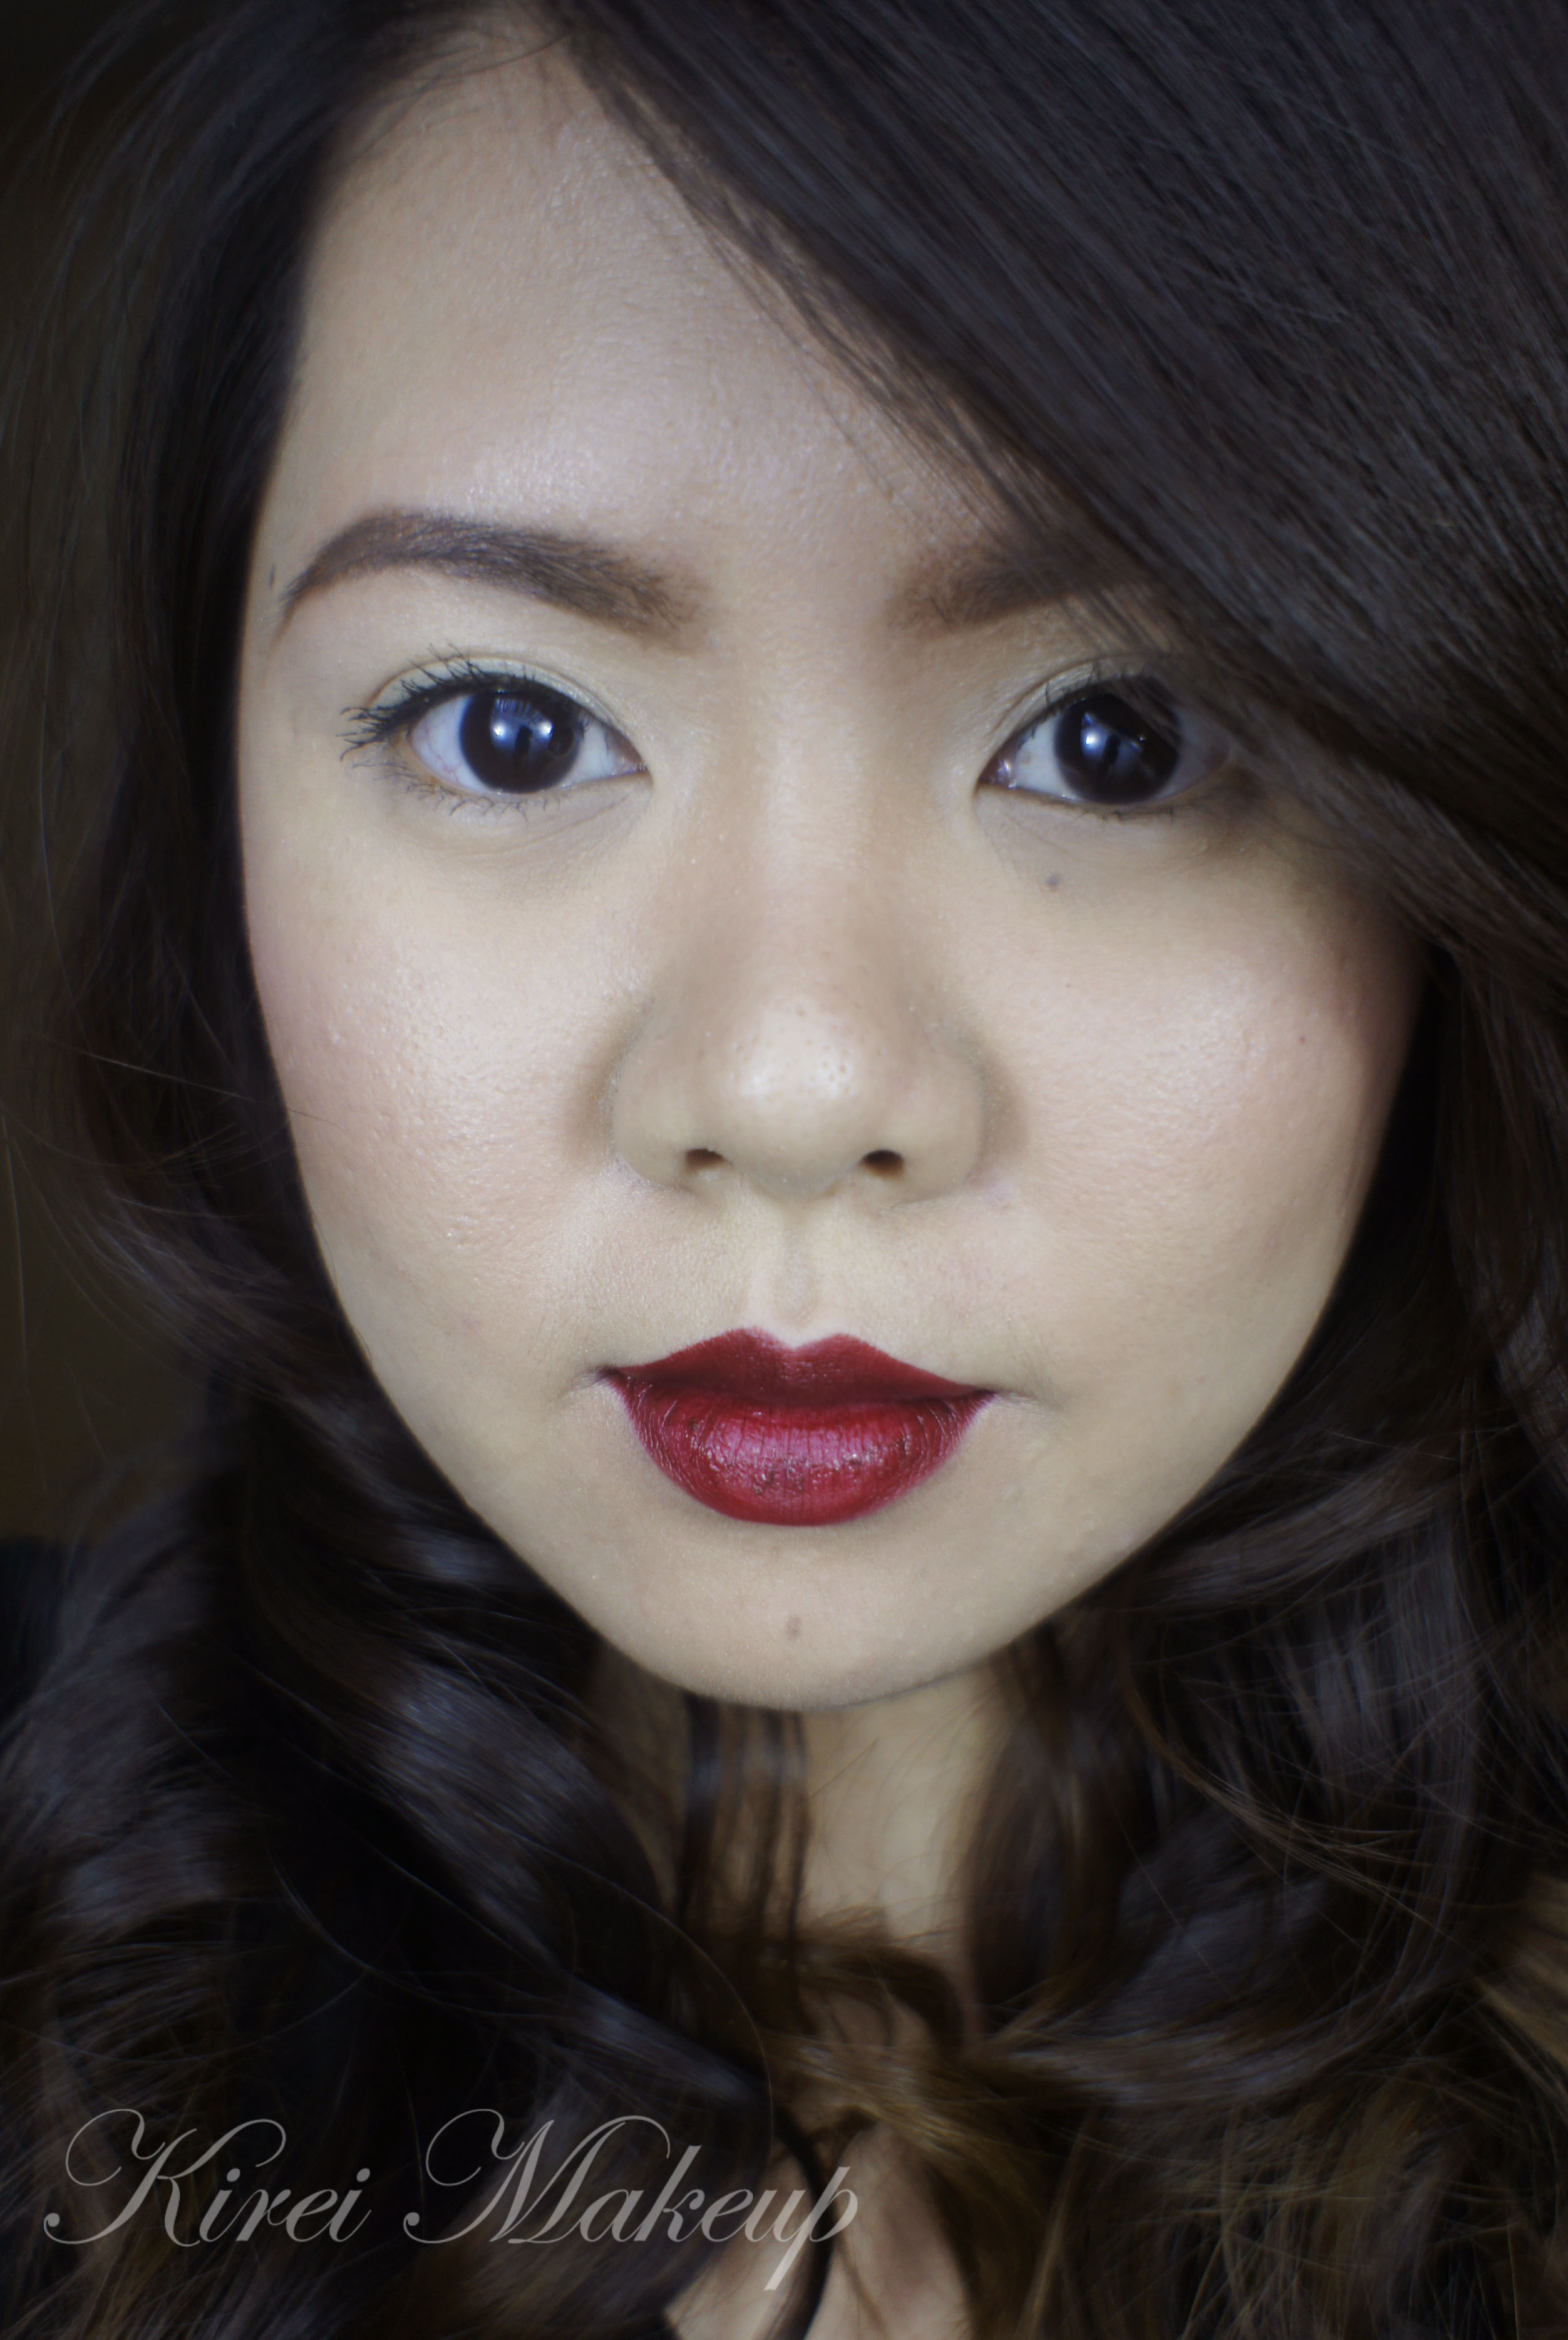
I was wearing this look to the MUFE Pro Finish workshop event last week, and received quite a lot of compliments as well as questions regarding my lip color and how I do it. I used Revlon Black Cherry lipstick with a red lip liner to create this look. The reason as to why I mismatched my lip-liner to my lipstick is because I didn’t want to go too dark with the lips, and I wanted to bring out the deep red from the lipstick.
If you noticed from my MUFE Pro Finish pictures, my lips are darker than in this tutorial. That’s because, I actually wore this to the event and was asked to remove my makeup. So, I used MUFE Aqua Lip Liner 11C and Revlon Black Cherry for the pictures in the MUFE Pro Finish workshop.
You can see a picture of me wearing this look on my Tweet to RevlonID when I was on my way to the event. I definitely will wear this look again. I think it’s also perfect for Fall, since it’s not too bright and at the same time not too dark.
Obviously you can use this technique to do your lips using red, or pink, orange, or purple. Whatever color you want, it’s the same basic principle. 🙂

How-to:
1. I scrubbed my lips with homemade brown sugar lip scrub.
2. I applied L’occitane olive oil lip balm to moisturize my lips.
3. After doing my face, I applied a tiny bit of concealer (you can use foundation), to my lips.
4. Using Complections Classic Red lip liner, I marked my cupid’s bow and the outer corner of my upper lips. You can substitute this pencil to whichever you want.
5. I connected the line from the outer corner of my upper lips towards the cupid’s bow.
6. I did the same for the bottom lips.
7. I filled in the rest of the lips using the same lip pencil.
8. Using a square lip brush (or you can use any lip brush of your choice), I applied Revlon Black Cherry starting from the middle of the lip, going towards the outer part. As I reached the outer lip line, I tried to apply the lipstick as neatly as possible. Having a straight edge from the brush helps in achieving a straight line.
9. Once done, take 1 sheet of kleenex (or tissue, whatever you call it). Usually these tissue comes in 2-ply, so try to remove 1 ply and put it over your lips gently.
10. I applied Cinema Secret transparent loose powder over the tissue using a blush brush.
11. Remove your tissue, and re-apply lipstick. Then, repeat step 9 and 10 again.
12. You can repeat step 8-10 until you achieve the desired intensity. I only reapplied once for the picture below.
13. For the rest of the face, I pretty much kept it to the bare minimum. I applied Clinique CC cream all over my face using my fingers.
14. Under the eyes, I applied MUFE HD concealer.
15. On the eyes, I applied MAC Soft Ochre paint pot all the way up to the brow bone.
16. I curled my lashes. I applied 1 coat of L’oreal Double Curl Extension mascara, and 2 coats of Maybelline Express Volume Turbo Boost to my upper lashes. I applied a little bit of L’oreal Double Curl extension to the lower lashes.
17. I filled my brows using Shu Uemura brow pencil and set it with Anastasia Duo Brow Powder in Brunette.
18. I contoured my face using MAC Shadowy.
19. I applied NARS Mata Hari blush.
Since I want the lips to be the focus of attention, I kept my eyes very minimal. I also created strong brows so my eyes are still framed. In this case, I applied my cheek color after lipstick application to ensure I don’t look washed out.
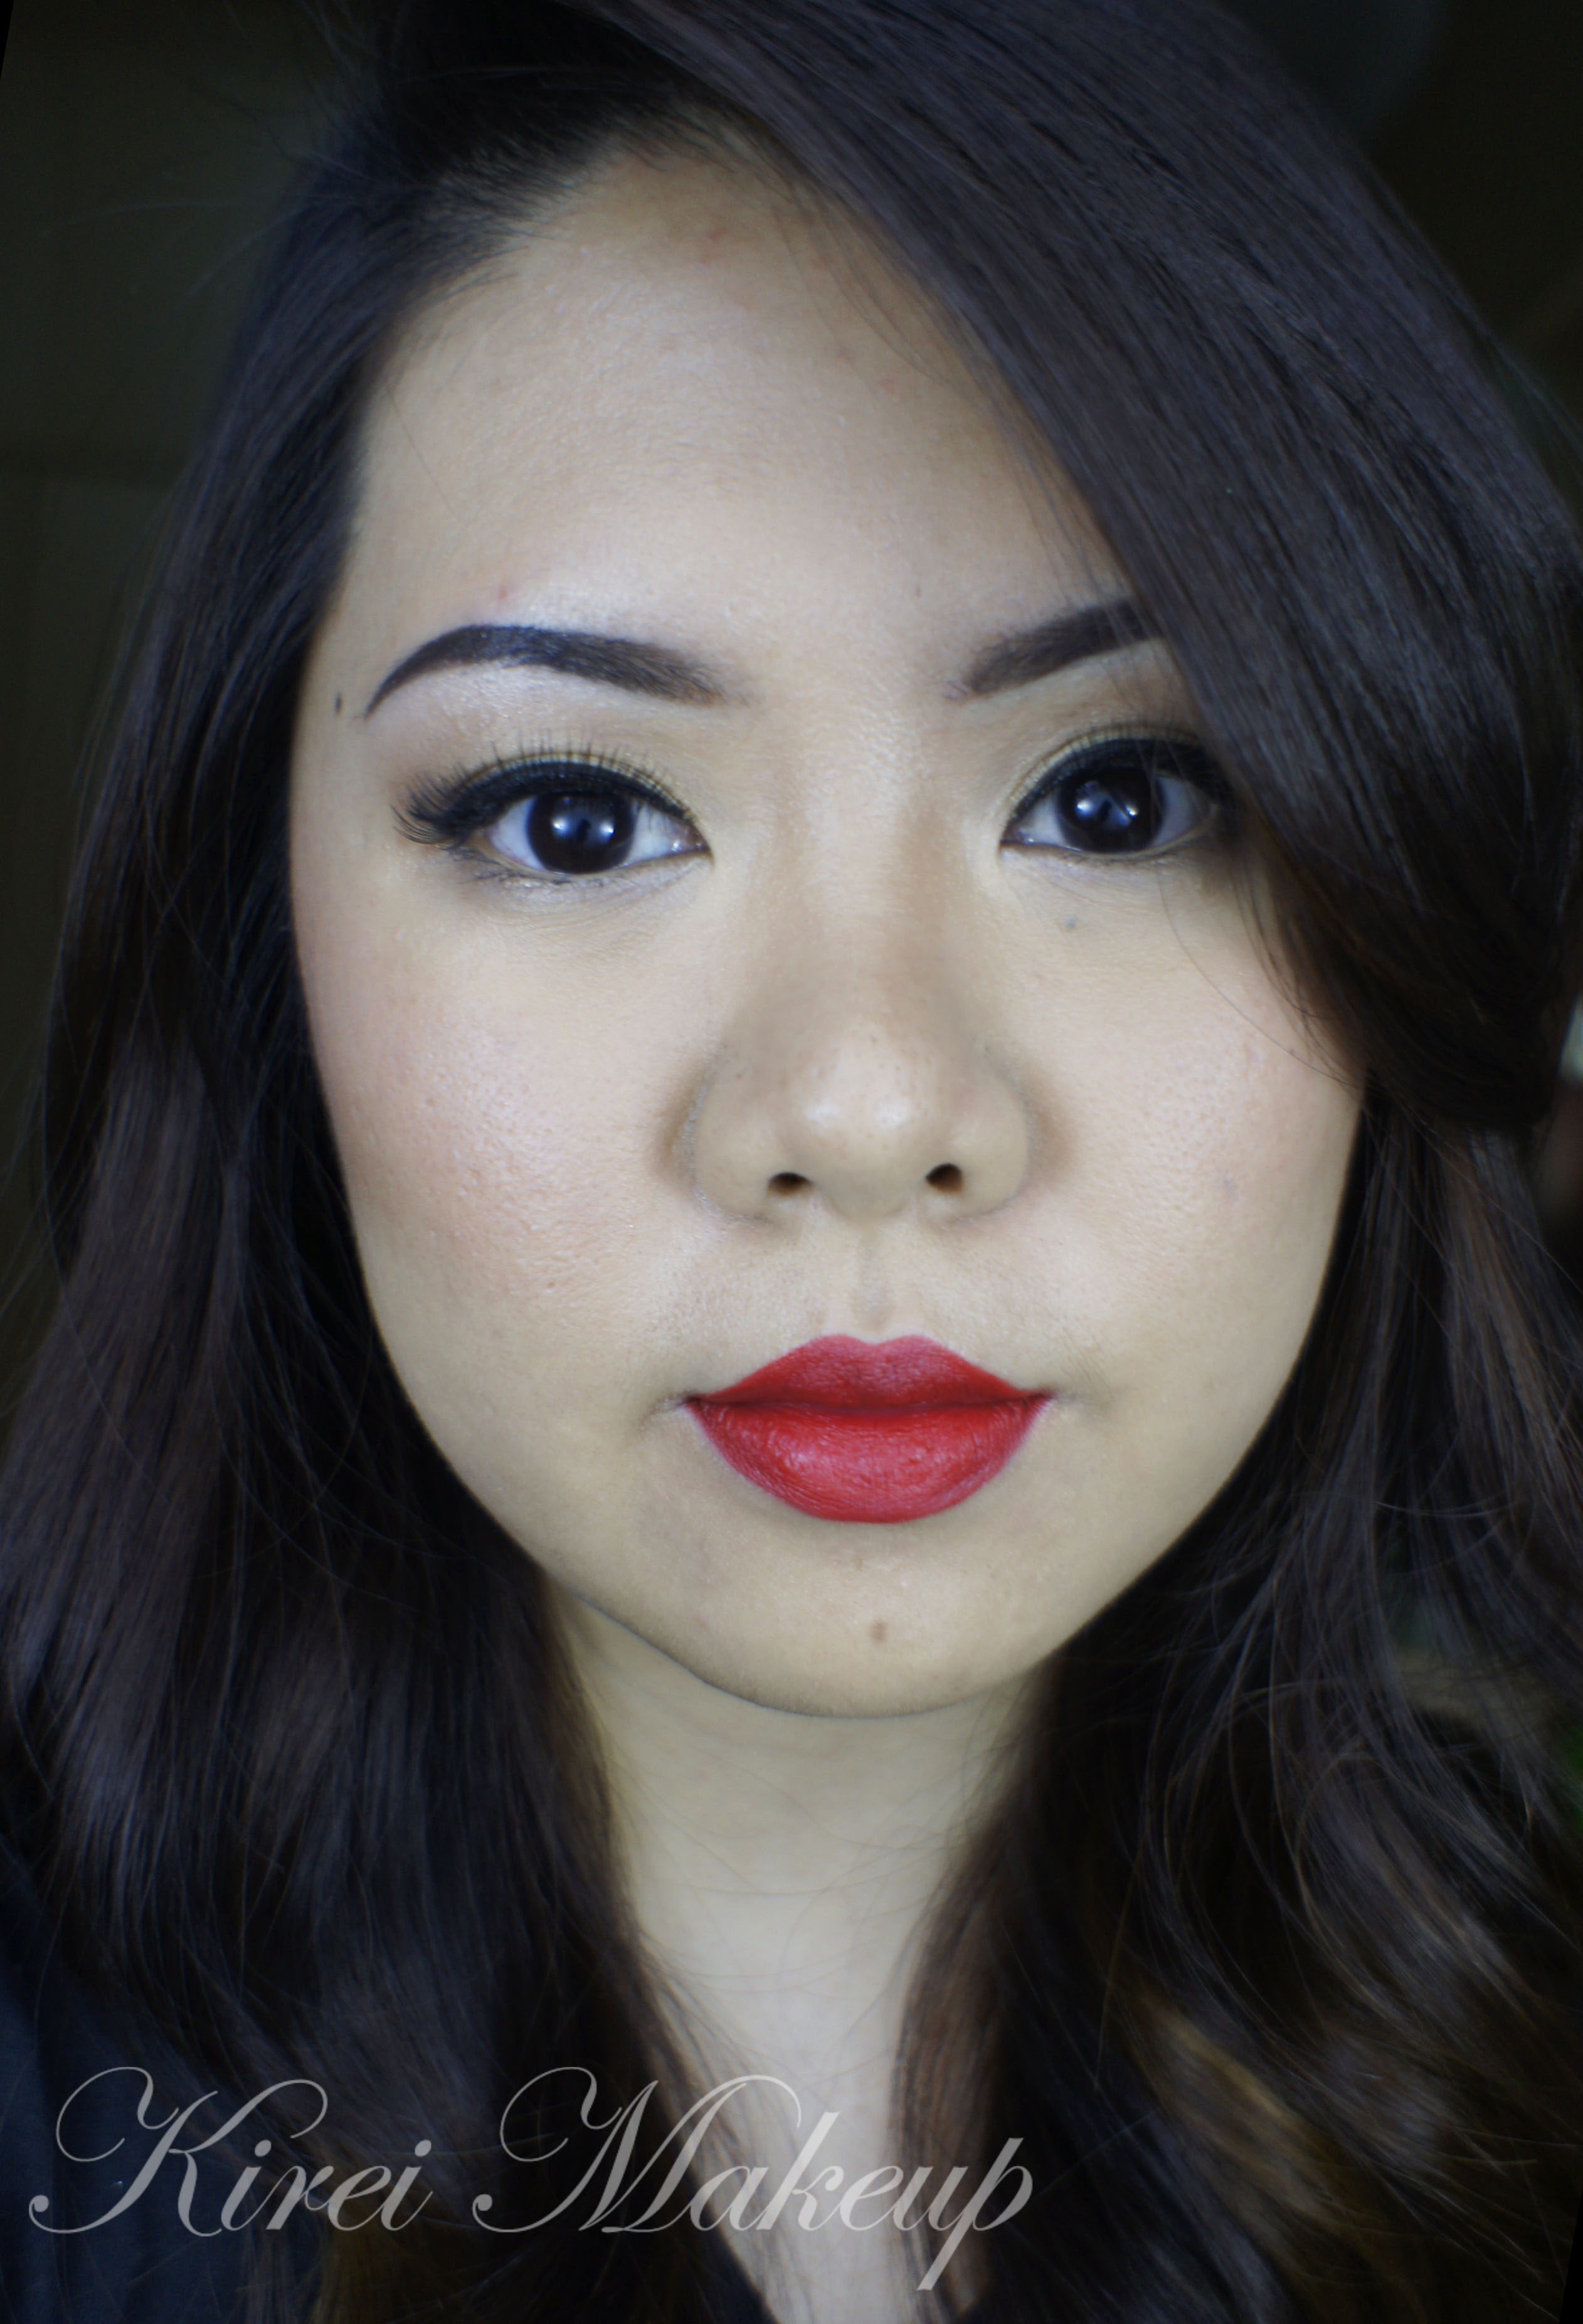
MAC Russian Red
As you all know from my Twitter, I’ve been looking forward to use my M.A.C Russian Red lipstick again. I know, I know, it seems like this week is a MAC week. Well, can’t be helped, I’m trying to fall in love with MAC again! Afterall, MAC was one of the reasons why I went into makeup in the first place.
So, talking about MAC Russian Red, this is the best true-red lipstick. If you want a cooler red, you can try MAC Ruby Woo instead. I also love how this lipstick has a matte finish to it. I’m not a big fan of shiny or glossy lips, so I love how even though this lipstick has a matte finish, it is not drying. It also helps if you prep your lips before application to ensure your lips aren’t chapped.
I purchased this Chanel quads in Intuition in February and didn’t have the chance to play with it, so I had to use it for this look. I love how soft and pretty the eyes look. If you are looking for a neutral, day makeup, do try the eye-look and you can skip the red lipstick.
I’ve done a similar look in Battle of the Classics.
How-to:
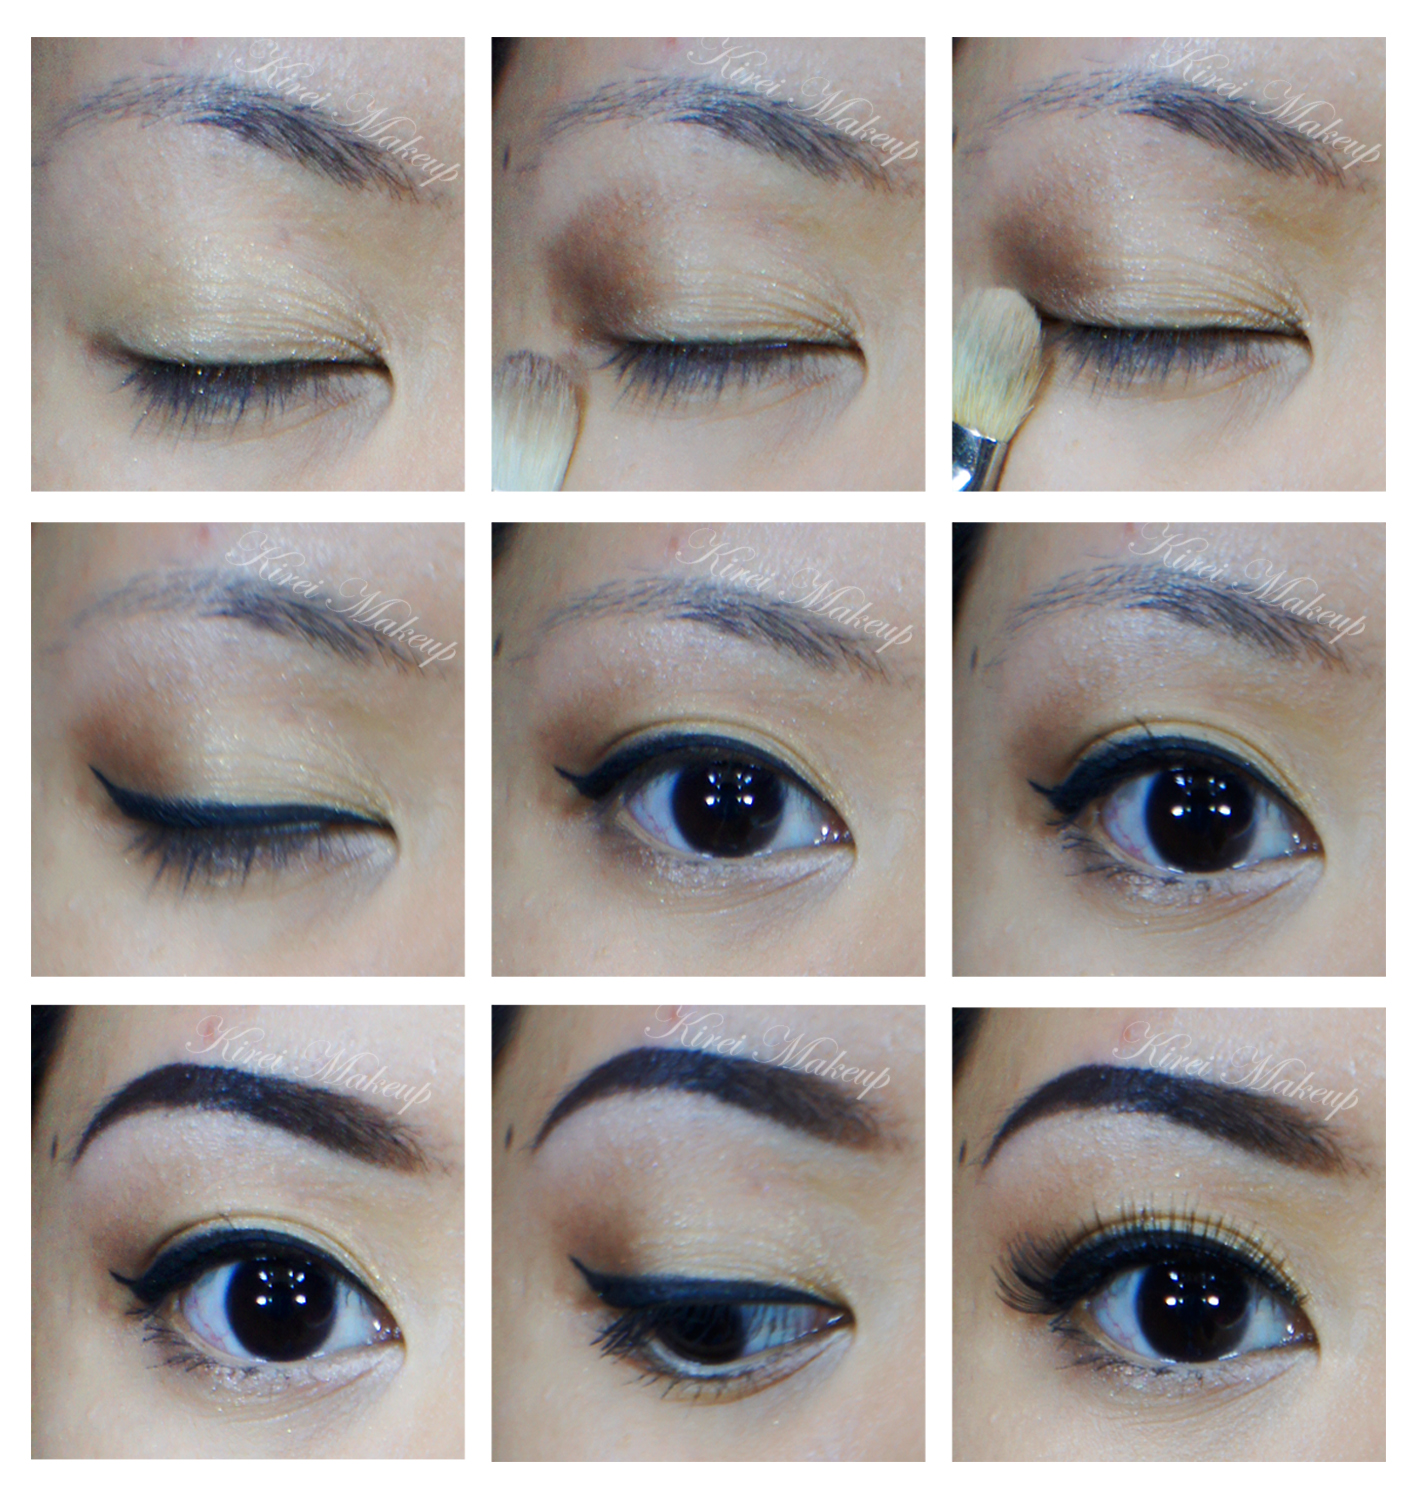
1. Using a flat eyeshadow brush, I applied the gold eyeshadow from the Chanel Intuition quad.
2. Using a fluffy blending brush, I applied the deep brown shade from the same quad on my outer V and on the crease. I used whatever was left on the brush and swept it along the lower lash line.
3. I blended out the crease using a clean fluffy brush.
4. Using an angled eyeliner brush, I created a winged liner along the upper lashline.
5. I applied MAC Chromagraphic liner in NC30 on my tightline.
6. Using a small flat shader brush, I applied the pink highlighter shade from Chanel Intuition quad on the inner corner of the lower lid and under the brow.
7. I curled my lashes and applied Maybelline Volume Express mascara on both upper and lower lashes.
8. I filled my brows in using MUFE Aqua Brow Gel.
9. For extra drama, I applied Quo false eyelashes.
10. For the face, I applied MUFE HD Foundation using a foundation brush.
11. Using whatever was left on the brush, I swept it across my lips.
12. I lined and filled my lips using MAC Redd lip pencil.
13. Using a lip brush, I applied MAC Russian Red on my lips.
14. I powdered my face using a loose translucent powder.
15. I contoured my face using MAC Shadowy and applied MAC Fleur Power on the cheeks as blush.
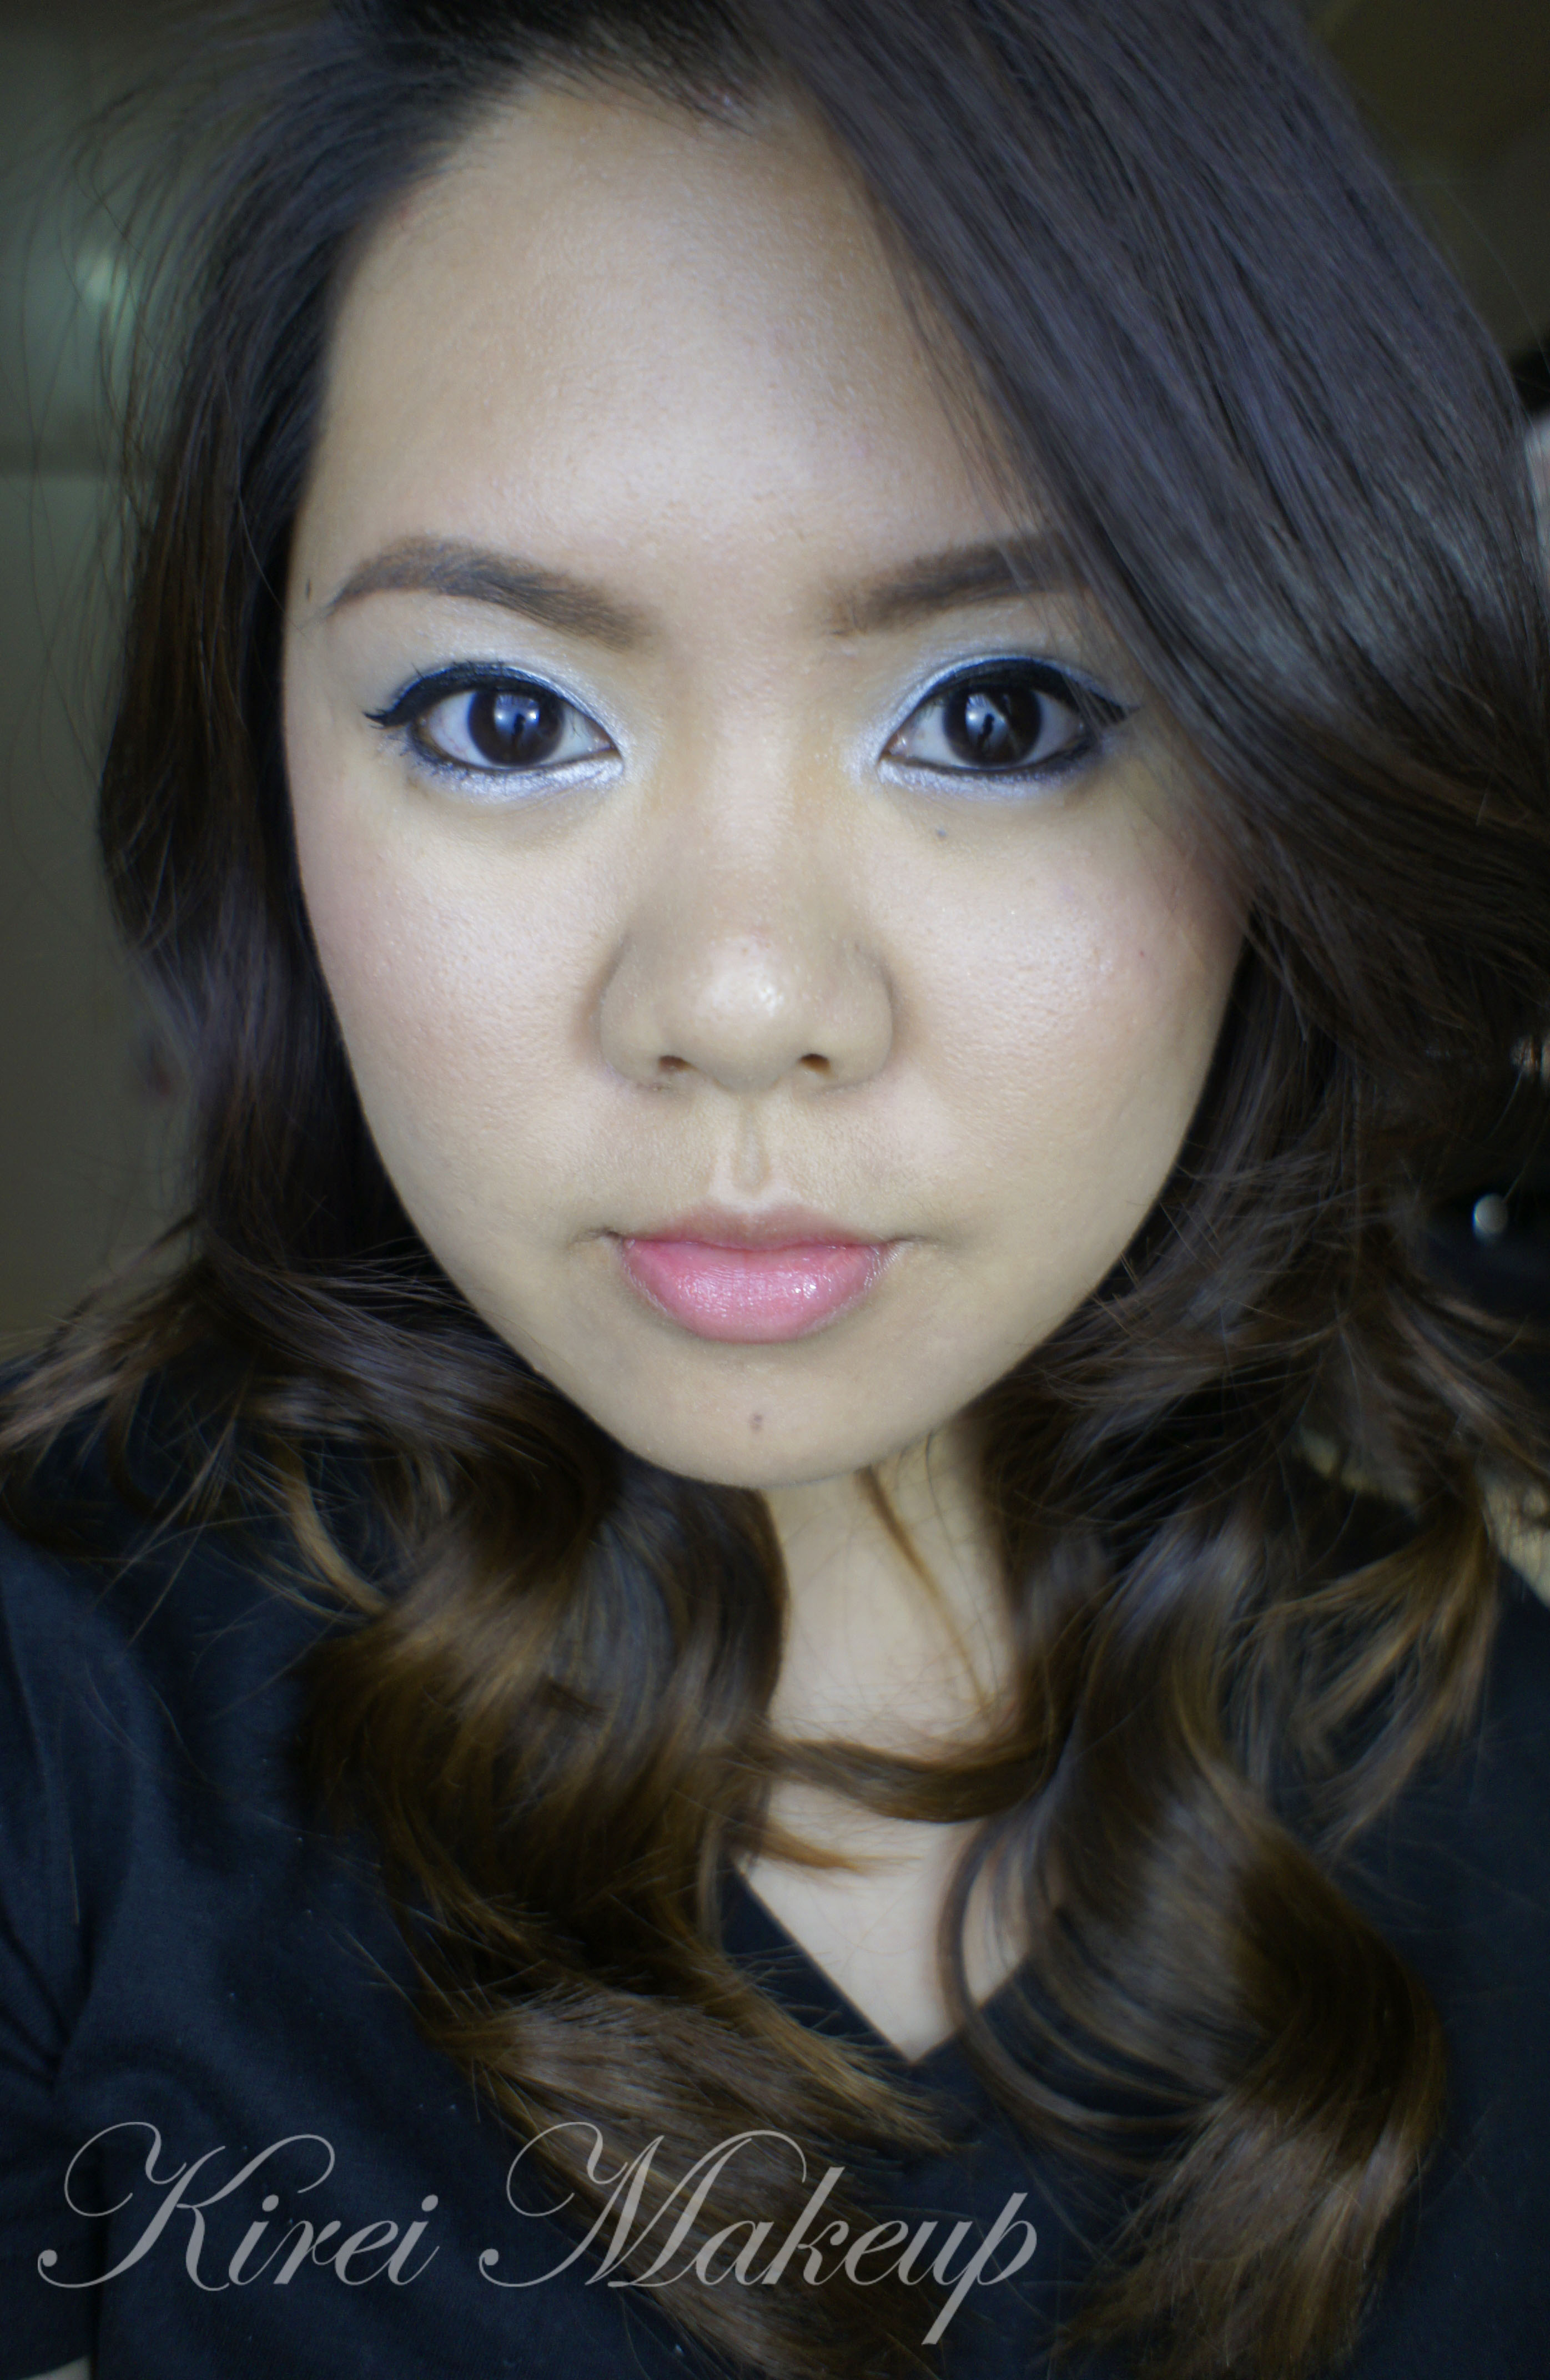
Silver Fox
I was mesmerized by Chanel’s Spring 2013 RTW runway makeup, that I’ve decided to do an inspired look based on it. I usually prefer warm-toned colors, like gold and bronze over silver, so it was definitely interesting to do this look.
I used Tinsel eyeshadow from the Sleek Makeup iDivine Sparkle 2 palette in this tutorial. I believed the makeup artist for Chanel used a silver cream eyeshadow (illusion d’ombre) to create the look. Since I don’t own any silver cream eyeshadow, I decided to use a powder eyeshadow. Tinsel eyeshadow is very creamy and can be easily blended.
It’s a very simple and wearable look. Since the focus is on the eyes, everything else is downplayed. In the runway, models were seen with bare face, but I decided to add a blush just so that I don’t look too washed out.
How-to:
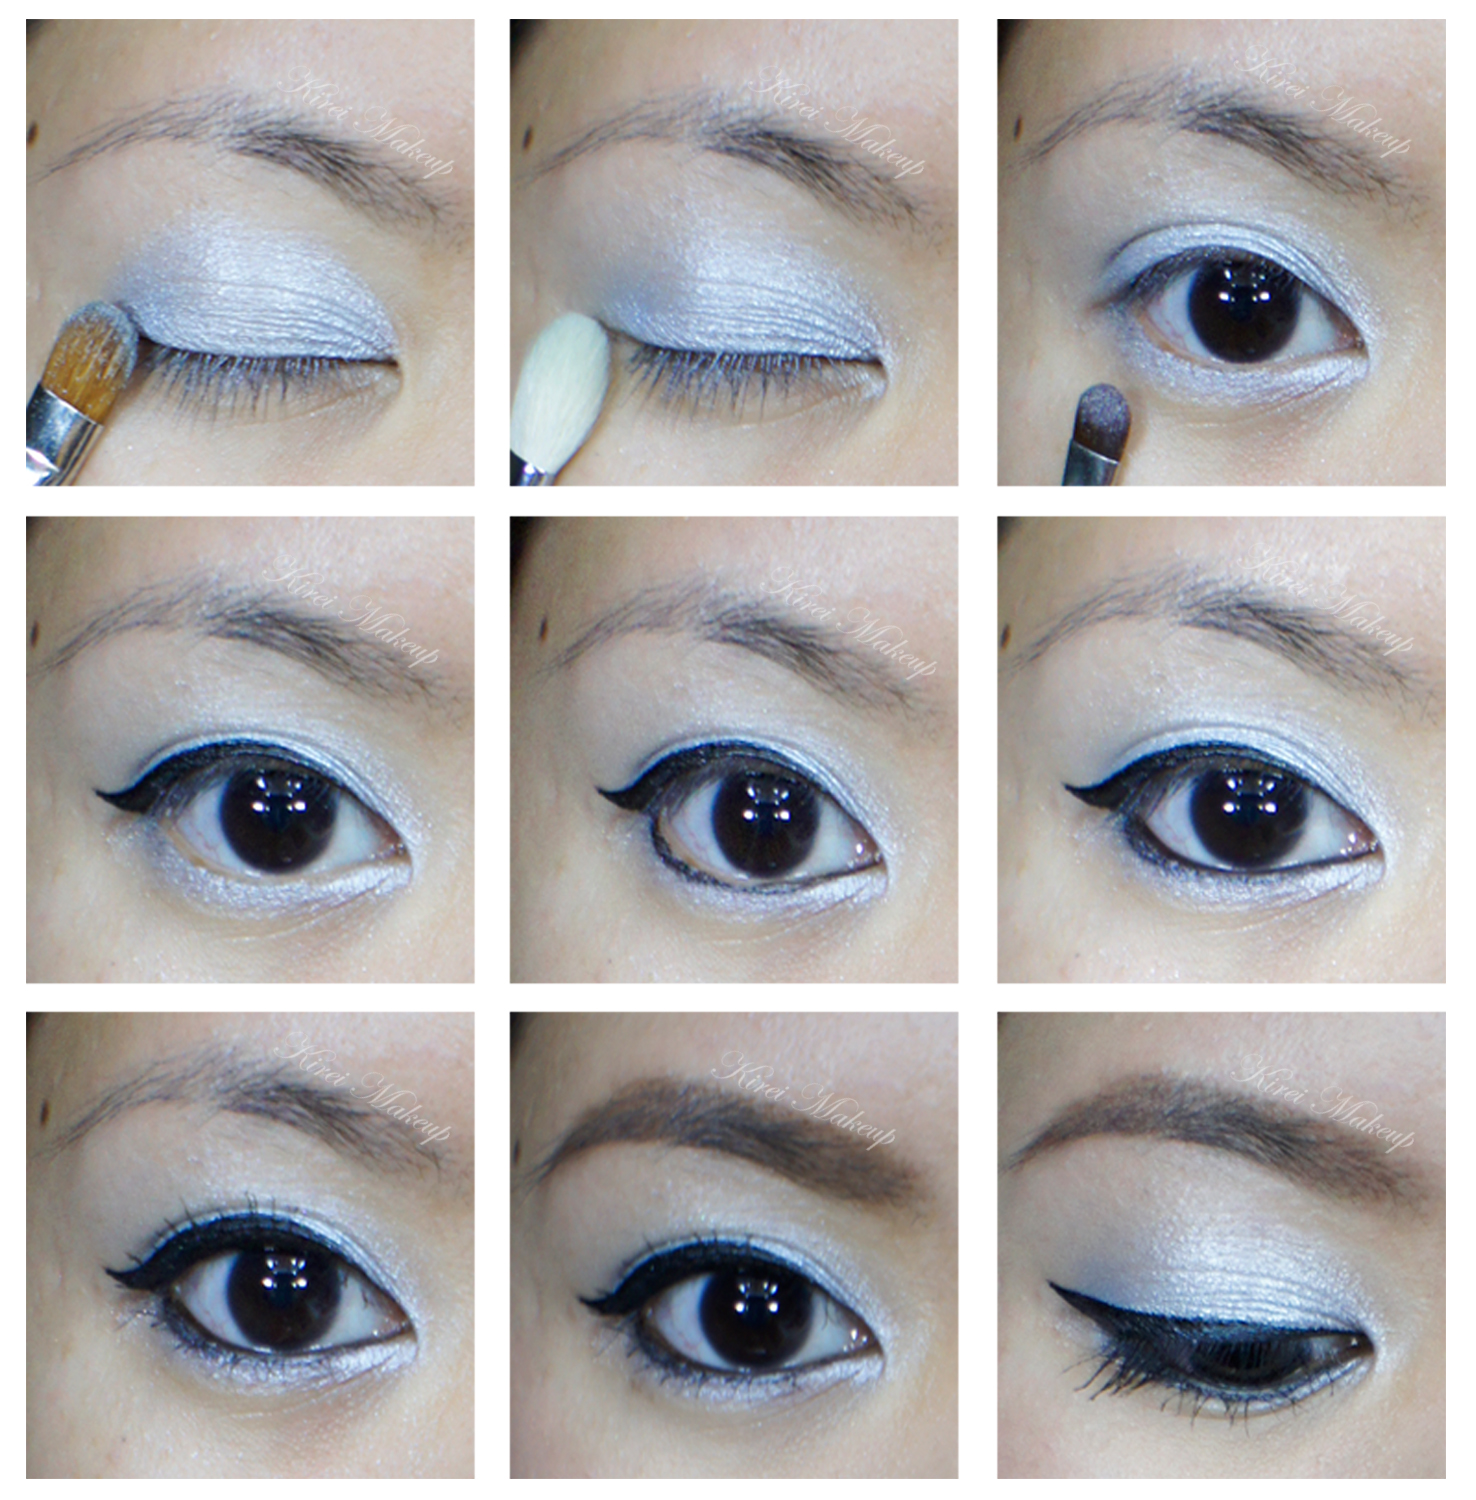
1. I applied Tinsel all over the lid using a flat eyeshadow brush.
2. Using a fluffy blending brush, I blended the color from the crease all the way up to the brow bone.
3. Using a small shader brush, I applied Tinsel on the lower lid.
4. I created a winged liner along the upper lashline using Kate Sharp eyeliner.
5. I also lightly lined the lower lashline using the same eyeliner.
6. I lined my waterline using L’oreal Voluminous Smoldering eyeliner.
7. I curled my lashes, and applied Maybelline Express Volume Turbo Boost mascara on both upper and lower lashes.
8. I filled my brows in using Dolly Winked Brow pencil no. 3. (if you notice the difference between the last 2 pictures below on the brow, that’s because I brush the brows after I filled them in using a clean spooly).
9. For the face, I applied Urban Decay Naked foundation using IPKN Auto Wave makeup.
10. Under the eyes, I applied MAC Pro Conceal/Correct palette in Medium.
11. I powdered my face lightly on the T-zone using loose powder.
12. On the cheeks, I applied MAC Dainty blush.
13. On the lips, I applied Chanel Levres Scintillantes in Volupte.
Sugar and Spice
Halloween is almost here! As much as I’d like to do a zombie tutorial, I’ve yet to find a large amount of liquid latex here. I’ve done a small one, and I posted the photo on my instagram and twitter! Please follow me on instagram (handle: KireiMakeup)/twitter if you haven’t already done so.
I’ve decided to do 2 looks in this tutorial. One look is more on the pretty and wearable, the other look is more vampy and goth. I wanted to re-do the eye makeup from my published work at Coco magazine (here) on myself since I fell madly in love with a super thick black cat eyeliner. The cat eyeliner made me reached for my contact lenses and I decided to put it on just for fun. Oh also, this extreme winged/cat-eye liner has been seen on Rihanna too!
For this tutorial, I used a pink eyeshadow on the eyes and cheeks called Sweet Strawberry from L’oreal Infallible eyeshadow collection to show my support for Breast Cancer Awareness month! I believe I’ve received a very “pink” package from L’oreal Canada but I’ve yet to open it since I’m not in Canada at the moment, but since I have this shadow, I decided to use it first.
Also, this tutorial will show you how easy it is to get the perfect winged/cat-eye liner in this tutorial. For the winged/cat-eye liner you’ll need: 1) tape (or in my case, I used a labeling sticker), 2) small angled brush (I used MAC 263) and 3) Gel liner (I used MUFE Aqua Black).
Let’s get this rolling!
How-to:
1. Stick the tape to your hand and release it. Repeat this step several times until the tape isn’t too sticky. If it is too sticky, it might pull your skin.
2. Find an imaginary line from the outer corner of your eye to the tip of the brow. Place the tape and try to match the angle of the tape on the other eye.
3. Once you’re satisfied with the angle of the tape, prep your eyes with primer if needed.
4. I applied MAC Pearl cream base all over my eyelid all the way up to the brow bone.
5. Using a flat eyeshadow brush, I applied MAC Hush eyeshadow on the inner half of the eyelid.
6. Using the same eyeshadow brush, I applied L‘oreal Infallible eyeshadow in Sweet Strawberry on the outer half of the eye up to the crease.
7. Now, for the fun part:
- Using the angled eyeliner brush and gel liner, apply eyeliner on the upper lashline as you’d usually do with a pencil liner.
- Once you are satisfied with the line, flip your brush and make sure the LONGER side is facing up. Your brush should be parallel to the tape.
- Place your brush right against the tape and pull it to the middle of the lid. You should end up with a triangle.
- Fill the triangle up and re-do the liner according to the thickness to your liking.
- Pull the tape off your face and you’ll end up with a perfect straight line!
- confusing? may be I should do a video tutorial? (leave comments below)
8. Once the upper liner is completed, I used Urban Decay Perversion eyeliner on the tightline and waterline.
9. Using the same angled brush, I used whatever is left on the brush and created a thick liner on the lower lash-line. I connected this lower liner to the “wing”.
10. I curled my lashes and applied mascara on top and bottom lashes. Also filled in my brows using a clean angled brush and mixture of MAC Omega and MAC Brun eyehadows.
11. For the goth/vampy look, I applied fake lashes on both top and bottom lashes.

12. For the face, I applied L’oreal Magic Lumi Foundation all over my face using Sigma Round Kabuki brush.
13. Using a MAC 129 brush, I applied L’oreal Sweet Strawberry shadow on my cheeks.
14. Using MAC 109 brush, I applied MAC Blunt contour shadow on the hollows of the cheeks, jawline and the side of my nose.
15. For the wearable/pretty look, I applied whatever is left on the foundation brush on my lips and applied a clear lipgloss. If you want this to be on the “prettier” side, you can apply a pink/peach/mauve/rose lipstick instead of going nude lips.

16. For the vampy/goth look, I lined my lips using a red lipliner from Complections (that’s my old makeup school).
17. Then I applied a red lipstick by Revlon called Ravish Me Red all over the lips.
18. To make the center of the lips darker, I applied a black lipstick from MAC. I don’t know what it’s called since I put this on a lip palette and I didn’t put the name on it. If you do not have a black lipstick, apply a black pencil liner in the center of the lips and blend it with the red lipstick.
19. Then I applied a clear lipgloss over the lips to complete the look.
20. If you’re oily, apply powder to set the face.
