Kat Von D Shade + Light Eye Contour Tutorial

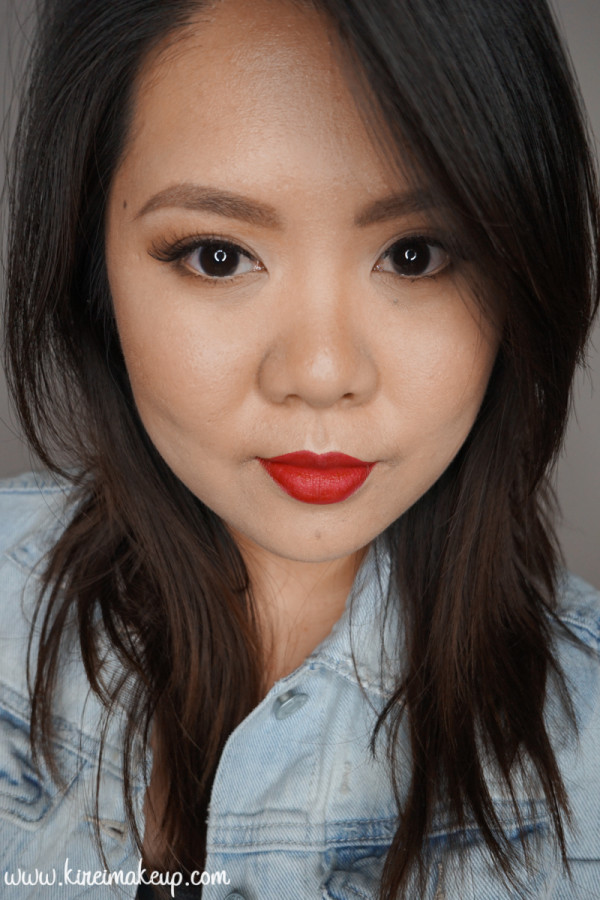
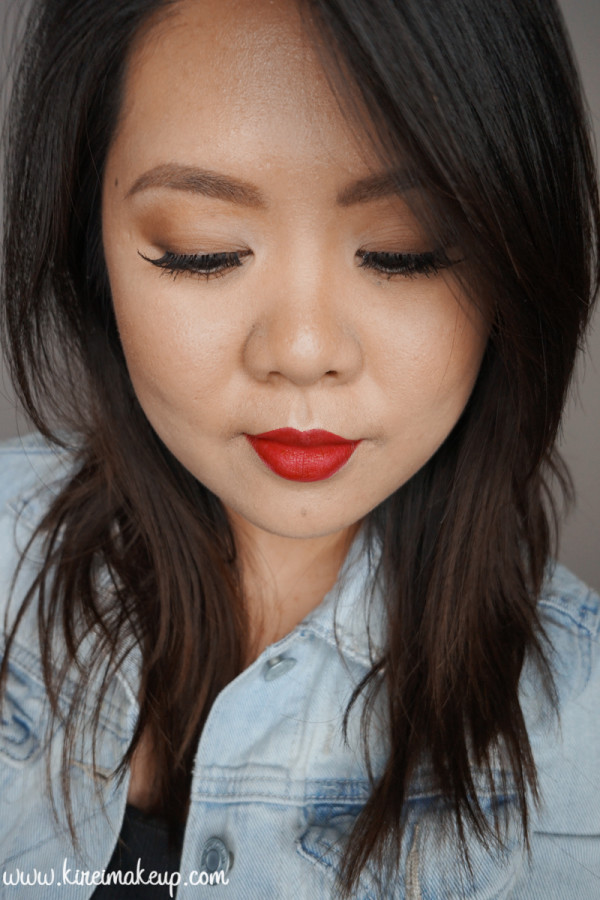
For this Kat Von D Shade + Light Eye contour tutorial, I’ve decided to follow the instruction that came with the palette – the natural look from the Neutral Quad. As you all know, I’m a big fan of Kat Von D’s products, especially her tattoo eyeliner and eyeshadow palette. Her products are amazingly pigmented, very smooth, and buttery. For this tutorial, I’m using mostly Kat Von D products.

I cannot sing enough praises on how great Kat Von D’s products are, you have to try it out for yourself! This palette is no different, I really recommend this Shade + Light eye contour tutorial for those of you who are interested in learning how to contour/highlight your eyes.

I’ll try to do swatches and perhaps a quick review next time. Here’s my review for this palette! I think I’ll do more tutorials using this palette, I want to use this palette to its fullest extent!

Shade Light eye contour tutorial

Products used

Eyes

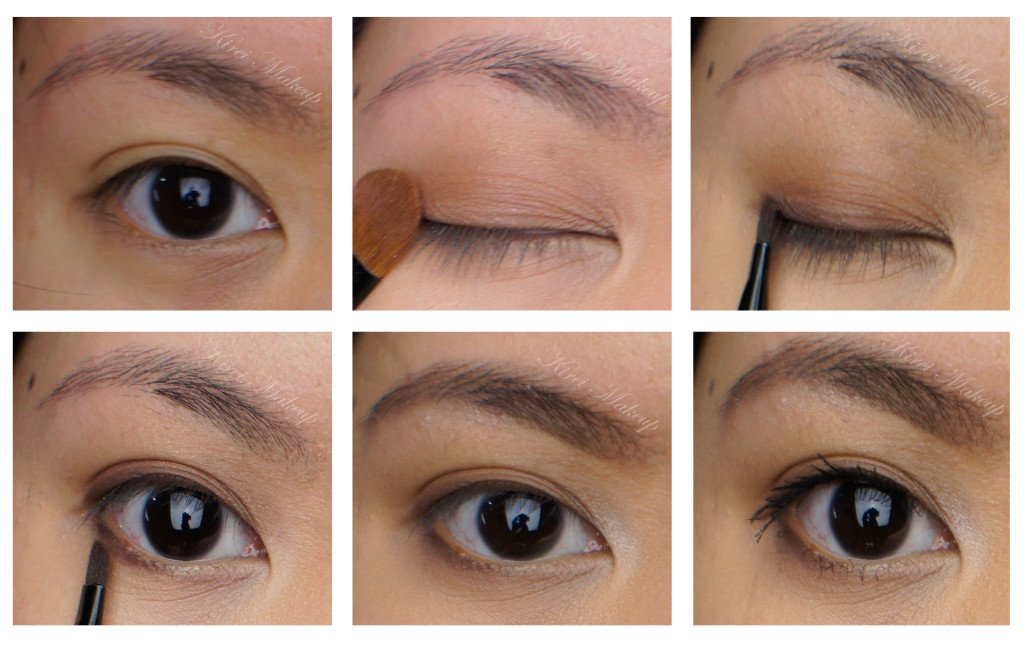
  • Primer – Urban Decay Primer Potion “Original”
  • Base – Kat Von D Shade + Light Eye Contour “Laetus”
  • Inner Lid – Kat Von D Shade + Light Eye Contour “Lucius”
  • Crease/Lower lid – Kat Von D Shade + Light Eye Contour “Samael”
  • Upper & lower lash line – Kat Von D Shade + Light Eye Contour “Solas”
  • Waterline – MAC Chromagraphic pencil liner “NC15”
  • Brows – Stila All Day Waterproof Brow Color “Medium”; Anastasia Beverly Hills Brow Wiz “Taupe”
  • Brow gel – L’oreal Brow Stylist
  • Mascara – Lancome “Hypnose” mascara
  • Falsies – Gwiyomi falsies no. 3

Kat Von D Shade Light eye contour palette

Face

  • Primer – Kat Von D Lock-it Featherweight Primer
  • Foundation – Kat Von D Lock-it Tattoo Foundation
  • Concealer – NARS Radiant Creamy concealer “Custard”
  • Setting Powder – CoverFX translucent powder

Cheeks

  • Contour – Kat Von D Shade + Light Contour Palette “Shadowplay”
  • Highlight – Kat Von D Shade + Light Contour Palette “Lyric”
  • Blush – Benefit blush “Hervana”

*Check my Subtle Highlight/Contour post on how-to contour*

Lips

  • Lip pencil – Make Up For Ever Aqua Lip Pencil “11c”
  • Lipstick – NYX Soft Matte Lip Cream “Monte Carlo”

nyx monte carlo


Red Invasion [Collaboration]

Lately, my Twitter has been flooded with chats between several Indonesian Beauty Bloggers and myself. These bloggers are: Yonna Kairupan, Iva Asih Era Chrysta, Lauren Renturquise, Sha Aullia, and Riyanti Teressa. So, we decided to do a little collaboration and we wanted to paint the town red 😉 By town, I mean the Indonesian Beauty Bloggers Facebook page.

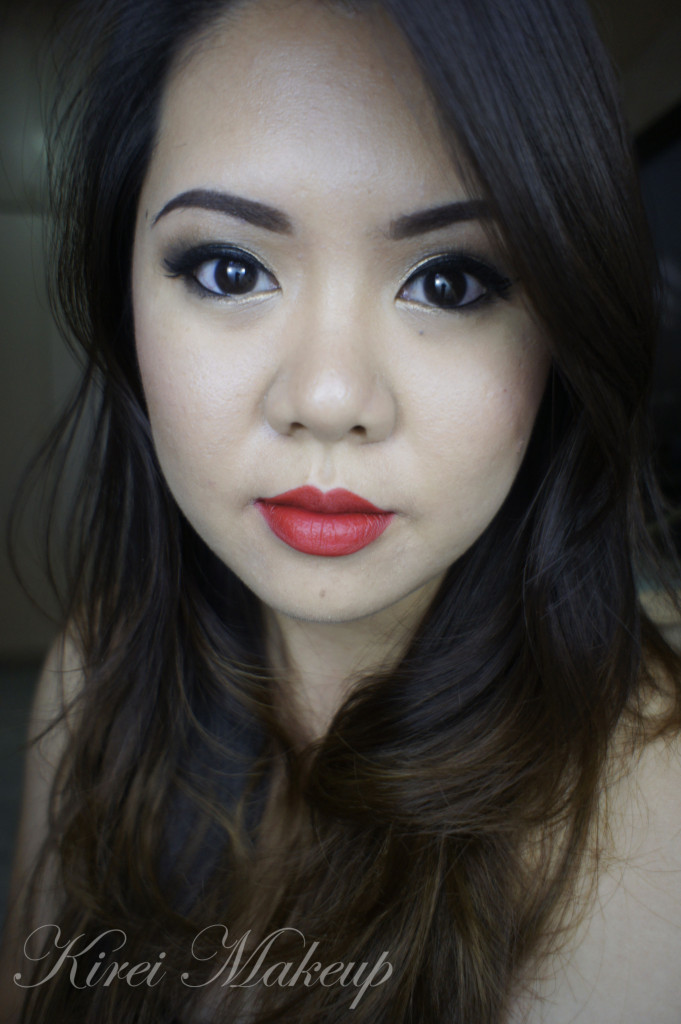
Anyhow, we decided to do red lips look, and Yonna had posted hers on her youtube page. I decided to post mine next and the obvious choice for me was to use MAC Russian Red (again). I can never get tired of MAC Russian Red, it’s just so gorgeous! It’s definitely my favorite.

For the eyes, I think I wanted to pack more punch on it, so I did a slightly more smoky look than the other tutorial in MAC Russian Red post. I also added a set of false eyelashes on me lashes, since I bought a new one. I don’t love the falsies, but I don’t mind it. Not long enough and not thick enough. Oh well! I also used my new Sleek Makeup iDivine Storm palette, but there’s no name for each shade for this palette. So, I named the shades on the tutorial below based on the hue of each eyeshadow. If you’re confused, just leave the question below 🙂

How-to:

1. I applied MUFE Aqua Shadow in 28E all over the lid.

2. Using a clean fluffy brush, I applied the matte light brown from Sleek Makeup iDivine Storm palette.

3. Using another clean fluffy brush, I applied matte dark brown from Sleek Makeup iDivine Storm palette.

4. I applied the champagne shade from Sleek Makeup iDivine Storm palette on top of the MUFE Aqua Shadow 28E with a flat eyeshadow brush.

5. Using another blending brush, I applied black from Sleek Makeup iDivine Storm palette.

6. I applied both champagne (inner corner) and black (outer corner) from Sleek Makeup iDivine Storm palette on the lower lid using an angled brow brush.

7. Using Kanebo Kate Super Sharp eyeliner, I created a feline flick/cat-eye liner/winged liner on the upper lash line.

8. I curled my lashes and applied Maybelline Volume Express Turbo Boost mascara on both top and bottom lashes.

9. I lined the outer half of my waterline using L’oreal Voluminous Smoldering eyeliner.

10. I applied DUP eyelashes in 906 on the top lashes.

11. For the brows, I applied MUFE Aqua Brow Gel.

sleek makeup storm

12. On my face, I applied Urban Decay Naked Skin foundation.

13. I applied MUFE HD concealer to cover my blemishes and under eye circles.

14. I powdered my face using Cinema Secret loose powder.

15. I contoured my face using NARS Kabuki Ita brush and MAC Shadowy powder.

16. I applied MAC Fleur Power on my cheeks.

17. I lined and filled my entire lips with MAC Redd lip liner.

18. I, then, applied MAC Russian Red on my lips.

asian red lips

Vintage Red

My love for OCC lip tars grows stronger every day! I’ve never been the “lipstick” kinda gal but I have a certain fondness for anything red lips. So, I’ve another version of the red lips look using OCC lip tars in Stalker. In this tutorial, I’m using OCC lip tars in Vintage. Stalker is blue red, while Vintage is burgundy red.

I bought mine from Sephora Eaton Center in Toronto. It comes in a small pouch with a small lip brush (I’ll do swatches and all that jazz on my next post).

For the look, the eyes are kept to a bare minimum and I skipped the winged liner. The face is dewy with a little contour. I love how the look turned out. The look is wearable for party or a night-out, or even bridal makeup!

Make sure to re-check the blush after you complete the lips. Since the lip color is quite strong, you might need to add more blush so your face don’t look wash-out.

How-to:

1. I applied L’oreal Magic Lumi foundation with my fingers. I applied it on the center of my face, blending it outwards.

2. I applied Bobbi Brown Corrector in Peach under my eyes, tapping it using my ring finger.

3. I applied L’oreal Magic Touche Concealer on my blemishes and under my eyes.

4. I powdered my T-zone with Cinema Secret loose powder and a tapered face brush.

Brown eyeshadow

5. For the eyes, I applied the light brown eyeshadow from L’oreal Paris Good Luck Charm quad eyeshadow with a flat eyeshadow brush, and blended the crease using a clean blending brush.

6. I applied the dark brown eyeshadow from L’oreal Paris Good Luck Charm along my upper lash line and lower lash line using an angled brush.

7. I used a clean blending brush and applied the highlighter color from L’oreal Paris Good Luck Charm quad under the brow.

8. Using whatever is left on the brush, I applied the highlighter color on the inner corner of my eyelid.

9. I curled my lashes and applied L’oreal Telescopic Shocking Extension mascara on both upper and lower lashes.

10.  I filled my brows using an angled brush and a mix of MAC Omega + MAC Brun.

OCC Lip Tars Vintage

11. Using a face fan brush, I applied Smashbox Fusion Soft Lights in Baked Stardust on the cheekbones.

12. Using the same fan brush, I applied MAC  Sculpting Powder in Shadowy on the hollows of the cheeks.

13. Using a blush brush, I applied a mixture of MAC Cubic and MAC Fleur Powder on the cheeks.

14. Using the lip brush that comes with the OCC Lip Tar, I applied OCC Vintage lip tar on my lips.

  • I applied a thin layer at first on the center of the lips.
  • Using whatever is on the brush, I traced the outline of my lips to make sure I like the shape.
  • I applied another thin layer to complete the look.