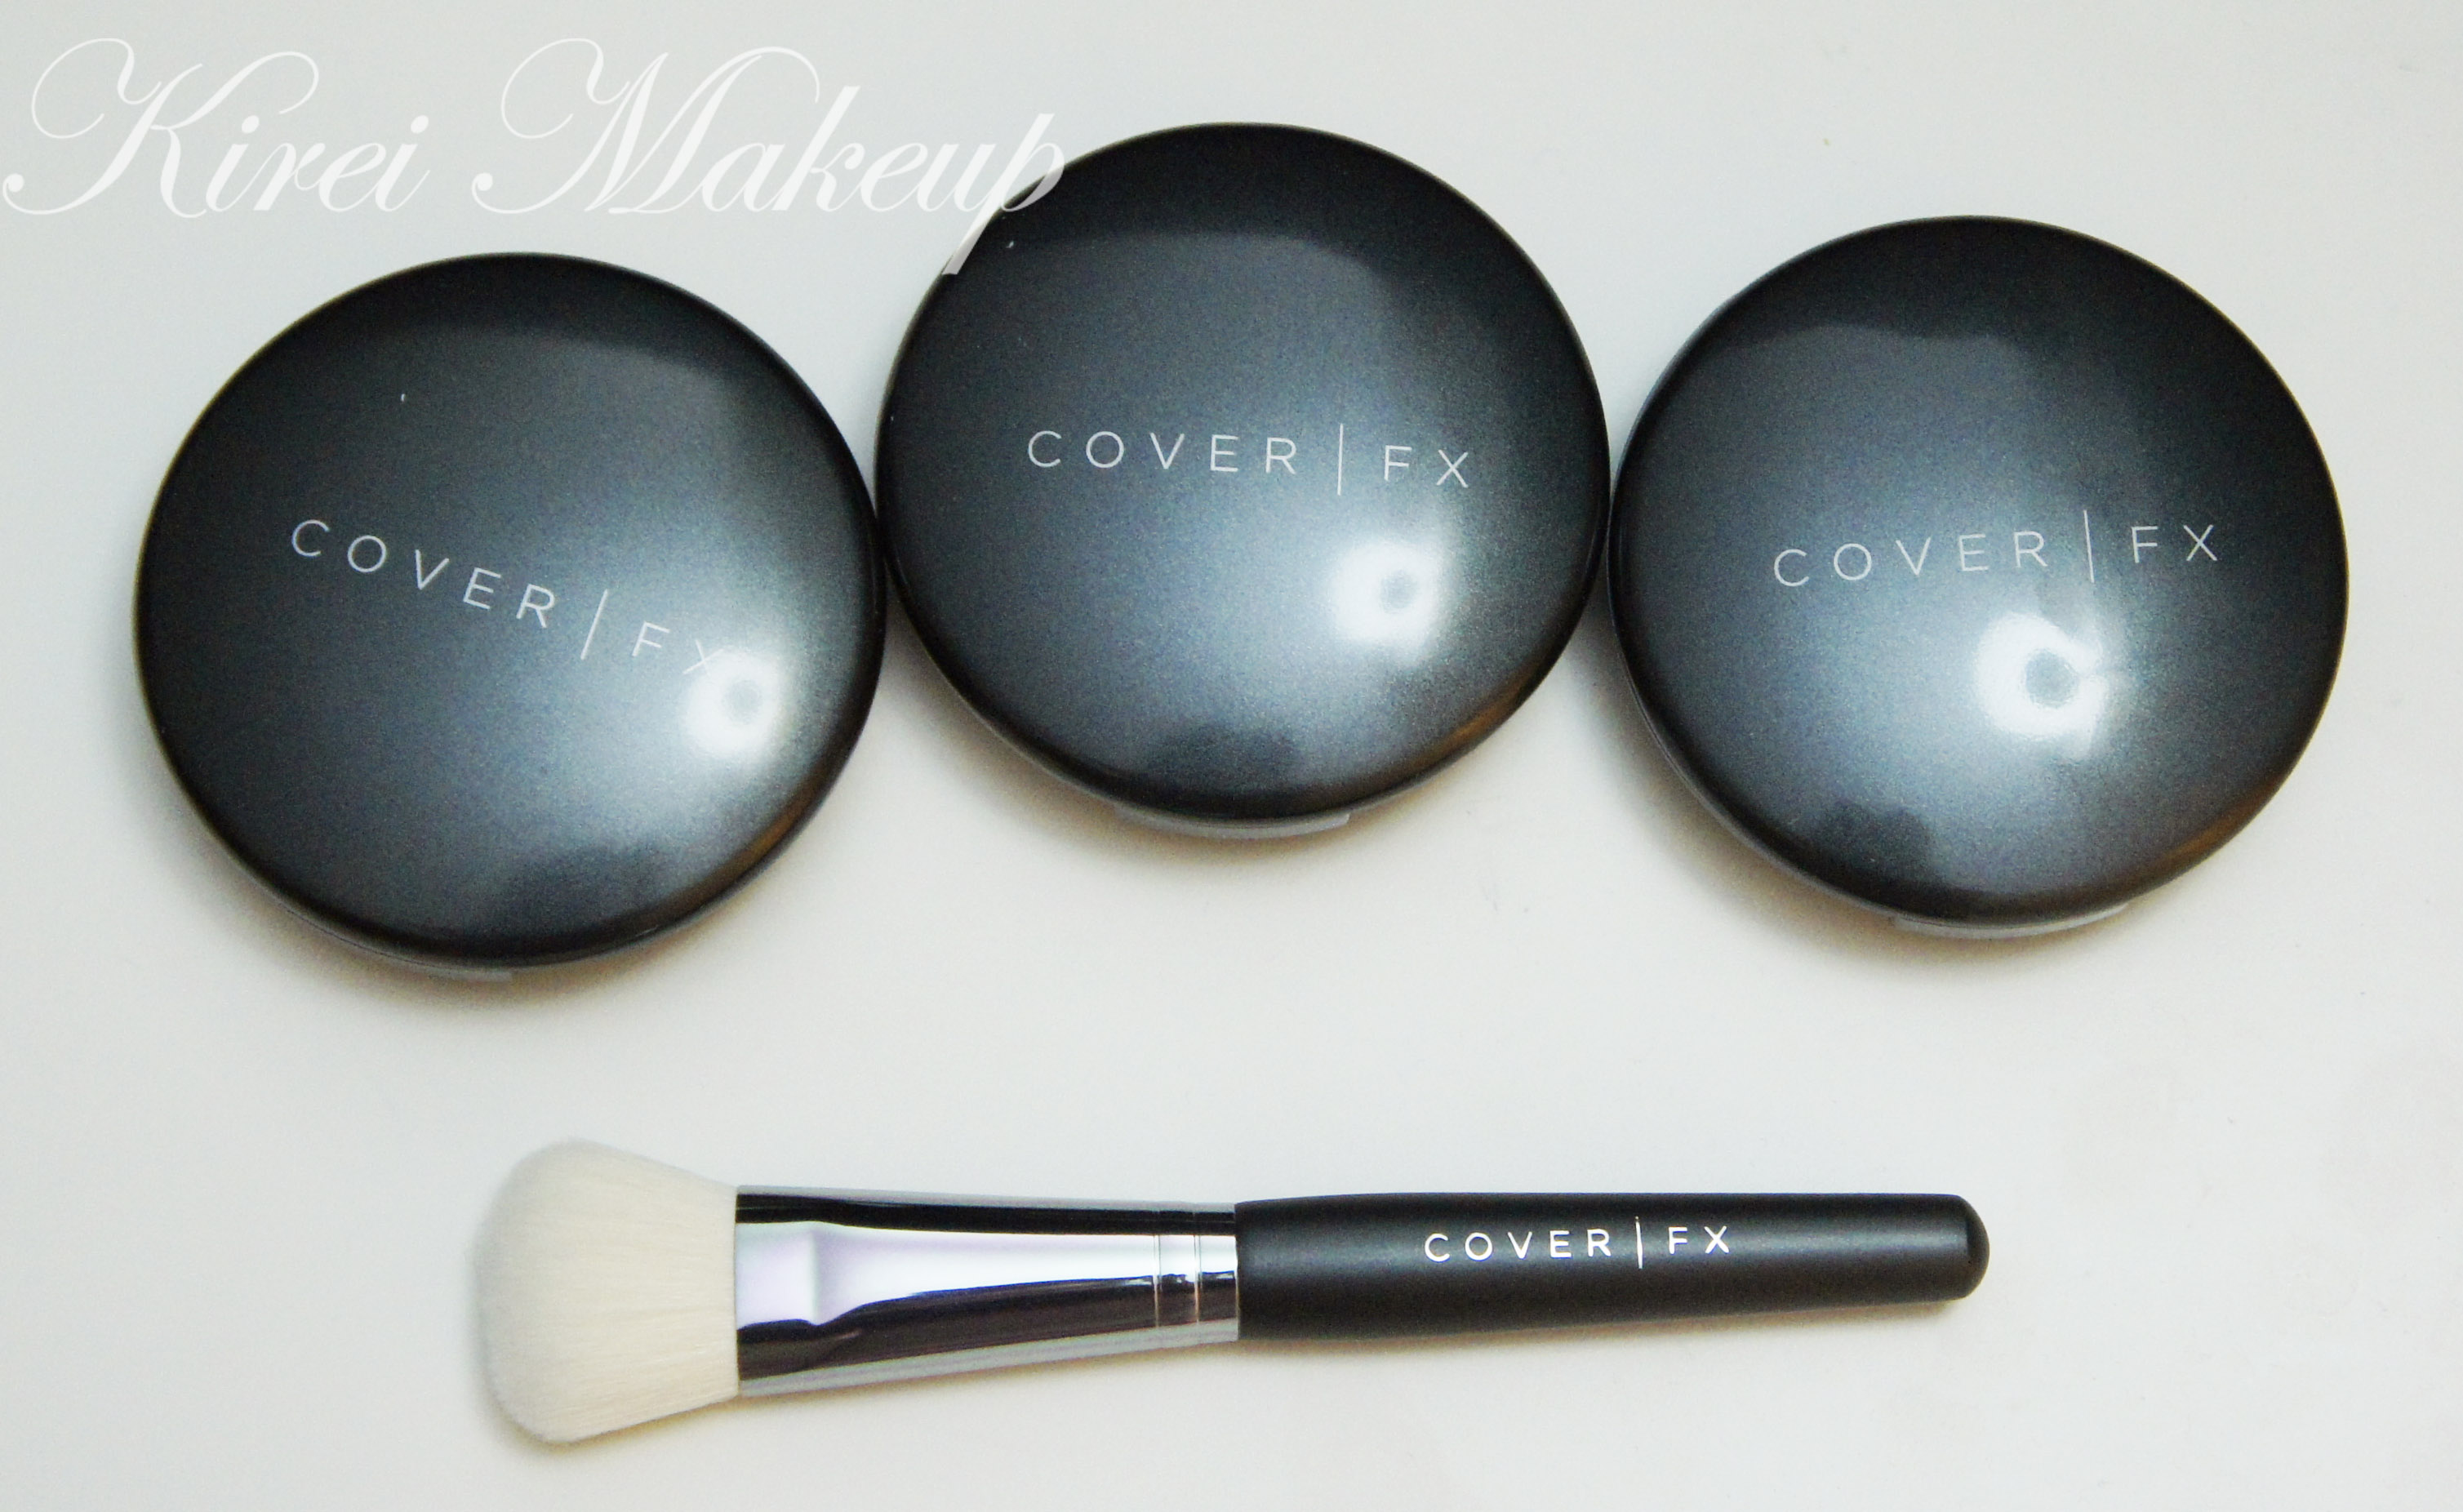
I’ve recently purchased a few Cover FX Cream Foundations, 3 to be exact, and their cream foundation brush. I have had used the Cover FX foundations before, back when I went to makeup school, Complections, it was part of our makeup kit. So, today’s post will be an in-depth review of this foundation. Please bear with me, but if you can’t scroll all the way down for the pictures, and Pros and Cons!
That was in 2010/11, fast forward to 2014, I’ve finished my kit supply, used another brand, and yet I couldn’t help but drawn into the Cover FX cream foundation again. I heard that the foundation was reformulated, and I was intrigued.
See, back then, this foundation was notoriously known in my class as a hard to blend foundation. We were taught to mix it with either primer or moisturizer before application. If you didn’t mix it well, the foundation will become patchy upon application. Nevertheless, it was one of the best cream foundation I’ve ever used – great for every skin type (esp. sensitive skin), a large range of shades based on real people, full coverage, and very pigmented. You don’t even need to buy an extra concealer for it.

So, I gave the foundation another try as soon as they arrived, and I realized that this time the foundation is much more emollient. It’s creamier, and blends a lot easier compared to the old ones. I didn’t even have to mix it with moisturizer or primer. I went over to Twitter and asked them if they’ve changed the formulation, and they replied it with a Yes, and apparently, they also added antioxidants and vitamins into their foundation.
I don’t recall the old foundation came with SPF, however, this new ones do – SPF 30. I did not check for flashback, because I didn’t realize it has SPF. I’ll give an update once I checked for it next time I use it.
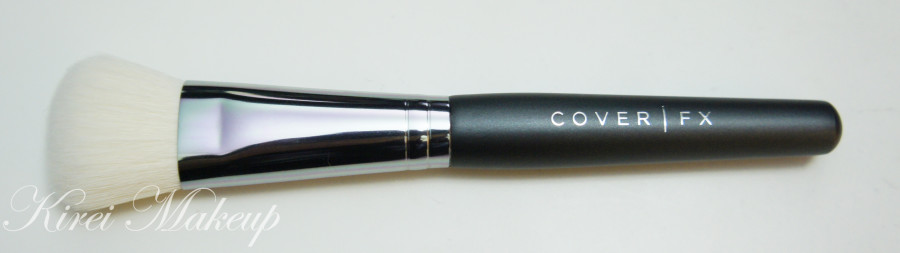
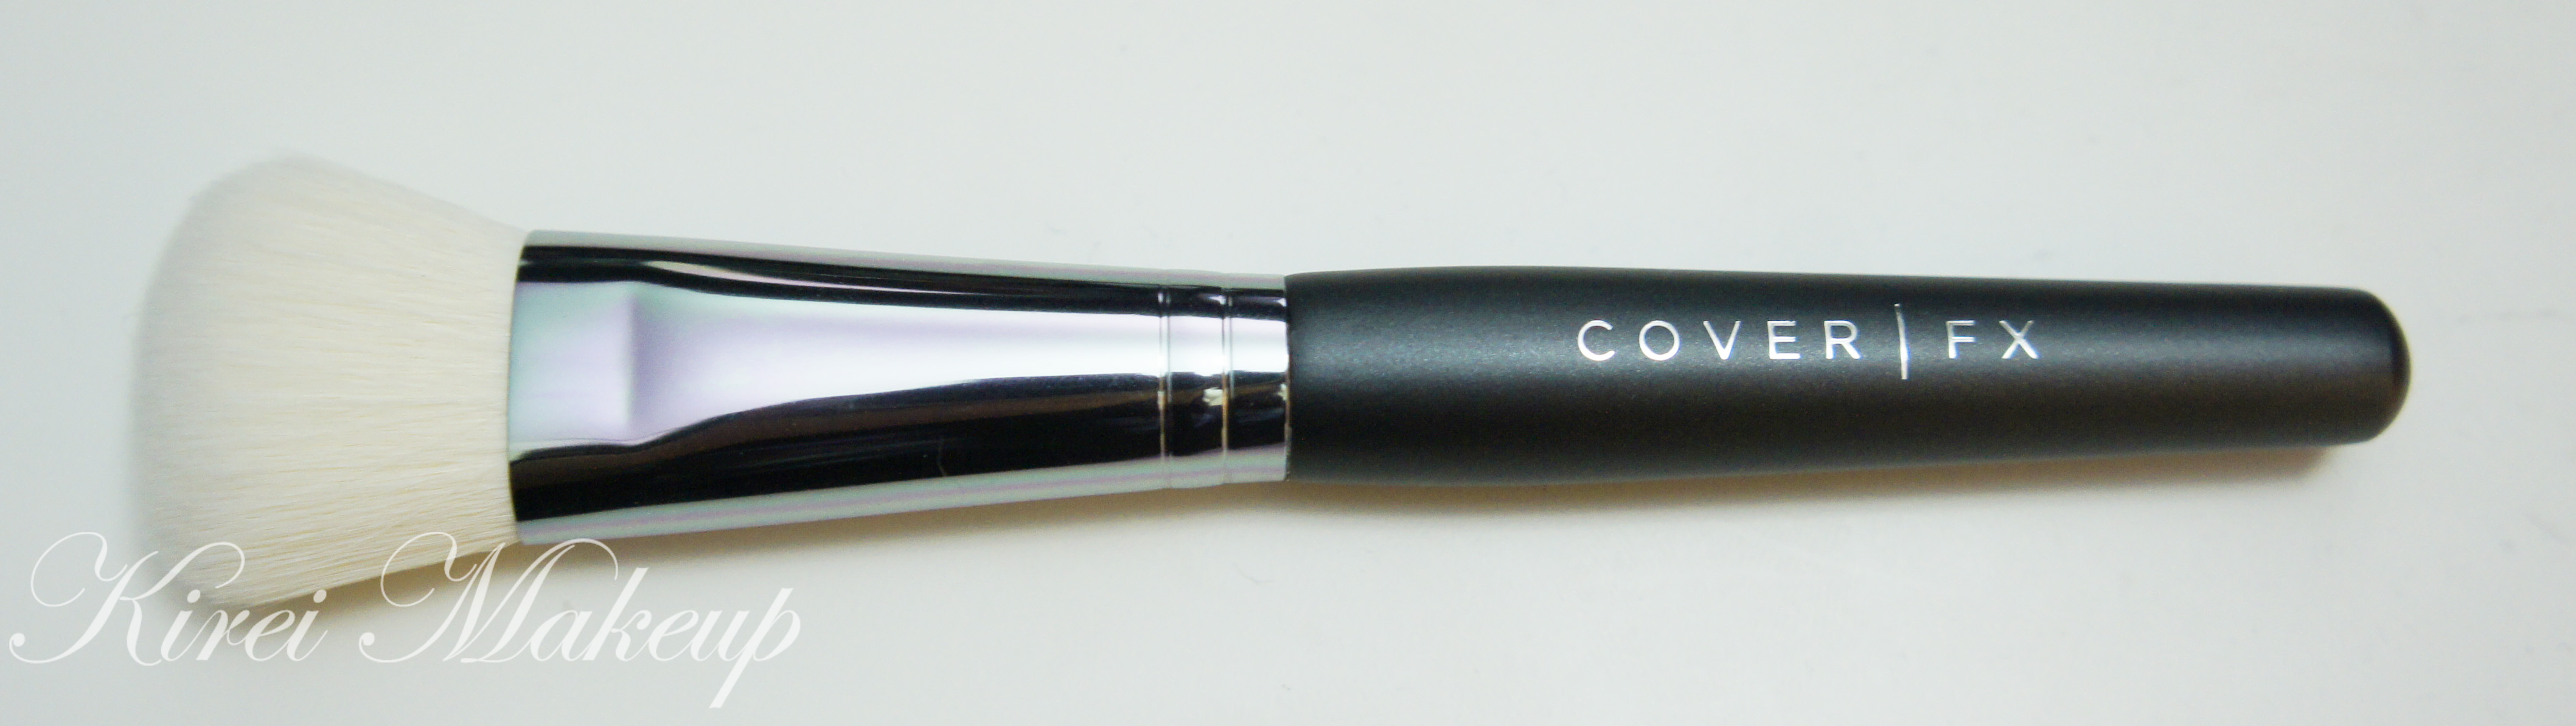
Along with their foundation, I also owned their cream foundation brush. Back then their brush handle is longer and the bristle was made from goat hair. I love that brush, and it gives the most beautiful finish to the skin. So, I thought, well I need another one! The NEW Cover FX cream foundation brush, however, has a synthetic bristle. It feels different, and I have yet to give it a try. I sure hope it’ll give a beautiful finish too! I’ll do a brush review next time, since this post has a lot of information already!

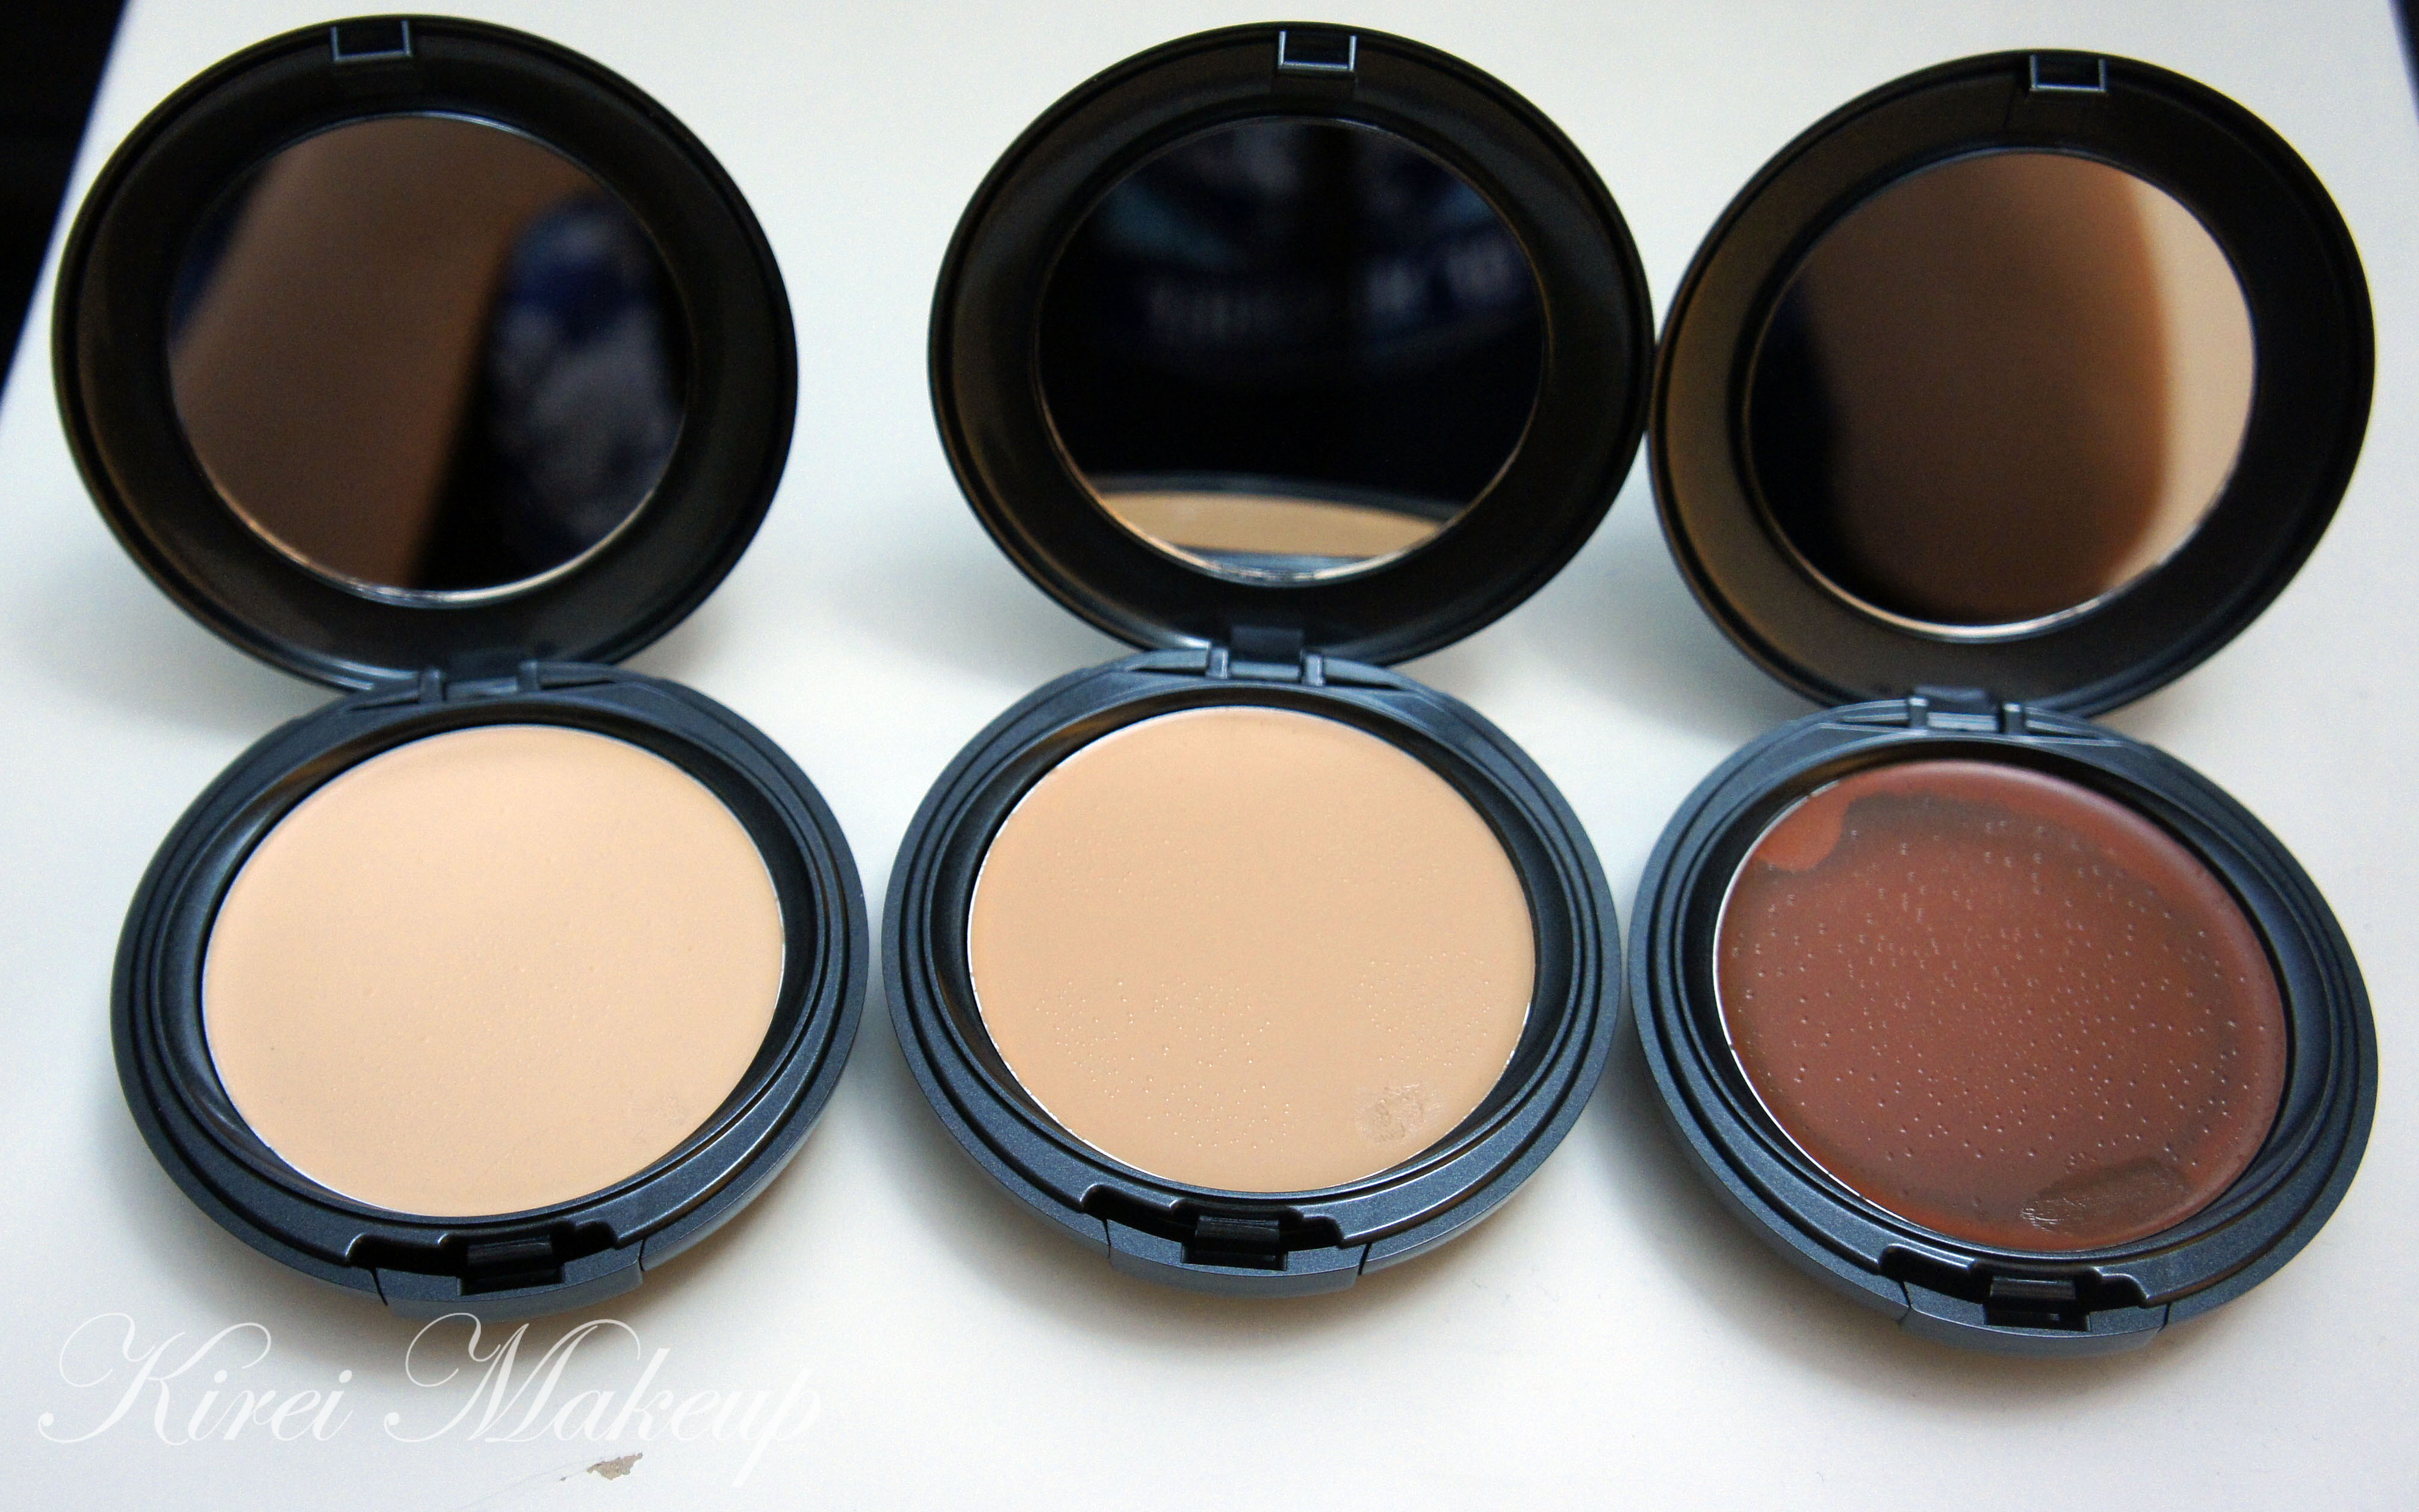
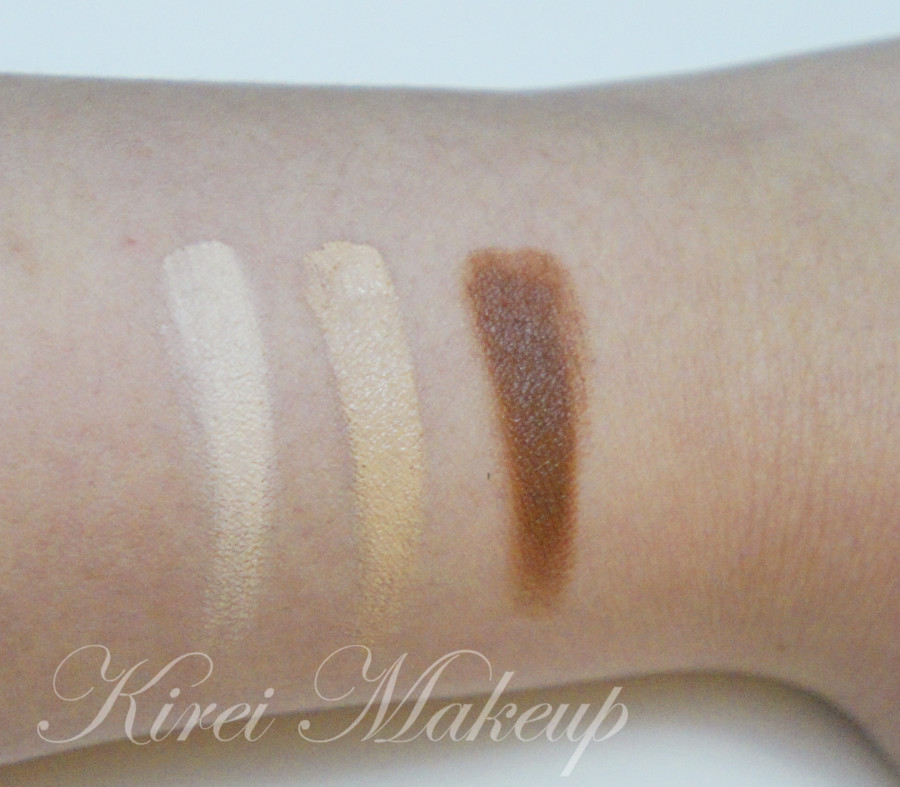
Ok, so I bought 3 colors – G20, G40, and N110. My base shade is G40, it’s the most perfect shade for my skin so far. I’m usually an in-between shades, for example for MAC I’m in between MAC NC25-30. I also have a darker face compared to my chest, so I have to be careful when choosing my foundation. With the Cover FX, however, I used G40, and it matches perfectly to my chest and face. The G20 is about 2 shades lighter, and I used it as highlighter. For the contour color, I chose N110 which is a lot darker than my skin, and it has equal part yellow and red undertones.
What is Cover FX Total Cream Foundation?
A rich emollient based cream foundation with SPF 30 offering flexible coverage.
An antioxidant-rich, 2-in-1 concealer and foundation offering broad spectrum SPF 30 protection with medium to full, buildable coverage.What it does:
This foundation provides an all-day radiant finish that nourishes and protects with anti-aging benefits. The buildable formula can provide medium to full coverage and offers SPF 30, full UV protection, and all-day wear.
Provides optimum coverage of skin imperfections such as acne, redness, under eye circles, uneven skin tones, post-surgical bruising, vitiligo, and tattoos and protection from wind, sun and pollution.
This clinically tested product does not contain the Inflammatory Five: gluten, mineral oil, fragrance, parabens or talc.
(Cover FX, 2014)
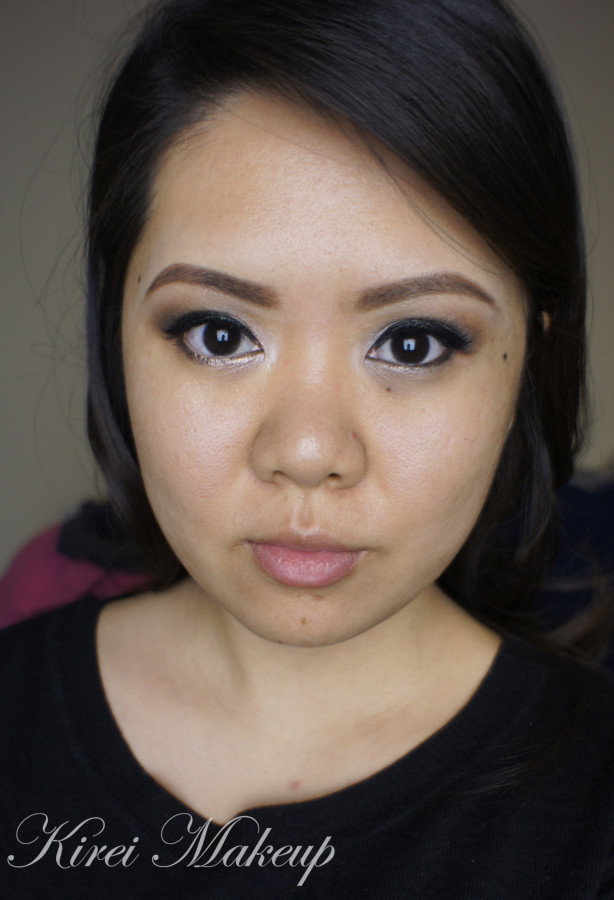
(Bare Face)
Coverage
Sheer to Full coverage! You can make this as sheer as you want, or as full as you want. I’m not joking! This foundation has the best type of coverage. If you want it sheer, you can apply it with a damped sponge (or beauty blender), if you want a full coverage you can apply it using a foundation brush. Choose whatever coverage you want, and it will work. Sheer, medium, or full, whatever floats your boat!
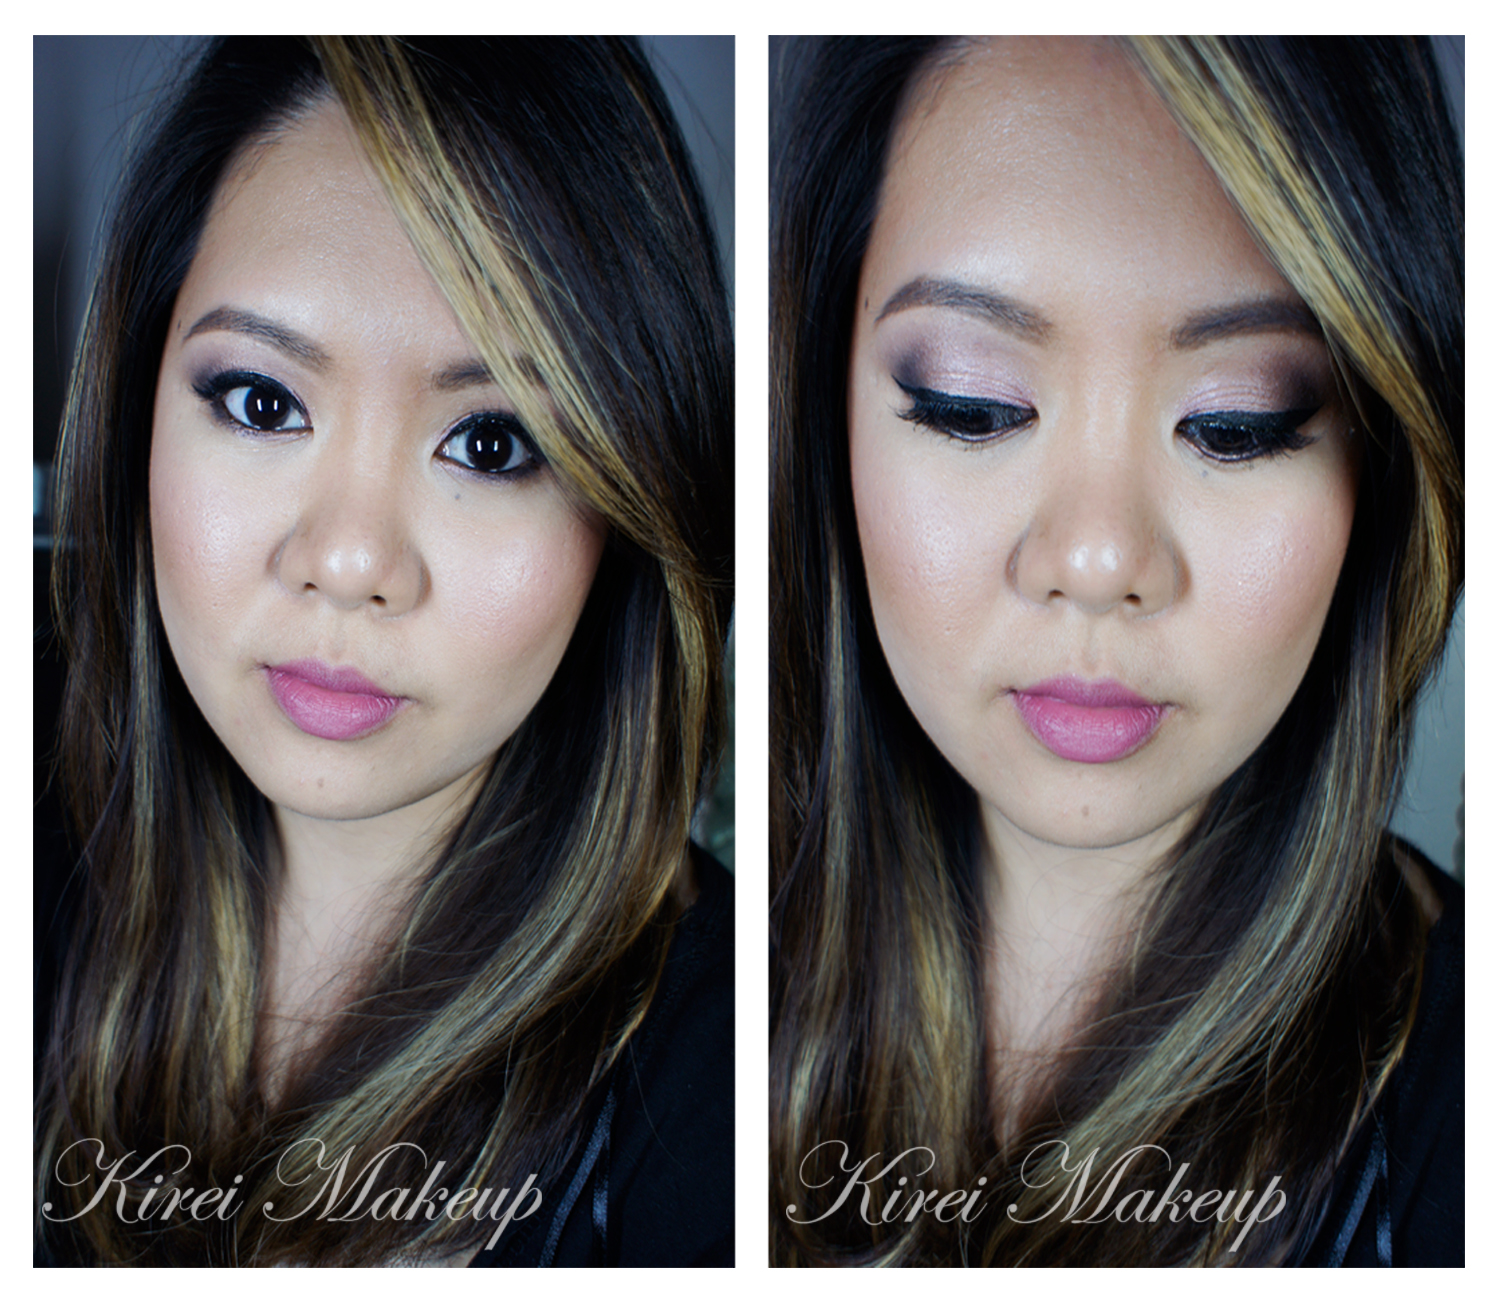
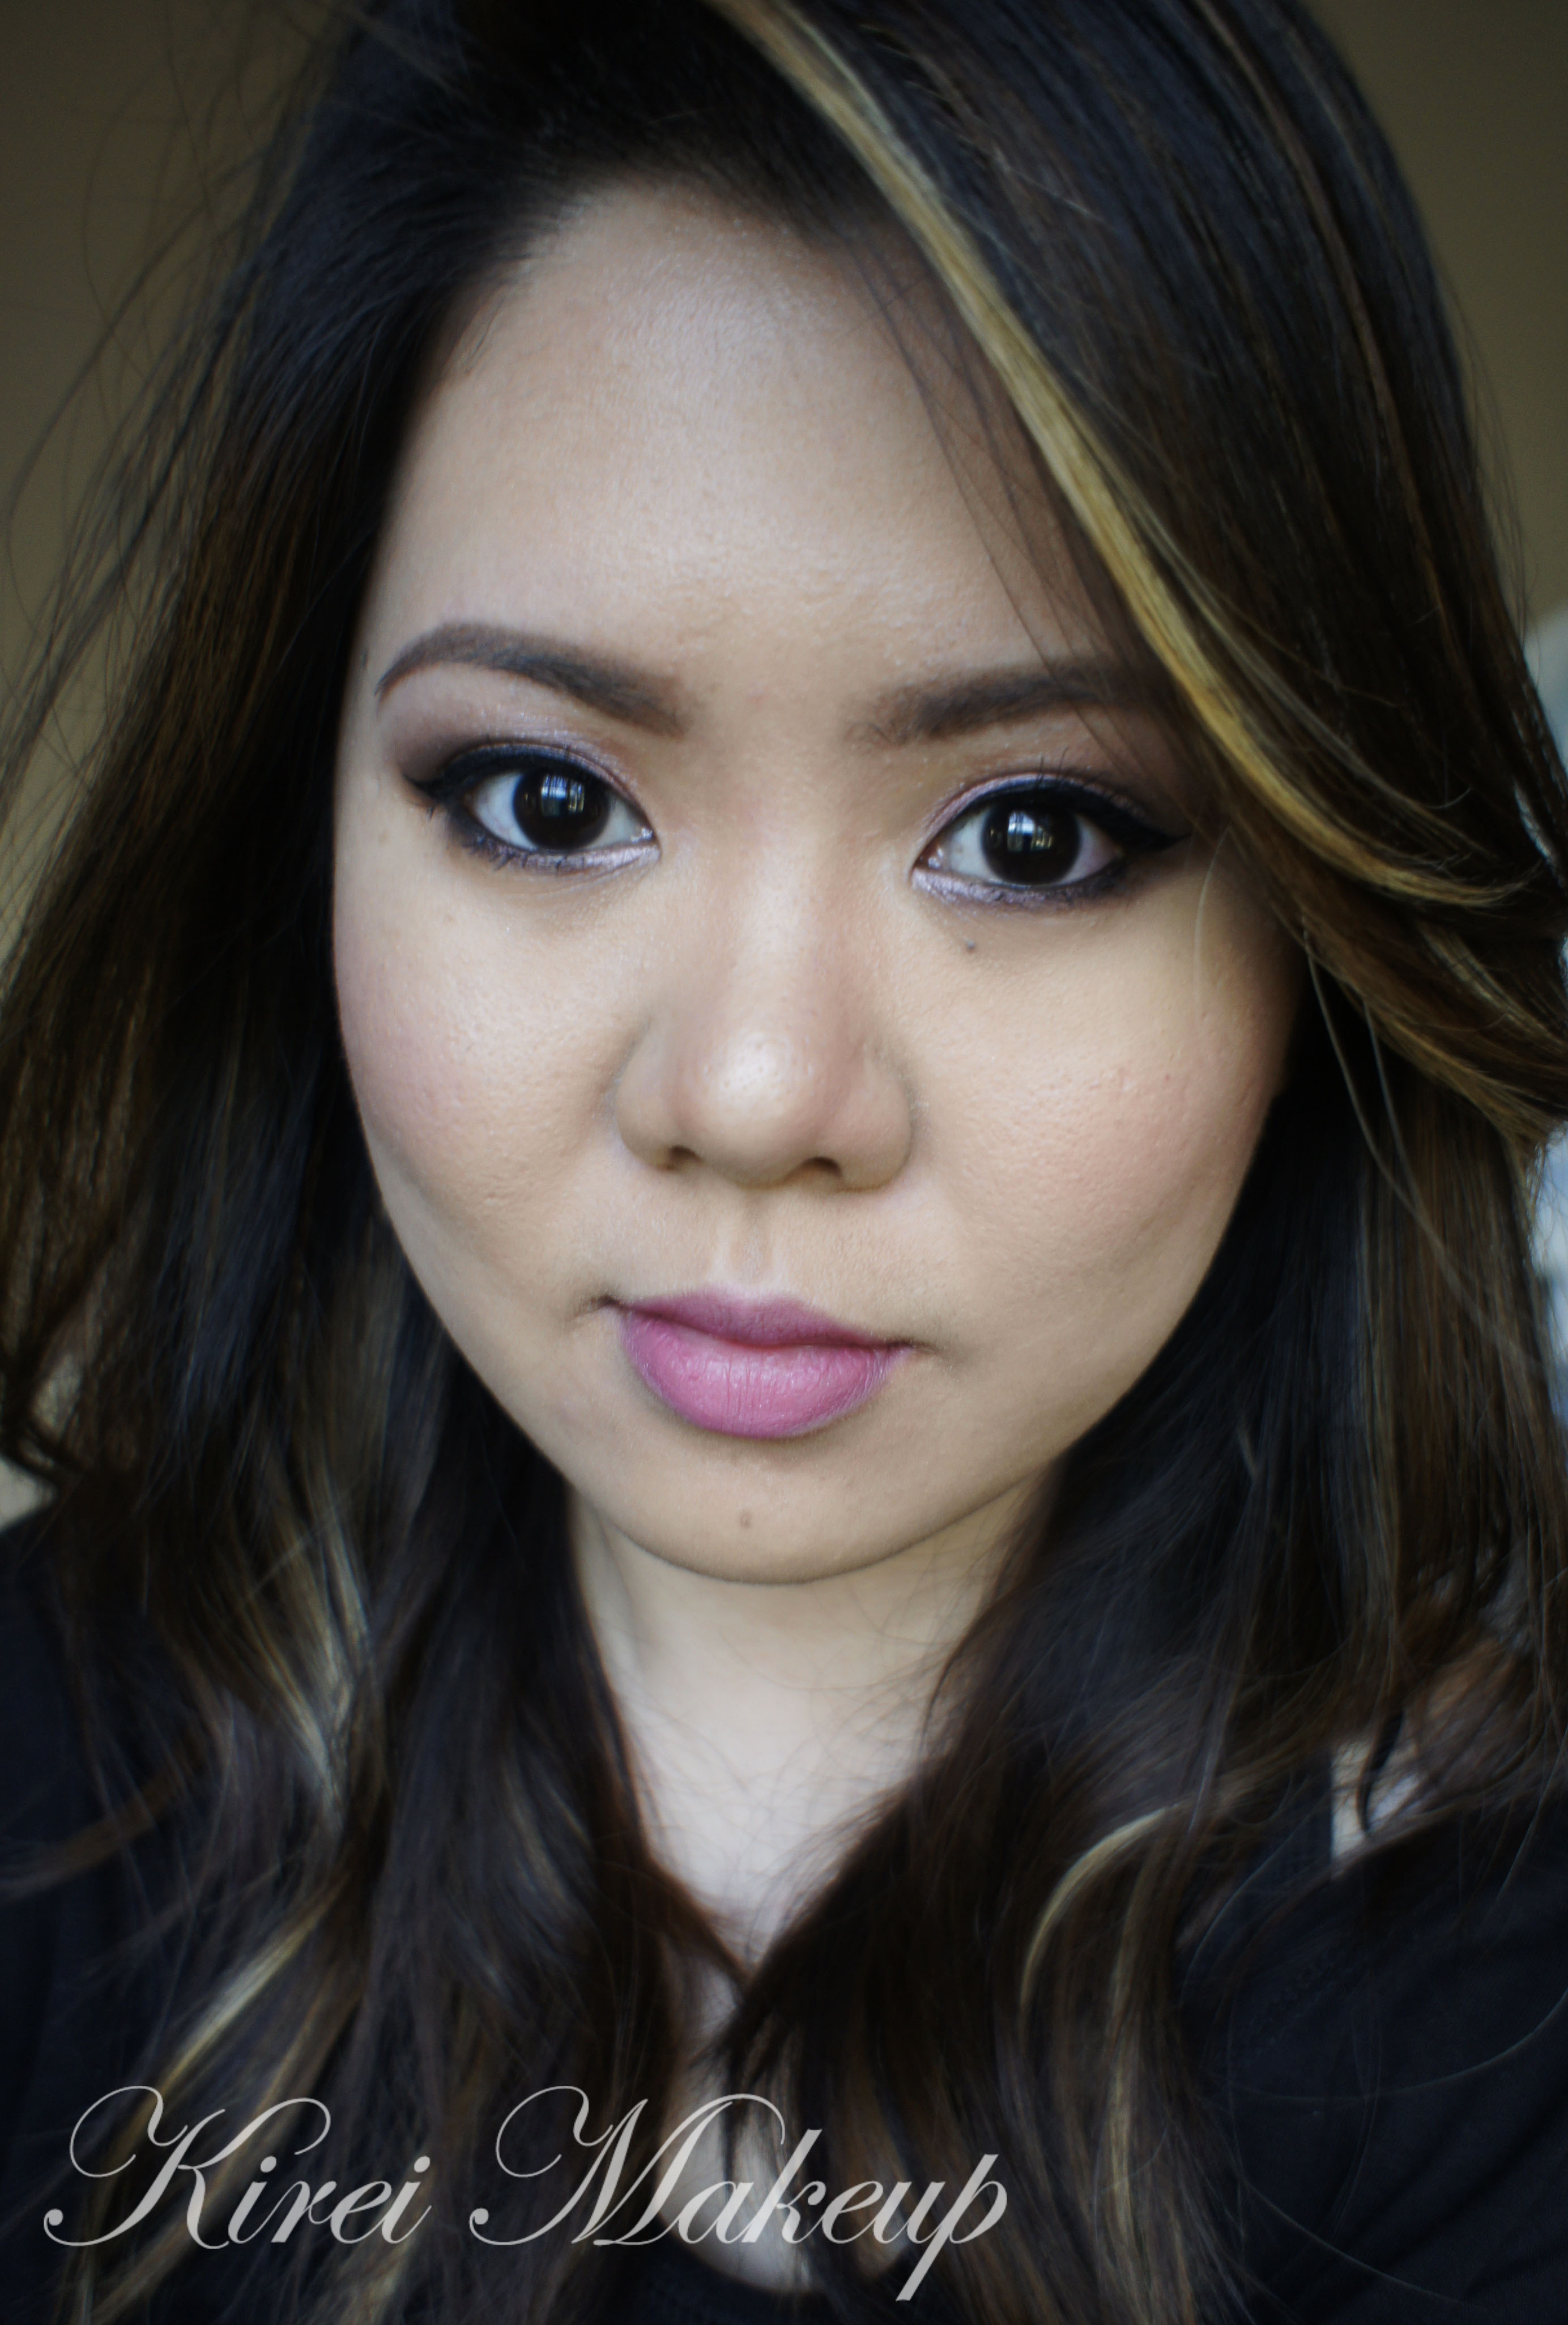
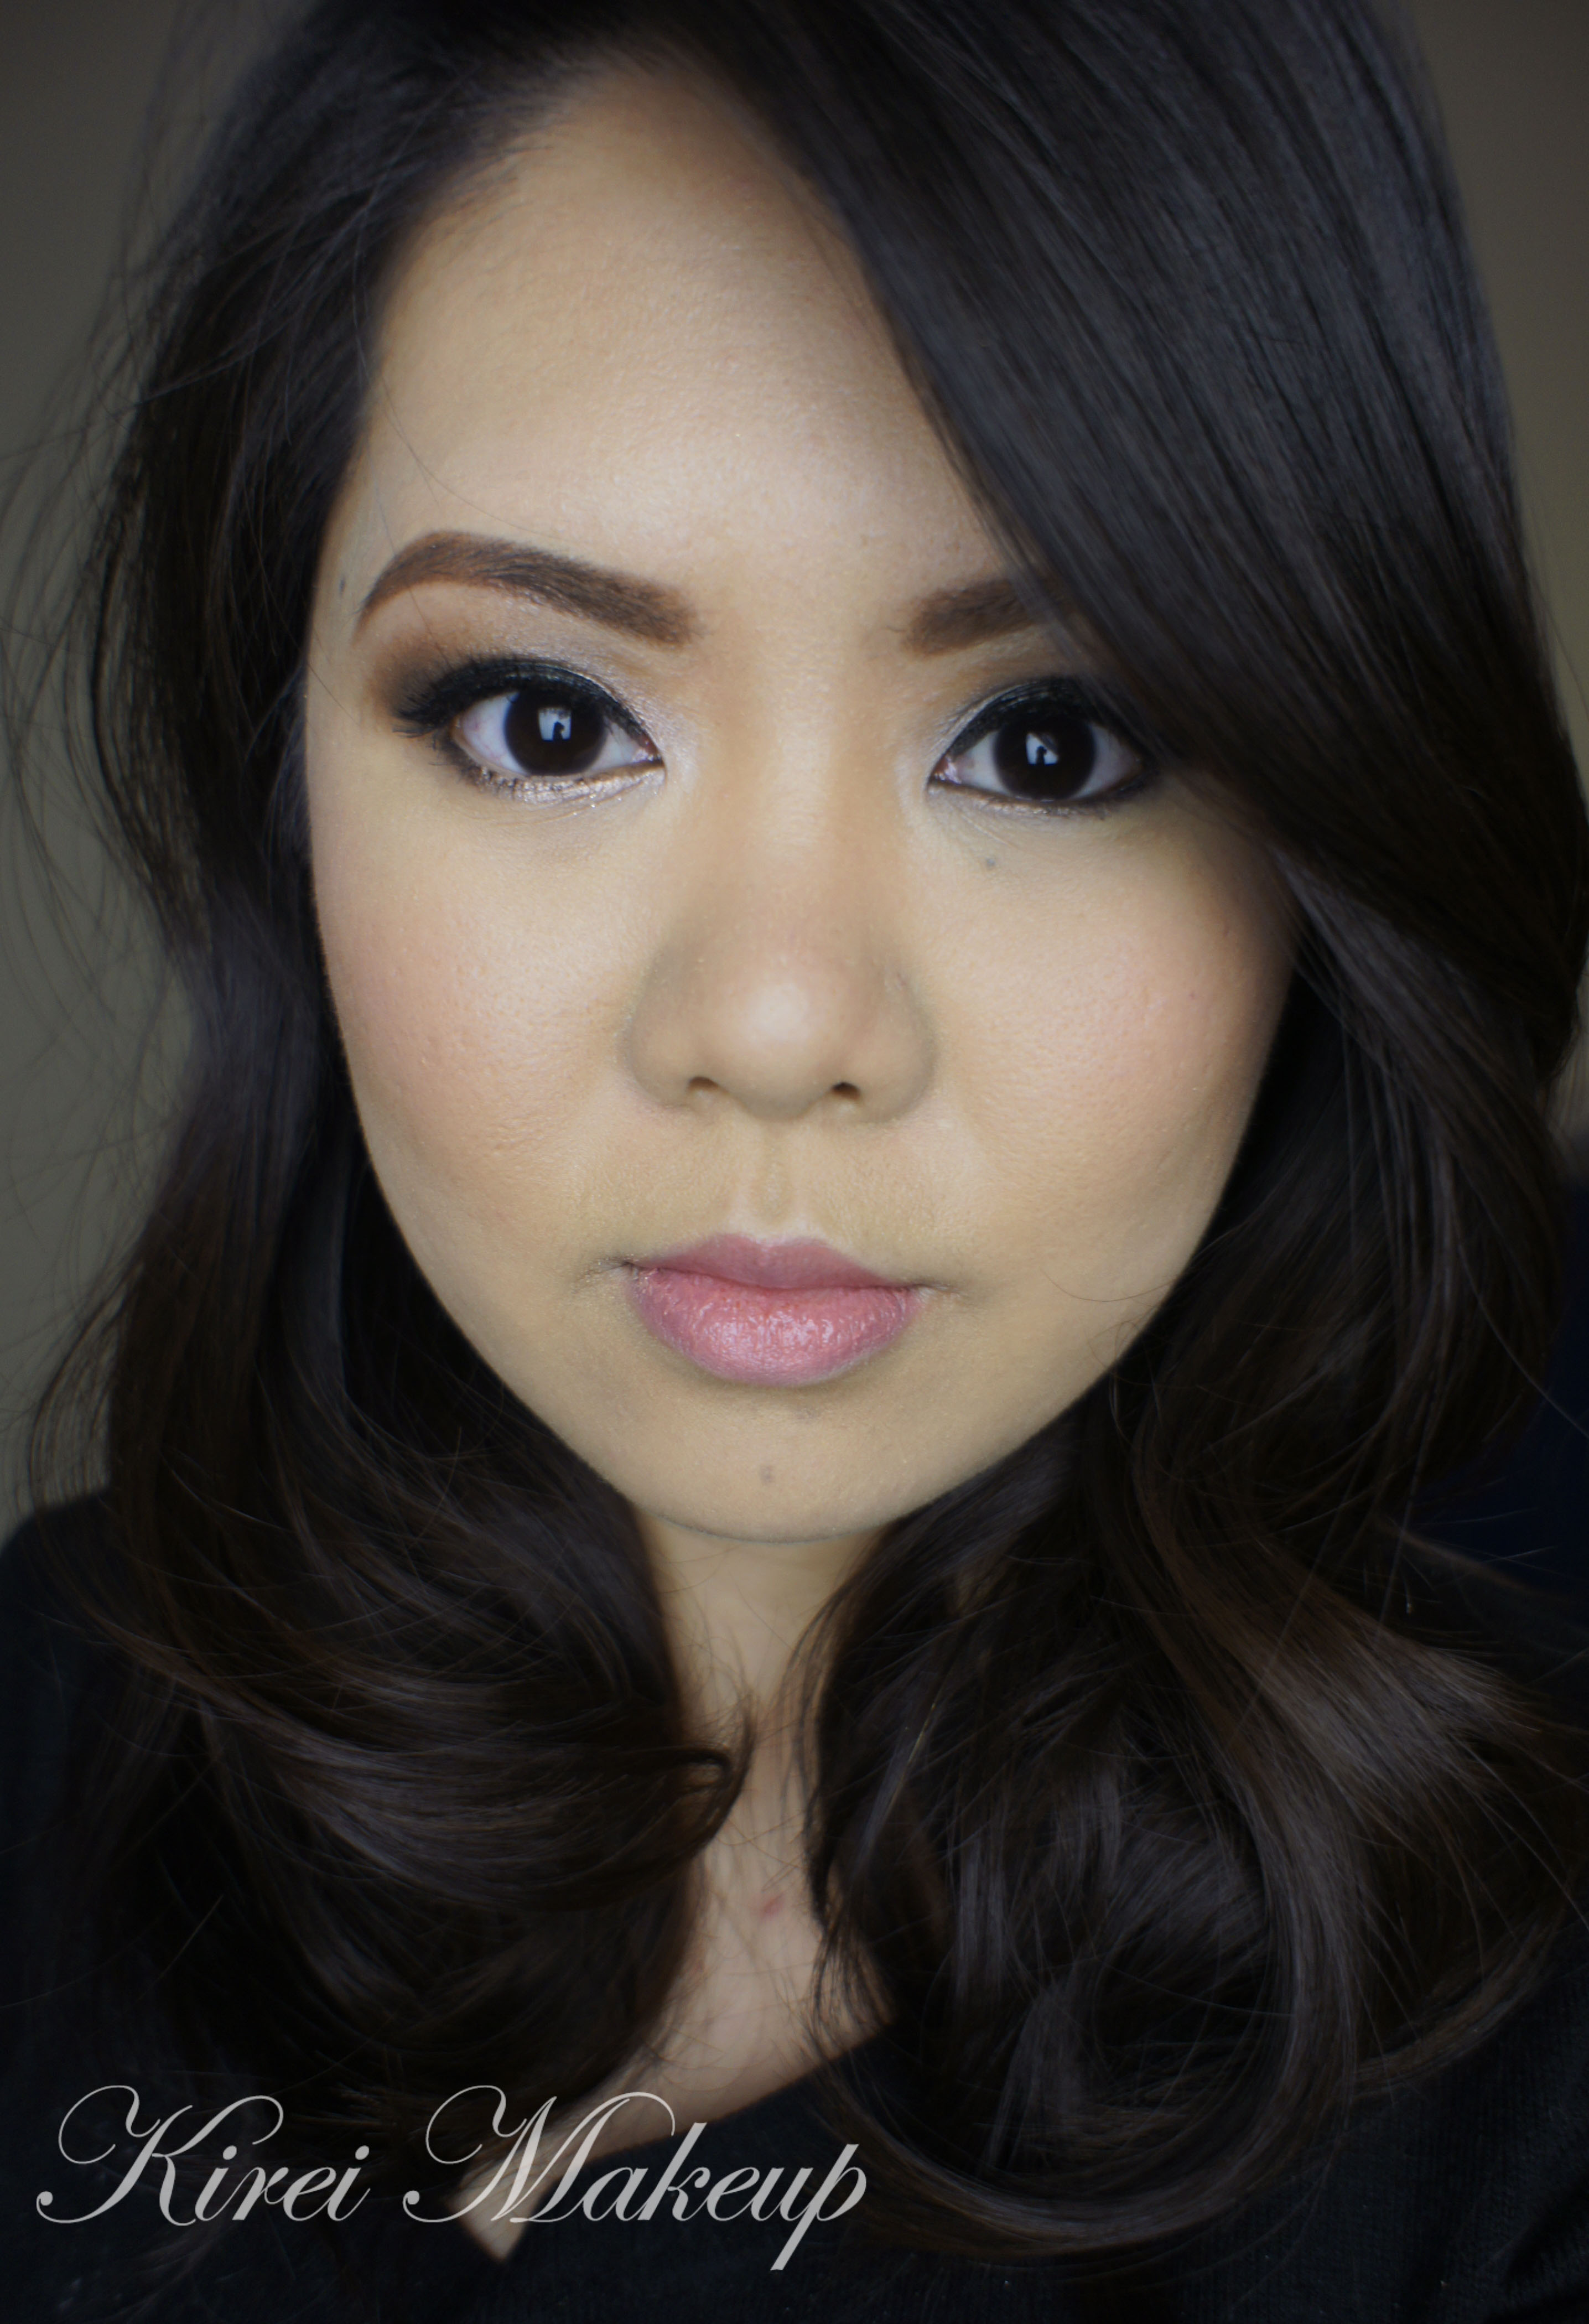
If you take a look at my pictures below, you’ll see how it covers everything from my redness (around my nose, and cheeks), uneven skintone (i.e darkness on my chin), blemishes, under eye circles, and my huge pores. My skin looks pretty amazing on the last picture on this page, no?!
Finish
This foundation has a semi-matte finish. It says on the website that it’s a radiant finish, I’m not sure what “radiant” finish is. I think this foundation has a semi-matte finish. It’s not completely natural, you can still see on the pictures below that it is somewhat matte, but not completely.
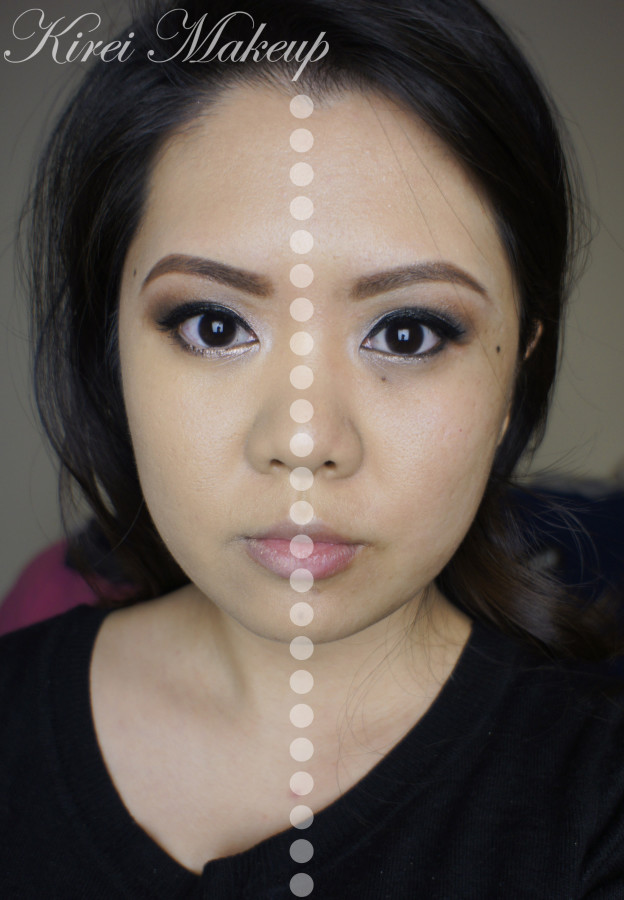
(Left: with CoverFX; Right: Bare Face)
Shade
28 shades ranging from Pink (P), Neutral (N), and Golden (G). Pink shades have a pink undertone, Neutral has equal parts of yellow and pink, while Golden has a yellow undertone.
The shade comes with a numbering system as well, ranging from 0 – 110; with 0 being the lightest and 110 the darkest. The Pink shade comes in P10-P60, Neutral comes in N0-N110, and Golden comes in G10-G80.
Price
CA$42 for 10g/0.33oz. If you are a Pro Makeup Artist, you can register for membership to get 40% off. If you are a working professional in the beauty/fashion industry, you can also register for membership to get 30% off.
If you are not a professional, you can still buy it from the Cover FX website and get 15% off on your first purchase!
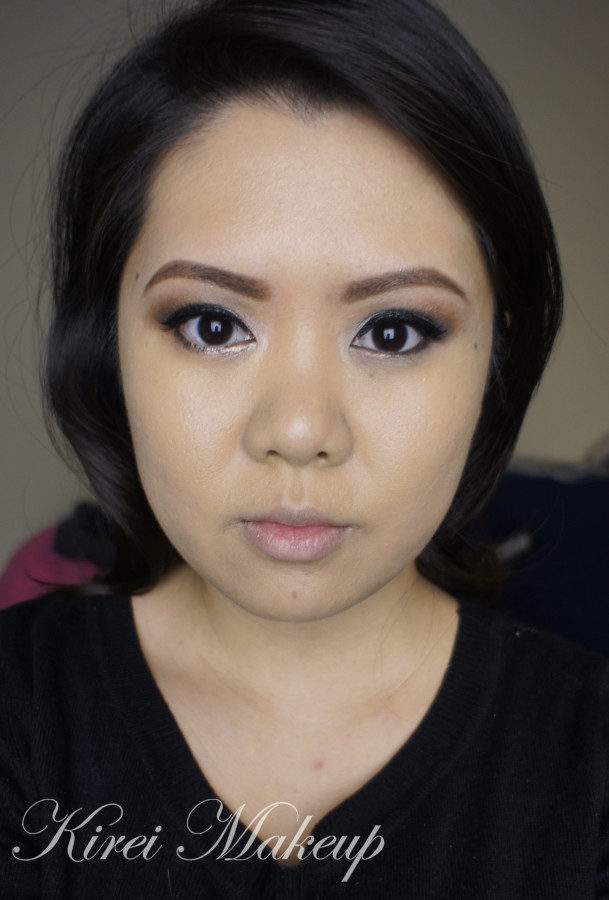
(With Cover FX Cream Foundation)
Pros:
- Great for every skin type – oily, dry, mature, sensitive, combination.
- A huge range of shade – 28 shades for all undertones! Amazing!
- Buildable coverage – sheer to full.
- Doubles as concealer.
- Lasts for the whole day – I’ve worn it for 8hr set with powder. With the old ones, I’ve used it for photoshoots and short film, as well as theater makeup, which work for the full day, barely needing any touch-up.
- Price is reasonable, considering the discounts.
- Semi-matte finish.
- It has SPF 30.
- Can be used to cover any imperfections, as well as tattoo.
Cons:
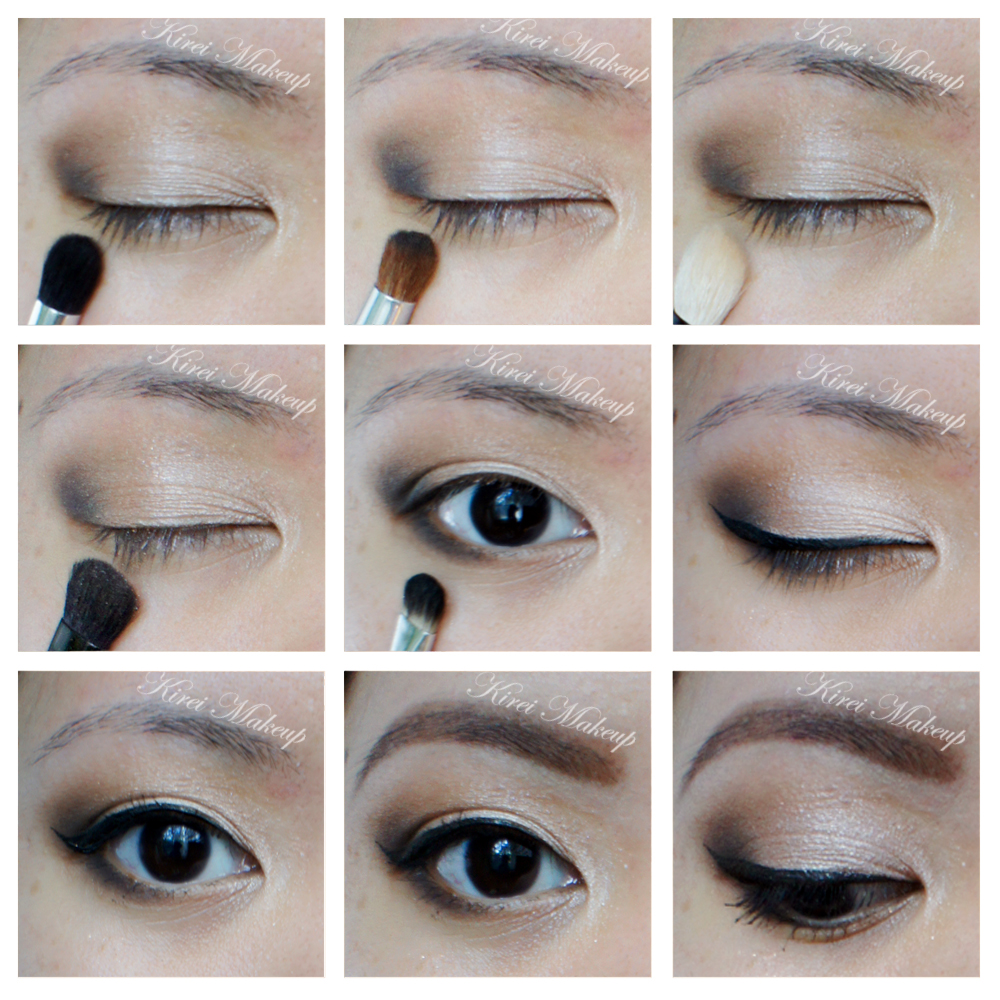
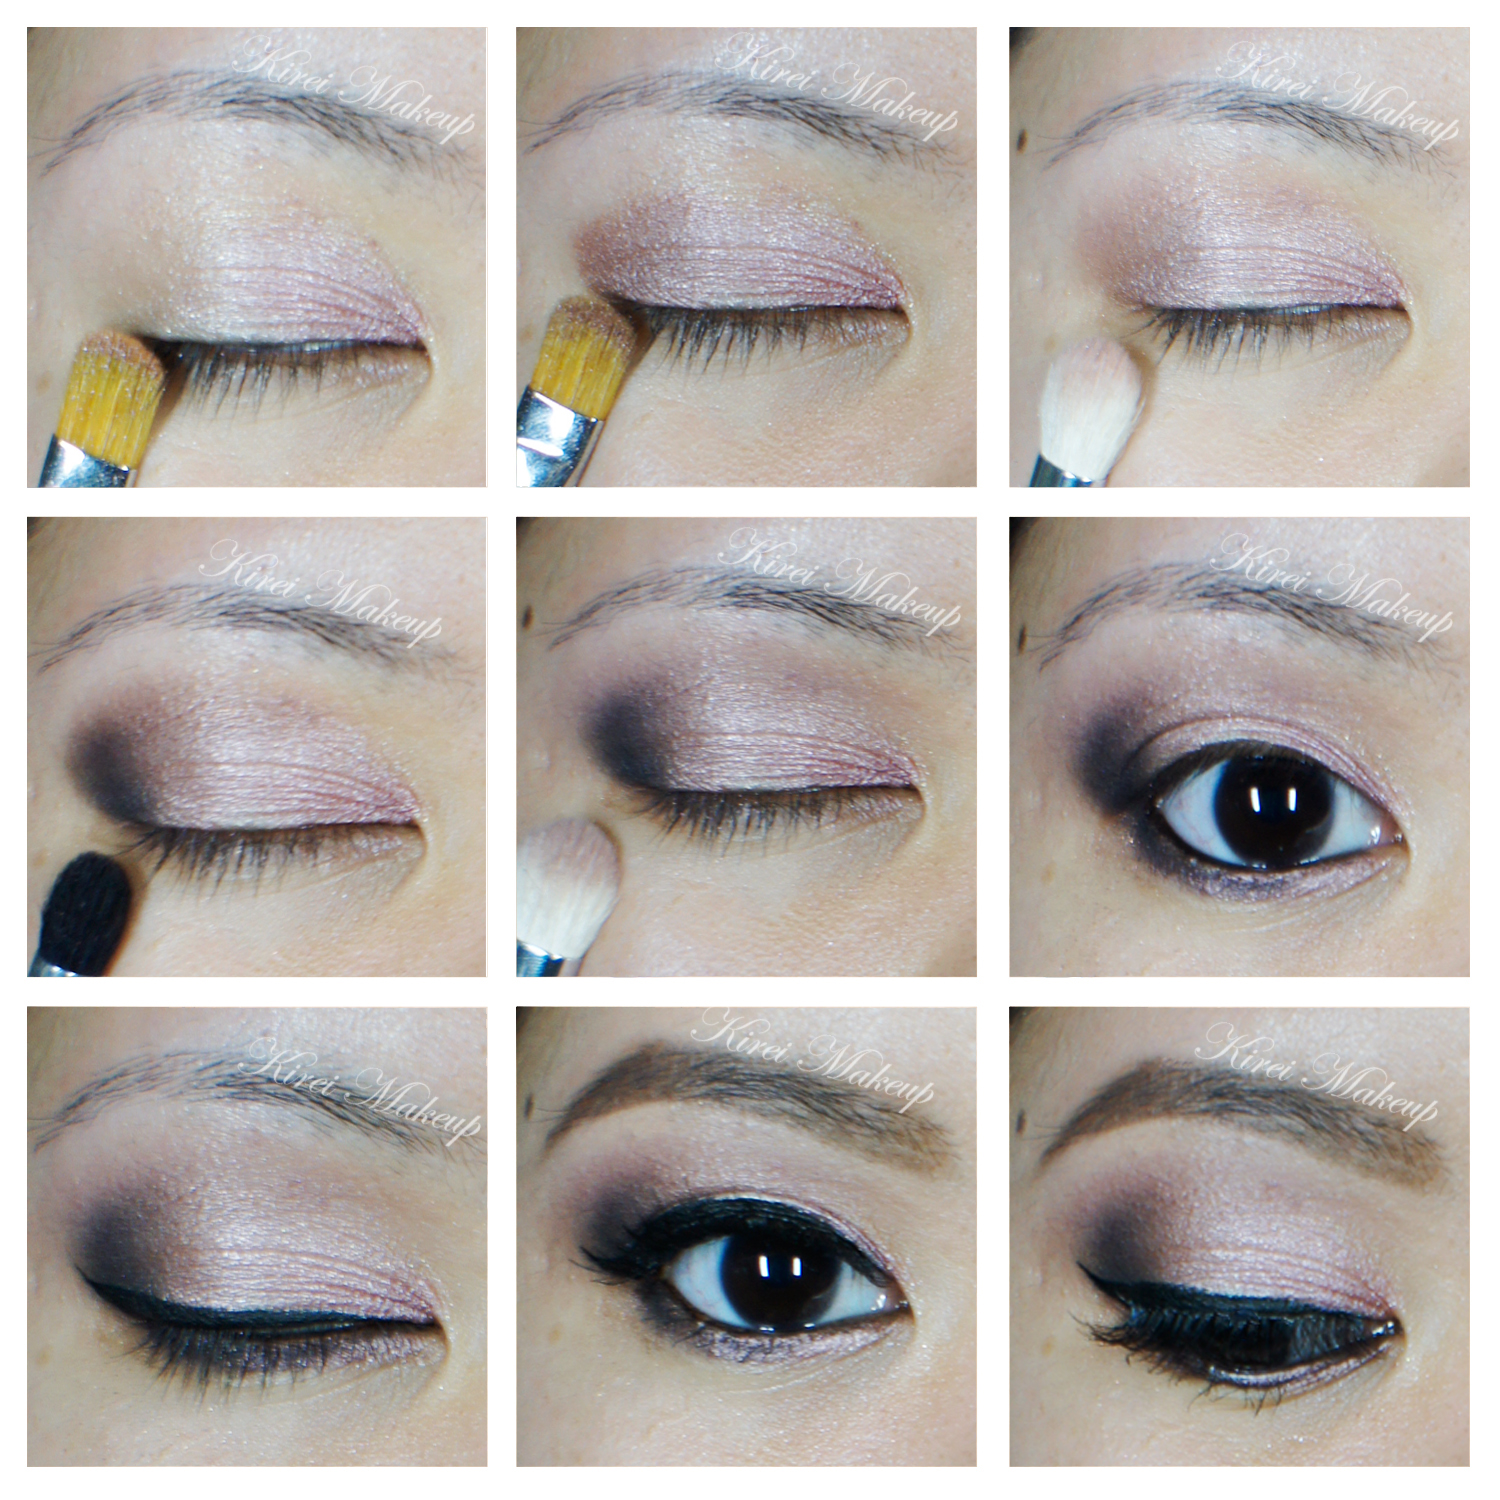
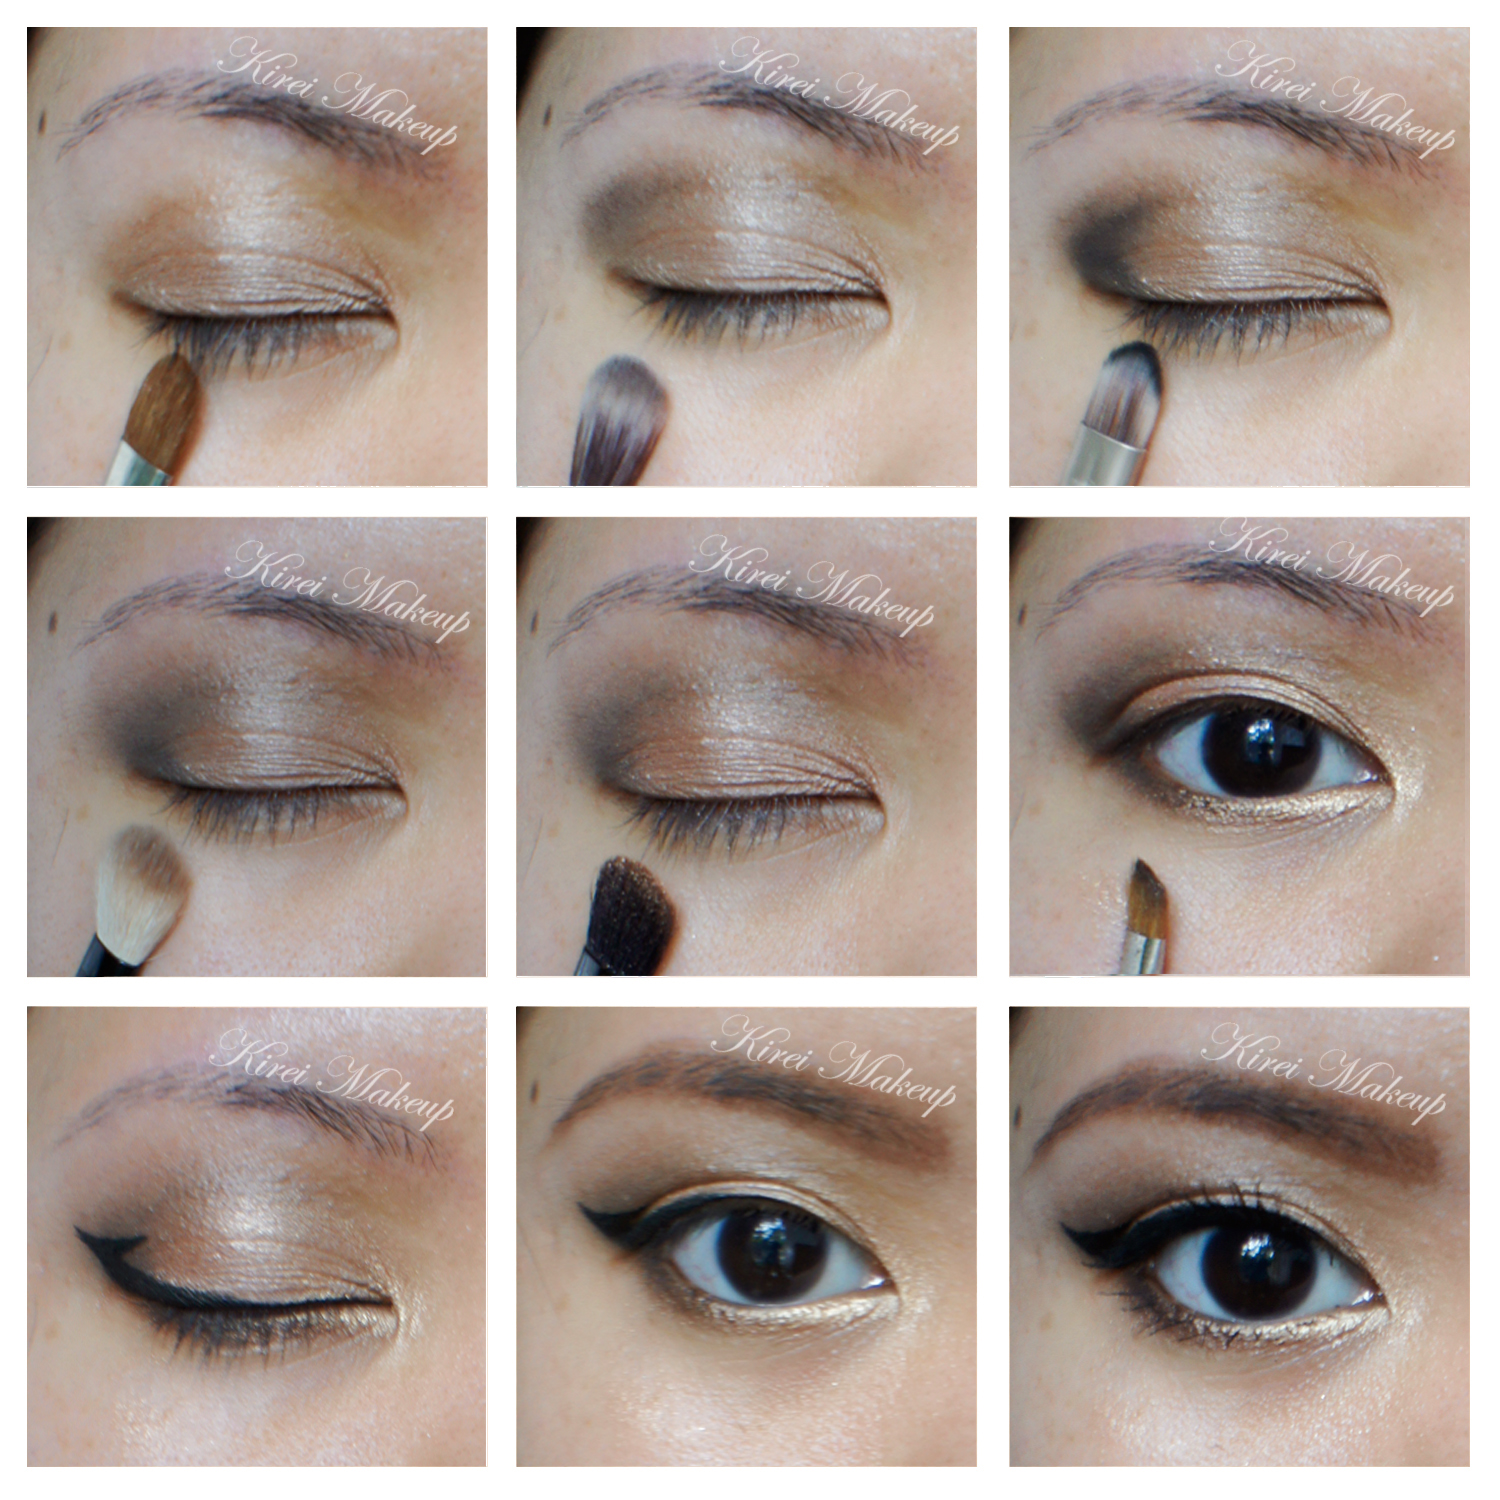
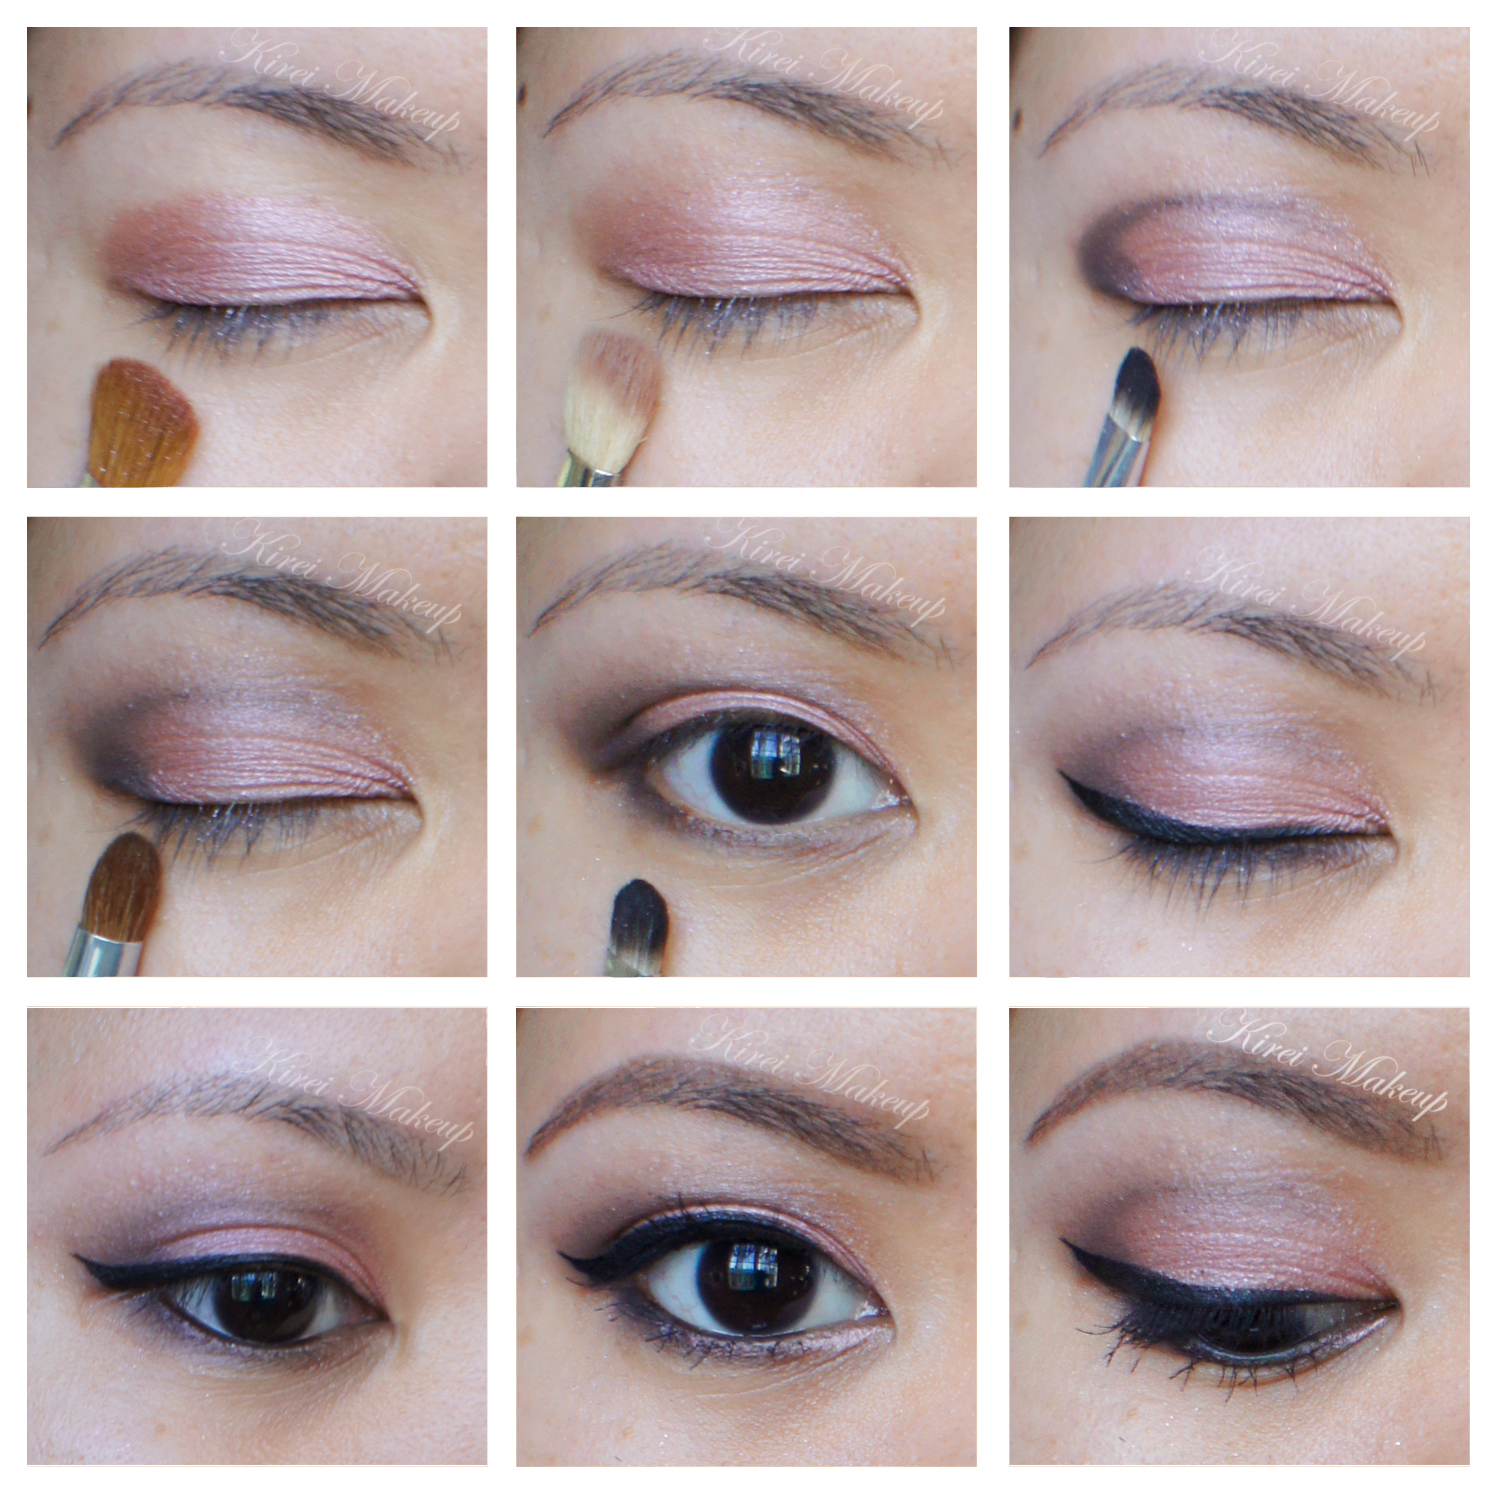
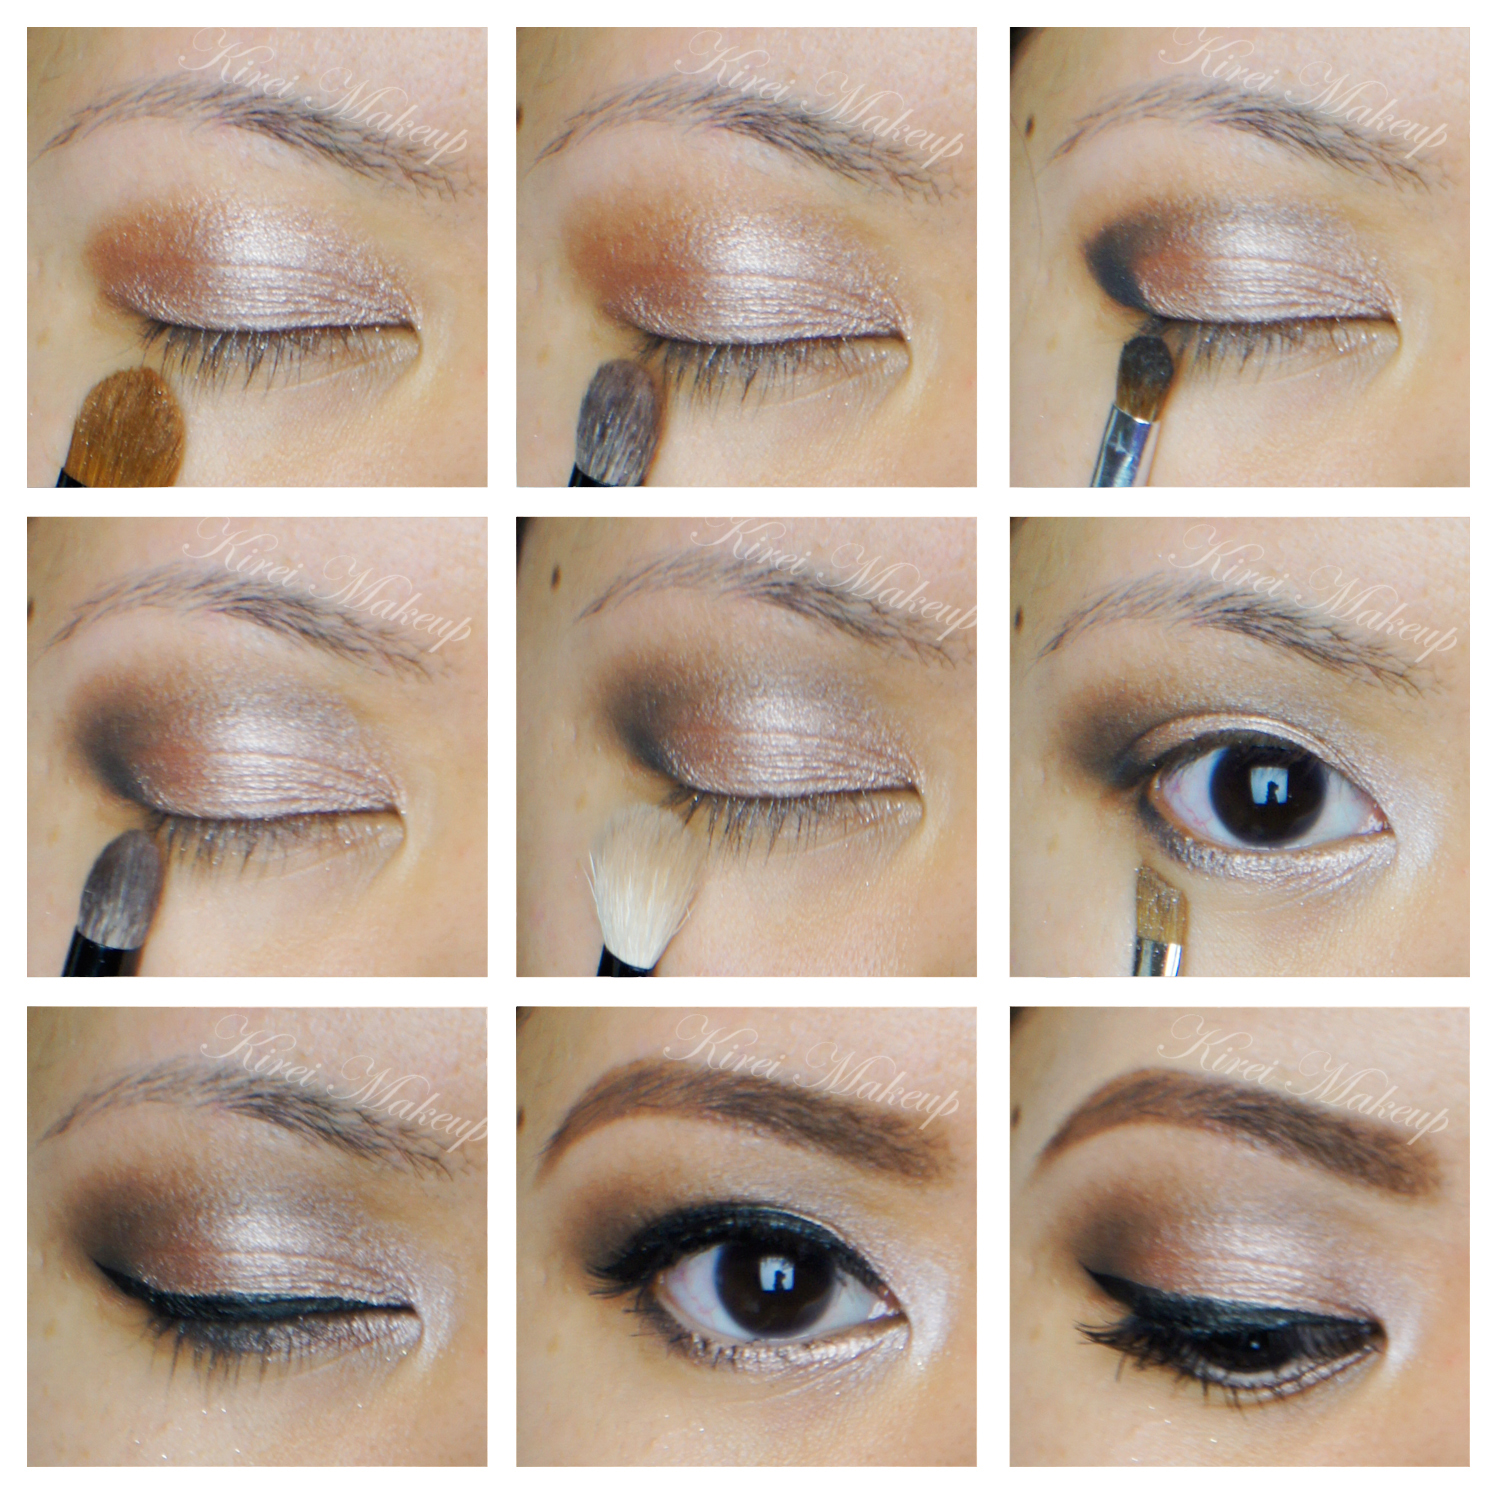
On the picture below, I’ve done a little bit of contouring and highlight using N110 and G20. I’ll show you guys how I do it next time! For the full makeup tutorial (eyes, lips, cheeks etc), I’ll post that tomorrow, or the day after tomorrow.

(Pores, begone!!!)
Disclaimer: I’m not sponsored, nor affiliated with Cover FX. Clicking on the links will not earn me any monetary profits.