Halloween – 3D Spider Face Painting

Today’s tutorial is a good option for a last minute Halloween makeup idea! If you still haven’t decide what to do for Halloween, you can try to do this quick 3D Spider Face Painting look! Let me tell you that I have no background whatsoever in Art, and I managed to complete this look in about 20-minute. It’s fast, easy, and you don’t need many tools to create this 3D spider. You can also do it anywhere on your face/body. Actually my sister wanted me to do this on her face for Halloween when I showed it to her. So, there you go! A last minute Halloween idea without the need to wear any costumes!

So, I googled “Black Widow Spider” and also “realistic spider tattoo” to be used as reference for this look. You’ll see a tons of images on the web, so just pick one you like, and put it in front of you when you’re doing this. It’s a lot easier to create this look when you have a visual right in front of you.

All you need for this tutorial is:

  1. Image of spider (or tattoo)
  2. Brown eyeliner or eyebrow pencil (optional)
  3. Black liquid pen eyeliner – the easiest to work with. Try to find a pen-type liquid eyeliner so you can use it like you would use a marker.
  4. Red face paint or lip liner or lipstick
  5. White face paint or eyeliner
  6. Black pencil eyeliner

For brands I used, please check out the list of products at the end of the tutorial.

How-to:

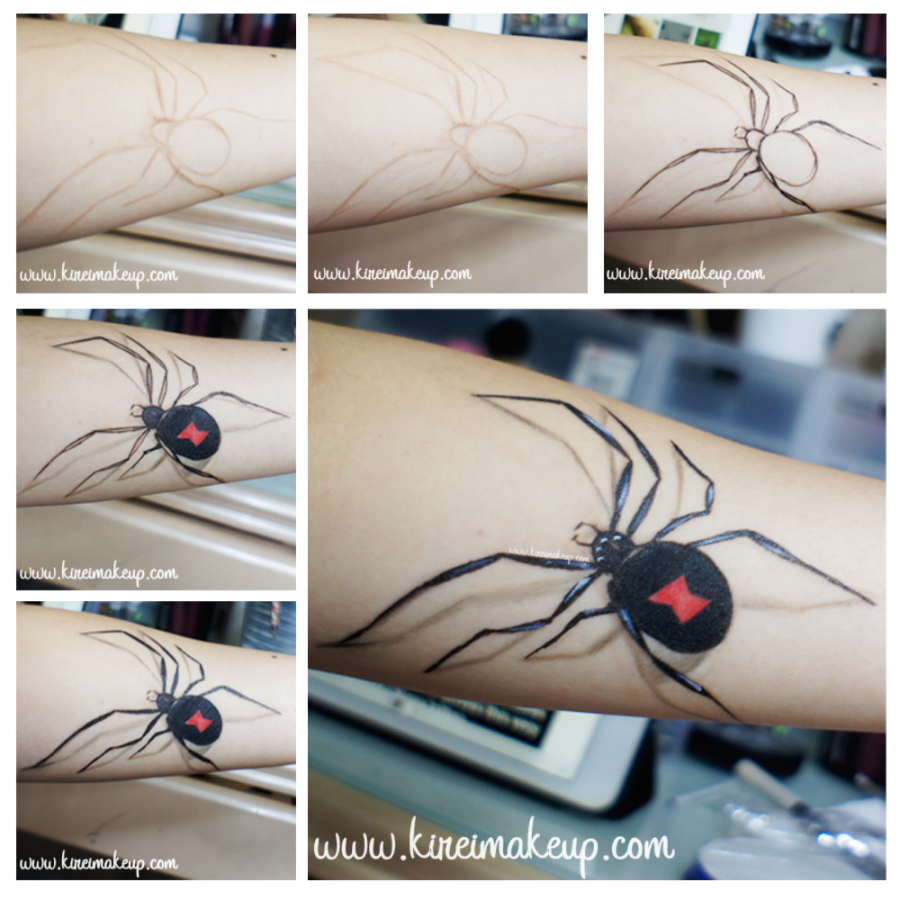
1. I began by sketching out the outline of the spider on my arm using a brown eyebrow pencil.

2. Using the same brown pencil, I also sketched out where the shadows of the legs and body going to be. Make sure the “shadows” are thinner (use less pressure on the pencil). This way, you won’t mistook the legs from the shadow.

3. Using a black eyeliner pen, I thickened the body and legs of the spider.

  • The spider legs have 3 parts – upper thigh, middle thigh, and the long thin thigh. These thighs are separated by 2 joints. The easiest way to imagine the way their legs work is to look at your finger, or just use your reference photo as a sample.
  • To draw the thigh, just create a long almond-ish shape (look at photo below to see what I mean).

4. I created the red marking of the “Black Widow” spider using a red face paint, then I filled out the rest of the body using a black liquid eyeliner.

5. I filled in the gap on the thighs using the same black liquid pen eyeliner.

6. I cleaned up any excess of the sketch from step 1 using Maybelline Clean Express Mineral Water and cotton bud (i.e. q-tip).

  • For example, you can see that I made the top front leg slightly shorter with the black eyeliner than my initial sketch using brown eyeliner.

7. You can skip this step if you want to, but I darken the shadow of the legs and body slightly using a black pencil eyeliner.

  • Make sure all the shadows of the legs touched the tip of the spider’s “real” leg where it touches your body. This will create that 3D effect, where it looks like the spider is on your body.

8. Lastly, using the tip of an eyeliner brush and a white face paint, I applied some highlight on the legs of the spider and 4 dots on the head, and VOILA! DONE!

Don’t forget to check the rest of my Halloween tutorials!

realistic spider face paint

Products used:

  1. Brown eyebrow pencil – Chanel eyebrow pencil
  2. Black liquid pen eyeliner – Shu Uemura Calligraphy:ink eyeliner pen
  3. Red face paint – Snazaroo classic red face paint
  4. Black eyeliner pencil – Revlon photoready eyeliner pencil in Carbon Cleopatra
  5. White face paint – Snazaroo classic white face paint
Don’t forget to check the rest of my Halloween tutorials!

Halloween #1- Monster Teeth

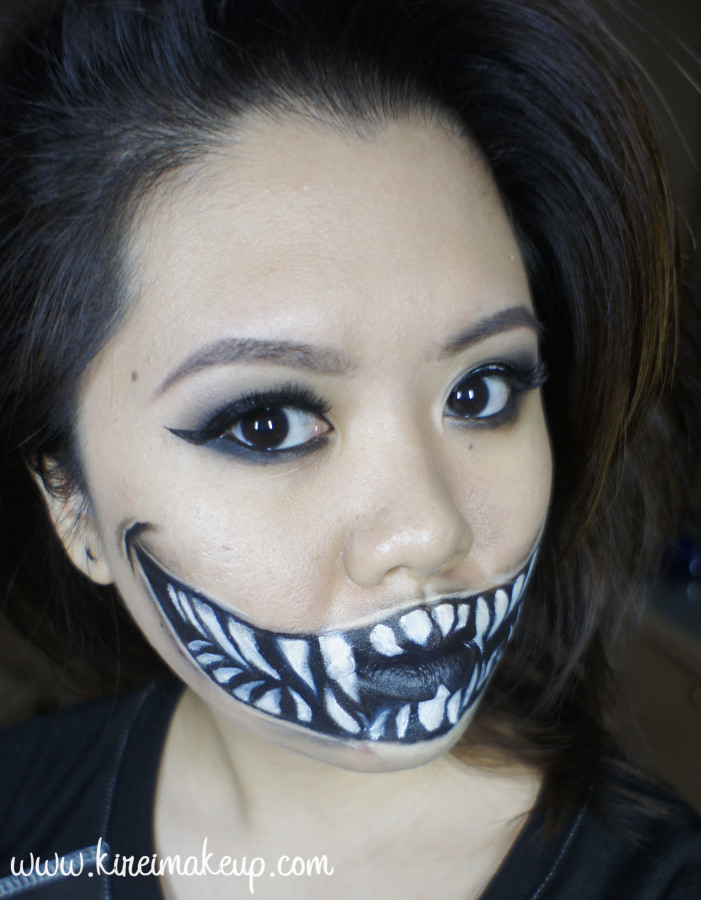
Alright! I finally decided to start my Halloween tutorials early this year! I’m super pumped since my parents are setting up a haunted house at work for everyone to enjoy! Anyways, you can be sure I’m going to be there with full makeup on! For my first tutorial, I decided to do a Monster Teeth or monster smile, since I always find difficulty creating these teeth. I’m not that happy with the result, but oh well, I think it worked pretty well.

One tip that I should keep in mind for myself, is to use water-based white paint for the teeth instead of cream face paint. I think the cream is hard to work with since it moves around so easily, but that’s just my preference. Also, funny story (not so funny when it happened), I was so close to finishing the whole look, and I decided to “fix” the two teeth on the bottom lip, then my hand slip and smudged everything. I had to remove the 2 teeth and just created 1 since it was getting late, and I had to go to bed.

*For Killer Clown tutorial please check out my latest post*

*Please check out my other Halloween post*

Ok, let’s get this whole thing started!

How-t0:

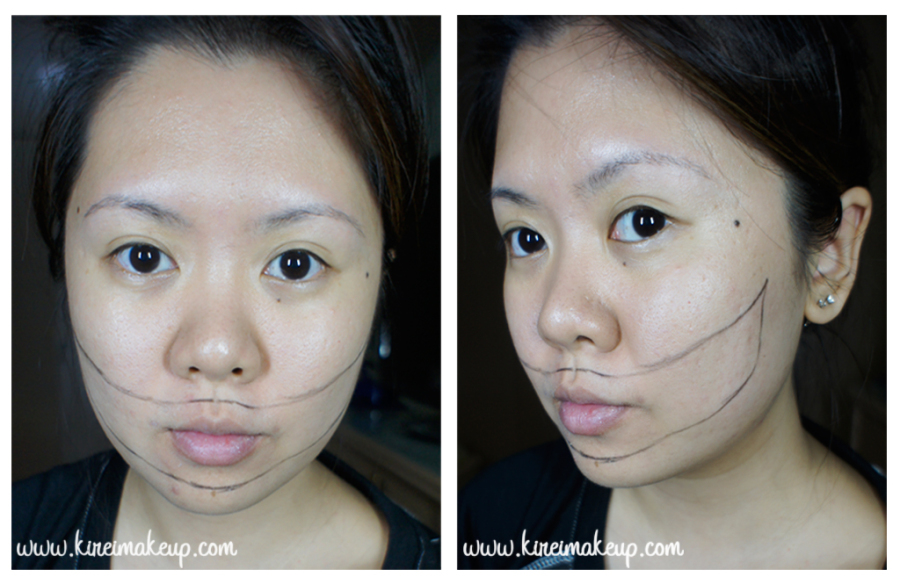
1. I started out by drawing an outline of the smile using a black eyeliner pencil.

halloween makeup tutorial

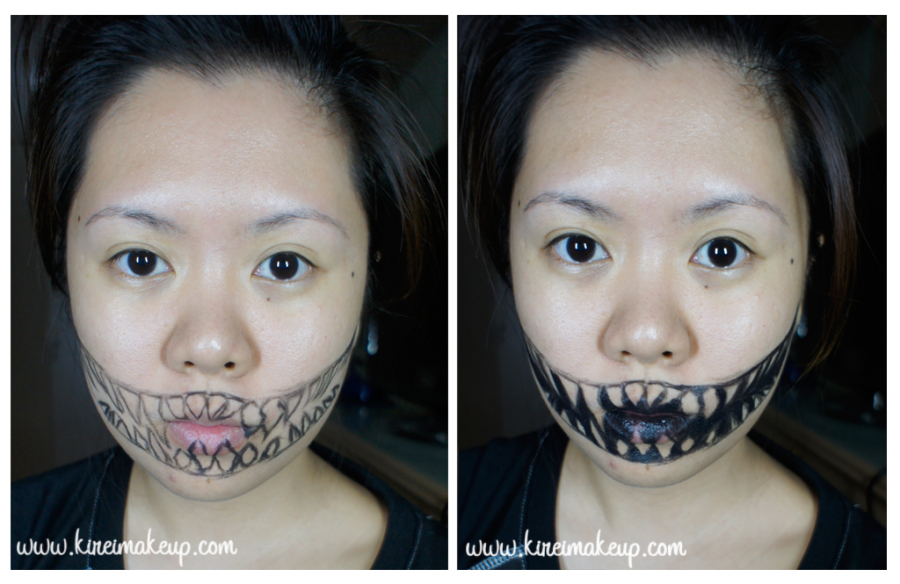
2. Using the same eyeliner pencil, I started drawing the outline of the teeth. It doesn’t have to be pretty, it can be as sharp or as big as you want. I drew the teeth at the back of the mouth a little bit curved in to create an eerier smile.

3. Using a small synthetic artist brush, I applied black cream face paint outside the teeth area.

halloween makeup tutorial

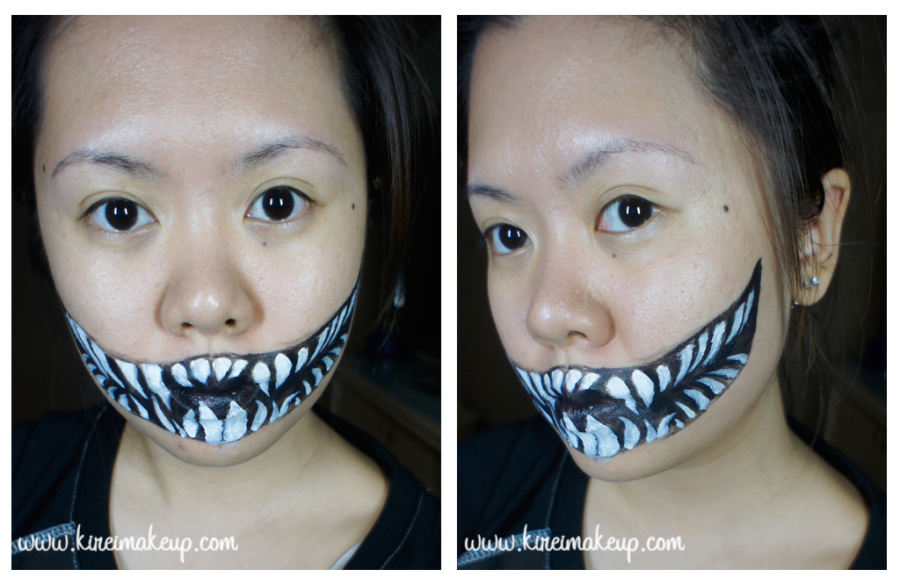
4. Using a clean synthetic artist brush, I applied white cream face paint inside the teeth.halloween makeup tutorial

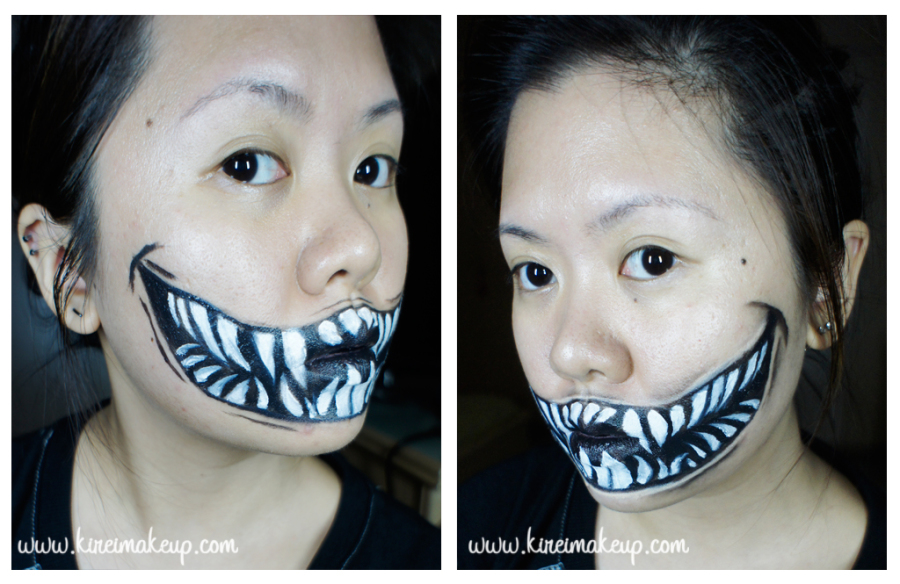
5. To create some depth, I created some smile lines at the end of the monster mouth, above and below the monster lips.

6. Using an angled eyeliner brush, I blended the lines down for the lines on below the lips, and upwards for the lines above the lips. This will create an illusion of depth.

halloween makeup tutorial

7. For the rest of the face, I applied foundation and smoky eyes just for fun.

8. I also set the cream face paint using eyeshadow of similar colors – black for the black areas, and white mixed with beige for the teeth.
halloween makeup tutorial

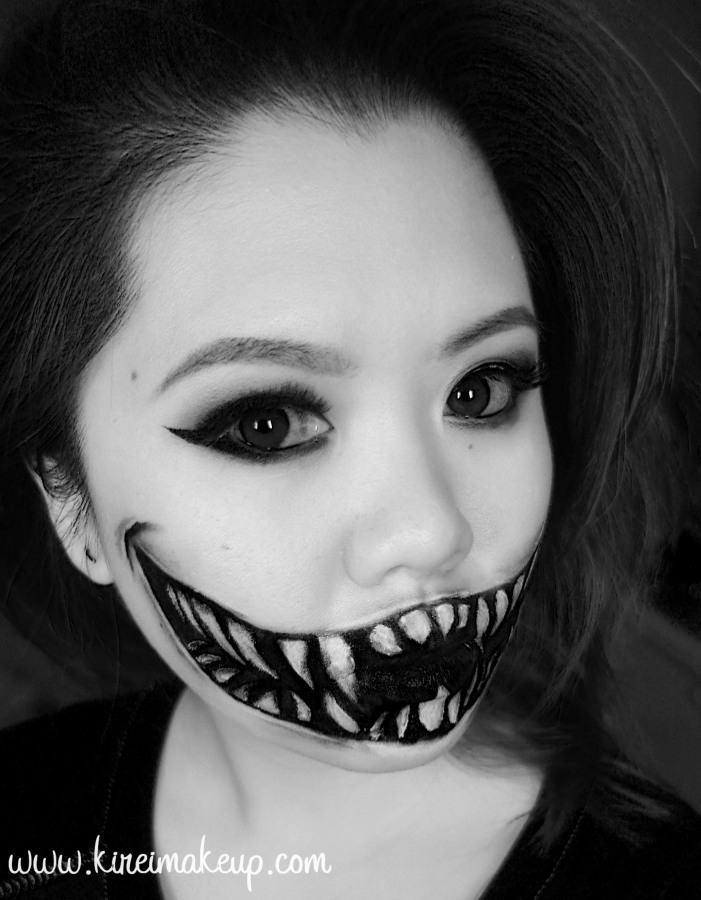
It looks really good in black and white!

halloween makeup tutorial

Ta-daaaah! So, let me know if you have any request for Halloween, ‘kay?!


xoxo

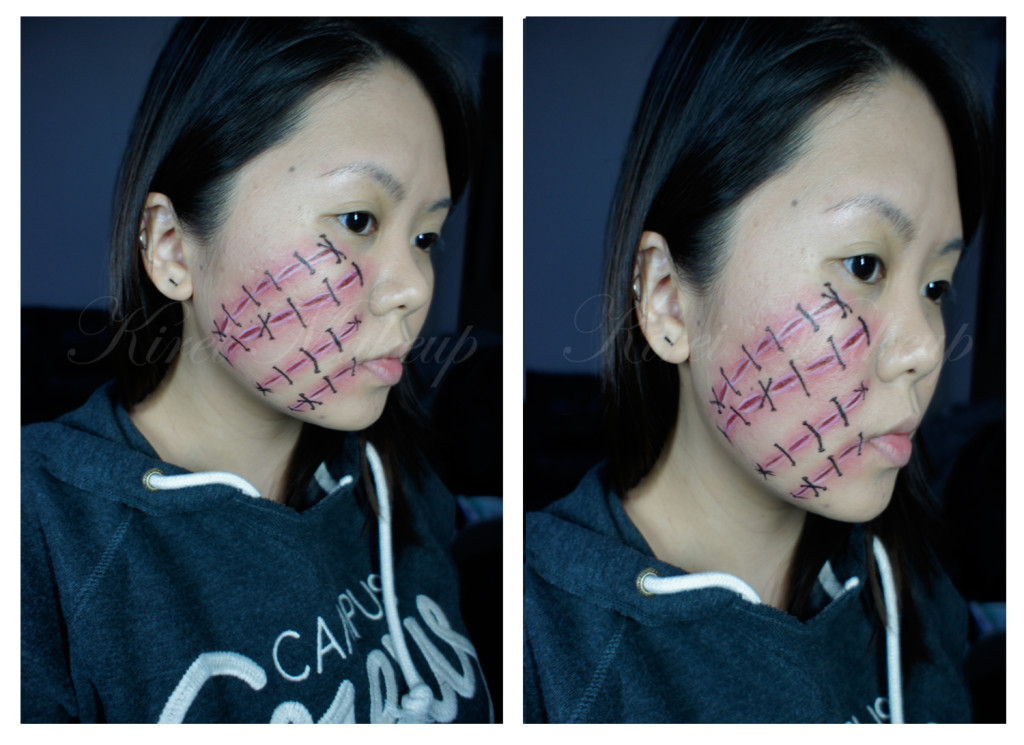
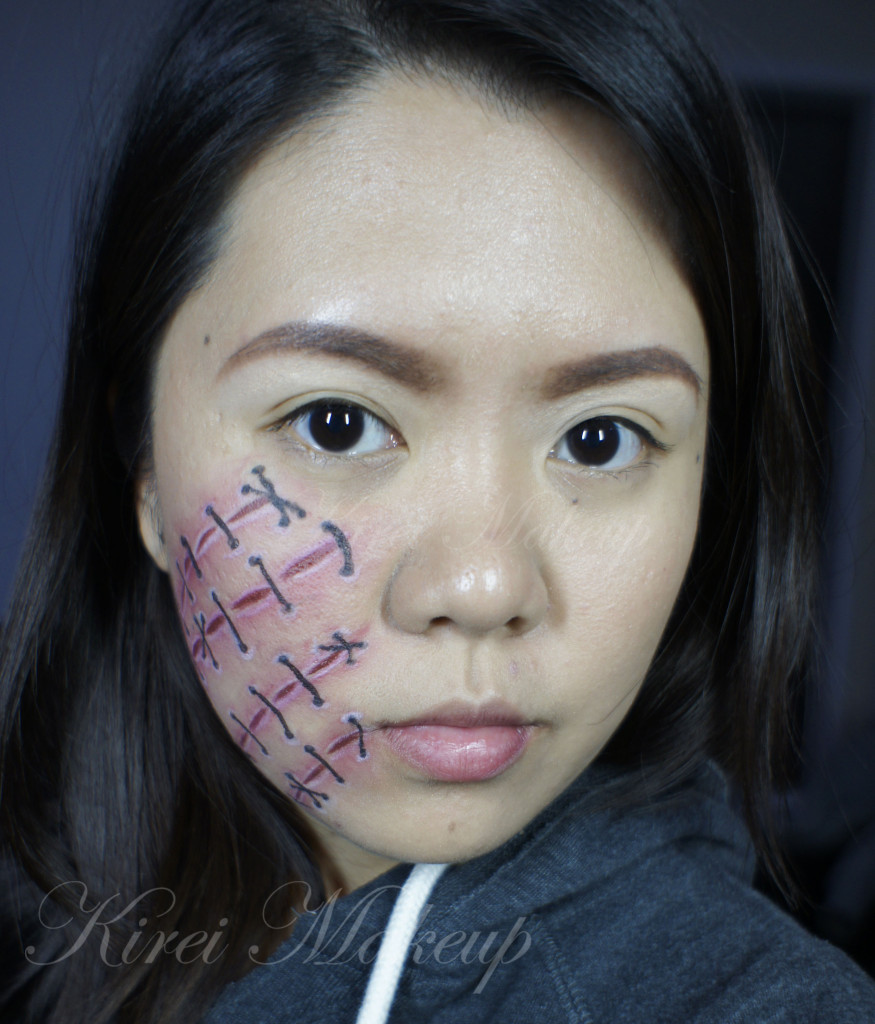
Stitched Up (face paint only)
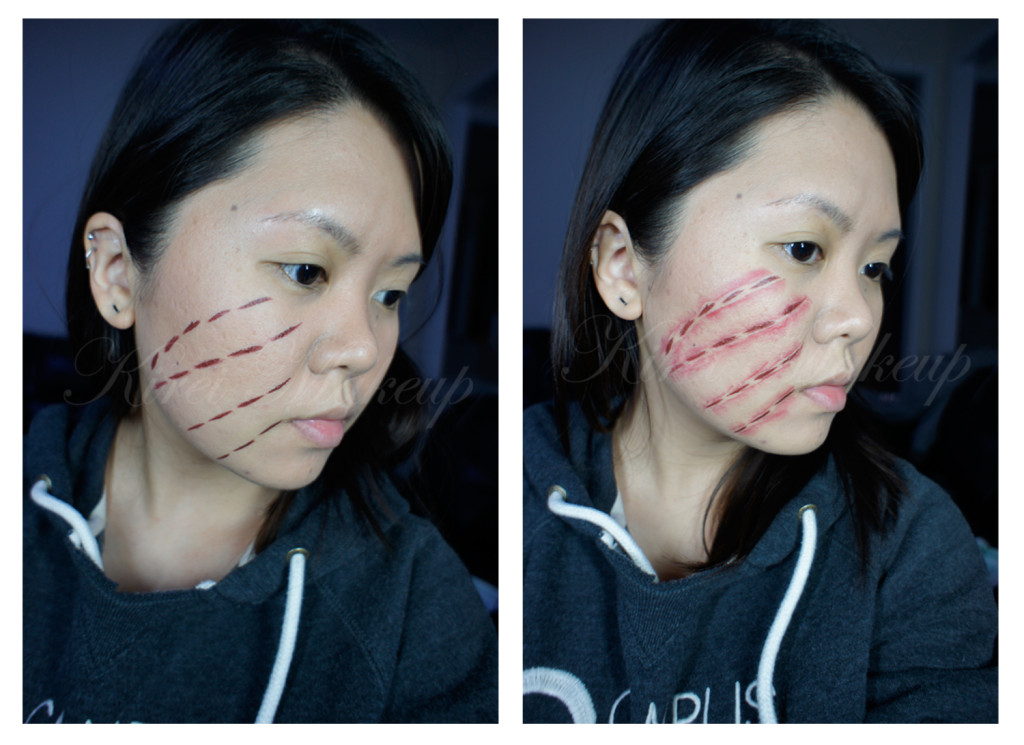
Last minute Halloween idea using very simple products:

  1. Dark red lip liner (or face paint) – I used the dark red from Kryolan Bruised Wheel palette, and an angled eyebrow brush.
  2. Light red lip liner – I used MAC Brick lip liner.
  3. A small flat eyeshadow brush.
  4. White pencil eyeliner.
  5. Liquid eyeliner – I used L’oreal Infallible Super Slim Liquid Eyeliner.

No latex, no glue, no special equipment needed. Everything is face paint, and it’s easy to achieve. You can get all these products from Wal-Mar, Shopper’s Drug mart etc. Very easy to make!

Should you decide to wear this look out, you might want to apply your makeup first and then create the face paint.

stitched face paint
How-to:

1. Create dashes along your face using a dark red lip liner, or using face paint with an angled brush.
2. Using a lighter red lip liner, smudge it beside the lines that you’ve created.

3. Using the flat eyeshadow brush, blend out the lighter red lip liner to create pink tenderness on the face.

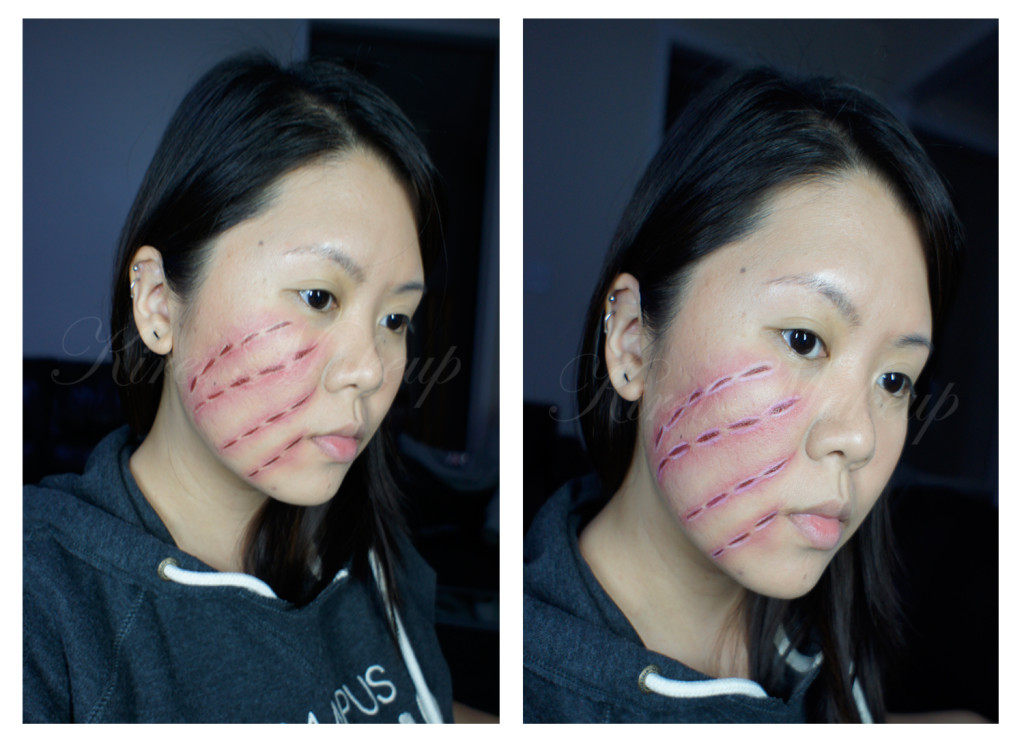
4. Lightly line the outside perimeter of the “dashes” to highlight it. This will make your wound look swollen.stitched up makeup

6. Using the black liquid eyeliner to create the “stitches”. Create dots at the end of the stitches.

7. (Optional) You can use the white pencil eyeliner to highlight the ends of the stitches.

halloween stitched up stitched face paint

Infected!

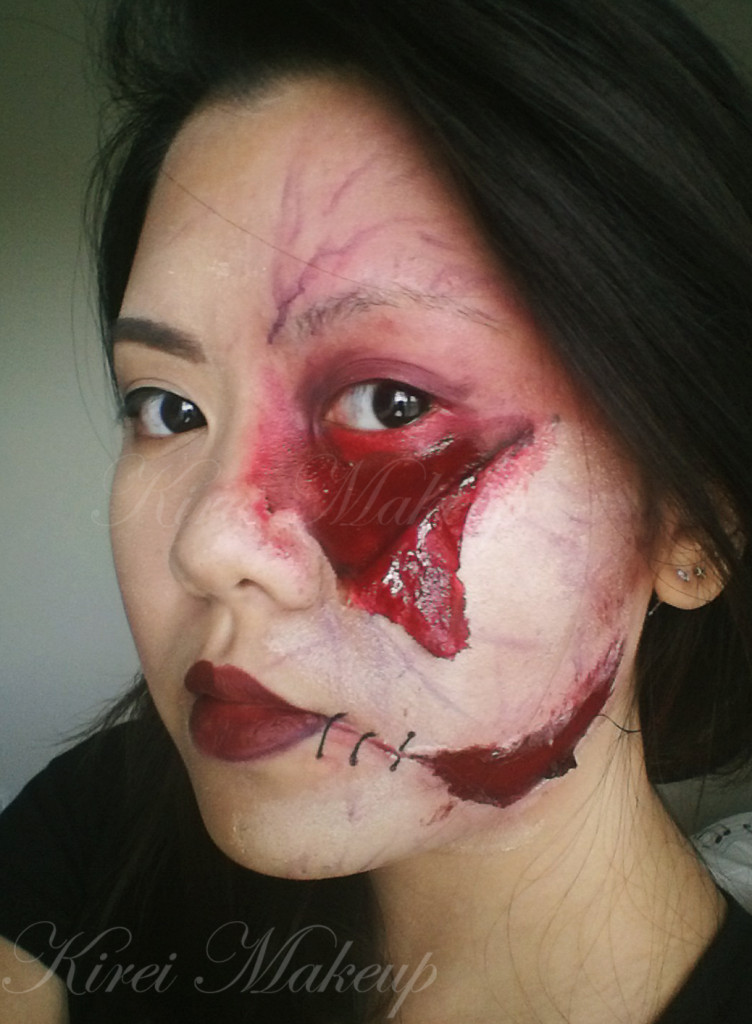
Are you guys ready for Halloween?! I sure am! I’ve been posting a few pictures on my Instagram (follow me!), and decided that today I should do a Halloween tutorial. To continue the tradition that I’ve been doing these past 2 years, I shall do half-pretty half-ugly makeup for today.

This makeup will look even better if you have one of those zombie contact lenses! I currently do not have a pair, so I decided to just skip it. If you do have the time to look for one, you should really get it!

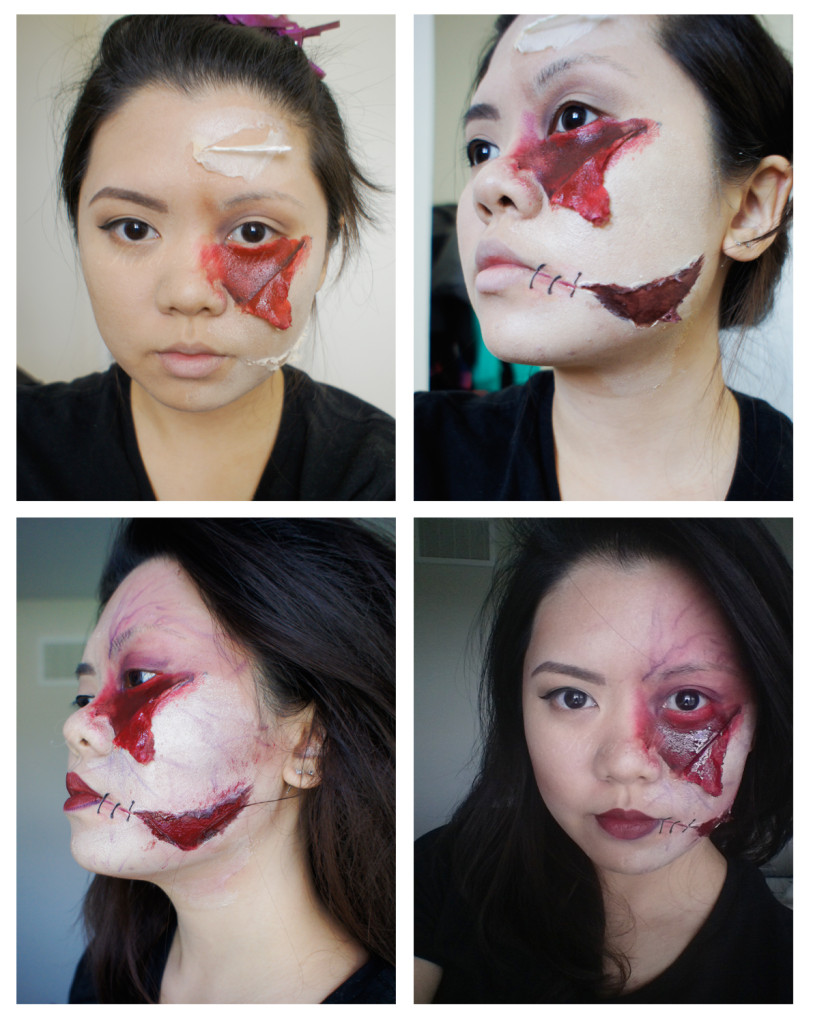
Also, I intended to have this look as the first stage of zombie infection, thus the flesh and skin are just starting to fall apart.

Just to keep in mind, obviously this isn’t how those amazing makeup artists did zombie makeup for TV shows and/or the big screen. They used certain products, which I know most of us would probably have a hard time getting (not to mention expensive!). However, if you’re interested in getting those products, you should look up Premiere Products Inc. (PPI). They have the best products to create zombie, infected, bruised makeup. PPI products are alcohol activated, so be very careful during application.

Anyways, for this tutorial, everything is affordable and hopefully can be found easily should you decide to replicate it. You need the products below to create the peeled skin and flesh:

  • Liquid Latex
  • Loose powder
  • Brushes – preferably synthetic and cheap from art store
  • Makeup sponges – 2 or 3
  • Snazaroo face paints – red, black (purple is optional)
  • Clear lipgloss
  • (optional) Kryolan Bruised wheel
  • (optional) Pen liquid eyeliner

For the “pretty” side, I used:

  • MUFE HD Foundation in 117 (a shade lighter than my skin)
  • NAKED Basics palette
  • Kanebo Kate Super Sharp eyeliner
  • Anastasia Brow Wiz in Brunette for the browszombie makeup using latex

I decided to REMOVE the “Scar” on my forehead for the end result, so please ignore it.

How-to:

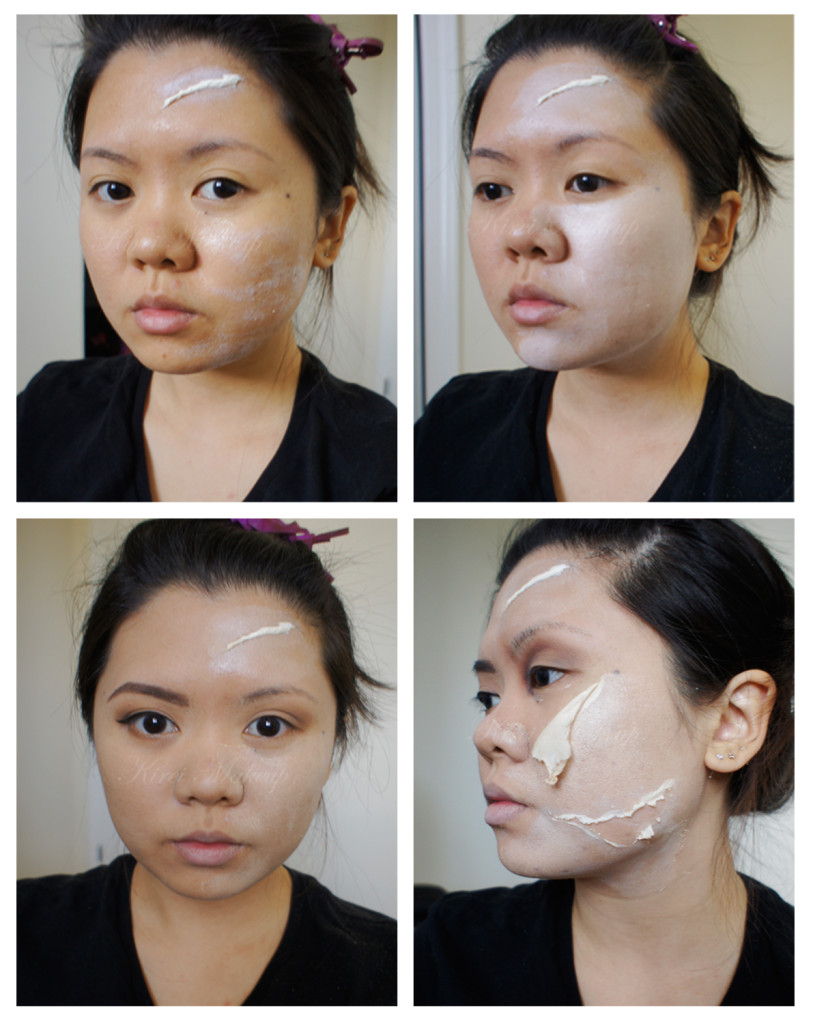
1. Using makeup sponge, I stippled Kryolan Liquid Latex on the area where I wanted the skin to rip. I applied it lightly to my skin, letting it dry and then applied a few more layers. I did about 3-4 layers.

2. You’ll know the latex is dried when it becomes transparent. Once it dried, I liberally applied translucent/transparent loose powder on the latex using a clean makeup sponge. This will prevent the latex from sticking to each other.

3. I applied MUFE HD Foundation all over my face, and did the pretty side first.

4. Next, for under my eyes, I pulled the latex and applied loose powder on the inside to prevent it from sticking to itself. You can be as creative as possible, don’t worry if it looks ugly! The uglier the better!

5. For the one near my mouth, I used a tweezer to rip the latex. This helped me to control the ripping better since I want very tiny small rip near the corner of my mouth.zombie makeup

6. Now, be creative with your blood! Since Snazaroo face paints are activated using water, dip the tip of your brush very lightly into a clean water before dipping it to the face paint.

7. I mixed red and black face paint, and applied it to my face.

8. I applied black face paint using a smaller brush at the edge where the skin and the flesh meets.

9. I used Kanebo Kate Super Sharp eyeliner to create the “stitches” along the corner of my lips. You can use the black face paint and a tiny brush to create the stitches if you do not own a liquid liner.

10. Using Kryolan Bruised Wheel (or you can use the red and purple face paint), I created veins on my face to mimick zombie’s skin.

11. To make the flesh look wet and fresh, I applied clear lipgloss on the flesh area.

Just make it as ugly as possible and have fun doing it! The “infected” side is slightly lighter since it’s dying, and the veins are closer to the skin than the “pretty” side.

ripped skin makeup

HAVE FUN! xoxo


ps: I’m available for Halloween makeup! Contact me for details at jilly@kireimakeup.com

Cat-itude

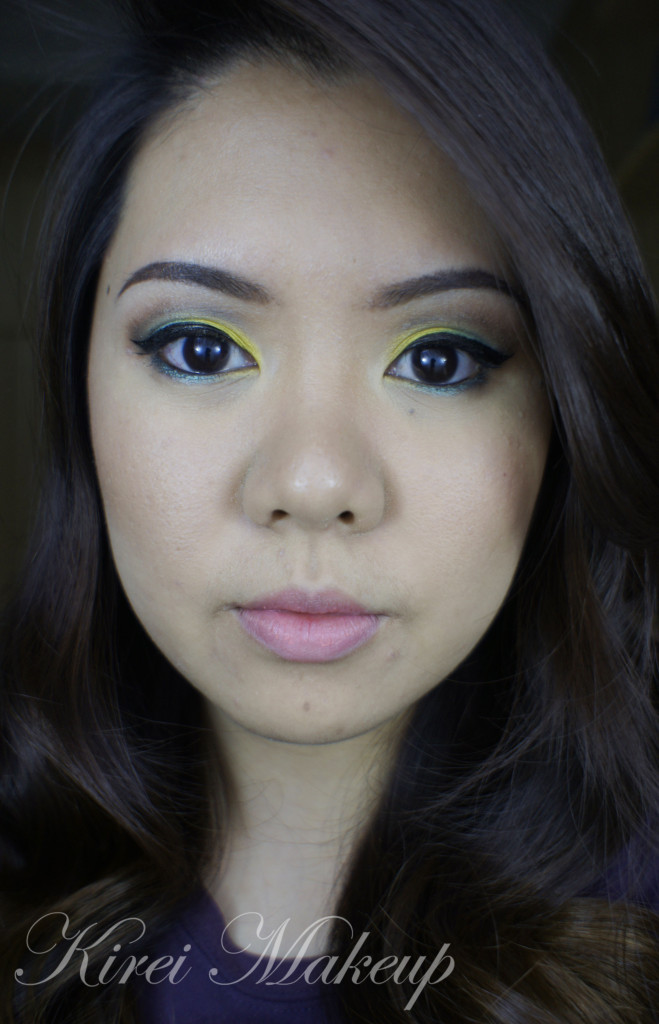
Have you guys watched The Croods? I just watched it not too long a go, and I love the cute sabertooth tiger! I drew inspiration from his fur colors! I love how it turned out. The eyeshadows I used are my favorites bright colors – chartreuse and teal. I’ve never thought that these 2 colors will work together, but I ended up loving it. MAC Bitter is so gorgeous, it’s been a while since I play with the eyeshadow and I can see myself using it more frequently in the near future.

How-to:

1. I applied MAC Bitter on the inner half of the lid using a flat eyeshadow brush.

2. Using another flat eyeshadow brush, I applied MAC Birds and Berries on the outer half.

3. Using a small fluffy brush, I applied MAC Club on the outer V and on the crease.

4. I blended out MAC Club using a fluffy blending brush.

5. Using an angled eyebrow brush, I applied MAC Bitter on the inner corner of the lower lid and MAC Birds and Berries on rest of the lower lid.

6. I also lined my waterline using L’oreal Voluminous Smoldering eyeliner.

7. Using a small shader brush, I applied UD Perversion eyeshadow on the outer V and along the crease.

8. I blended the eyeshadow out using a fluffy blending brush.

9. Along the upper lid, I created a winged liner using Kat Von D Trooper eyeliner.

10. I curled my lashes and applied Maybelline Volume Express Turbo Boost mascara on both upper and lower lashes.

11. I filled my brows in using MUFE Aqua Brow Gel.

mac rated r

11. For my face, I applied MUFE HD Foundation and foundation brush.

12. I applied MAC Shadowy as contour and MAC Cubic as blush.

13. On the lips, I applied MUFE Soft Apricot Rouge Artist Natural.

mac r rated

Iron Man Inspired

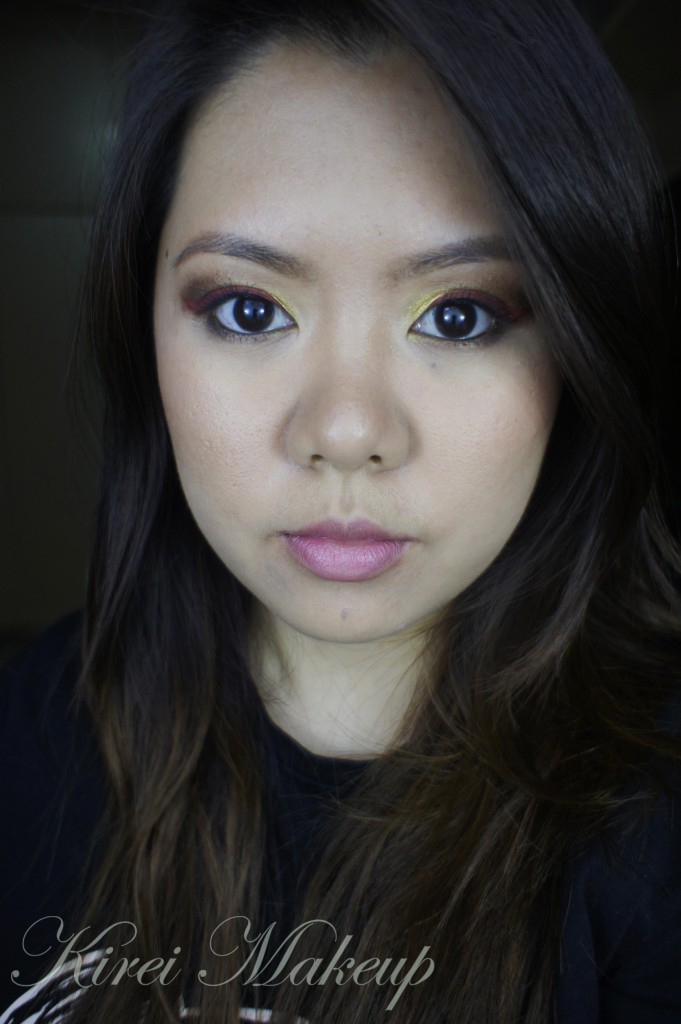
Hello gorgeous! I’m back with a new tutorial! Has anyone not watch Iron Man 3 yet? I did last week and I wanted to do a makeup inspired tutorial using the colors from the Iron Man suit – gold and red.

To be honest, I wasn’t quite sure how I wanted to incorporate the red into the look. I’ve thought of doing a red lip but I changed my mind and added the red winged liner instead. It’s an ok look, I think. Could I have done better? Probably.

I love the brow and gold combo, though! I used Make Up For Ever aqua cream shadows as my base. Remember to work fast and in thin layers with the aqua cream shadows. You can apply the cream and skip the powder if you’d like. I just like wearing both for extra punch of colors.

Oh, on a side note, I went to get my brows done on Saturday šŸ˜‰ More on that on the next post.

How-to:

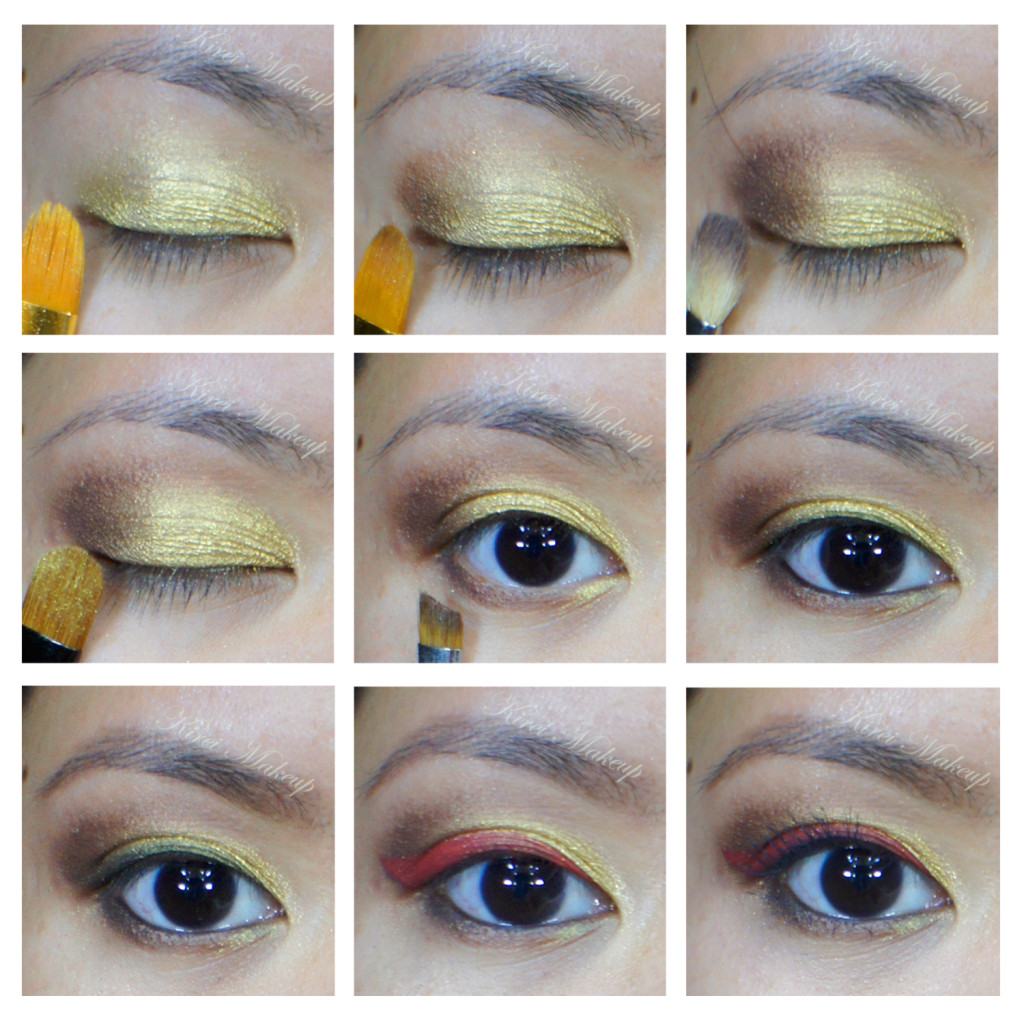
1. I applied MUFE Aqua Cream shadow no. 11 using a synthetic art brush all over my eyelid.

2. Using the clean side of the art brush, I lightly applied MUFE Aqua Cream Shadow no. 15 on the outer V of the lid.

3. Using Smashbox Sienna eyeshadow and a blending brush, I applied the shadow on the outer half of the eyelid and lightly on the crease.

4. Using a flat eyeshadow brush, I applied MAC Old Gold on top of the gold cream shadow.

5. I applied Smashbox Sienna eyeshadow on the lower lid using an angled eyebrow brush.

6. I lined my waterline and tightline using L’oreal Voluminous Smoldering eyeliner.

7. Using my new Shu Uemura brow pencil, I filled in my newly threaded eyebrows šŸ˜€

8. Using a wet angled eyeliner brush, I dipped the brush into Ben Nye Soleil Red powder blush and created a winged liner. You can use a cream shadow or face paint (e.g. PAC face paint in red, Snazaroo or Kryolan face paints etc) to create the red winged liner.

9. I curled my lashes and applied L’oreal Double Extension Curl mascara on both top and bottom lashes.

makeup forever aqua cream

10. For the face, I applied Estee Lauder Double Wear Light foundation using a foundation brush.

11. Under the eyes, I applied MUFE HD Concealer.

12. I contoured my face using MAC Shadowy and a face fan brush.

13. On the cheeks, I applied MAC Fleur Power blush mixed with MAC Cubic blush.

14. For the lips, I applied Chanel Confidentielle lipstick.

iron man inspired makeup

Alternative to Latex & Zombie

Okay! So, if you guys followed my twitter, you should know Iā€™ve been looking for liquid latex in Jakarta. I went to the Chemical store and they donā€™t have any :( ā€¦I didnā€™t really want to use my eyelash glue since I only have so little left. So, I wanted to do my own gelatin pieces, but canā€™t find glycerine around my area, and my microwave is bustedā€¦Nevertheless, I didnā€™t want to give up and I throught may be I can use Elmerā€™s glue! Well, thereā€™s no elmerā€™s brand in Jakarta, so I went to the bookstore and bought a white liquid glueā€¦

I went home, tried it on myself and it worked! Not perfectly, but it worked!Ā  Oh, let me just say that you can wash this off with water and soap, it comes out pretty easily.

So here comes my brother, James as zombie :) Itā€™s not how Iā€™d love to do it, but itā€™s cheap and easy..not gory enough, but we had to rush it cause we had to go..oh well..here goes! :)

How-to:

1. I applied a very light foundation on Jamesā€™ face. Heā€™s pretty tanned, and I used Lā€™oreal Tru Match foundation in W2. It looked extra white on his face..hahaha..oh well..I applied the foundation using a dry sponge and applied it quite messily. I donā€™t think zombie needs to have a flawless base..

2. Using PAC Face Paints makeup, I mixed red and dark blue to make purple paint. I applied it lightly under his eyes, along his lid using a Laura Mercier concealer brush.

3. Using a clean blending brush, I applied PAC brown face paints lightly on the crease, under eyes, side of his nose and sides of his nostrils.Zombie makeup

4. Using PAC yellow face paint and a dry sponge, I stippled some yellow face paint on his face on random places.

5. Using another blending brush (and a face angled contour brush), I applied MAC Scene all over the face in places where I want his features to looked sunken in (crease, side of nose, cheekbones, jawline, jawal etc).

6. Now for the fun part, I applied white craft glue on his face using a cheap disposable paint brush. I applied a light cover, let it dry for a few seconds and randomly I tore out cotton balls and applied it on his face. Once Iā€™m happy with the shape, I applied more glue on top of the cotton.

TIP: The messier the better!

Zombie makeup

7. I applied liquid foundation, add some grey eyeshadow, brown eyeshadow, Snazaroo face paints and just make a big mess :)

8. Since we were rushing and didnā€™t have the product, we didnā€™t add blood. HOWEVER, you can make your own blood by adding red/orange food coloring to corn syrup. Just make everything looks nasty, thatā€™s how zombies areā€¦Also, get white contacts if you can to add to the look, James is scared of wearing contacts, he never had to, so he didnā€™t want toā€¦

Zombie makeup

Half and Half

As always, this yearā€™s Halloween isnā€™t complete if I donā€™t do a Skull makeup. This year Iā€™m doing half pretty makeup and half skull makeup on my face. I used a skull photo from Google as reference, but I think Iā€™ve might have made a mistake on the lower jaw. Oh well, next year will be better! :)

Also, Iā€™d like to give a shout out to my cousin, Juicerna who sold me the lovely white contact lens for me to use in the tutorial. If youā€™re in Indonesia and would like to purchase one of these lenses, please go to her facebook page. I bought mine for Rp. 160.000 (plus delivery) and received in within 2 days. Oh, if youā€™re not used with wearing contact lenses, you might want to wear it before the makeup application as it might mess your makeup if you put it after.

Anyways, letā€™s get the tutorial started!

1. Google a skull picture and closely study the structure of the skull.

2. Using a black pencil liner, I used one from Physicianā€™s Formula, I started outlining the structure of my face. This line will serve as a border between dark areas and bone areas.

skeleton makeup3. Once youā€™re satisfied with your outline, fill in the bone area using a flat eyeshadow brush. I used a white cream product from PAC since I find it easier to blend, but you can use water-activated face-paint like Snazaroo or Kryolan or MAC.

skull makeup

4. When youā€™ve finished filling in the white, use a clean flat eyeshadow brush and applied the black makeup on the hollow areas.

5. Add some shading using a small angled brush and MAC Omega/Brun mixture on the areas where the white and black meet.

half skull makeup6. For the teeth area, I filled in the teeth with a small shader brush. Using a clean angled brush and a black eyeshadow, I re-lined the teeth outline.

skull makeup


half skull makeup8. To avoid creasing, I generously applied translucent powder all over my face. For the black area, if you want you can apply black eyeshadow on top of it to make it even darker, but be careful during application since the black eyeshadow might fall on the white part and cause a mess.

half skull makeup

Sugar and Spice

Halloween is almost here! As much as Iā€™d like to do a zombie tutorial, Iā€™ve yet to find a large amount of liquid latex here. Iā€™ve done a small one, and I posted the photo on my instagram and twitter! Please follow me on instagram (handle: KireiMakeup)/twitter if you havenā€™t already done so.

Iā€™ve decided to do 2 looks in this tutorial. One look is more on the pretty and wearable, the other look is more vampy and goth. I wanted to re-do the eye makeup from my published work at Coco magazine (here) on myself since I fell madly in love with a super thick black cat eyeliner. The cat eyeliner made me reached for my contact lenses and I decided to put it on just for fun. Oh also, this extreme winged/cat-eye liner has been seen on Rihanna too!

For this tutorial, I used a pink eyeshadow on the eyes and cheeks called Sweet Strawberry from Lā€™oreal Infallible eyeshadow collection to show my support for Breast Cancer Awareness month! I believe Iā€™ve received a very ā€œpinkā€ package from Lā€™oreal Canada but Iā€™ve yet to open it since Iā€™m not in Canada at the moment, but since I have this shadow, I decided to use it first.

Also, this tutorial will show you how easy it is to get the perfect winged/cat-eye liner in this tutorial. For the winged/cat-eye liner youā€™ll need: 1) tape (or in my case, I used a labeling sticker), 2) small angled brush (I used MAC 263) and 3) Gel liner (I used MUFE Aqua Black).

Letā€™s get this rolling!

How-to:

1. Stick the tape to your hand and release it. Repeat this step several times until the tape isnā€™t too sticky. If it is too sticky, it might pull your skin.

2. Find an imaginary line from the outer corner of your eye to the tip of the brow. Place the tape and try to match the angle of the tape on the other eye.

3. Once youā€™re satisfied with the angle of the tape, prep your eyes with primer if needed.

4. I applied MAC Pearl cream base all over my eyelid all the way up to the brow bone.

5. Using a flat eyeshadow brush, I applied MAC Hush eyeshadow on the inner half of the eyelid.

6. Using the same eyeshadow brush, I applied Lā€˜oreal Infallible eyeshadow in Sweet Strawberry on the outer half of the eye up to the crease.

7. Now, for the fun part:

  • Using the angled eyeliner brush and gel liner, apply eyeliner on the upper lashline as youā€™d usually do with a pencil liner.
  • Once you are satisfied with the line, flip your brush and make sure the LONGER side is facing up. Your brush should be parallel to the tape.
  • Place your brush right against the tape and pull it to the middle of the lid. You should end up with a triangle.
  • Fill the triangle up and re-do the liner according to the thickness to your liking.
  • Pull the tape off your face and youā€™ll end up with a perfect straight line!
  • confusing? may be I should do a video tutorial? (leave comments below)

8. Once the upper liner is completed, I used Urban Decay Perversion eyeliner on the tightline and waterline.

9. Using the same angled brush, I used whatever is left on the brush and created a thick liner on the lower lash-line. I connected this lower liner to the ā€œwingā€.

10. I curled my lashes and applied mascara on top and bottom lashes. Also filled in my brows using a clean angled brush and mixture of MAC Omega and MAC Brun eyehadows.

11. For the goth/vampy look, I applied fake lashes on both top and bottom lashes.

extreme cat eyeliner

12. For the face, I applied Lā€™oreal Magic Lumi Foundation all over my face using Sigma Round Kabuki brush.

13. Using a MAC 129 brush, I applied Lā€™oreal Sweet Strawberry shadow on my cheeks.

14. Using MAC 109 brush, I applied MAC Blunt contour shadow on the hollows of the cheeks, jawline and the side of my nose.

15. For the wearable/pretty look, I applied whatever is left on the foundation brush on my lips and applied a clear lipgloss. If you want this to be on the ā€œprettierā€ side, you can apply a pink/peach/mauve/rose lipstick instead of going nude lips.

high fashion cat eyeliner

16. For the vampy/goth look, I lined my lips using a red lipliner from Complections (thatā€™s my old makeup school).

17. Then I applied a red lipstick by Revlon called Ravish Me Red all over the lips.

18. To make the center of the lips darker, I applied a black lipstick from MAC. I donā€™t know what itā€™s called since I put this on a lip palette and I didnā€™t put the name on it. If you do not have a black lipstick, apply a black pencil liner in the center of the lips and blend it with the red lipstick.

19. Then I applied a clear lipgloss over the lips to complete the look.

20. If youā€™re oily, apply powder to set the face.

dark glossy red lips

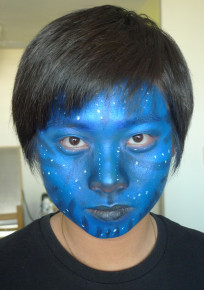
Featuring: Winson as Avatar

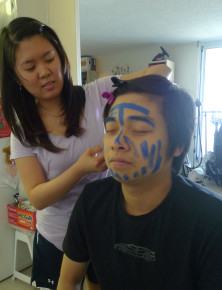
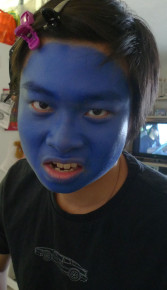
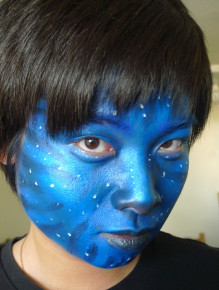
Hahahaah..So, last weekend, I was bored and fortunately enough, my friend, Winson and his gf came over to Hamilton to hang out. We decided to turn winson into an Avatar. LOL. If you’re looking for the tutorial, please follow the link right here: http://kireimakeup.com/2010/01/13/navi-avatar-inspired-look/

I used similar products as the tutorial above, except, I couldn’t find my neutral setting powder, so I had to use Ben Nye Cosmic Blue eyeshadow to set the blue cream makeup resulting in a shinier finish than the previous tutorial. I kind of like the fact that it’s shinier. We kept saying how “glowy” Winson looked. hahaha

Anyhow, I’ll show you a few pictures of the whole process from start to finish right below on the slideshow!