Make Up For Ever Pro Finish Workshop Event

So many events lately! Not that I’m complaining, but I’m really sorry for the lack of tutorial posts, and again soooo sorry if there’s too many “event” posts. It’s just pure coincidence that all the events were very close to each other this week. Anyways, today’s post is about MUFE Pro Finish Workshop event. I do have to say that MUFE Indonesia PR Staff was one of the best team that I’ve met so far. They are extremely kind, and friendly, so helpful and I really had a good time with them.

This MUFE Pro Finish workshop event was an introduction to their new product, which is (duh!) MUFE Pro Finish. This product was released to the public on September 7, 2013 in Indonesia. There’s only 17 shades in this range for Indonesia. There’s actually 25, but only 17 is available in Indonesia. I think this is one of the best brand for foundation since there’s a huge range of colors, besides MAC. This product will cost IDR. 430,000.

MUFE Academy Indonesia
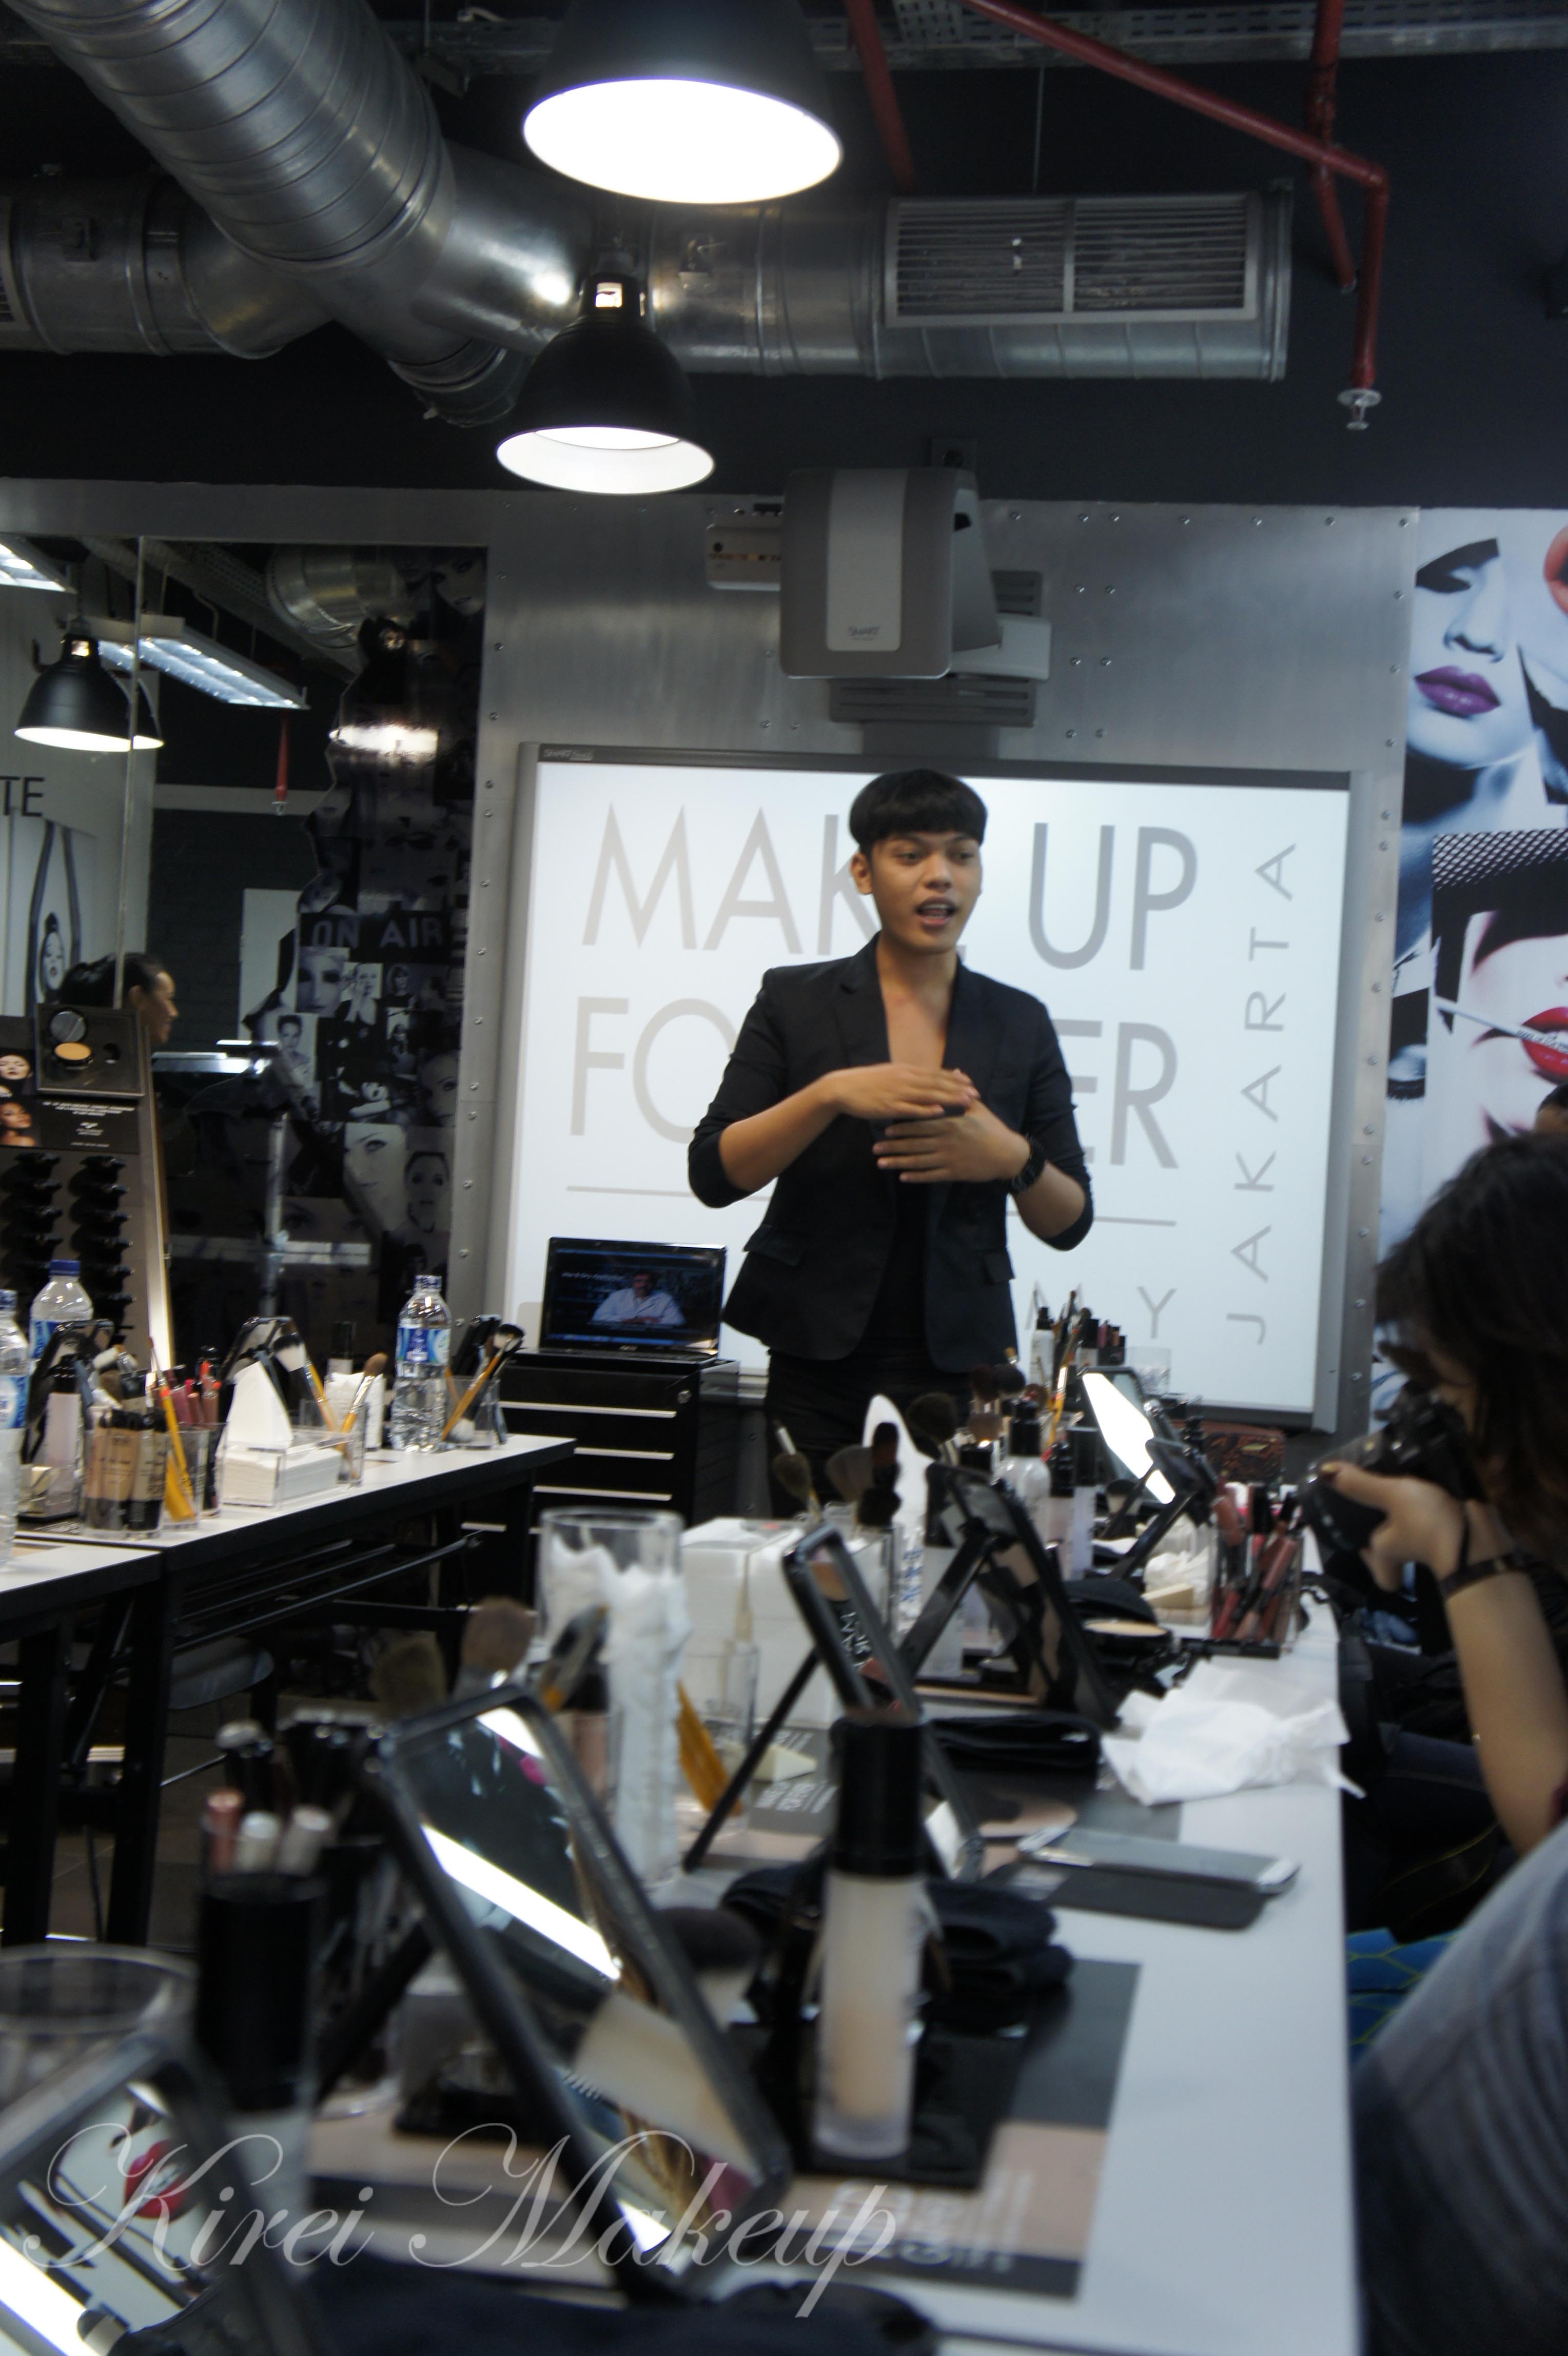
Morris introduced MUFE Pro Finish

Just to let you know, I’ve actually already owned this product (my shade is 118). I bought it in Canada beginning of the year and have been using it. Let me just give you a brief introduction about MUFE Pro Finish. This product is a compact powder. What’s special about it is the fact that it can be used both DRY and Wet.

However, a word of warning, if you do apply this wet, you might find that the shade goes darker when applied to the skin. I’m not too sure why, but this is what I find. They also said, if you apply this wet, you get a sheer finish. I find this otherwise. I think applying it dry gives a more sheer finish.

I don’t like using this product wet. I, much prefer, using it dry to set my liquid/cream foundation. If you apply this dry with a buffing brush, you can get a good medium coverage. You, do, need to set it with a setting spray to avoid looking cakey or powdery.

It’s so great how, after you apply this wet, the powder will just dry and return to its normal powder state. If you’re like and have tried to wet MAC compact powder or ANY compact powders, you’ll find that there’s this weird coating, and had to scrape the coating off first before you can apply the powder underneath. With MUFE Pro Finish, you don’t have to do that! No coating!

MUFE Indonesia

Anyhow, let’s get back to the event. I felt like I’ve just done a short review about the product…lol…So, the event started out with a little makeup demo by Morris, a MUFE Makeup Artist. Then we were asked to try the products on our own face. Obviously, if you followed me on twitter/instagram, you’d have seen my makeup in the morning – bare face, strong brows, mascara and bold lips. However, since I wanted to be a good sport, I removed my makeup and stripped it down using MUFE Gentle Milk (picture above). Everyone was provided with a little table and a few products, as well as brushes on the table. We pretty much shared everything, not the most hygienic thing to do, but at least I already wore my mascara and I sharpened all the lip liners. The brushes were clean, so that was great.

Below on the left is my face with nothing on, but mascara. On the right, I’ve applied MUFE Pro Finish (dry) using foundation brush, filled my brows using MUFE brow pencil, contour slightly, a little bit of blush and added lip-liner to fill my lips. As you can see, the result from MUFE Pro Finish is pretty natural. It knocks out the redness and it covers my pores pretty well. Very sheer and natural. It also helps when my skin has been behaving well lately. However, you can see my dark under eyes (those late night sleeps are taking its toll..hahahaha). I didn’t apply any concealer.MUFE Pro Finish 118

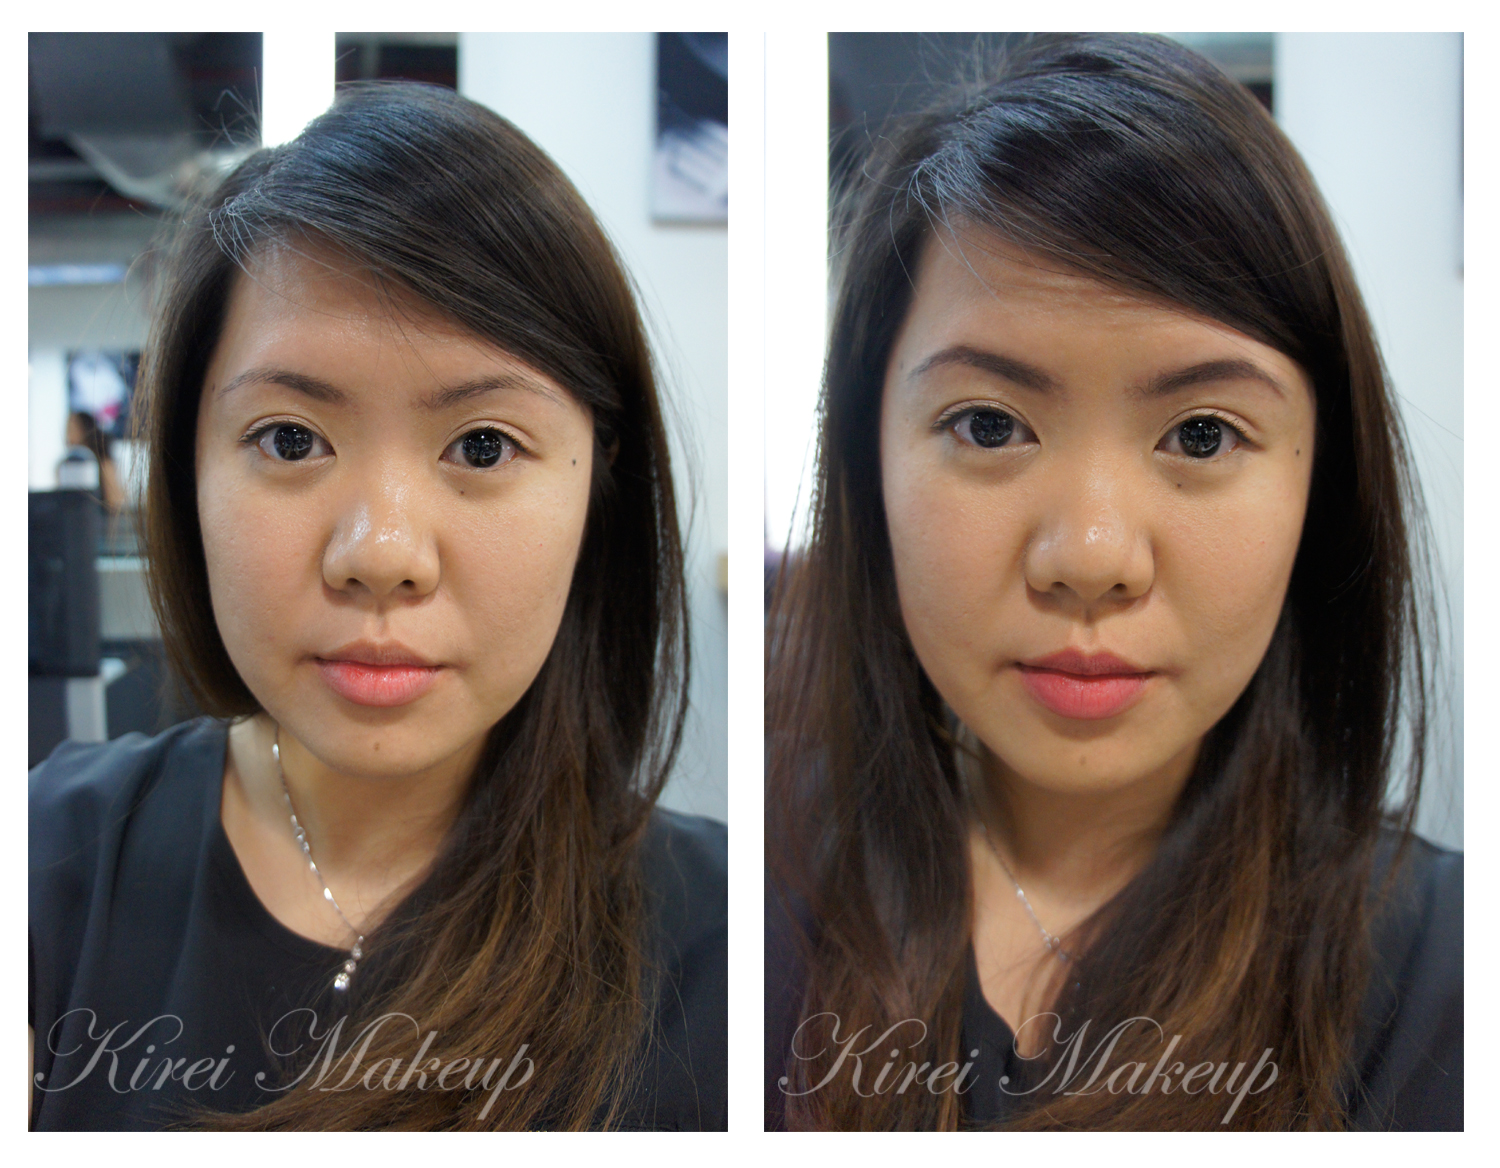
Before and After MUFE Pro Finish

After I did my own makeup, Franky (from Rebzone) and I did Lucia’s makeup. Lucia is actually a friend of mine who tagged along today. So, again, thanks MUFE for allowing her to join us. It was fun, she enjoyed it a lot and she actually ended up buying that pink lip-liner on her lips!  Isn’t she gorgeous? 😉
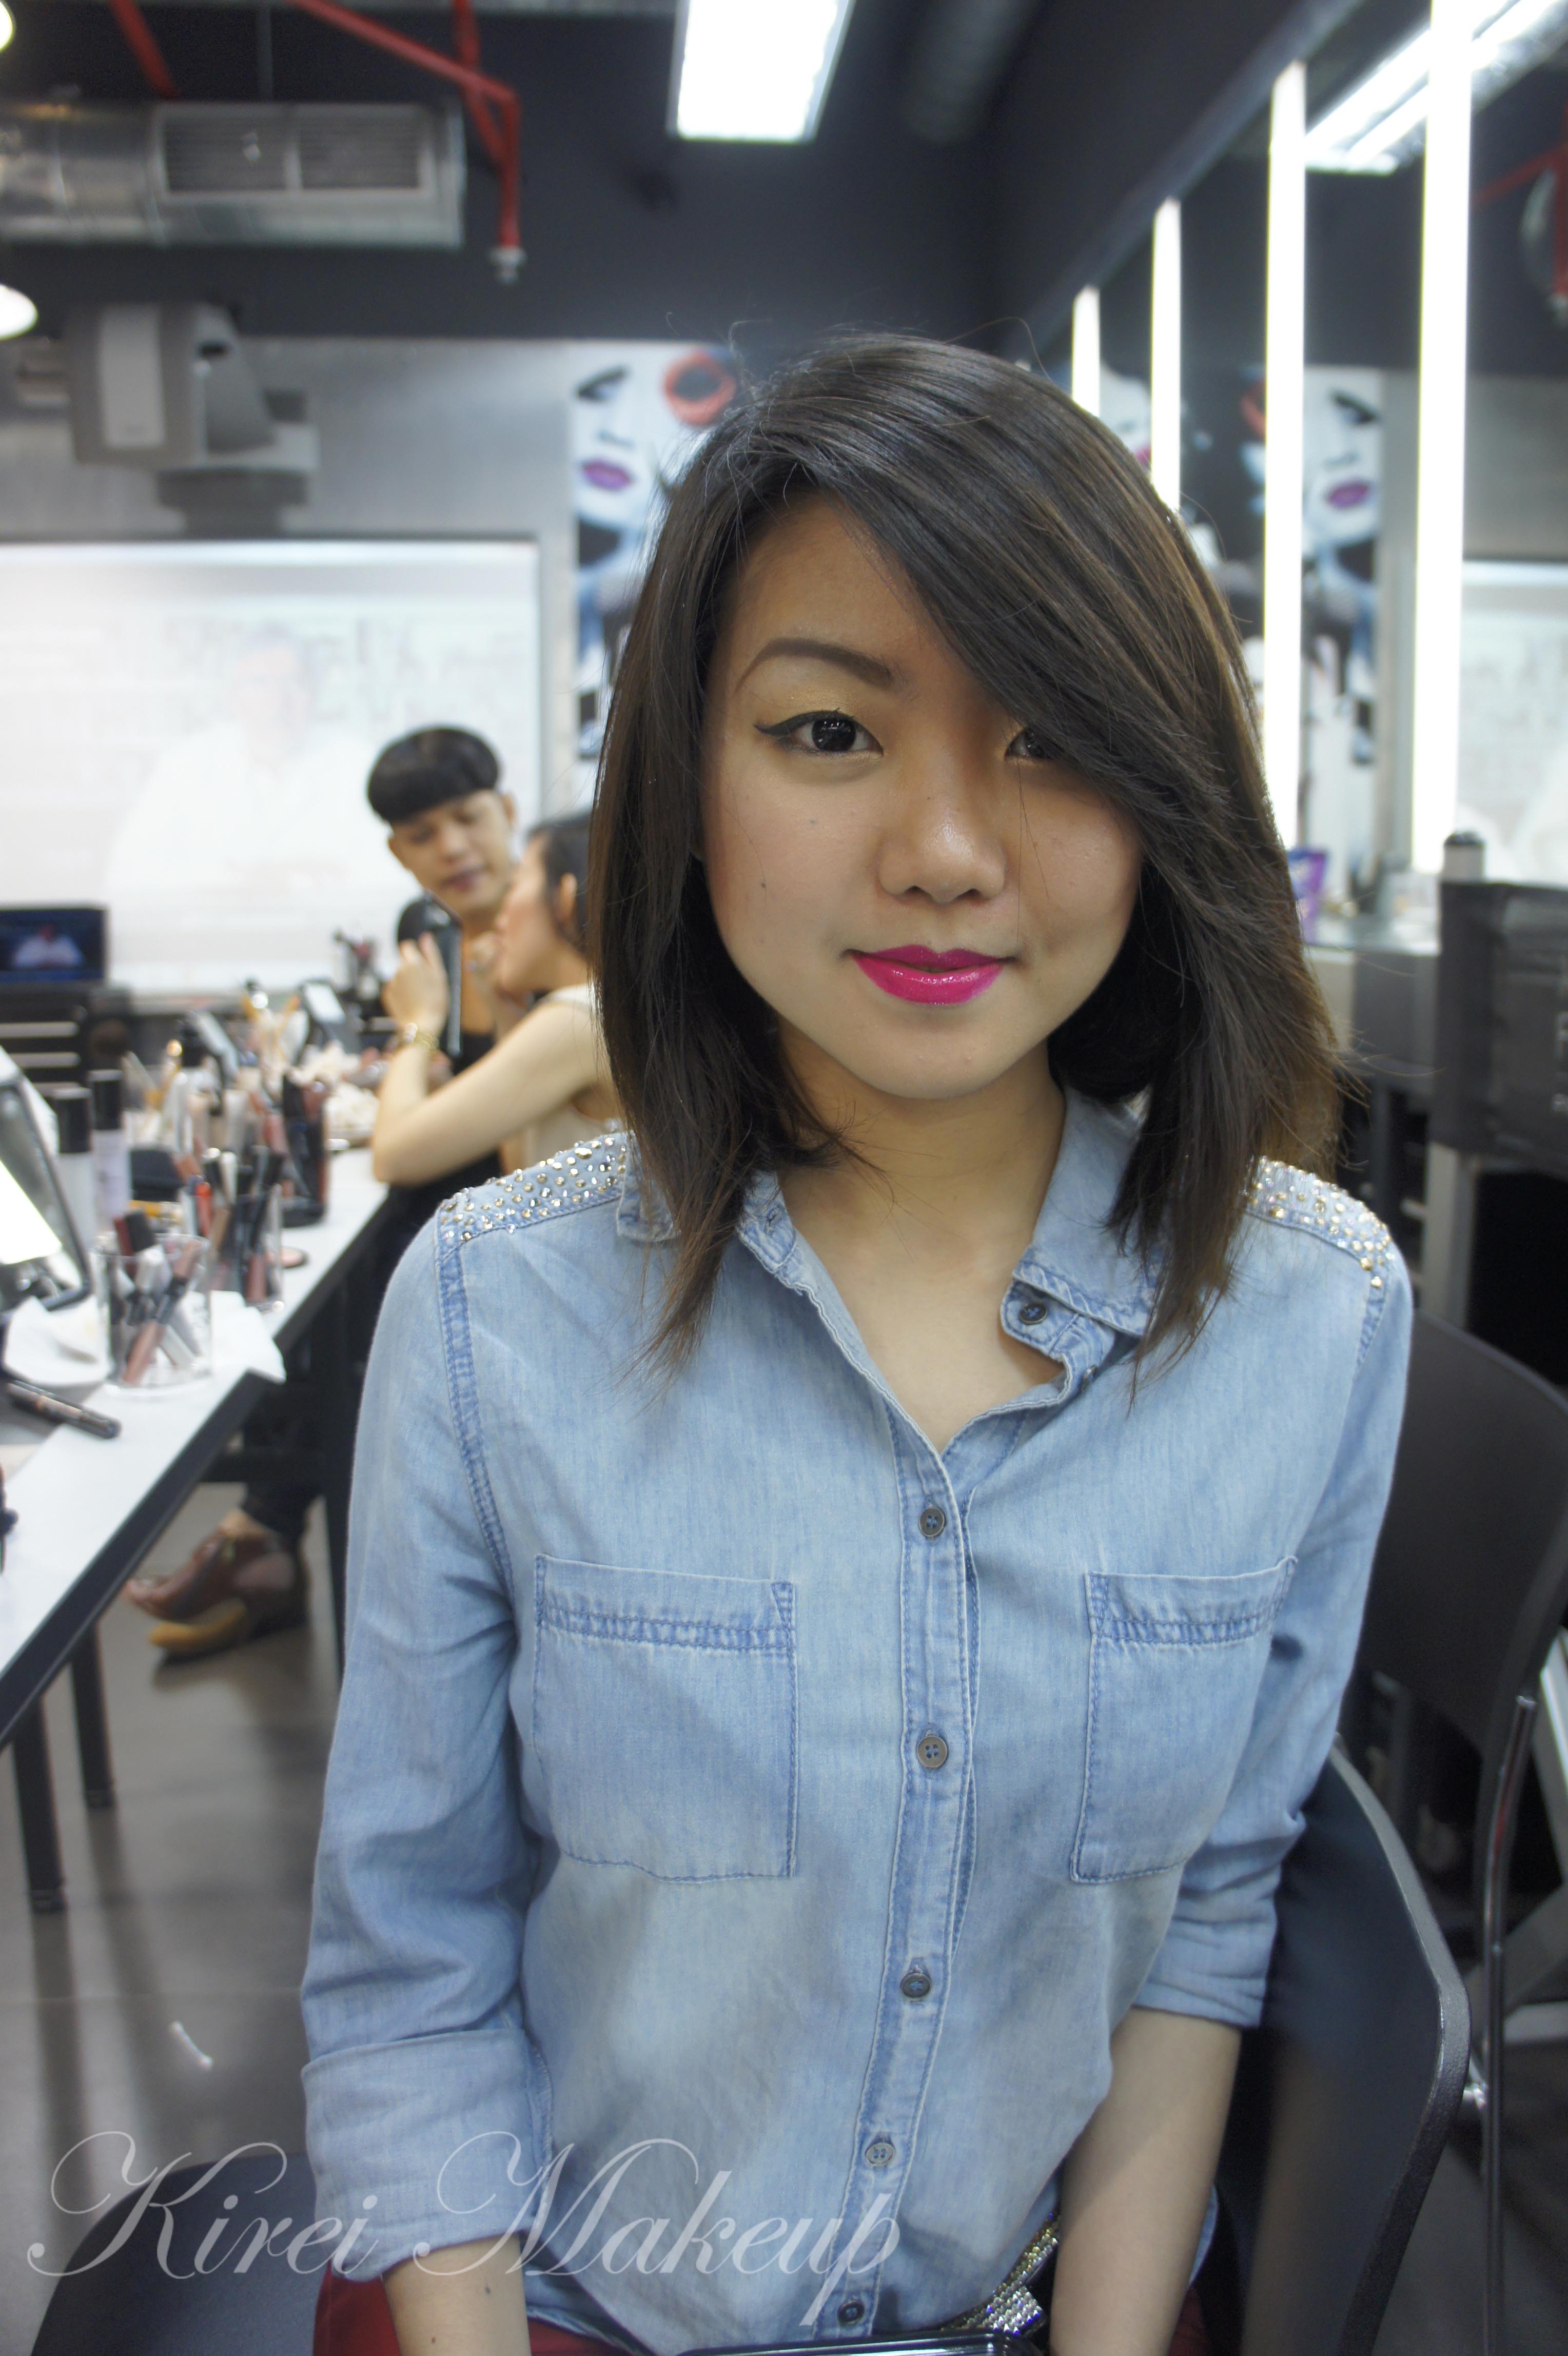
Jilly Kirei Makeup and Franky Wu RebzoneLucia

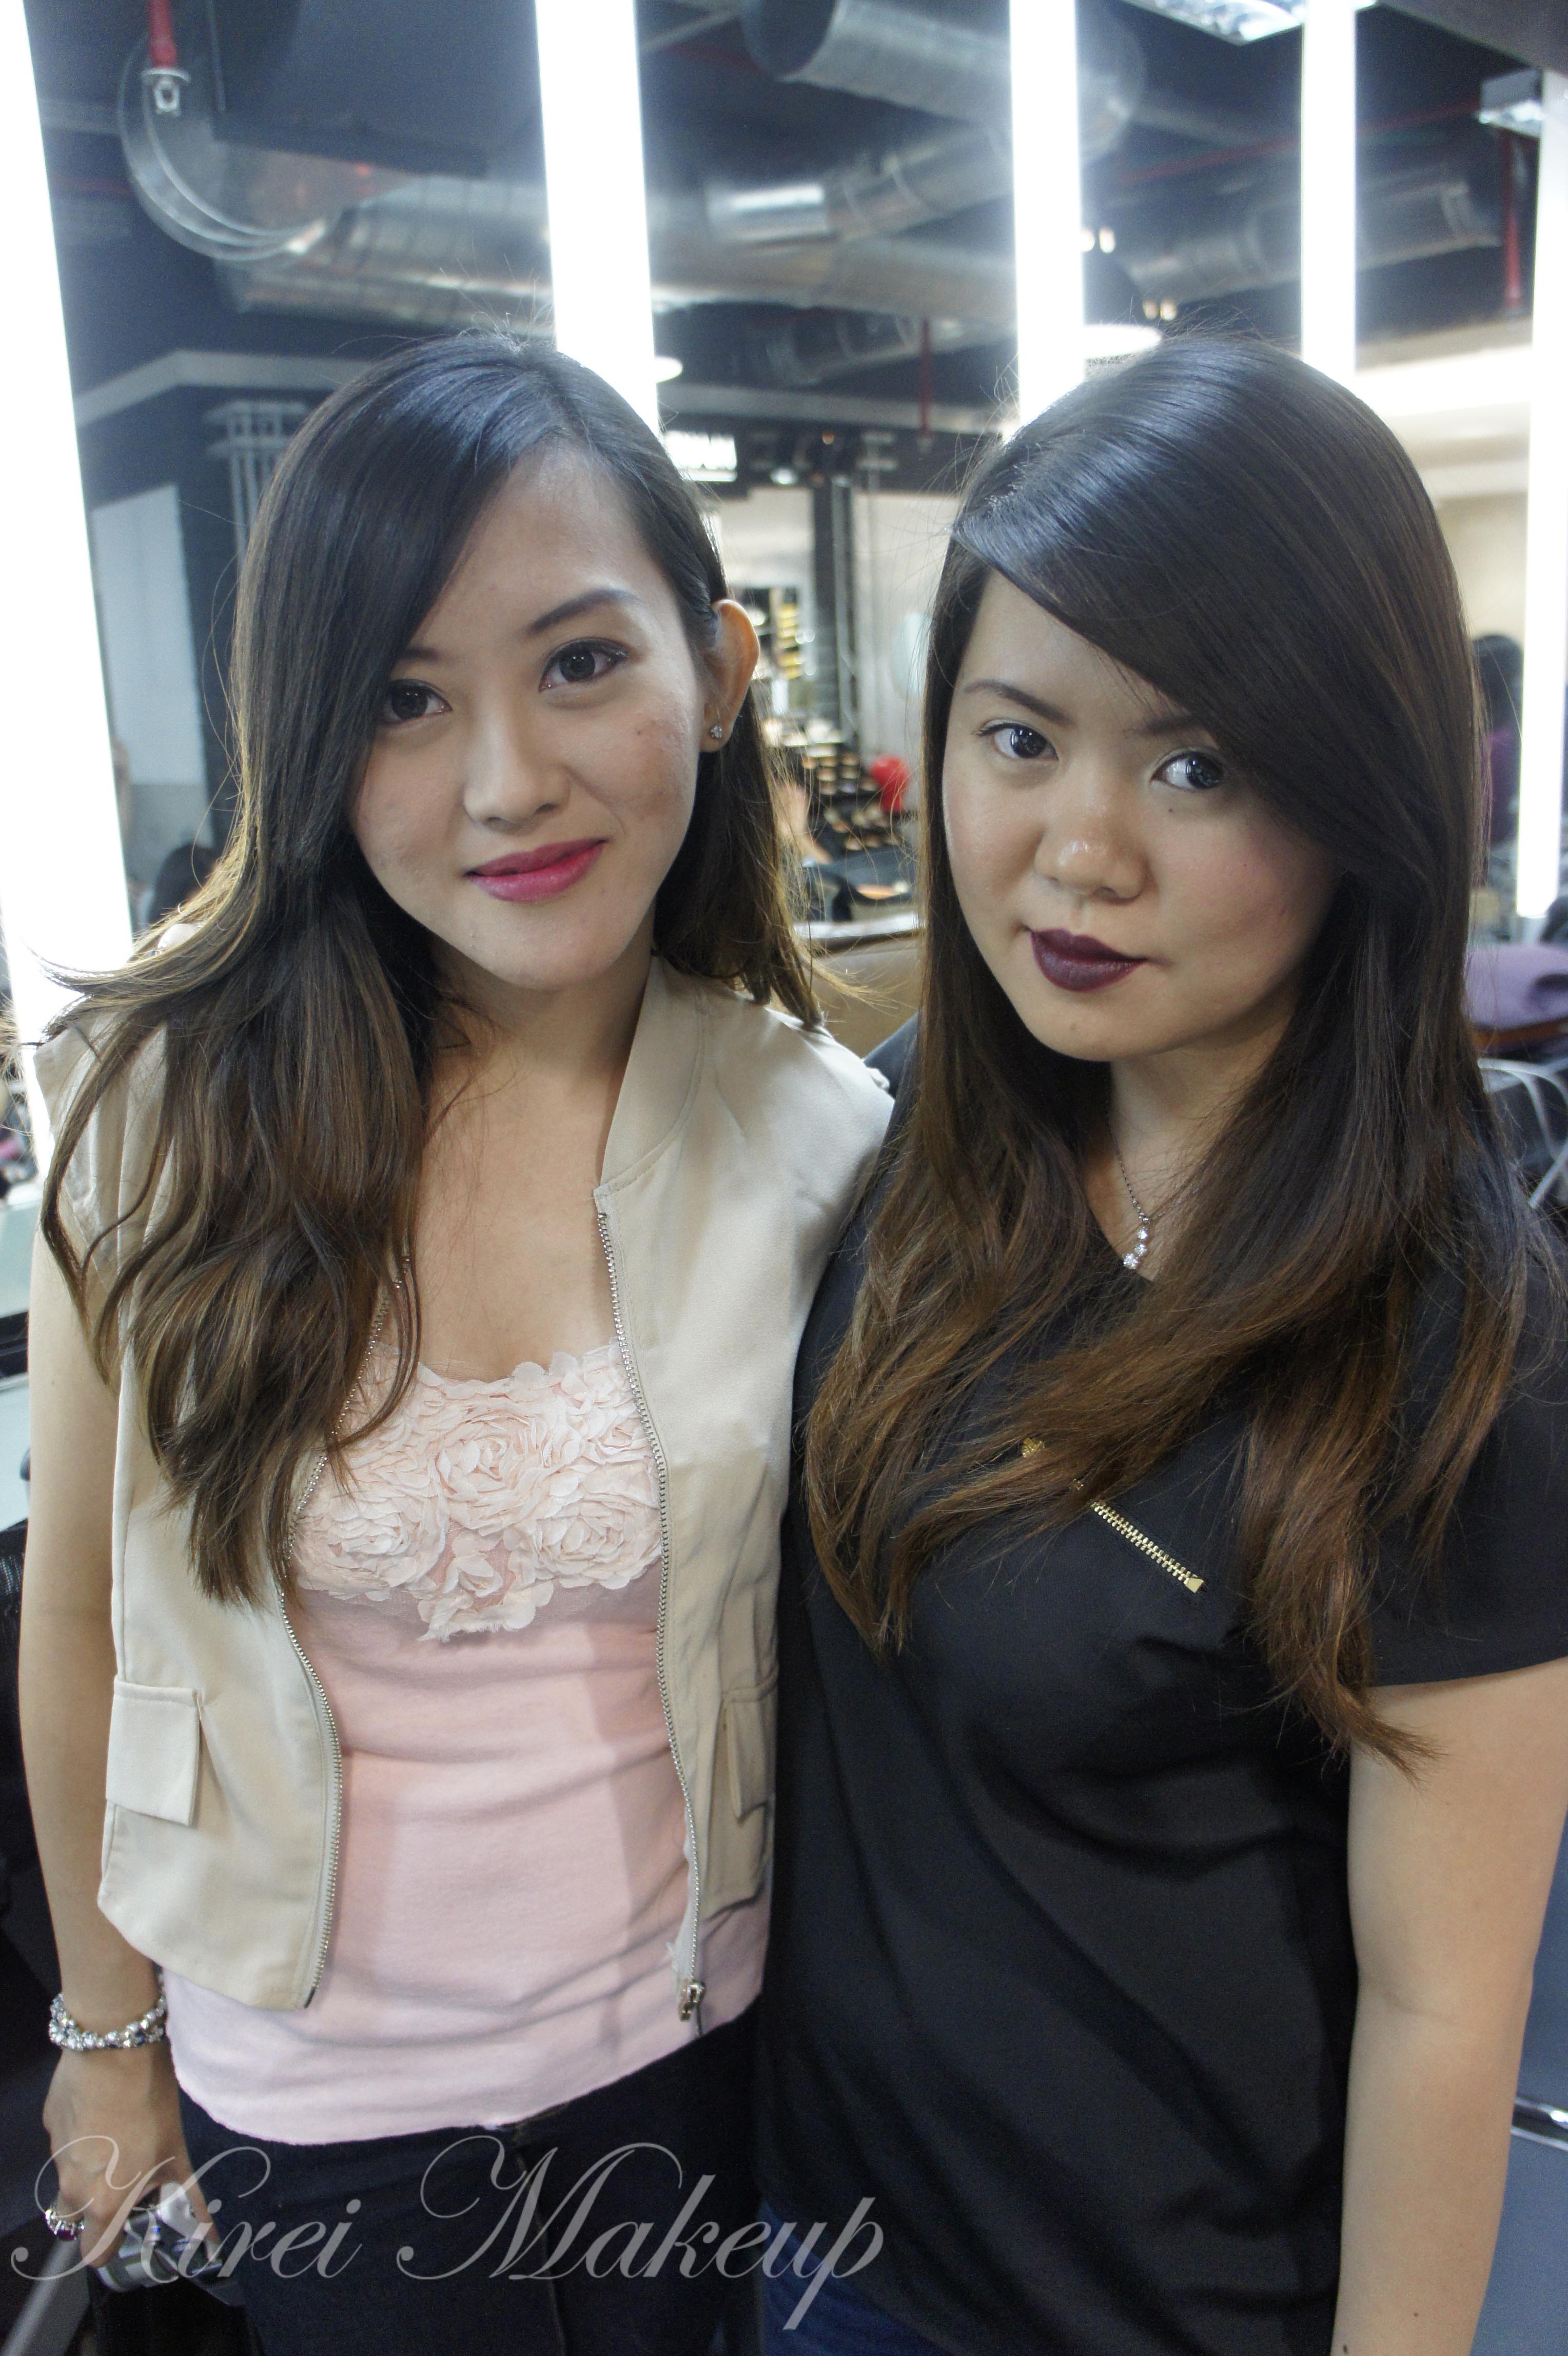
So, after I did Lucia’s makeup, I wanted to go back to my bold lips since my face is quite bare. So, I applied MUFE Aqua Lip Liner in 11C and filled it in my lips. I, then, applied my Revlon Black Cherry on top of it. The result is the photo below! Super awesomely dark! Perfect for Fall/Winter makeup! I’m starting to love dark lips now.

Below is a picture of me with Maria. The pretty lady is a MUFE Intern, and guess what?! She is Indonesian, but her background is a Pakistani. She’s so friendly, and we couldn’t stop talking the whole time!
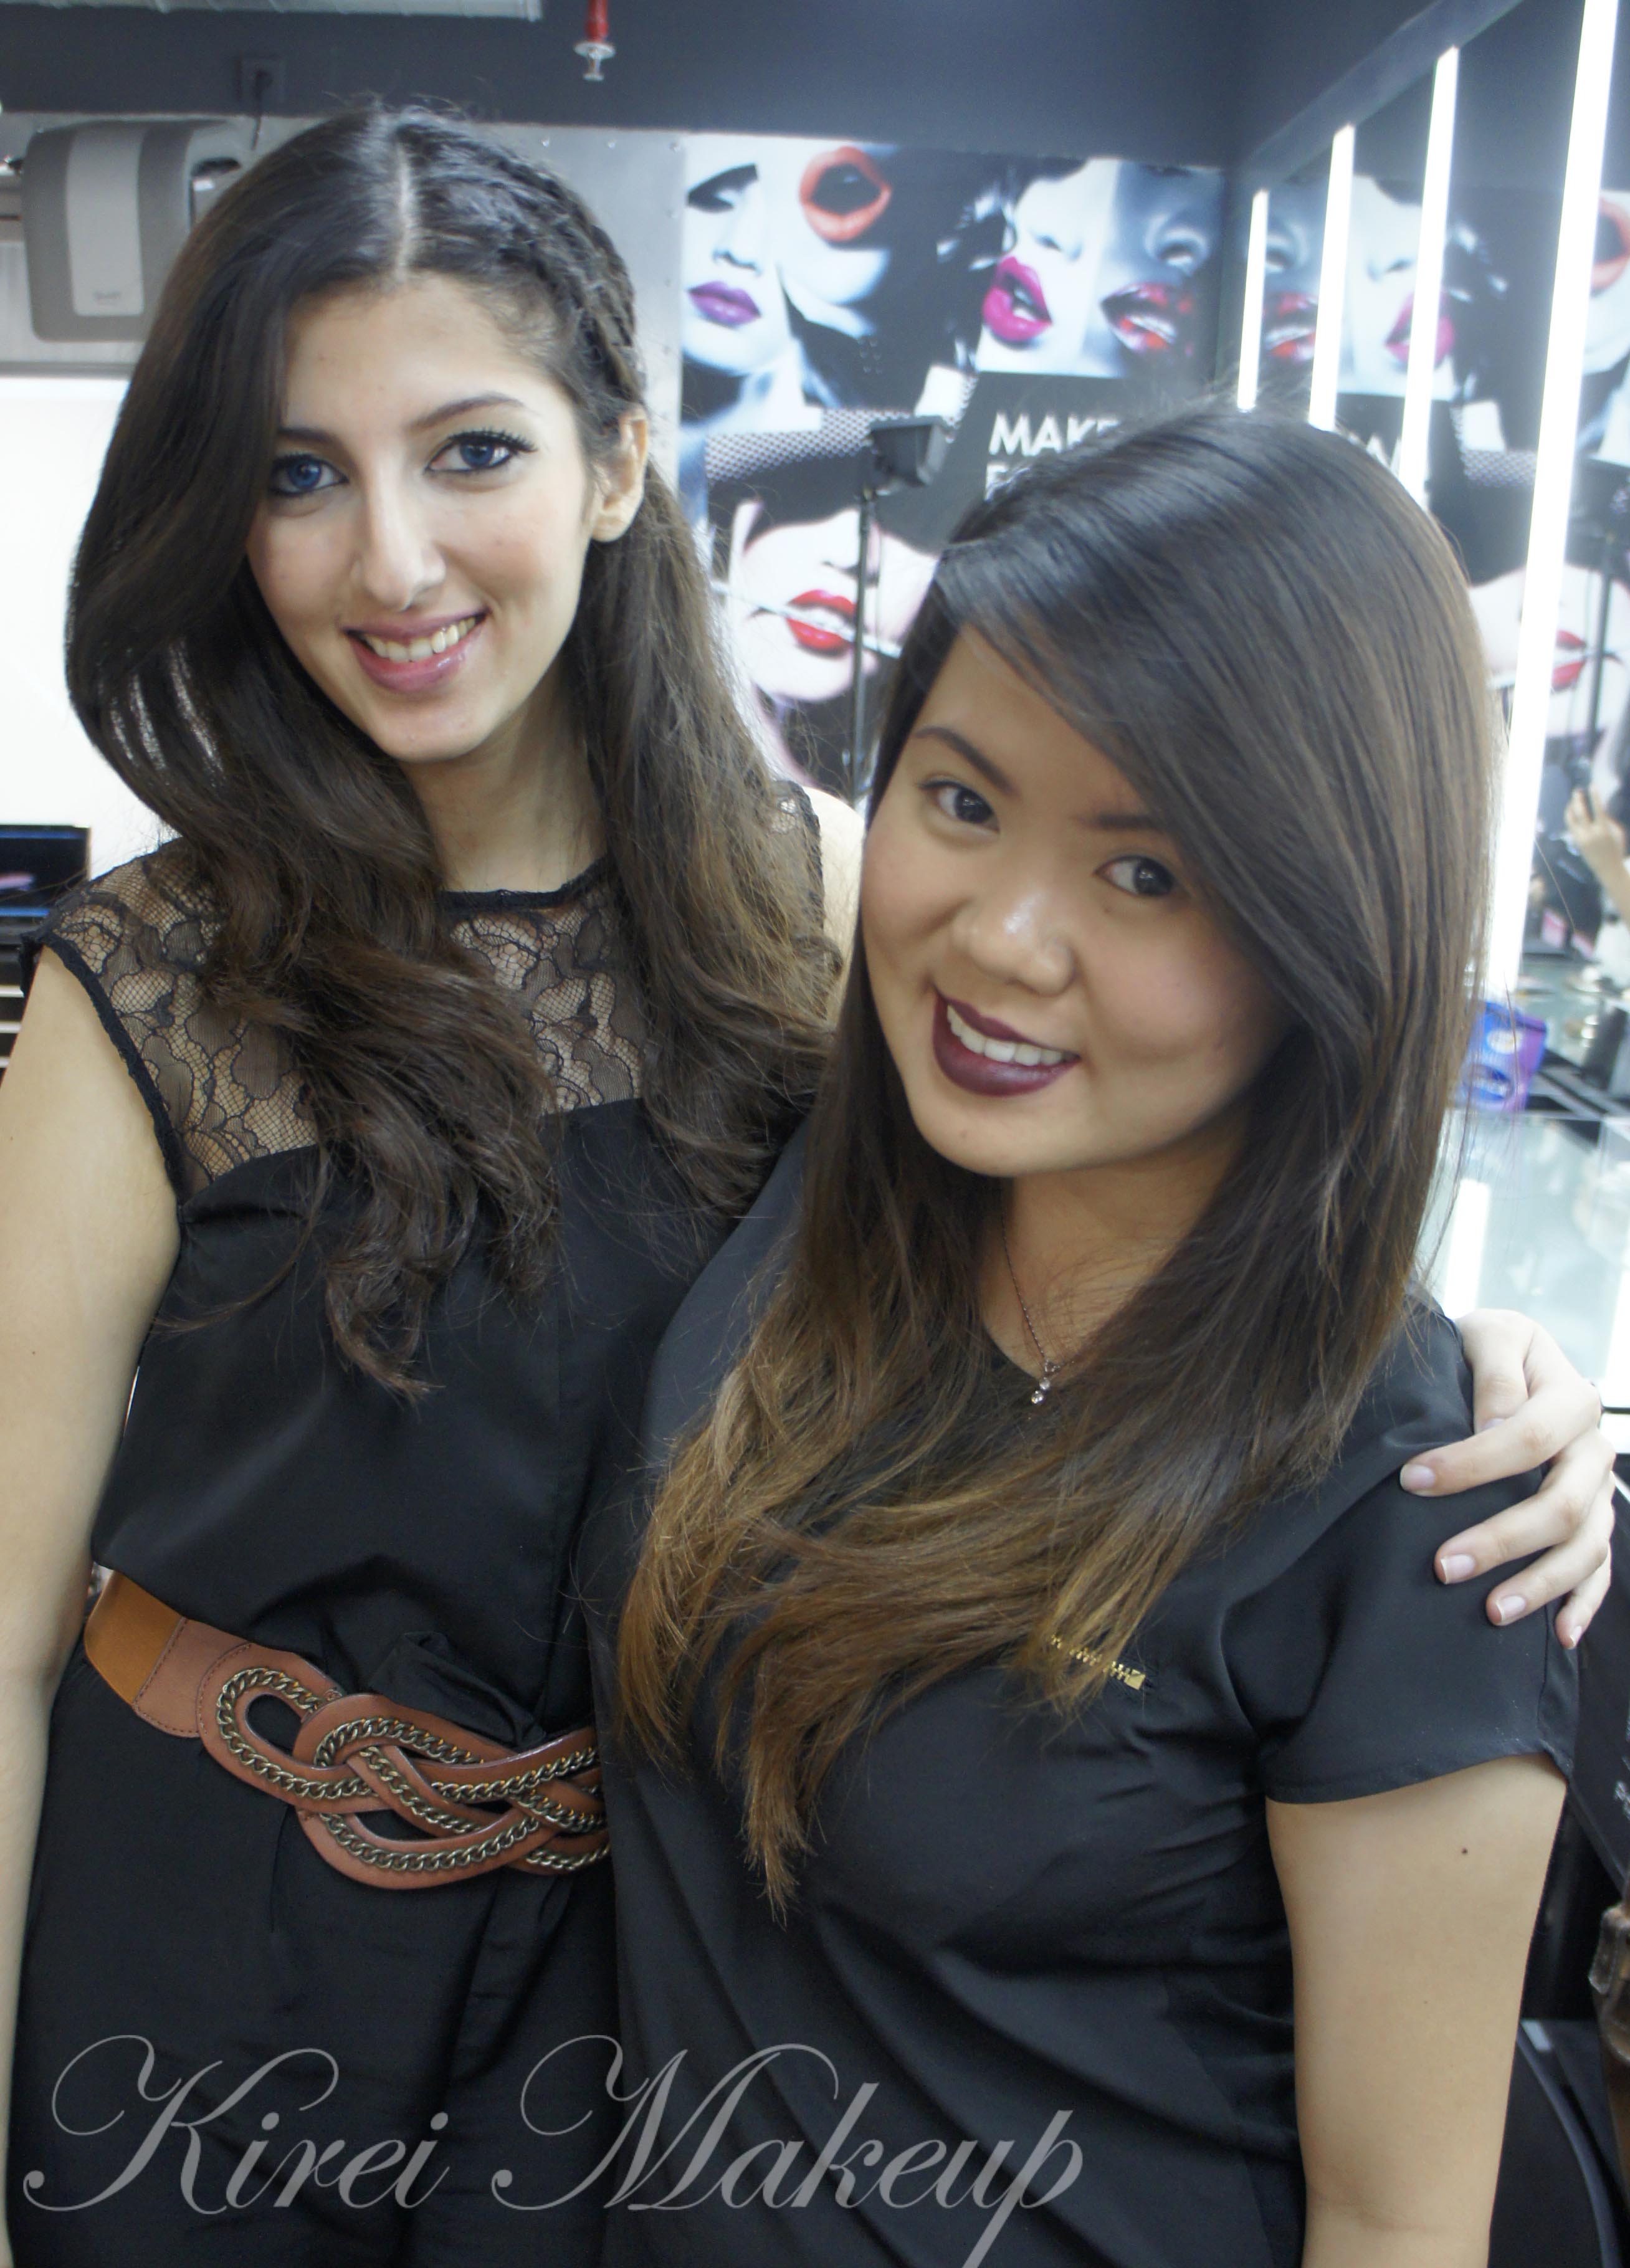
MUFE Academy IndonesiaWith Maria

Indonesian Beauty Bloggers
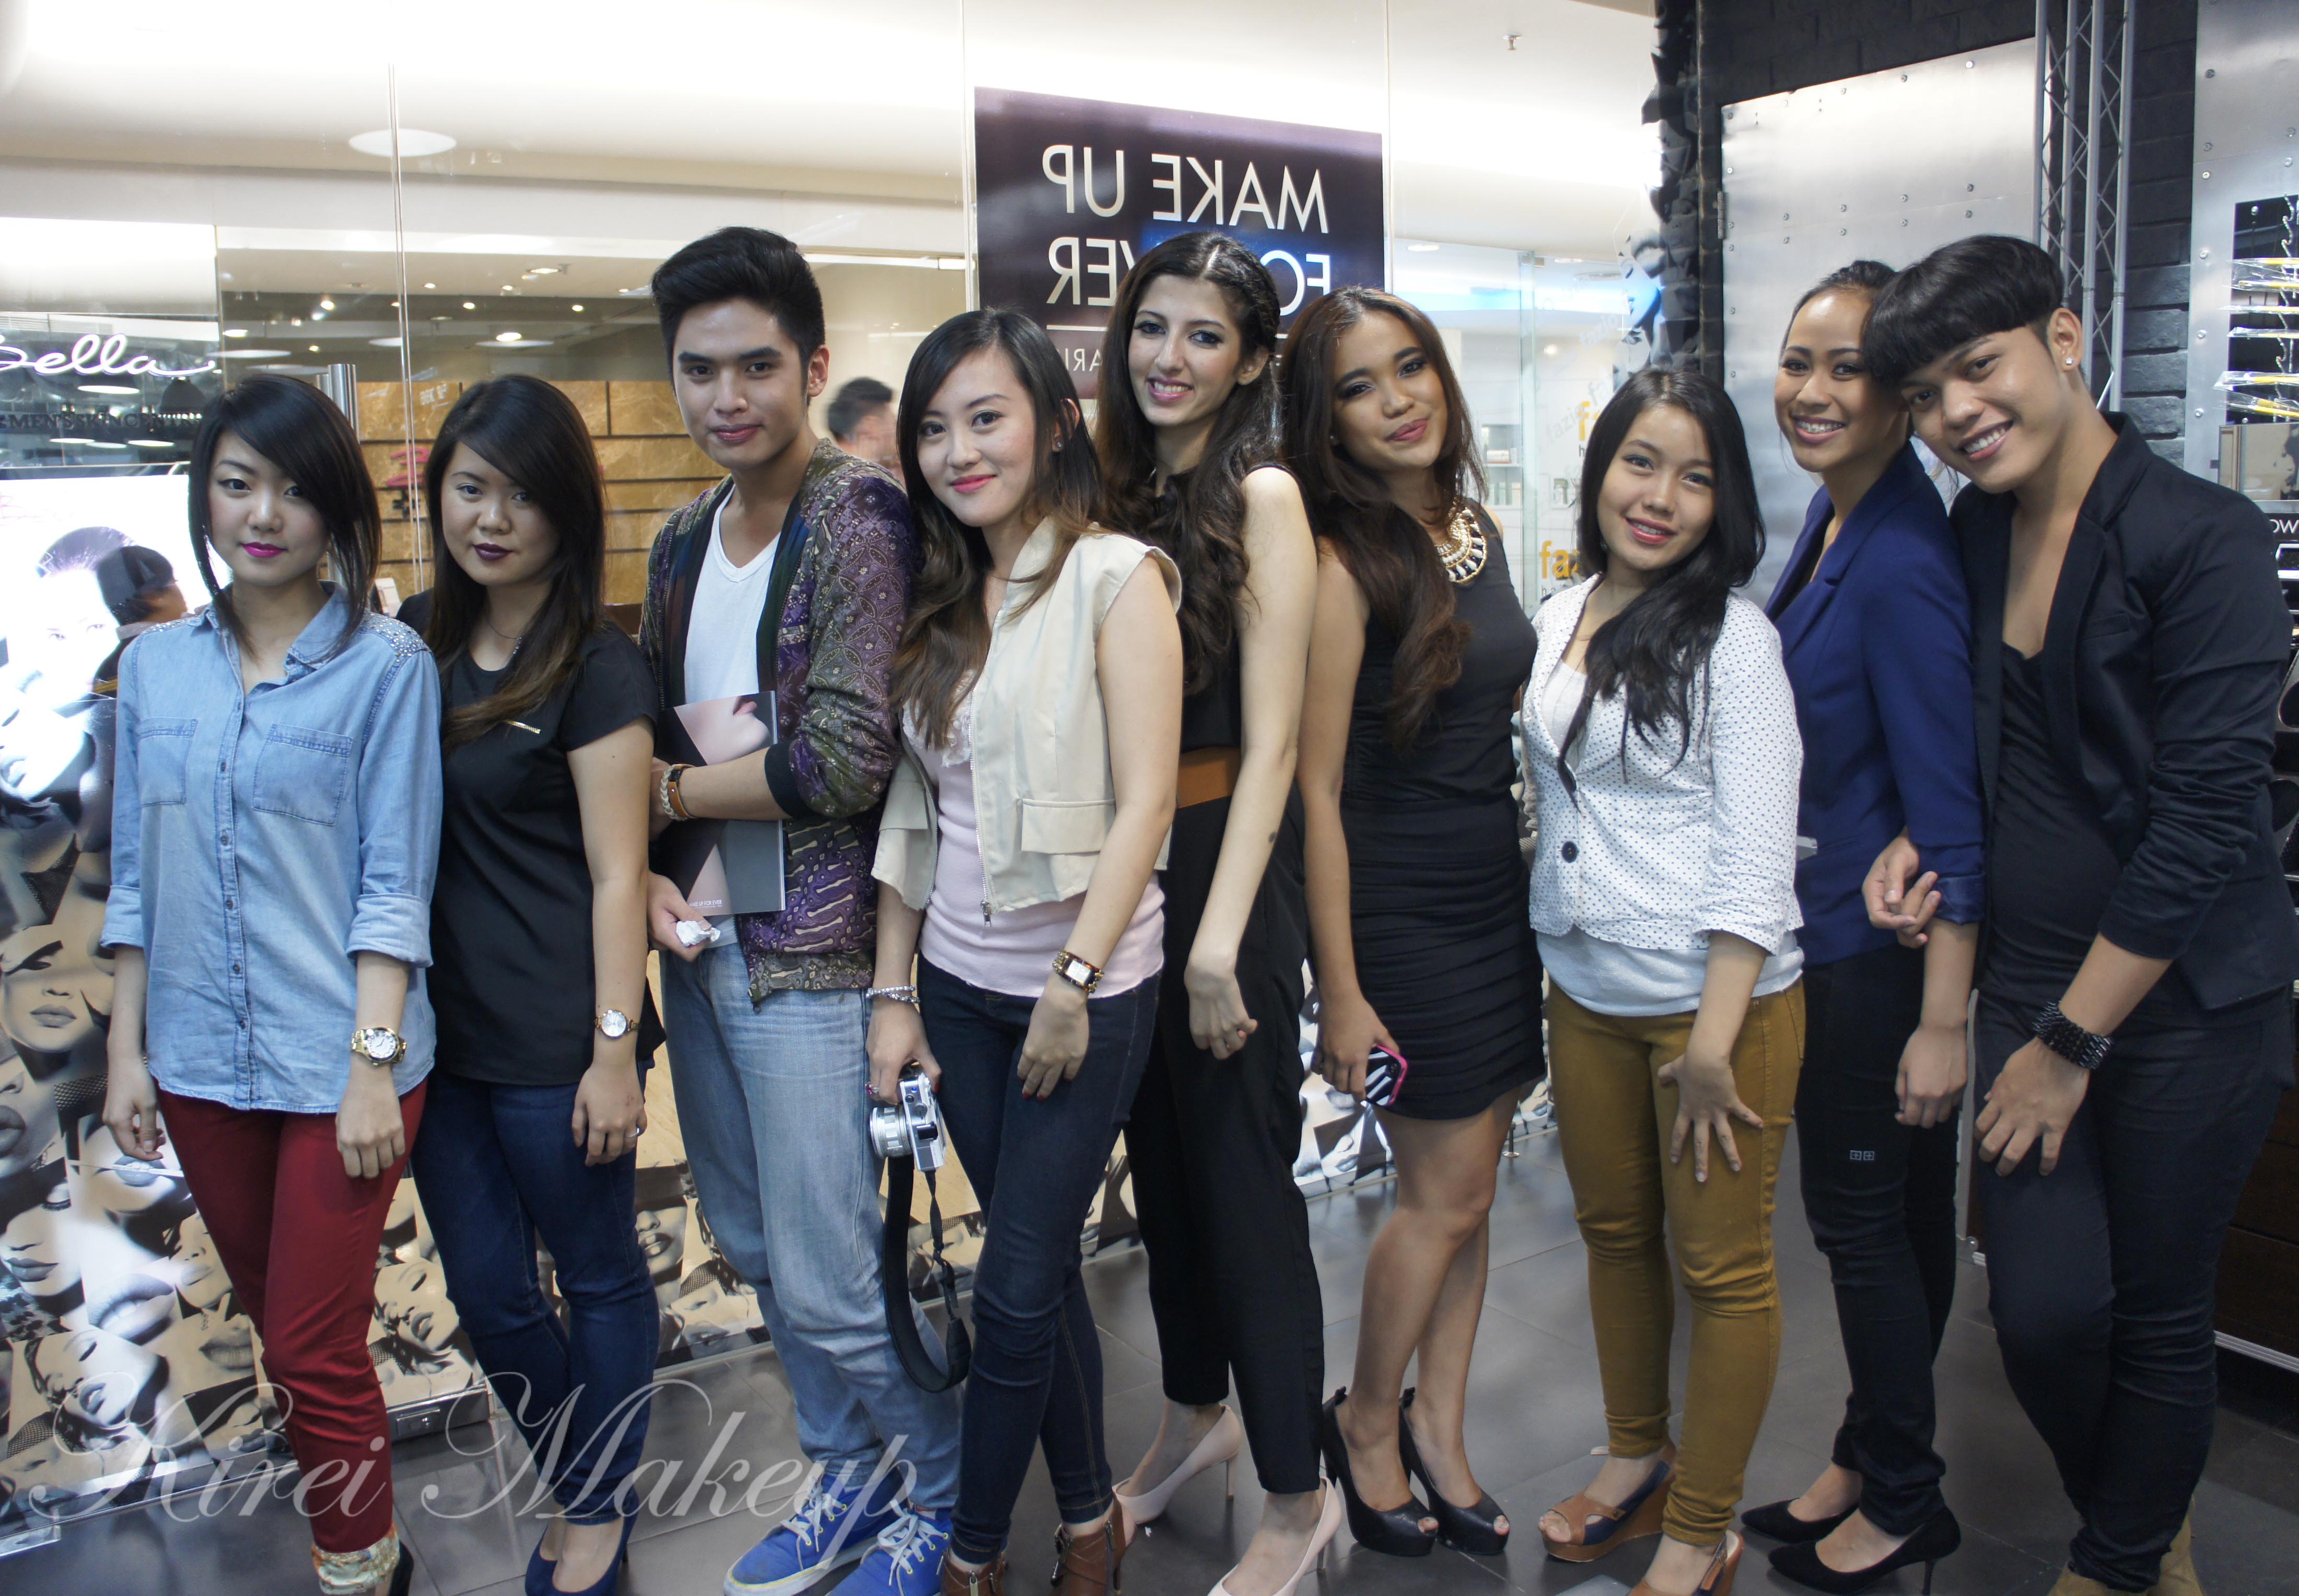
(L-R) Franky, Lucia, myself, and Mukti

MUFE IndonesiaWith Mukti Lim

Of course the event won’t be completed without a great pictures of us! By this time almost everyone was gone, so it was just the 5 of us and the Staff.  Thanks MUFE Indonesia for inviting us! Thank you for being such a great host!

Make Up For Ever Indonesia

MUFE Indonesia

P.S.: FYI, I was not forced or felt compelled to post every events I go to. I think it was nice that I was invited to all these different events, and I just wanted to share with you guys what I learnt and did during the event. To be honest, no one told me I’ve to do an event coverage or anything. I just wanted to share my good experience, and hopefully you guys can learn something from this post as well (i.e. the products).


Alternative to Latex & Zombie

Okay! So, if you guys followed my twitter, you should know I’ve been looking for liquid latex in Jakarta. I went to the Chemical store and they don’t have any :( …I didn’t really want to use my eyelash glue since I only have so little left. So, I wanted to do my own gelatin pieces, but can’t find glycerine around my area, and my microwave is busted…Nevertheless, I didn’t want to give up and I throught may be I can use Elmer’s glue! Well, there’s no elmer’s brand in Jakarta, so I went to the bookstore and bought a white liquid glue…

I went home, tried it on myself and it worked! Not perfectly, but it worked!  Oh, let me just say that you can wash this off with water and soap, it comes out pretty easily.

So here comes my brother, James as zombie :) It’s not how I’d love to do it, but it’s cheap and easy..not gory enough, but we had to rush it cause we had to go..oh well..here goes! :)

How-to:

1. I applied a very light foundation on James’ face. He’s pretty tanned, and I used L’oreal Tru Match foundation in W2. It looked extra white on his face..hahaha..oh well..I applied the foundation using a dry sponge and applied it quite messily. I don’t think zombie needs to have a flawless base..

2. Using PAC Face Paints makeup, I mixed red and dark blue to make purple paint. I applied it lightly under his eyes, along his lid using a Laura Mercier concealer brush.

3. Using a clean blending brush, I applied PAC brown face paints lightly on the crease, under eyes, side of his nose and sides of his nostrils.Zombie makeup

4. Using PAC yellow face paint and a dry sponge, I stippled some yellow face paint on his face on random places.

5. Using another blending brush (and a face angled contour brush), I applied MAC Scene all over the face in places where I want his features to looked sunken in (crease, side of nose, cheekbones, jawline, jawal etc).

6. Now for the fun part, I applied white craft glue on his face using a cheap disposable paint brush. I applied a light cover, let it dry for a few seconds and randomly I tore out cotton balls and applied it on his face. Once I’m happy with the shape, I applied more glue on top of the cotton.

TIP: The messier the better!

Zombie makeup

7. I applied liquid foundation, add some grey eyeshadow, brown eyeshadow, Snazaroo face paints and just make a big mess :)

8. Since we were rushing and didn’t have the product, we didn’t add blood. HOWEVER, you can make your own blood by adding red/orange food coloring to corn syrup. Just make everything looks nasty, that’s how zombies are…Also, get white contacts if you can to add to the look, James is scared of wearing contacts, he never had to, so he didn’t want to…

Zombie makeup

Guerlain Meteorites Powder for the Face

I’ve bought Guerlain Meteorites Powder probably a few long months a go. I’ve always be intriqued by this product, part of it because I always see my mom using it when I was a child. I couldn’t find the strength to pay close to cad$60 for a highlighter, afterall, there’s a lot of highlighters out there that promise the same thing – a glow from within.

Finally, not too long a go, I decided to buy this seemingly magical pearls that promise to deliver “pure radiance” (taken from Sephora website). I remembered I bought this in Winter. At that time, I had the extra money to splurge on a beauty product, and buying a Guerlain product was definitely on my wish-list.

So, what is Guerlain Meteorites? (excerpt below taken from Sephora website)

What it is:
An illuminating powder that delivers pure radiance.

What it does:
Inspired by light and created by Guerlain, Météorites Pearls employ the technology of white light, which is used in photography and film to erase imperfections and soften features. A constellation of 6 multi-colored pearls blend together for a flawless, radiant complexion. These pearls-with-a-purpose have now been reinvented in 3 color harmonies that are adapted to each skintone.

On the picture below, I didn’t show the different pearls, since it was taken when I first bought it. The different coloured pearls are hidden underneath the beige/bronzed ones. The 6 multi-colored pearls are: green, white, pink, purple, beige and brown. I bought Teint 02, and I believe its composition is made up of more of the beige and brown pearls than the green and white ones.

The packaging is beautiful, no it’s gorgeous! It comes in this silver tin with lovely flower design on the lid. It doesn’t feel cheap either, the tin is quite heavy and the lining inside is such a pretty colour. It comes with a powder puff, which I think is useless, but a nice touch. The powder puff helps to compact the pearls so they don’t move around much.

The smell of these pearls are wonderful! It definitely reminds me of my childhood, but it does not smell old or granny-like.

Does it work?

I don’t have a picture of me wearing it, but it doesn’t really show up much in pictures. May be on the next tutorial I’ll use the meteorites and upload it for you guys to see. It does, however, make a very subtle difference in real life. You can apply it all over your face or as a highlighter. In the winter, I used to apply it all over my face for extra radiance since the skin can look pretty dull. They are not overly shimmery or sparkly like some highlighter can do to your face, but they provide a pretty nice sheen. I think people with dry skin might benefit from this.

What doesn’t work?

It’s pricy! I bought this because it reminded me of my Mom, and because I’ve extra cash to splurge. However, other than that, I doubt I’ll buy it again. I mean, it is a classic product though, but holy guacamole, it’s expensive. Also, the product is quite bulky. They’ve released a compact version of this product, and if I were to buy it again, I might buy the compact, but yet may be I won’t. I also like the pearls..hahahaha 😛 I’m such a sucker for the package!

Click on picture to enlarge it

guerlain meteorites