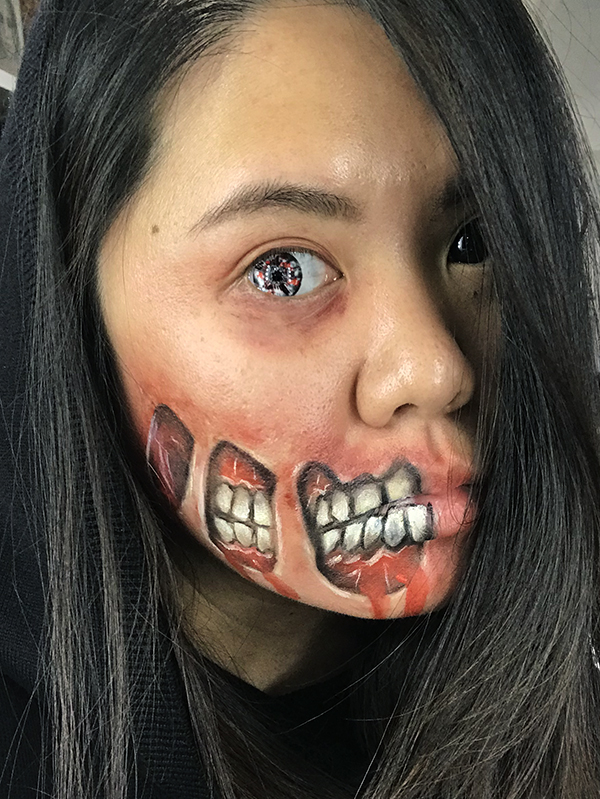
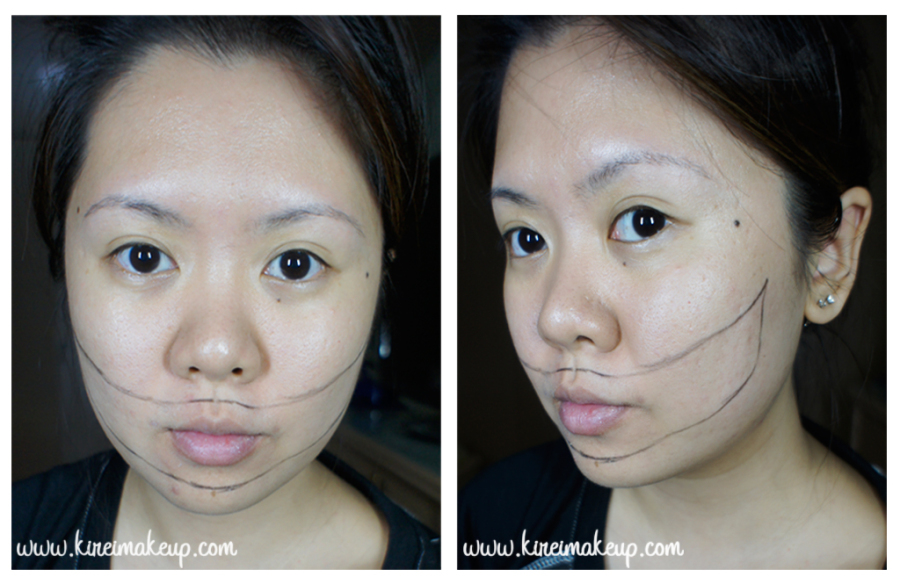
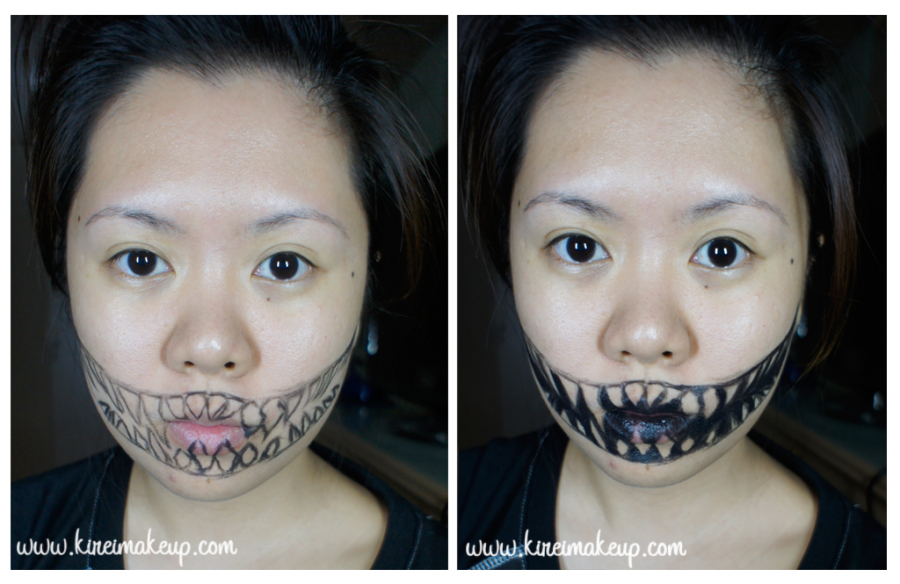
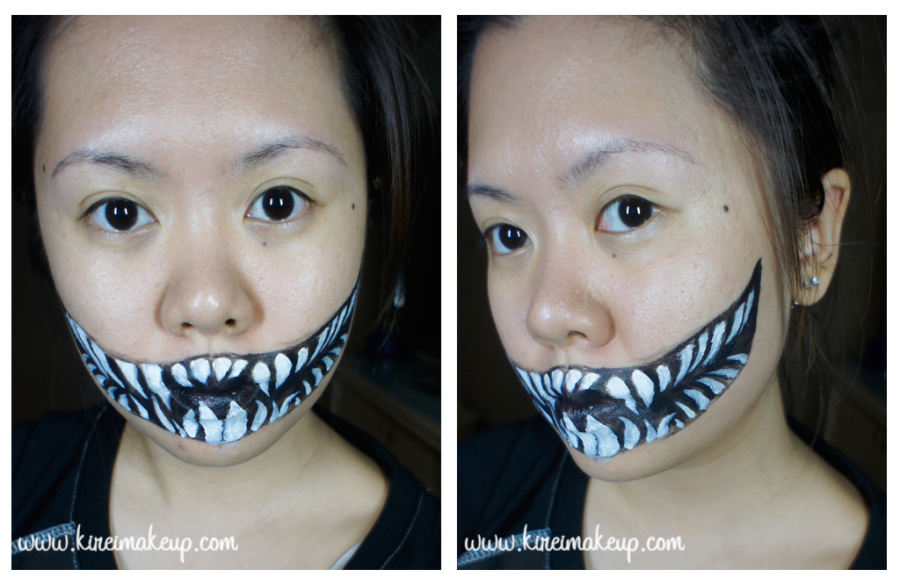
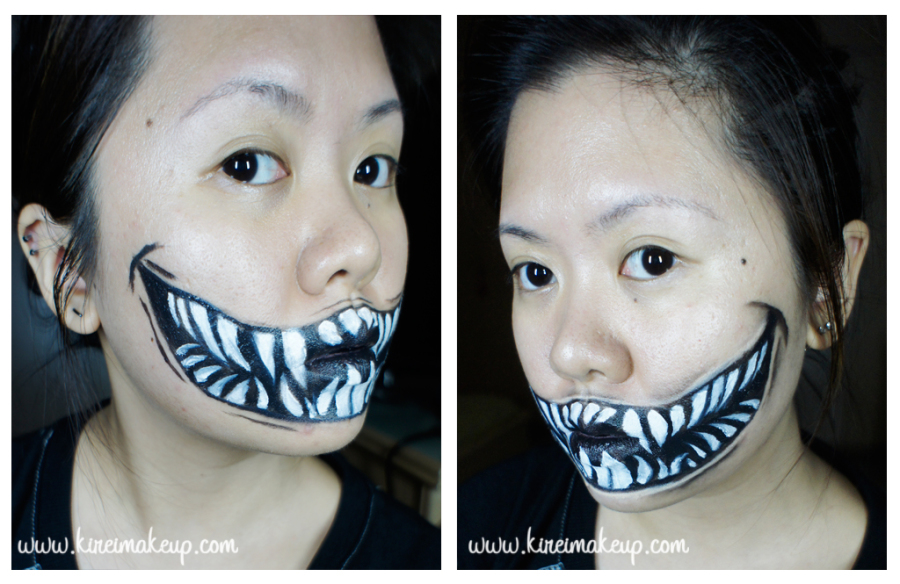
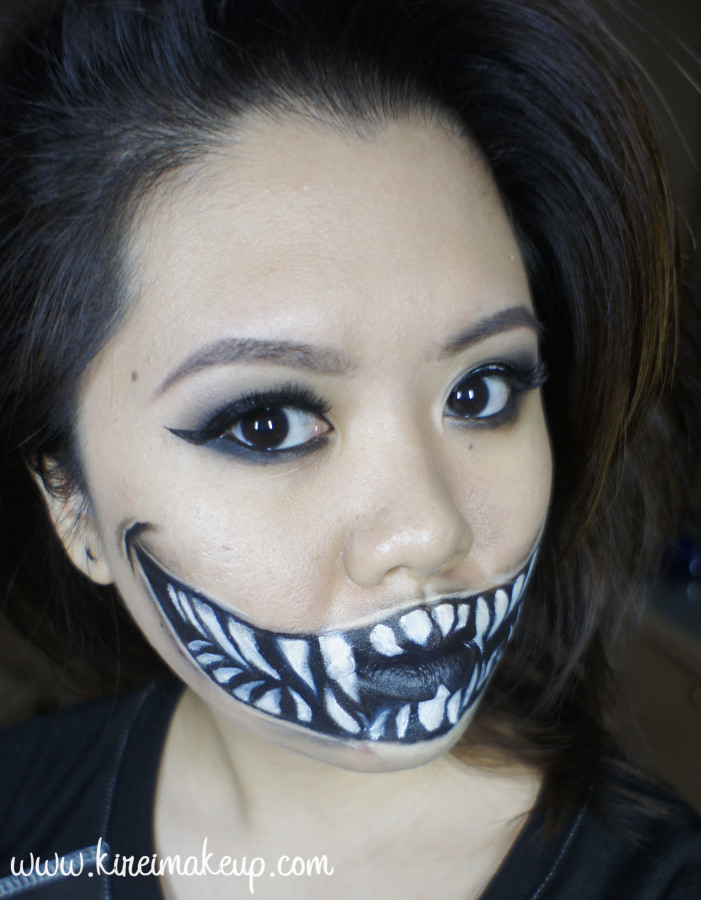
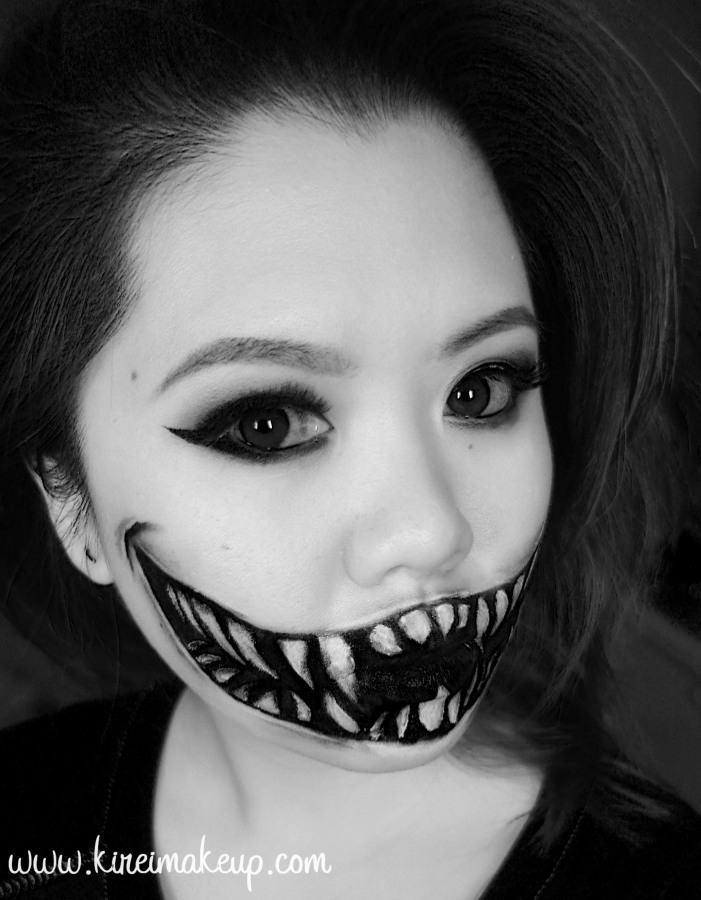
Are you guys ready for Halloween?! I sure am! I’ve been posting a few pictures on my Instagram (follow me!), and decided that today I should do a Halloween tutorial. To continue the tradition that I’ve been doing these past 2 years, I shall do half-pretty half-ugly makeup for today.
This makeup will look even better if you have one of those zombie contact lenses! I currently do not have a pair, so I decided to just skip it. If you do have the time to look for one, you should really get it!
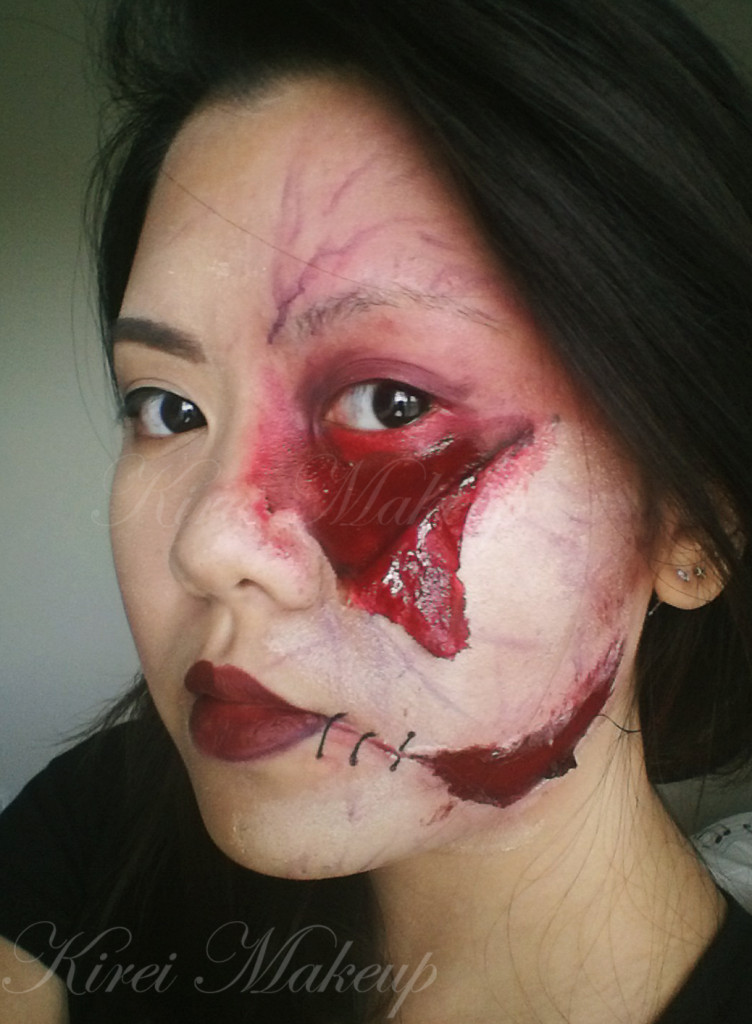
Also, I intended to have this look as the first stage of zombie infection, thus the flesh and skin are just starting to fall apart.
Just to keep in mind, obviously this isn’t how those amazing makeup artists did zombie makeup for TV shows and/or the big screen. They used certain products, which I know most of us would probably have a hard time getting (not to mention expensive!). However, if you’re interested in getting those products, you should look up Premiere Products Inc. (PPI). They have the best products to create zombie, infected, bruised makeup. PPI products are alcohol activated, so be very careful during application.
Anyways, for this tutorial, everything is affordable and hopefully can be found easily should you decide to replicate it. You need the products below to create the peeled skin and flesh:
- Liquid Latex
- Loose powder
- Brushes – preferably synthetic and cheap from art store
- Makeup sponges – 2 or 3
- Snazaroo face paints – red, black (purple is optional)
- Clear lipgloss
- (optional) Kryolan Bruised wheel
- (optional) Pen liquid eyeliner
For the “pretty” side, I used:
- MUFE HD Foundation in 117 (a shade lighter than my skin)
- NAKED Basics palette
- Kanebo Kate Super Sharp eyeliner
- Anastasia Brow Wiz in Brunette for the brows
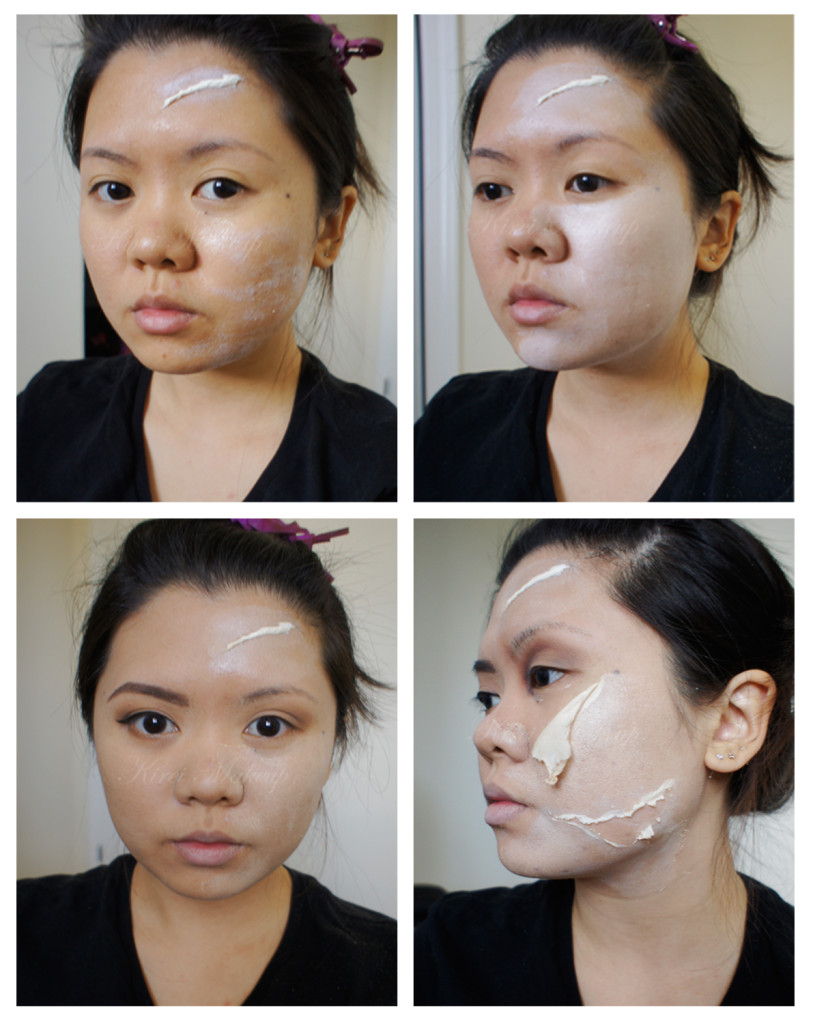
I decided to REMOVE the “Scar” on my forehead for the end result, so please ignore it.
How-to:
1. Using makeup sponge, I stippled Kryolan Liquid Latex on the area where I wanted the skin to rip. I applied it lightly to my skin, letting it dry and then applied a few more layers. I did about 3-4 layers.
2. You’ll know the latex is dried when it becomes transparent. Once it dried, I liberally applied translucent/transparent loose powder on the latex using a clean makeup sponge. This will prevent the latex from sticking to each other.
3. I applied MUFE HD Foundation all over my face, and did the pretty side first.
4. Next, for under my eyes, I pulled the latex and applied loose powder on the inside to prevent it from sticking to itself. You can be as creative as possible, don’t worry if it looks ugly! The uglier the better!
5. For the one near my mouth, I used a tweezer to rip the latex. This helped me to control the ripping better since I want very tiny small rip near the corner of my mouth.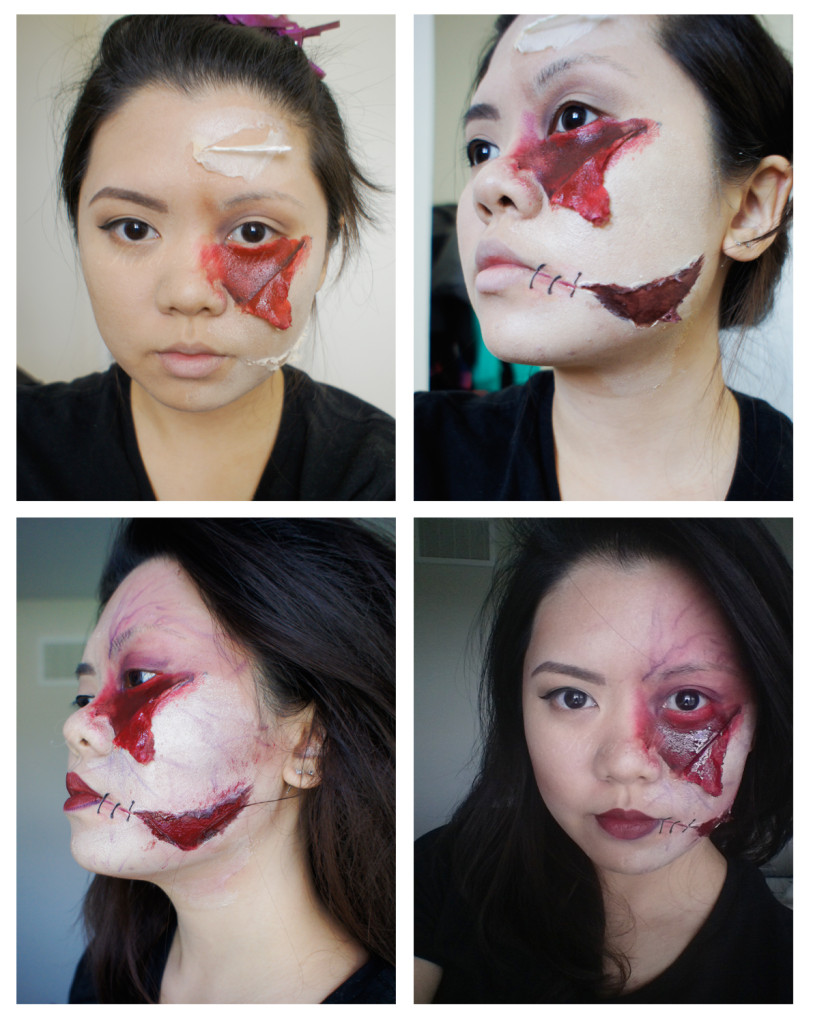
6. Now, be creative with your blood! Since Snazaroo face paints are activated using water, dip the tip of your brush very lightly into a clean water before dipping it to the face paint.
7. I mixed red and black face paint, and applied it to my face.
8. I applied black face paint using a smaller brush at the edge where the skin and the flesh meets.
9. I used Kanebo Kate Super Sharp eyeliner to create the “stitches” along the corner of my lips. You can use the black face paint and a tiny brush to create the stitches if you do not own a liquid liner.
10. Using Kryolan Bruised Wheel (or you can use the red and purple face paint), I created veins on my face to mimick zombie’s skin.
11. To make the flesh look wet and fresh, I applied clear lipgloss on the flesh area.
Just make it as ugly as possible and have fun doing it! The “infected” side is slightly lighter since it’s dying, and the veins are closer to the skin than the “pretty” side.
HAVE FUN! xoxo
ps: I’m available for Halloween makeup! Contact me for details at jilly@kireimakeup.com
