Holiday Makeup using MAC Diva

I’m on a mission to use my new Smashbox Full Exposure palette as much as I can, and in as many tutorials as possible. I will mention that I’ll be doing Smashbox Full Exposure palette review and swatches in my next post!

I’ve recently bought MAC Diva lipstick, which is a retro matte dark red lipstick. So, I wanted to start creating a holiday makeup tutorial that has a little bit of a classic look, with a modern twist. I decided to do this tutorial, which consisted of dark red lips and shimmery cat eyeliner.

Keep in mind that the glitters from Smashbox Full Exposure palette S7 eyeshadow might create a lot of fall-out. You might want to do your eye makeup first before doing the rest of the face.

If you want to see a tutorial using the Smashbox Full Exposure palette, please check my Smashbox Full Exposure Look #1 post. If you want to find out how to apply red lipstick, please check my How-To Apply [red] Lipstick post.

cat eyeliner

How-to:

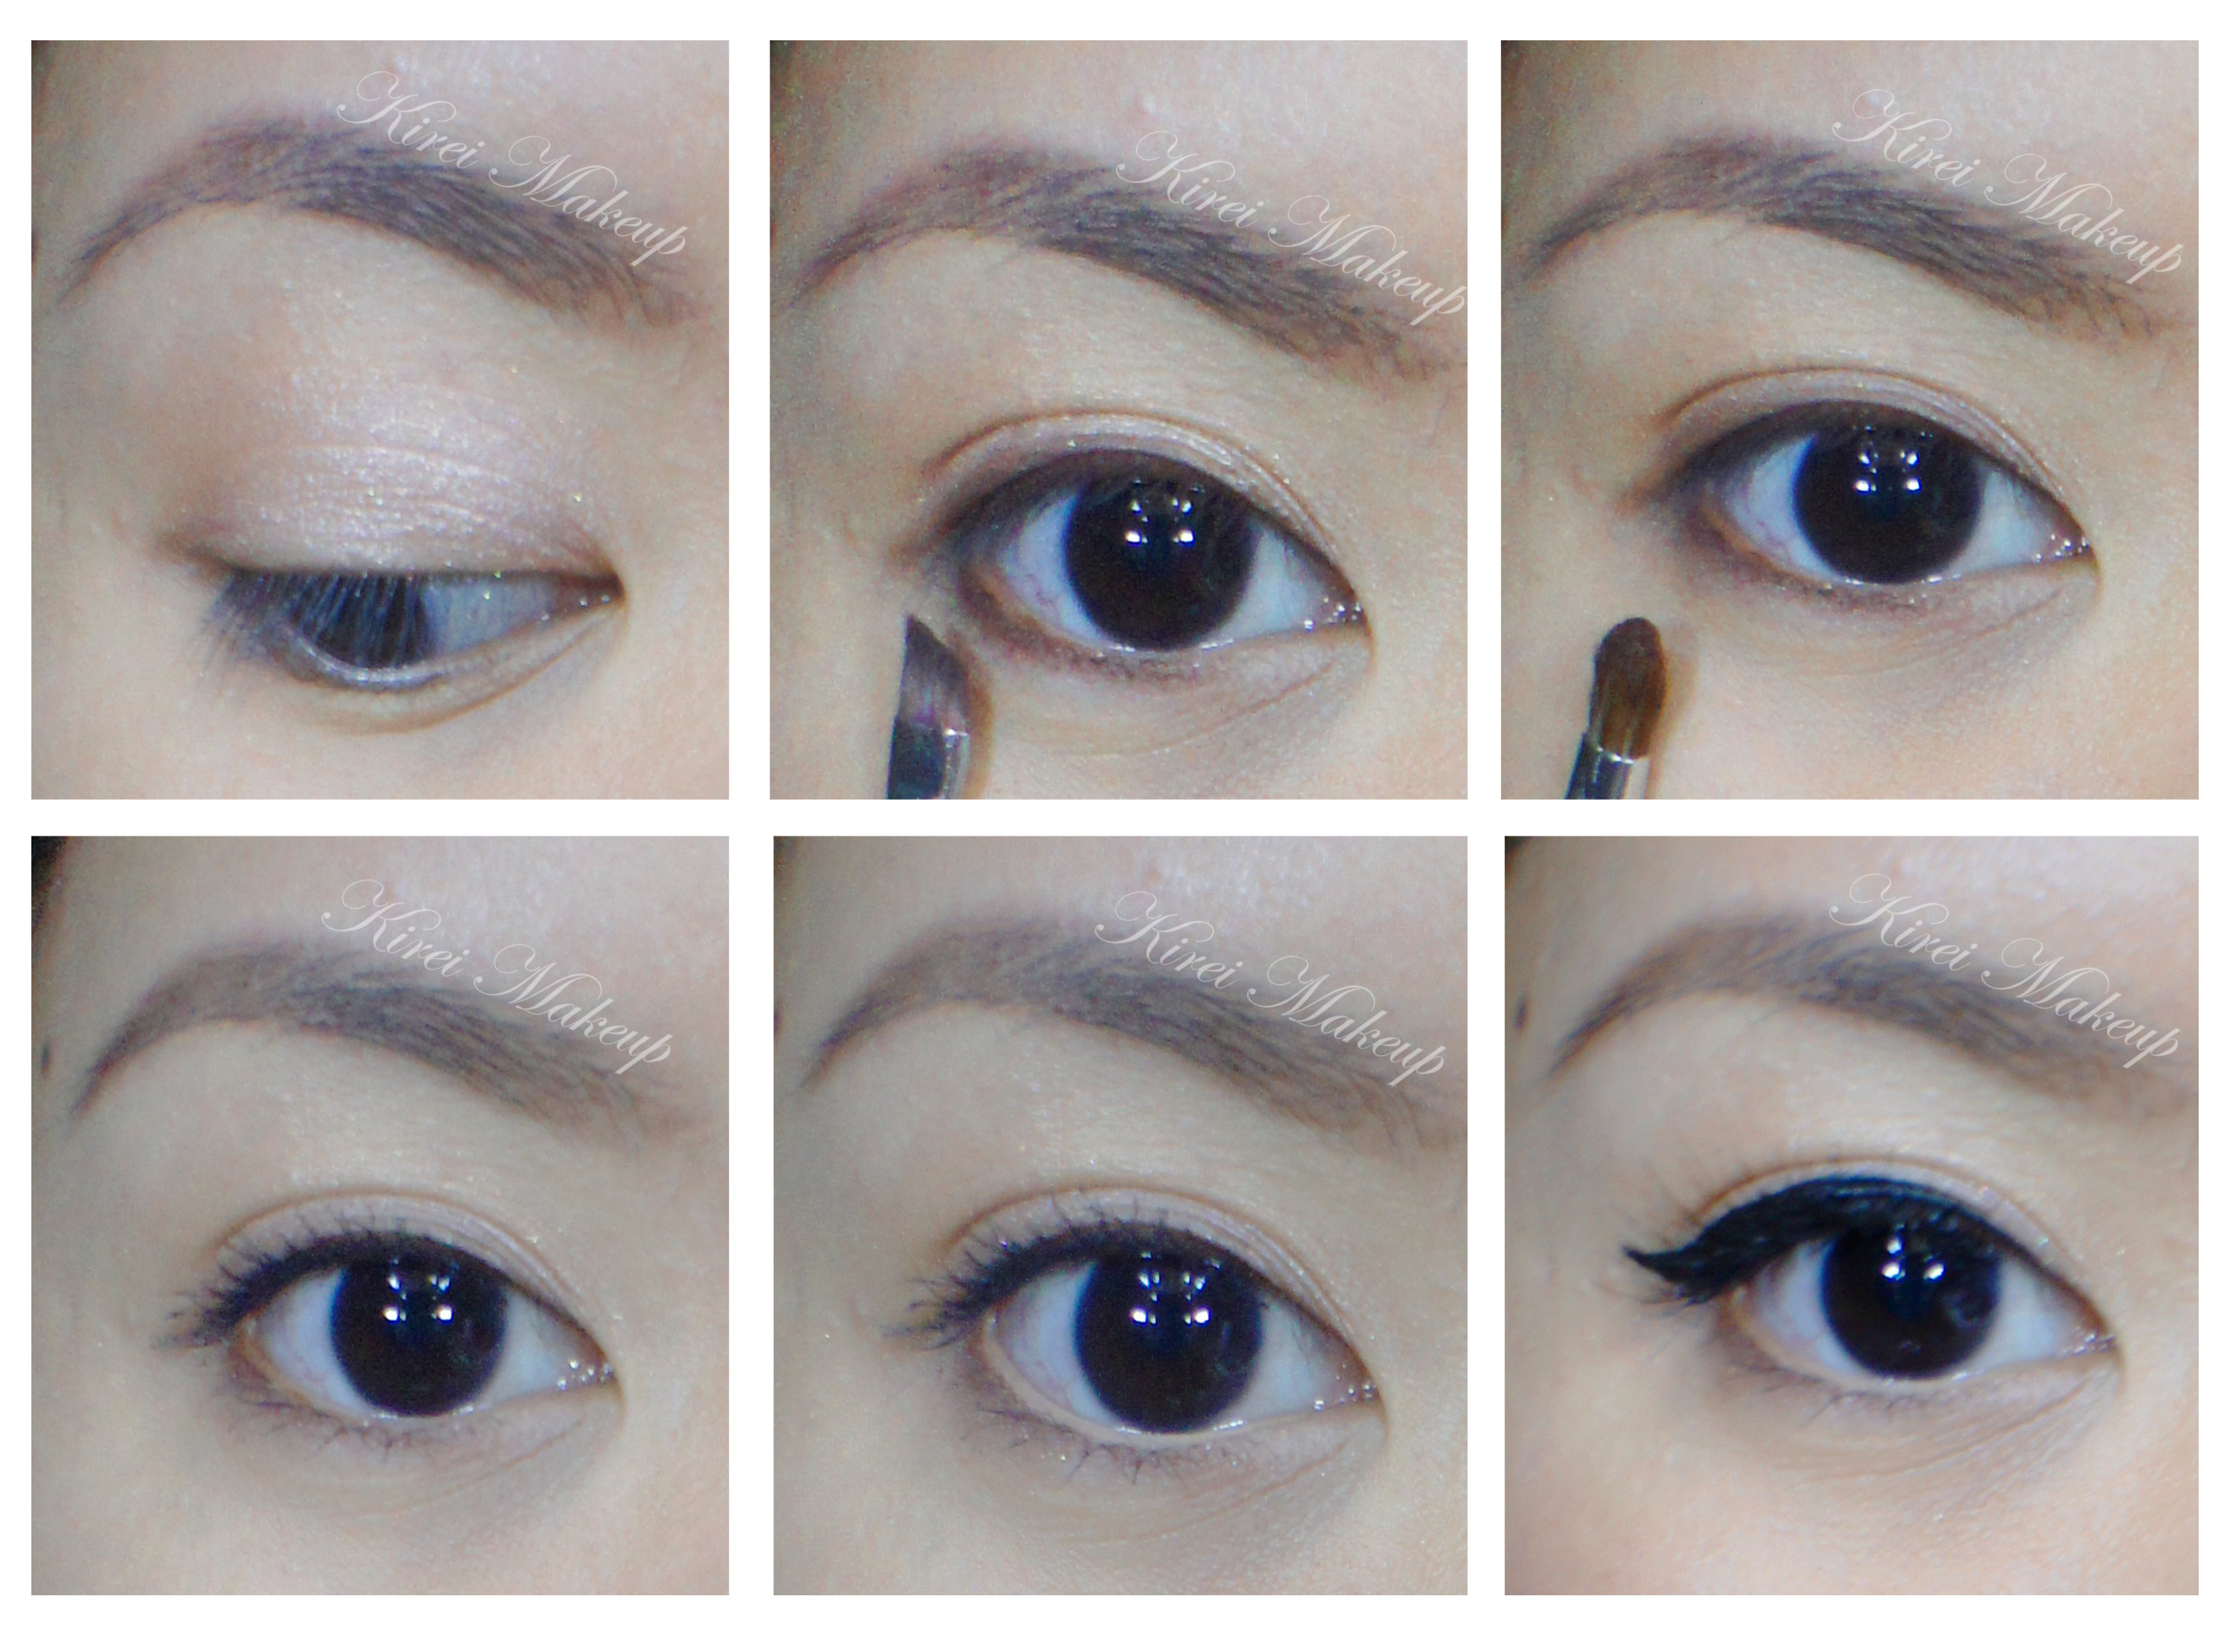
1. I applied Urban Decay Primer Potion all over my eyelid using my ring finger.

2. Using Smashbox Full Exposure palette M5 eyeshadow, I applied it all over my lid using a flat eyeshadow brush.

3. I created a cat-eyeliner along the upper lash line using MAC 266 brush and Smashbox Full Exposure palette S7 eyeshadow.

4. Using the same brush and eyeshadow from Step 3, I applied the eyeshadow on my lower lash line.

5. I used L’oreal Voluminous Smoldering eyeliner on my waterline and tightline.

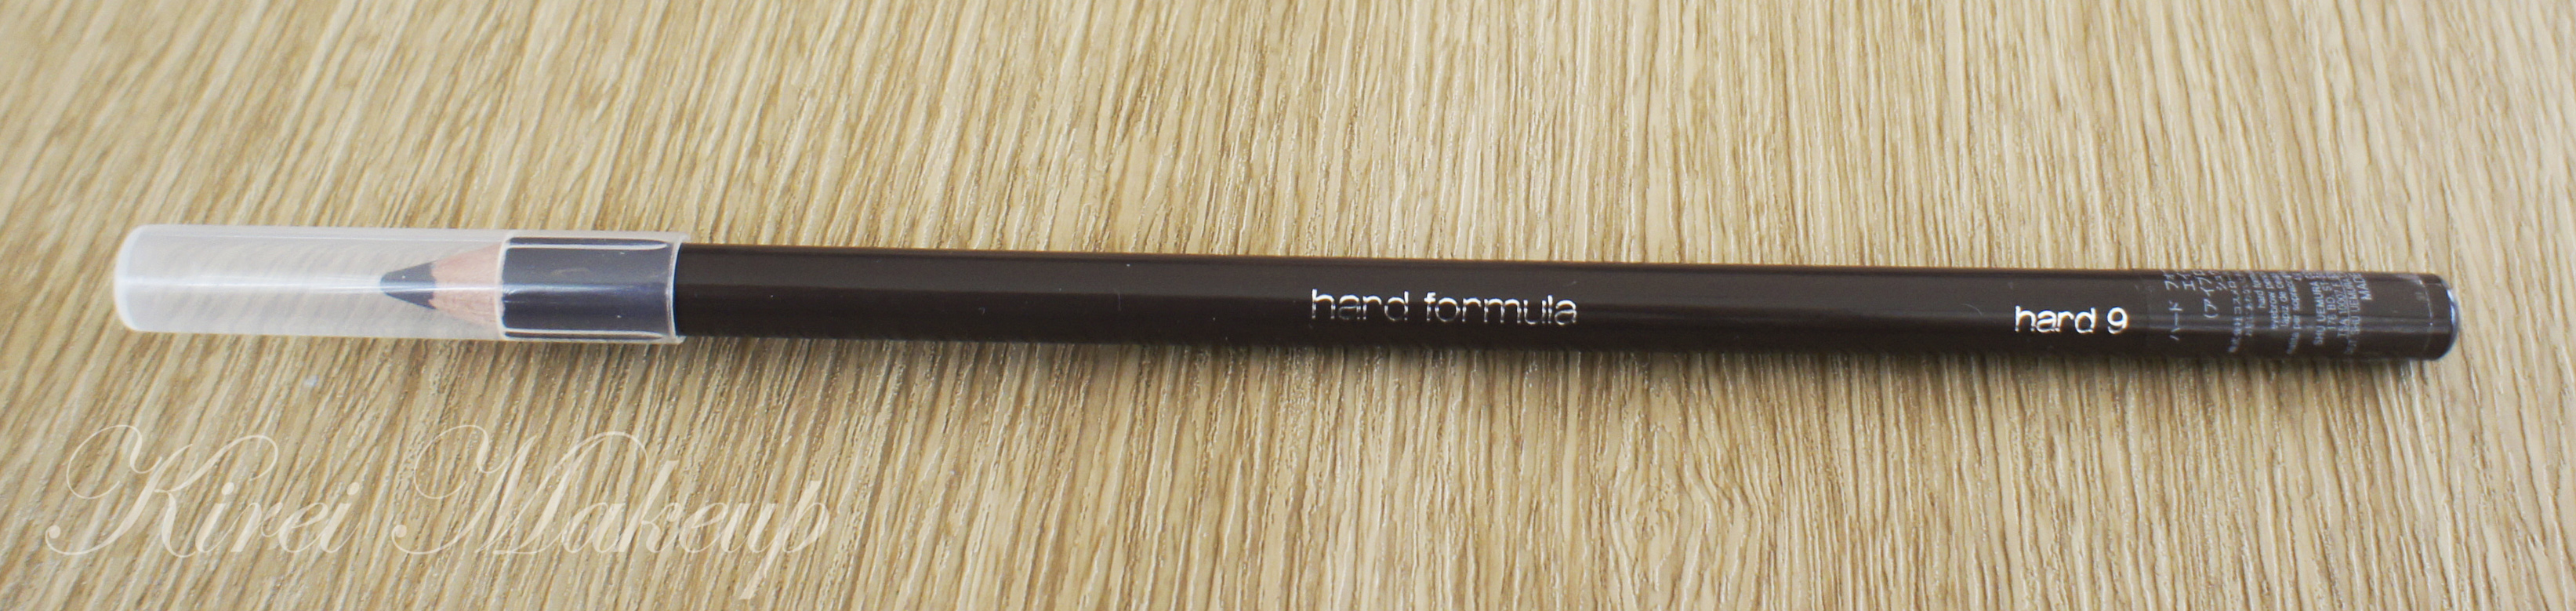
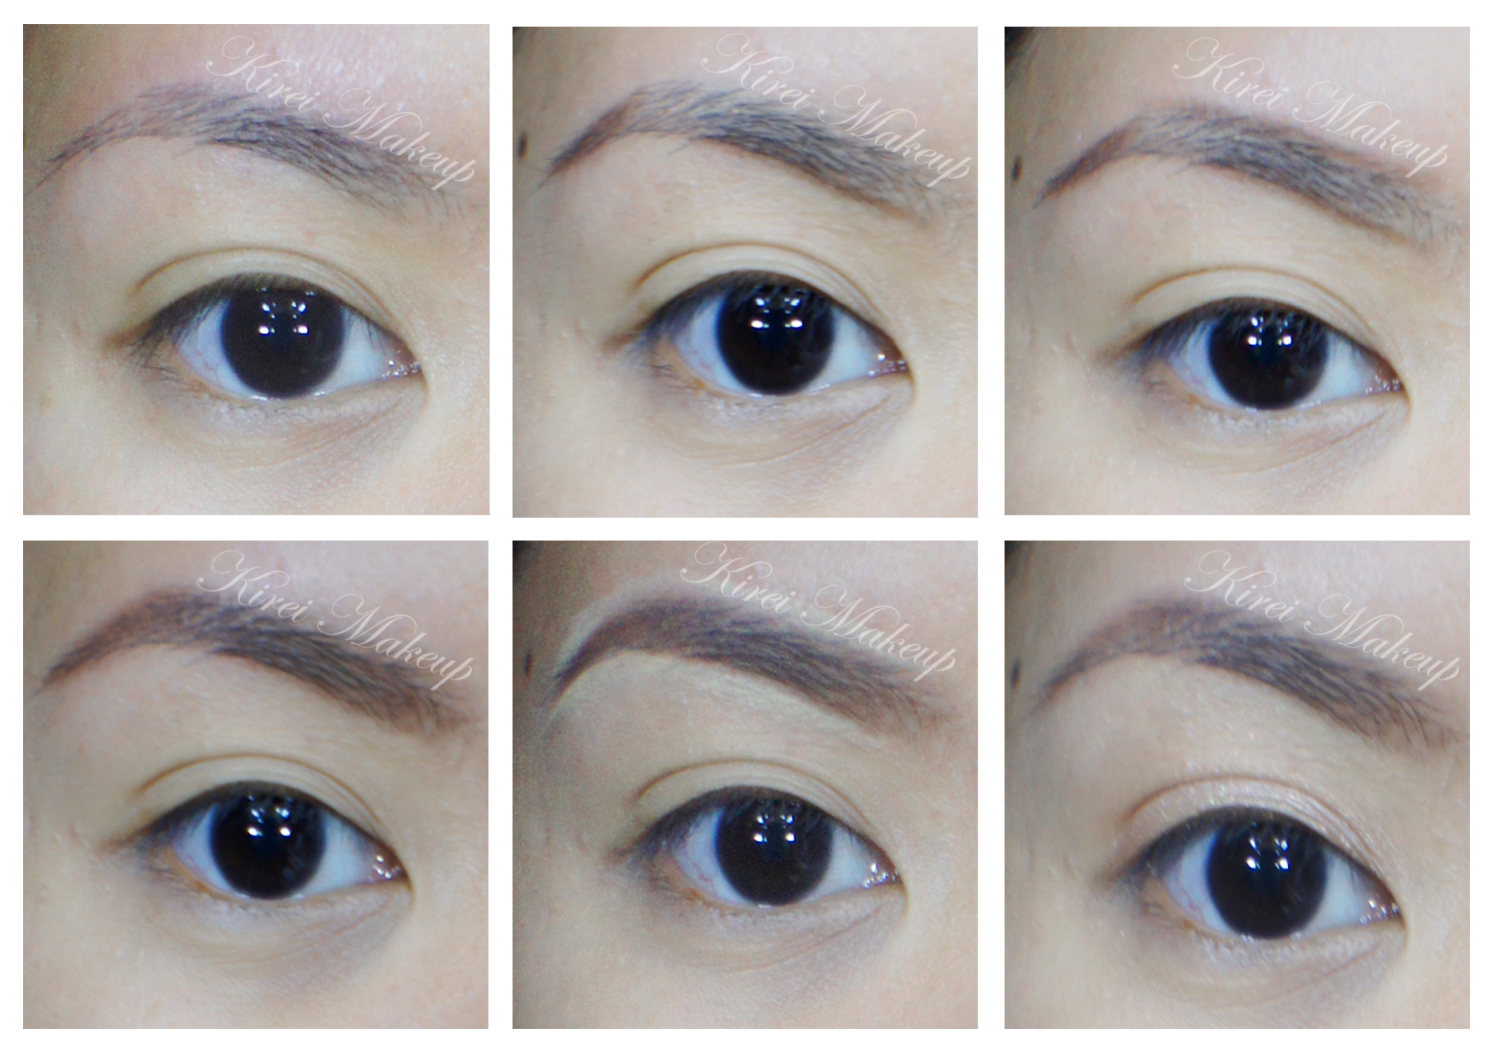
6. I filled my brows using MUFE Aqua Brow gel and a clean MAC 266 brush.

7. I curled my lashes and applied Physician’s Formula Organic mascara on both upper and lower lashes.

8. Then, I applied Eyeme false eyelashes on the upper lashes.

Holiday Makeup Tutorial

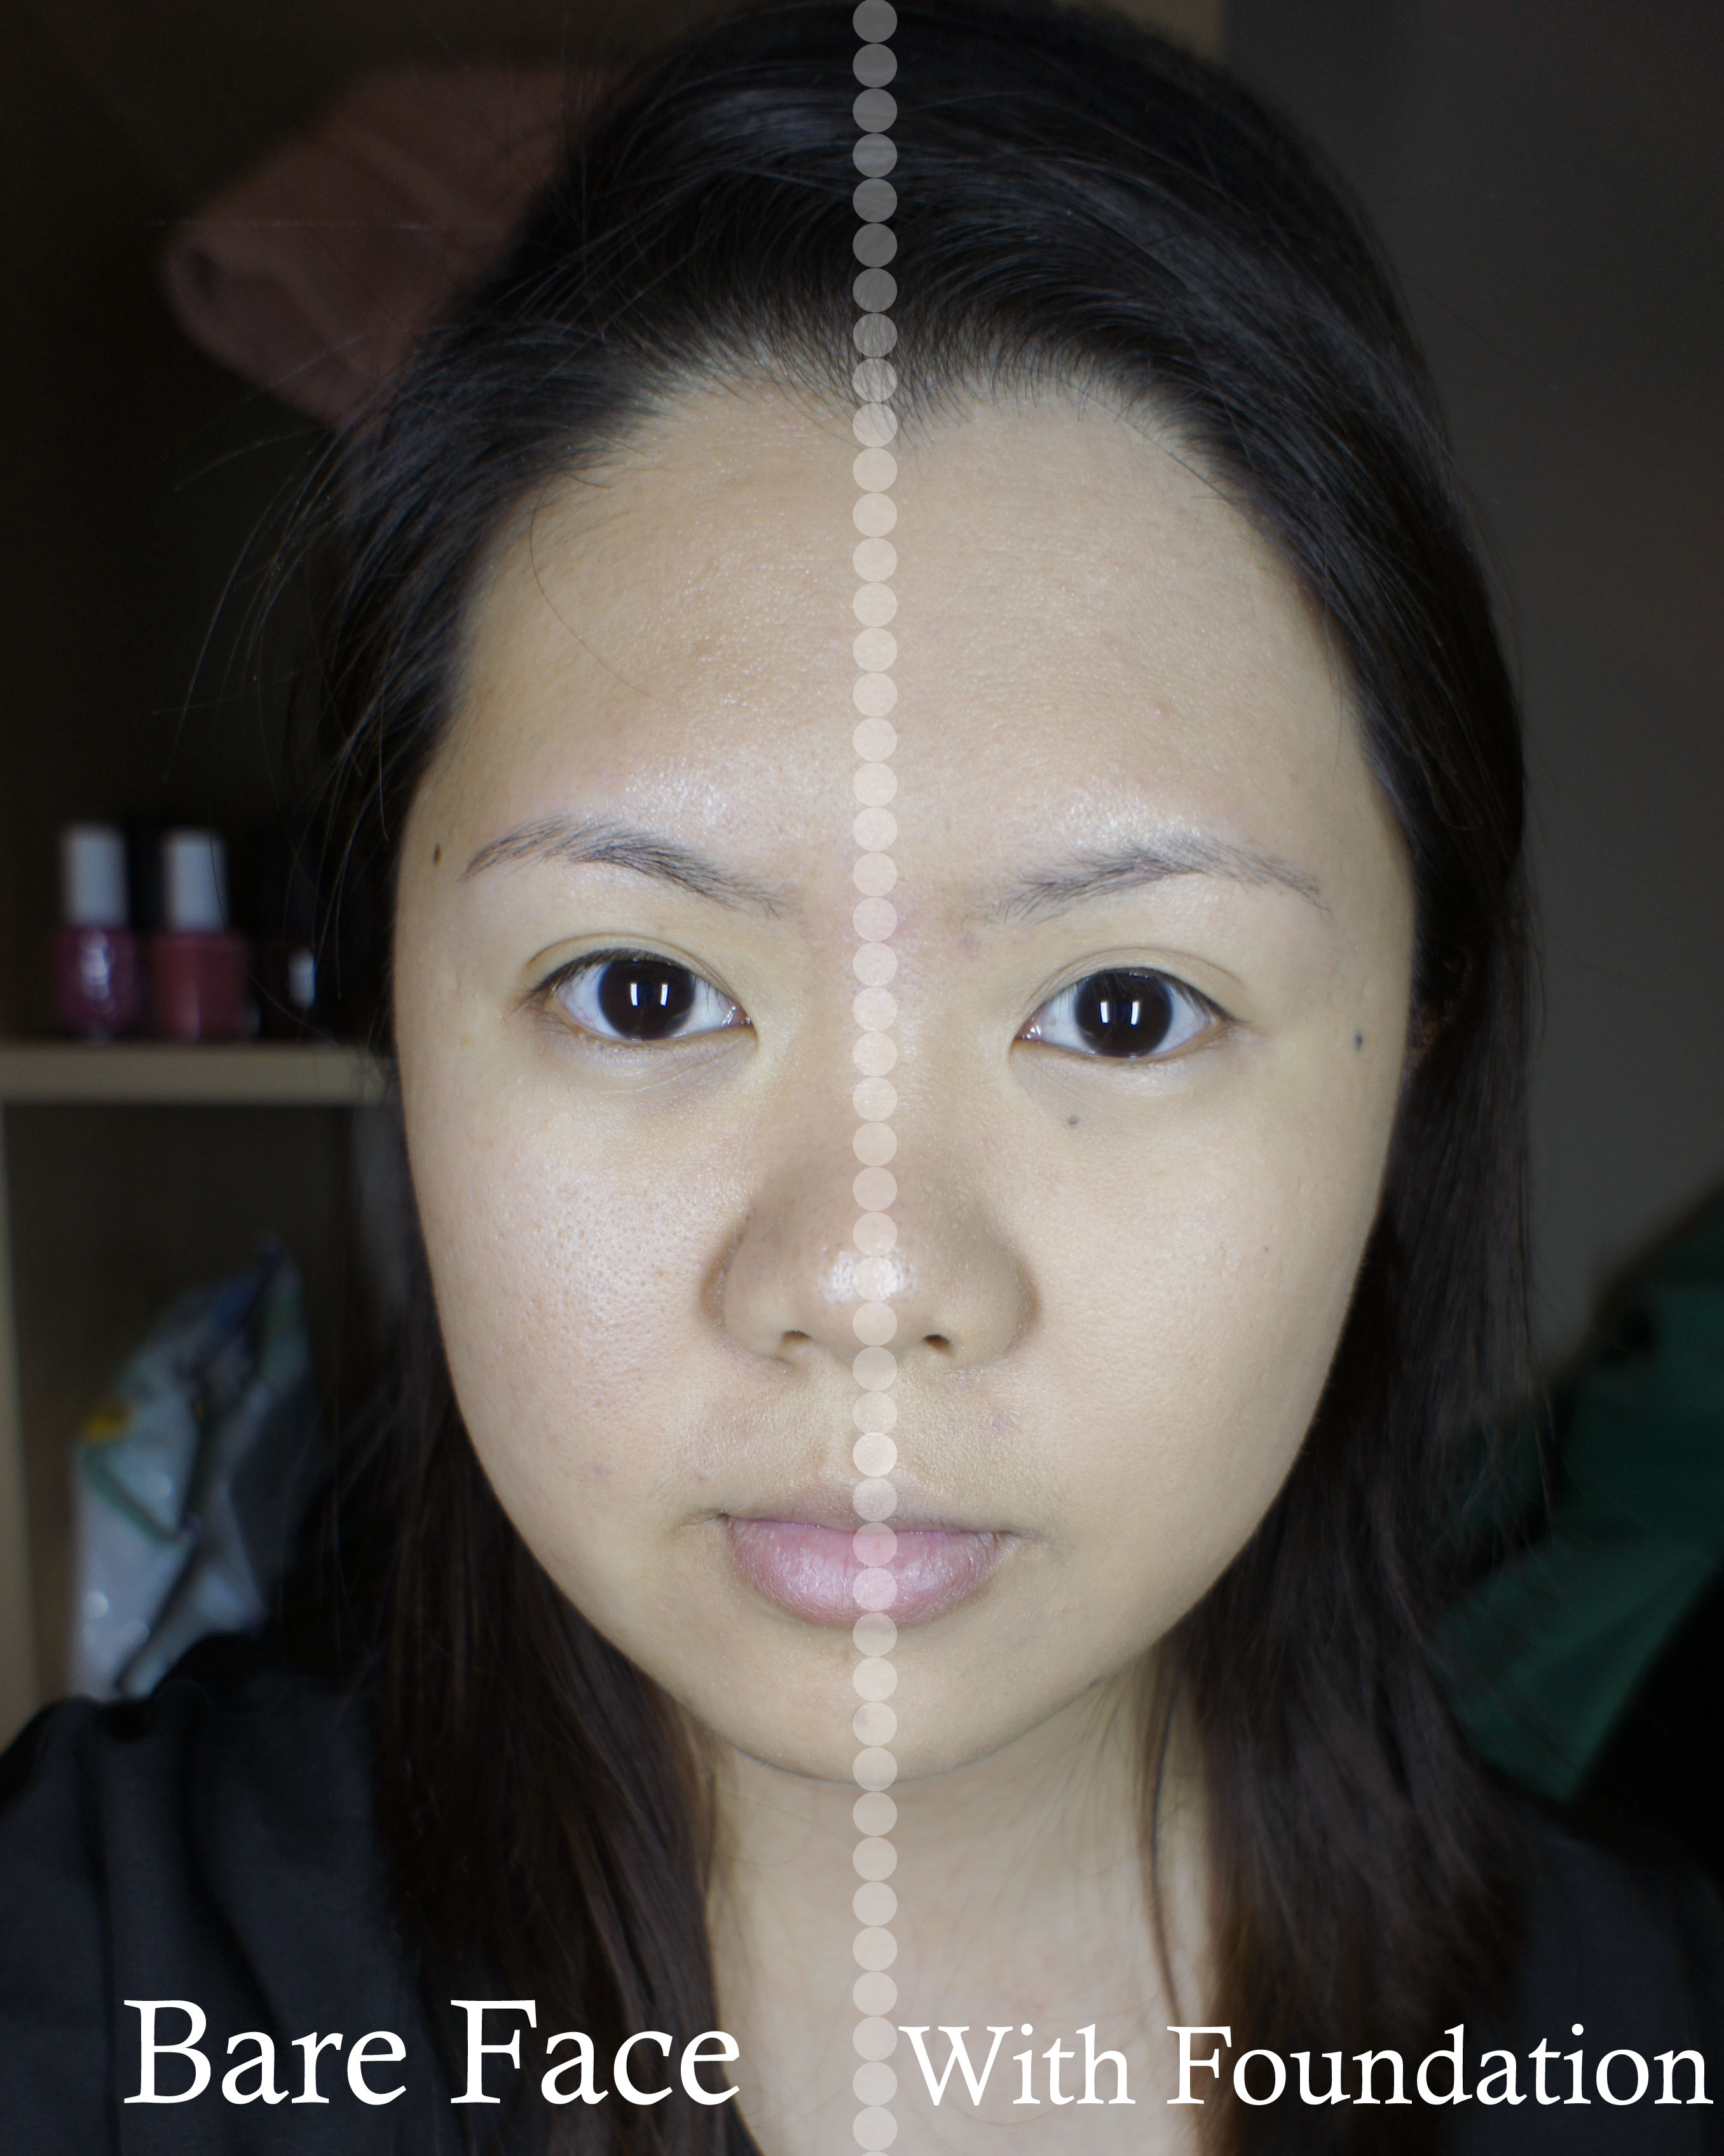
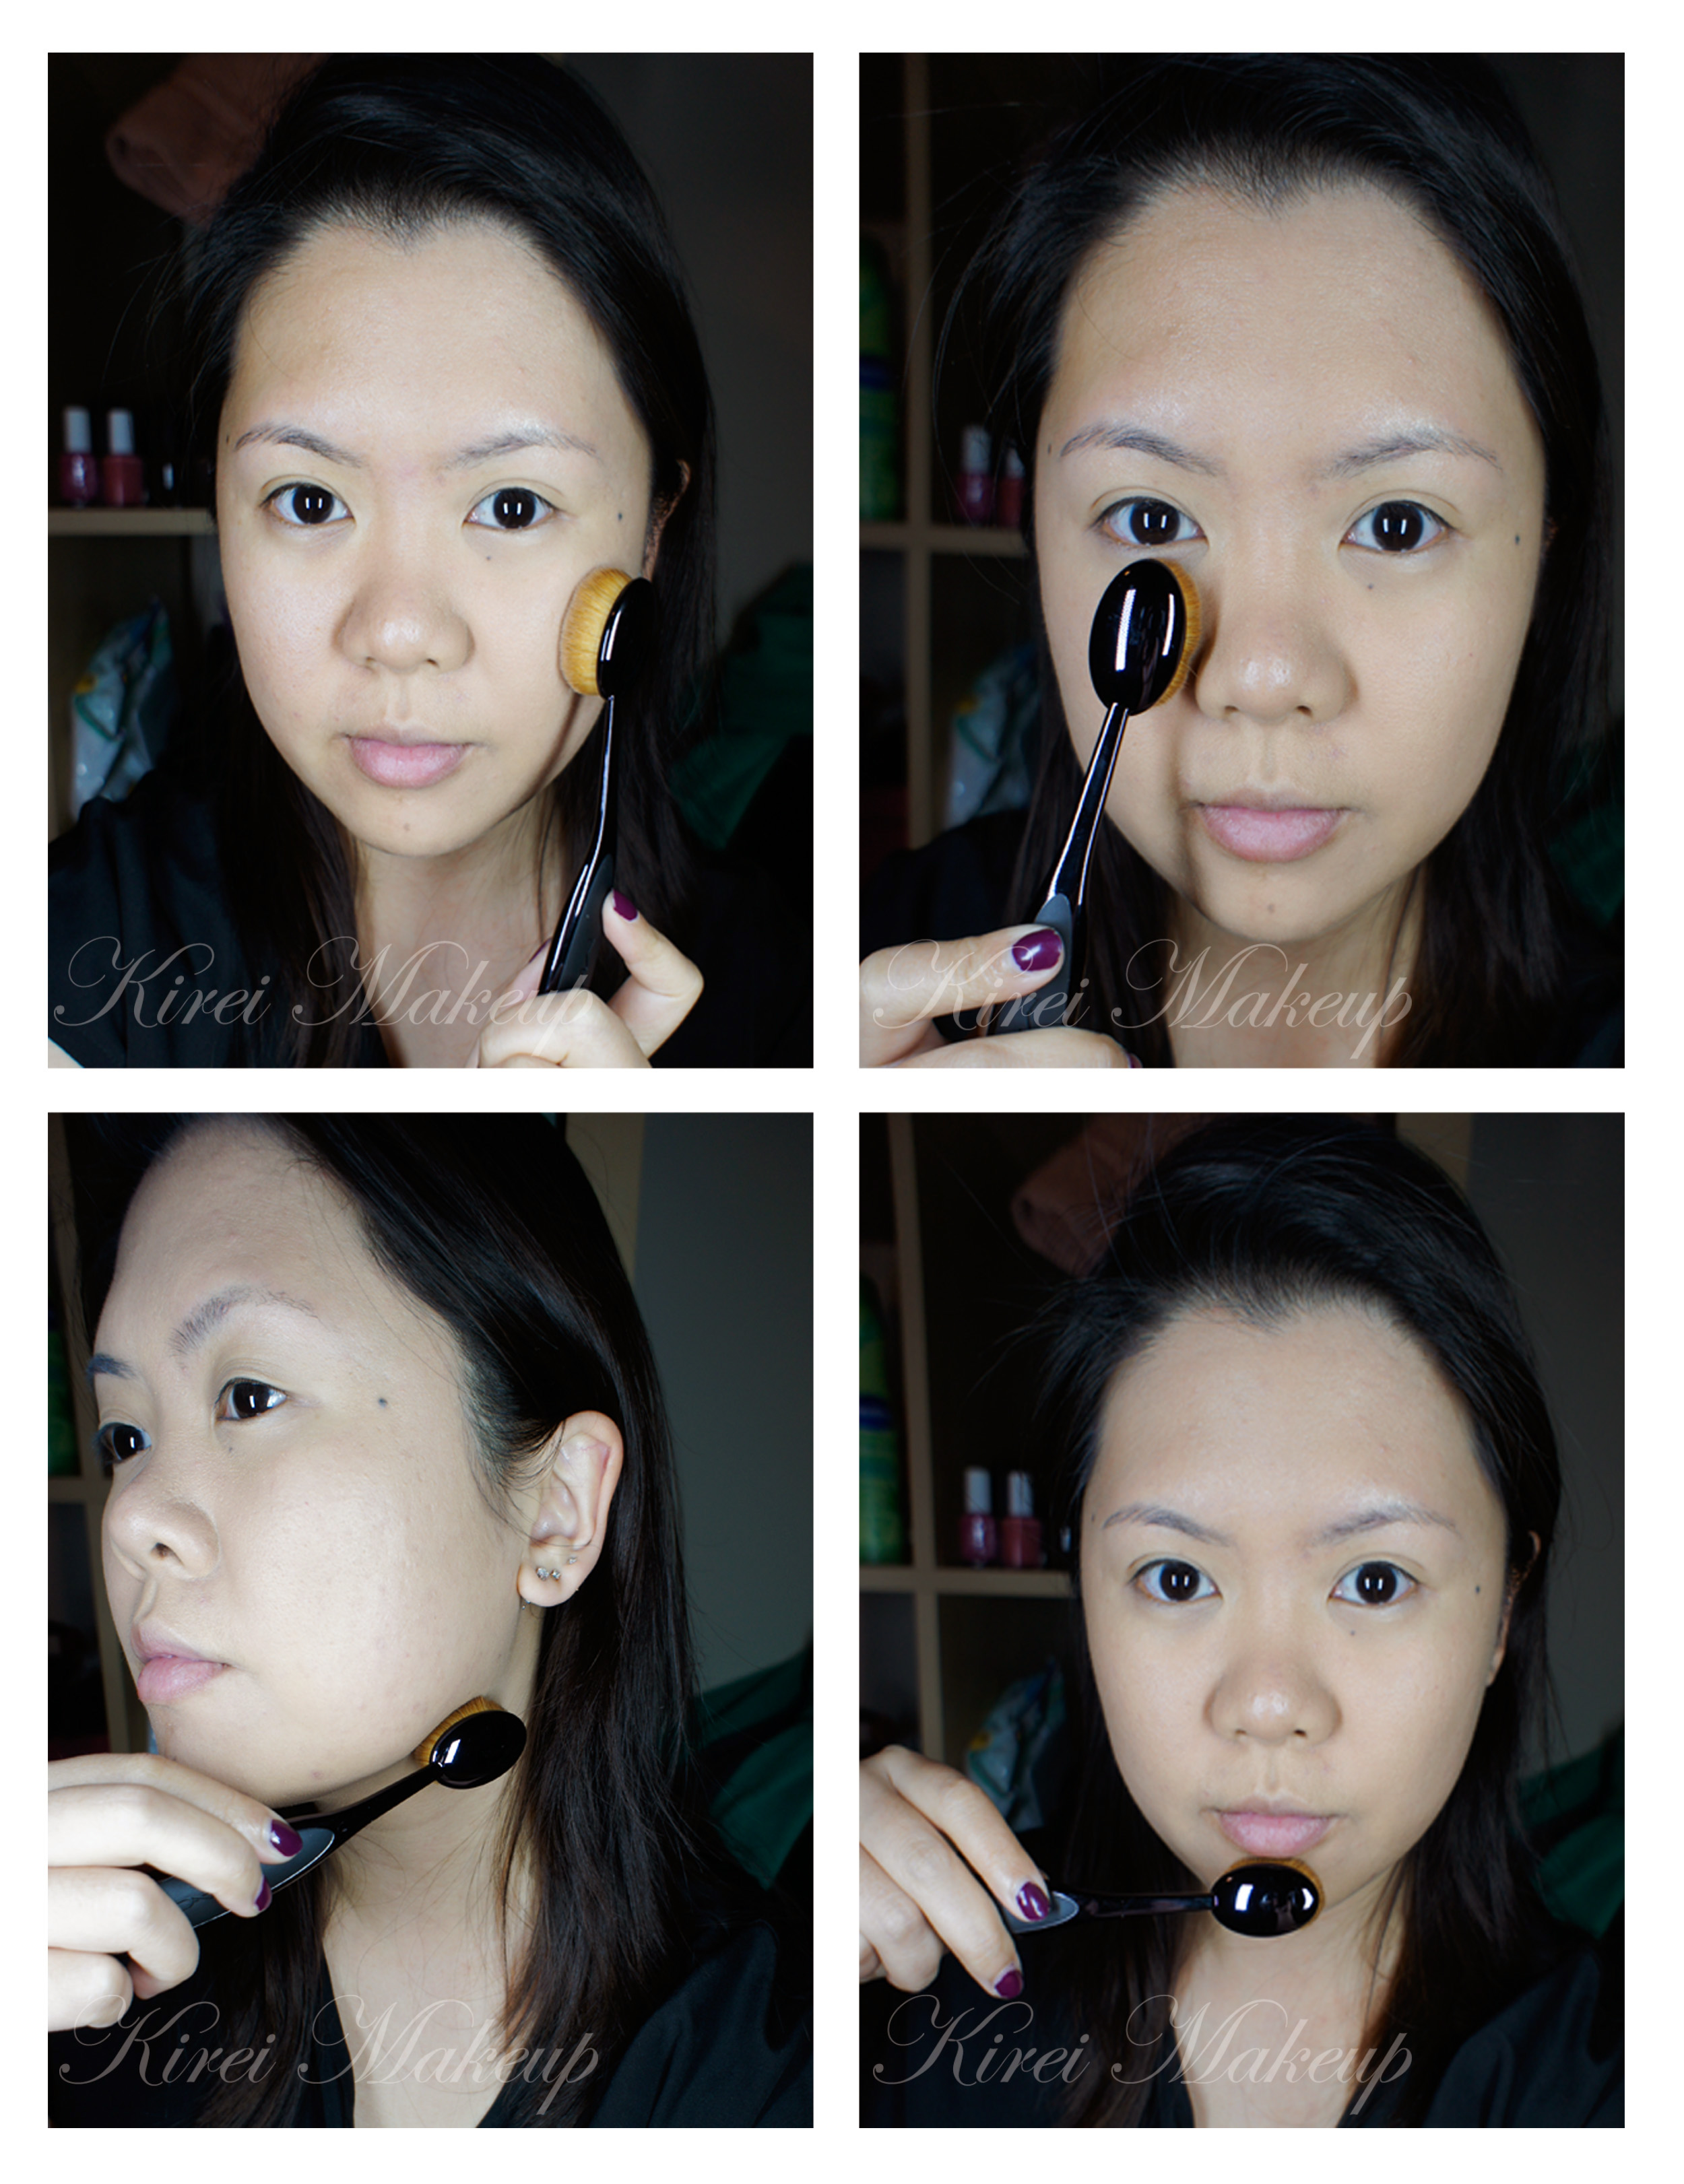
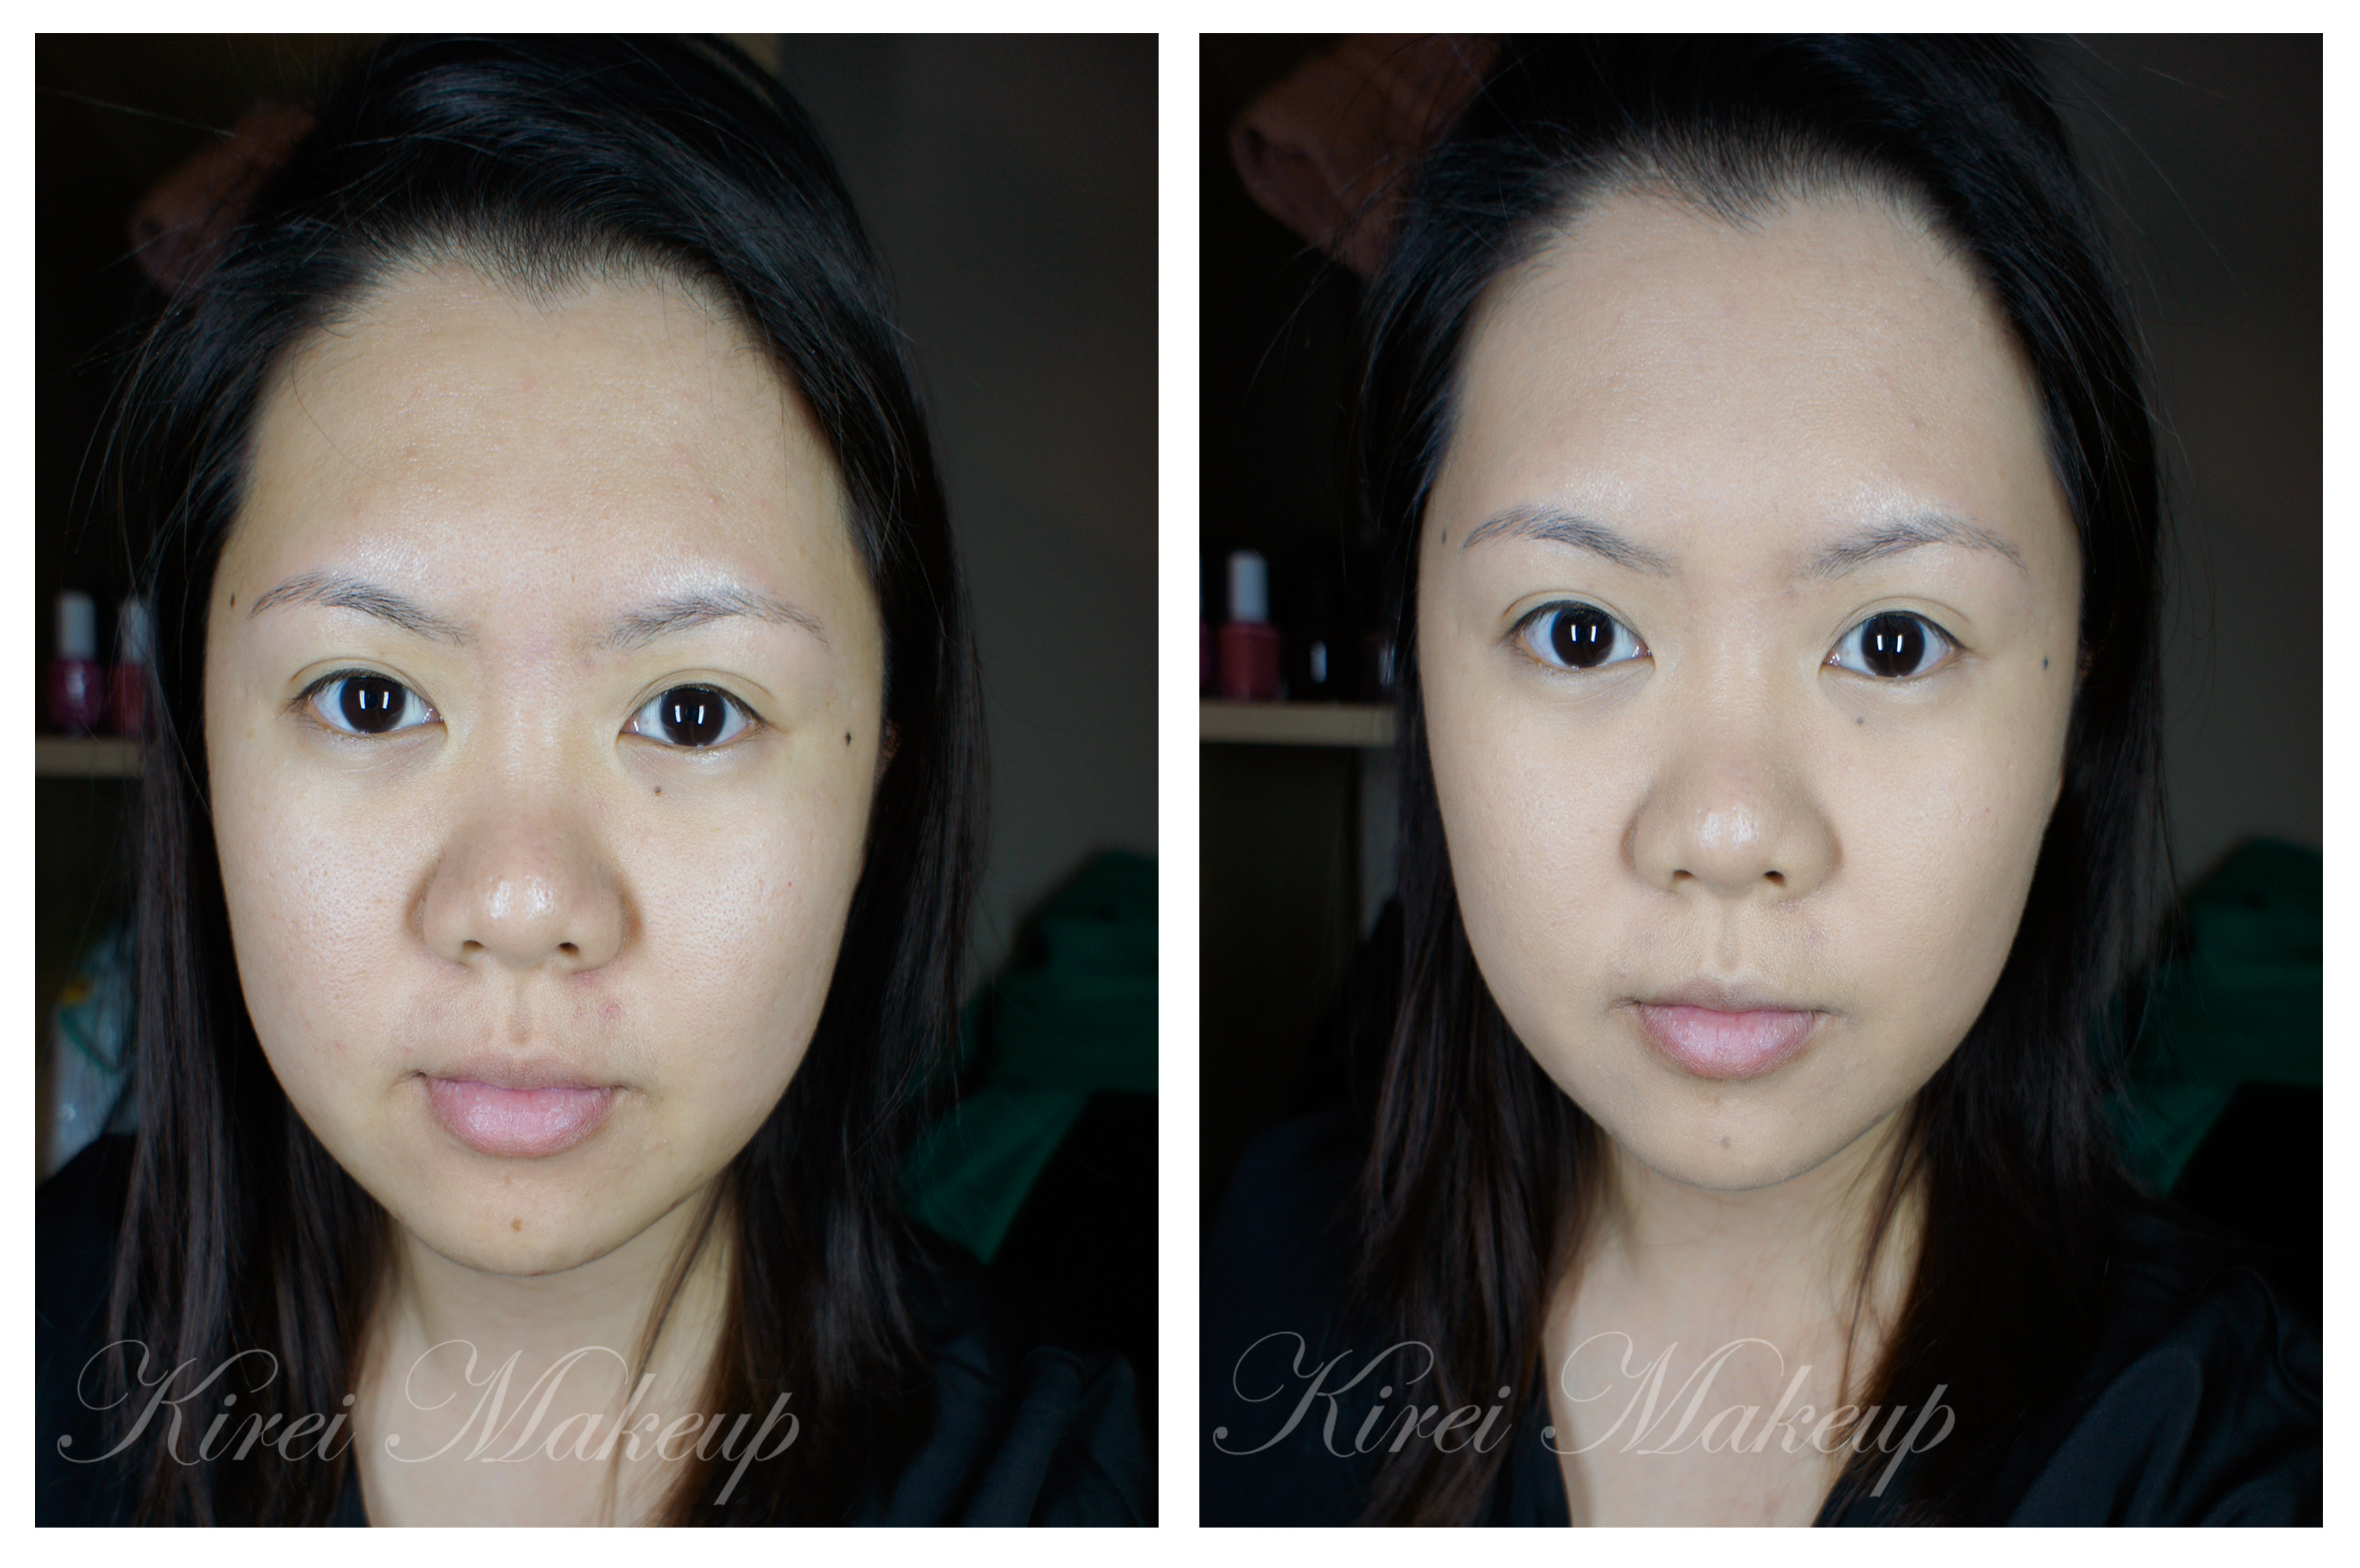
9. I applied MAC Pro Longwear foundation in NC30 all over my face.

10. I applied Benefit Erase Paste under my eyes.

11. I set the base using Cover FX Translucent powder.

12. Using Diorskin Shimmer Star Amber Diamond as highlighter.

13. I used MAC Shadowy as contour, and NARS Mata Hari on the cheeks.

14. On the lips, I applied MAC Brick lip liner and then applied MAC Diva on top of it.


Product of the Week: MAC Masterclass Brush Oval 6

Hi all! Before we proceed to the review, don’t forget to join my GIVEAWAY (worth up to $250 of gift cards)! Read more all about it in my Trend Trunk post!

So, I have been waiting for this MAC Masterclass brushes ever since I found out about it last month. When it was released last week, I couldn’t handle the excitement and ordered the Oval 3 and Oval 6 brushes! Today, however, I’ll be sharing with you how I feel about the Oval 6 brush.

When I received this brush, I put a picture of it on Instagram and people were saying that it looked like a toothbrush. It does look like a toothbrush, eh? This brush is definitely quite different than any makeup brushes that are around. The handle is different, the bristle is different and there is no ferrule.

MAC Oval 6 brush

I think the pictures above and below are pretty explanatory on how the brush looks like. The bristles are so lovely! It’s super dense, soft and fluffy. It is not too stiff, nor too flimsy.

From MAC Website:

Ideal for blush, foundation or powder, the rounded, medium-sized brush applies, blends and contours all over the face or cheeks for even, flawless coverage. Synthetic fibres. Handle features special grip design and tilted brush tip for ultimate precision. Sleek black finish.

MAC masterclass brush

MAC Pro Longwear before and after nc30

I applied MUFE HD Elixir primer all over my face using the brush. Then, I squirted a pump of MAC Pro Longwear foundation on the back of my hand, and then picked some of the foundation using the Oval 6 brush. 

I think the trick with this brush is to apply it in downward stroke. Doing small circular movement (otherwise called buffing) also helps, unless you have dry patches on your face. The buffing motion might cause the dry skin patches to flake, so make sure you moisturize your skin really well.

If you are a beginner, you’ll probably find that this foundation brush is easier to use than other brushes in the market. If you have issue with streak marks from foundation application, you might find that this brush would help to get rid of that streaking issue. I also find the Oval 6 brush is perfect for blending the foundation into the skin.

MAC Oval 6 brush review

How-to:

  1. Apply foundation using Oval 6 brush on the face. Apply from the center of the face outwards. You want to use downward strokes. I also used a small circular movement to buff the foundation into the skin.
  2. Using the tip of the brush, I applied the foundation under my eyes in a left-right motion.
  3. I also used a downward stroke from my jawline down to my neck.
  4. For the chin, I tilted the brush horizontally so it’s parallel to the floor. Again, I used downward stroke for foundation application.
  5. I used stippling motion for blemishes.

how to use MAC Oval 6 brushI simply love the result that I achieved using this brush! I feel like my pores were completely covered, and almost disappeared. Such flawless result!

Not to mention, this brush takes out the guesswork. It’s so simple to use! You can use any type of motion – downward strokes, buffing, stippling to use it.

It costs CAD$50.50 for Oval 6 brush. Pretty pricy, compared to a normal foundation brush, like the MAC 190 that costs CAD$41.

MAC Pro Longwear nc30

(Left: Bare Face; Right: with MAC Pro Longwear applied using MAC Oval 6 brush)

Pros:

  • Easy to use
  • Flawless result
  • No streaking
  • Great packaging
  • Soft bristles
  • Synthetic fibers
  • Multi-use: can be used for primer, foundation application, blush and/or contour.

Cons:

  • Pricy!
  • No Pro Discount

4.5 starts out of 5! Lost 0.5 star because of price.

Product of the Week: Shu Uemura Hard Formula Brow Pencil

Brows, brows, brows! I’ve been asked to do a brow tutorial, but been putting it on hold for the longest time. Let me first of all, introduce this brow pencil to you guys. Whether you are a beginner or a makeup artist, I think everyone should own the Shu Uemura Hard Formula brow pencil! This pencil is currently my favorite brow product, ever since I ran out of my Anastasia Brow Wiz.

Anyhow, so what is Shu Uemura Hard Formula Brow pencil?

Natural finish and shape. This unique eyebrow pencil only releases color pigment when it interacts with the oils in the brow hairs. The result is natural, defined brows. Smudge-proof and long-lasting. (Shu Uemura, 2013)

Shu Uemura Brow Pencil

If you happen to go to a Shu Uemura counter or their website, you might realized that the shape of their eyebrow pencil is not exactly like my photo. That’s because their pencil is shaped using a cutter in a Naginata shaped. I knew about the shape because I went to a Shu Uemura counter in Canada and they explained it to me back then. However, I purchased this pencil from Shu Uemura counter in Grand Indonesia mall, and they did not cut it for me in Naginata style, instead they handed me in this form. I don’t really care, Naginata or not, this brow pencil still rocks!

Anyways, I might drop by the Shu Uemura counter again just to ask them to re-shape my brow pencil.

Pros

  • The color is perfect. Mine is Hard 9 (Acorn), and I think it has just enough warm undertone for my warm undertone hair. It’s not too red, and at the same time not too ashy.
  • It brings a certain warmness to the face and it works for a lot of people. I’ve used this pencil on several people and for bridal makeup as well.
  • Since its hard formula is very waxy, when you draw this pencil in, it mimicked your brow hair. You can get the most natural finish with this product.

Longevity

I’ve worn this pencil for a good 8-10 hours without any smudging whatsoever in a very warm and humid climate (a.k.a Bali).

Price

I don’t quite recall how much it cost in Jakarta since I’ve bought it quite a while back.  I will let you guys know once Shu Uemura Indonesia answers my tweet 😉

Anyways, I know this pencil costs CAD$29 in Canada and USD$23 in USA.

Cons

  • Since it’s a hard formula and very waxy, you might not be able to swatch this on your hand. I managed to do it after going at it several times the back of my hand.
  • They carry 2 more colors in Asia than in North America, namely Acorn and Walnut Brown.

Shu Uemura Brow Pencil no. 9

Keep in mind, even if your hair is black, you might want to use brown instead so your brows don’t look harsh.

Also, if you want to know how I shaped my brows, please visit my tutorial in Brows 101.

How-to:

1. Starting with a clean brow, use a clean spooly (or mascara brush) to brush the brow hair upwards. Trim any excess with a cuticle scissors if needed.

2. I like to start with the tail of brow. Just filling it in and extend it slightly.

3. I created a diagonal line on the lower part of my brow from the head to just below the arch (hard to explain, please look at photo below…bahahaha).

4. Next I drew a diagonal line along the top of the brow to the highest point of the brow (i.e. arch).

5. I filled it the rest of the brow using the pencil. (I purposely drew a lot in so you can see the difference between my non-filled brow with the filled-in brow).

6. This step is optional, but works wonder if you want an extra shape or an extra lift. So, using a flat sturdy brush, I applied M.A.C pro conceal/correct palette in yellow corrector along the bottom and top part of the brow. I blended it out using a clean flat brush.

7. At this stage, I brushed my brow hair upwards again using a clean spooly (or mascara brush) for a natural finish look.

Pretty much, lots of my tutorials prior to this post used the Shu Uemura Hard Formula Brow Pencil.

how to do brows

Color Me Fuschia

Fuschia lips are here to stay! I’m officially a Fuschia-lips fanatic. I love this bright color on my lips, and I definitely love wearing it when my day is gloomy. I’ve done similar look in Colour Splash and in Eyes, Lips, and Polka Dots.

For this tutorial, I used the lipstick that was given to me from Shu Uemura Indonesia from last week’s Ob Collection event. This Shu Uemura Unlimited Supreme Matte Lipstick in PK376 is a matte fuschia lipstick. This lipstick will suit every skintones. You’ve might have seen Kim K and Emma Stone sporting Fuschia lips on my Pinterest 😉

For the rest of the face and eyes, you can definitely go for very little makeup. I just added eyeliner and falsies because I wanted to make it a little more retro. If you aren’t comfortable with the eyeliner and falsies, just skip them altogether.

How-to:

1. For the face, I prepped the skin by moisturizing it using Body Shop Vit. E moisturizer, and applied L’occitance lip balm on the lips.

2. I applied MUFE HD Foundation using my fingers.

3. I filled in my brows using Shu Uemura Brow Pencil.

4. On the eyes, I applied Chanel Illusion D’ombre in Emervielle all over the lid using my ring finger.

5. I applied a warm brown eyeshadow (can’t remember the name) on both upper and lower lashline using an angled eyeliner brush.

6. Using a small shader brush, I lightly blended the liner to diffuse any harsh lines.

7. I curled my lashes and applied L’oreal Double Extender Curl mascara on both top and bottom lashes.

8. I lined my waterline using MAC Chromagraphic liner in NC30. *You can stop here if you want and continue on lips*

9. I applied winged liner along upper lashline using Kate Sharp Eyeliner and Ardell Medium false eyelashes.

10. I removed the lip balm on my lips by blotting it off using a clean kleenex.

individual false eyelashes

11. For the lips, I applied Shu Uemura Unlimited Supreme Matte lipstick in PK 376 using a lipbrush.

12. Once I filled in my entire lips, I blot it off using a clean piece of kleenex and re-apply the lip color as needed.

13. *optional* If you want to re-shape your lips, apply lip liner of the same color as your lipstick before lipstick.

14. I applied MAC Fleur Power blush on my face so I don’t look washed out.

shu uemura fuschia lipstick