Berry Lips with Revlon Smitten Balm Stain

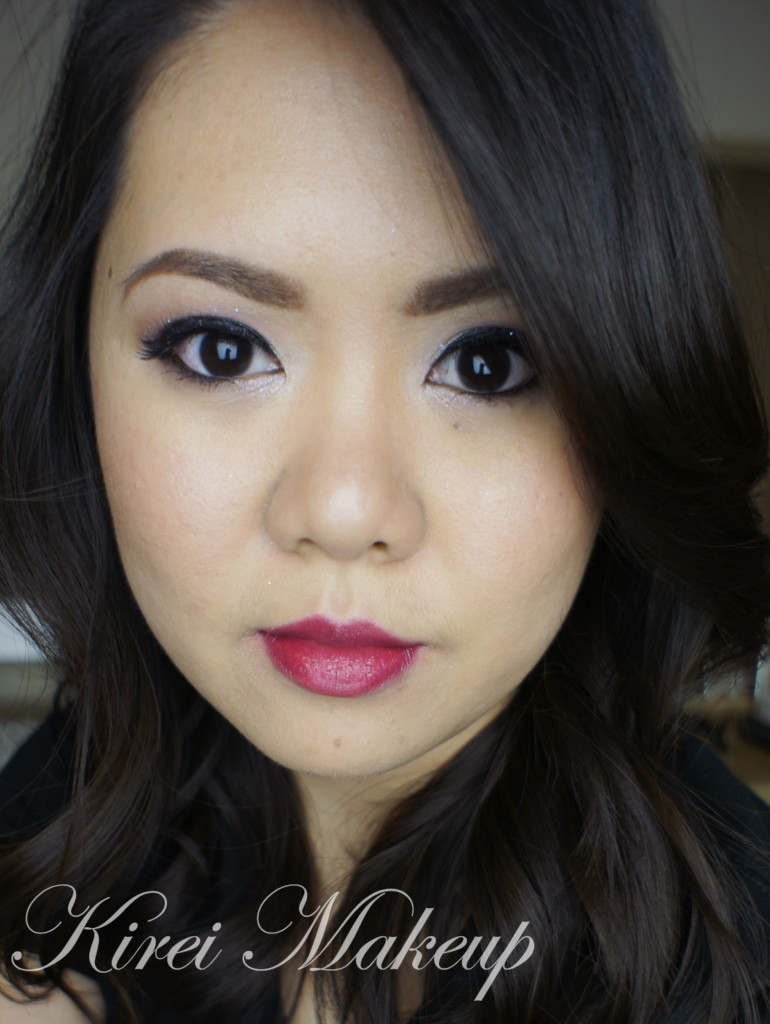
Happy New Year 2014, everyone! I hope this year would be an even greater and much more awesome year than 2013! I wanted to post this Berry Lips look since I wore it for NYE, and I think it’ll be a good tutorial to start of 2014. This look is very simple and easy, and no matter where you are you can definitely wear it. I added a little touch of glitter on the eyes for an extra playfulness, after all glitter is so fabulous!

For my eyes, I used UD Naked 3, which as you all know, has been my fav.! I’ve done 2 other tutorials prior to this post using Naked 3 in Rose Smoky Eyes and UD Naked 3 look #2. The other 2 geared more on the smoky side, while on this one it’s more natural looking.

For the berry lips, I decided to skip my usual red, pink, and burgundy. Instead, I decided to wear a berry lip stain to keep my lips moisturized and not having to worry about having to touch up throughout the night, or stain anything. It was low maintenance, and I just love how the Revlon Just Bitten Kissable Balm Stain keep my lips moist without feeling sticky.

natural look with urban decay naked 3

How-to:

1. I prepped my lids by applying UD Primer Potion, and then applied Dust from UD Naked 3 with a flat eyeshadow brush.

2. Using a fluffy blending brush, I applied Nooner from UD Naked 3.

3. I ran Nooner along the lower lash line using a small shader brush. I also applied Dust on my tear duct.

4. I created a winged liner using Kanebo Kate Super Sharp eyeliner.

5. I lined my lower lash line, very close to the lashes, using Crave from UD Naked Basics.

6. I lined my waterline using L’oreal Voluminous Smoldering eyeliner. (you can use beige or white if you prefer)

7. I curled my lashes and applied Clinique High Impact mascara on both upper and lower lashes. I also added falsies for fun.

8. I filled my brows using Anastasia Brow wiz in Brunette, and then the brow powder.

9. Using a dry synthetic brush, I applied white glitter on my eyelid for extra shine. If you want to pack the glitter on like in my Glitter Holiday Makeup, use a wet damp brush.

revlon crush

10. On my face, I used Giorgio Armani Foundation. I applied it using a foundation brush.

11. I contoured my face using Smashbox Contour palette.

12. On my cheeks, I applied MAC Dainty.

13. On my lips, I applied Revlon Just Bitten Kissable Balm Stain in Smitten. I dabbed excess off using my ring finger.

Dermablend Cover Creme Review [sponsored]

First of all, I’d like to say “Thank You” to Nail Polish Canada for sending me the Dermablend Cover Creme to be reviewed. Also, free shipping for any purchase of Dermablend Professional products from Nail Polish Canada!

 What is Dermablend Cover Creme?

A lightweight creme formula with high coverage and natural skin tone shades. Cover Creme delivers a flawless complexion and 12 hours of consistent color wear.

Cover Creme provides coverage for moderate to major skin flaws including

  • Vitiligo
  • Birthmarks
  • Rosacea
  • Pigmentation Disorders
  • Post-Operative Bruising
  • Scars
  • Burns

Texture: Glides on evenly. Skin looks fresh, feels soft and velvety smooth.

Skin Benefit:All day hydration. Suitable for sensitive skin.

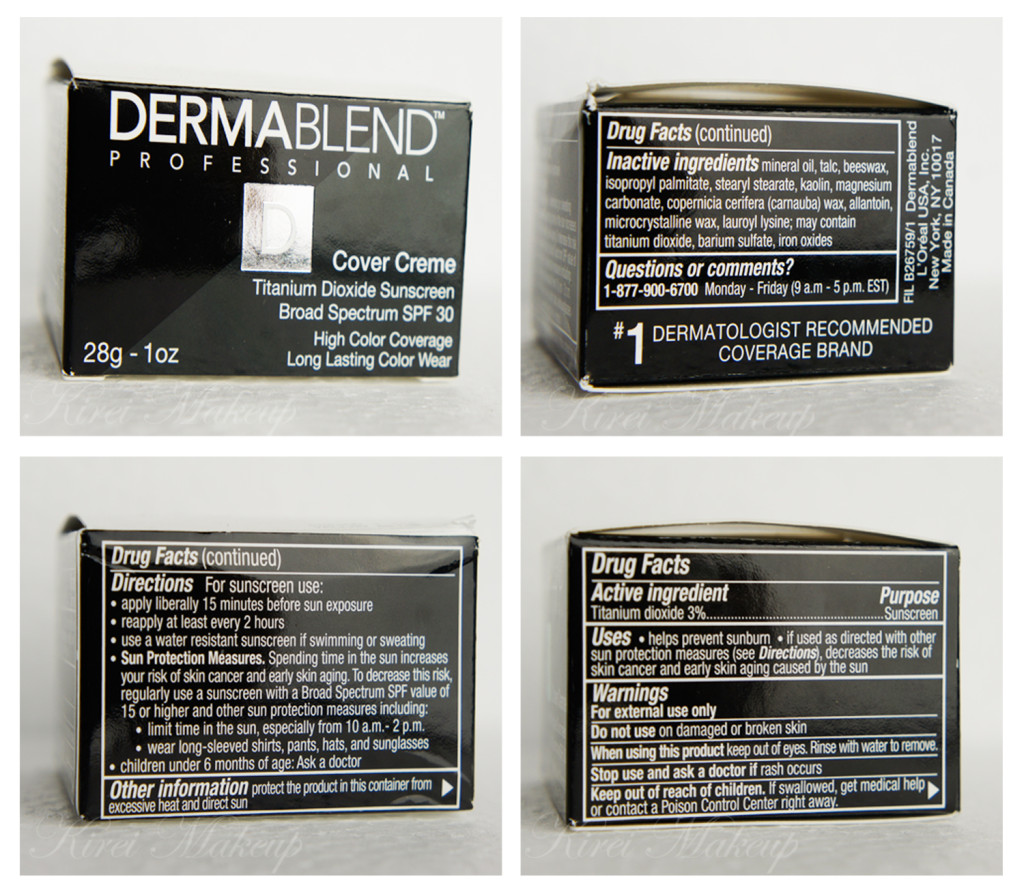
Sun Protection: SPF 30 Sunscreen.

Application

First apply cover creme

  1. Remove a small amount of Cover Creme with either a spatula or fingertips.
  2. Apply directly over imperfection. Tap gently to ensure maximum coverage.
  3. Blend outwardly. If extra coverage is desired, tap on more product over the area. For sunscreen benefits, apply before sun exposure.

Second apply setting powder (sold separetly)

  1. Pat on Setting Powder generously over covered areas.
  2. Brush off excess using a makeup brush.
Size: 28g / 1 oz
(Nail Polish Canada, 2013)
Dermablend Cover Creme review NC30

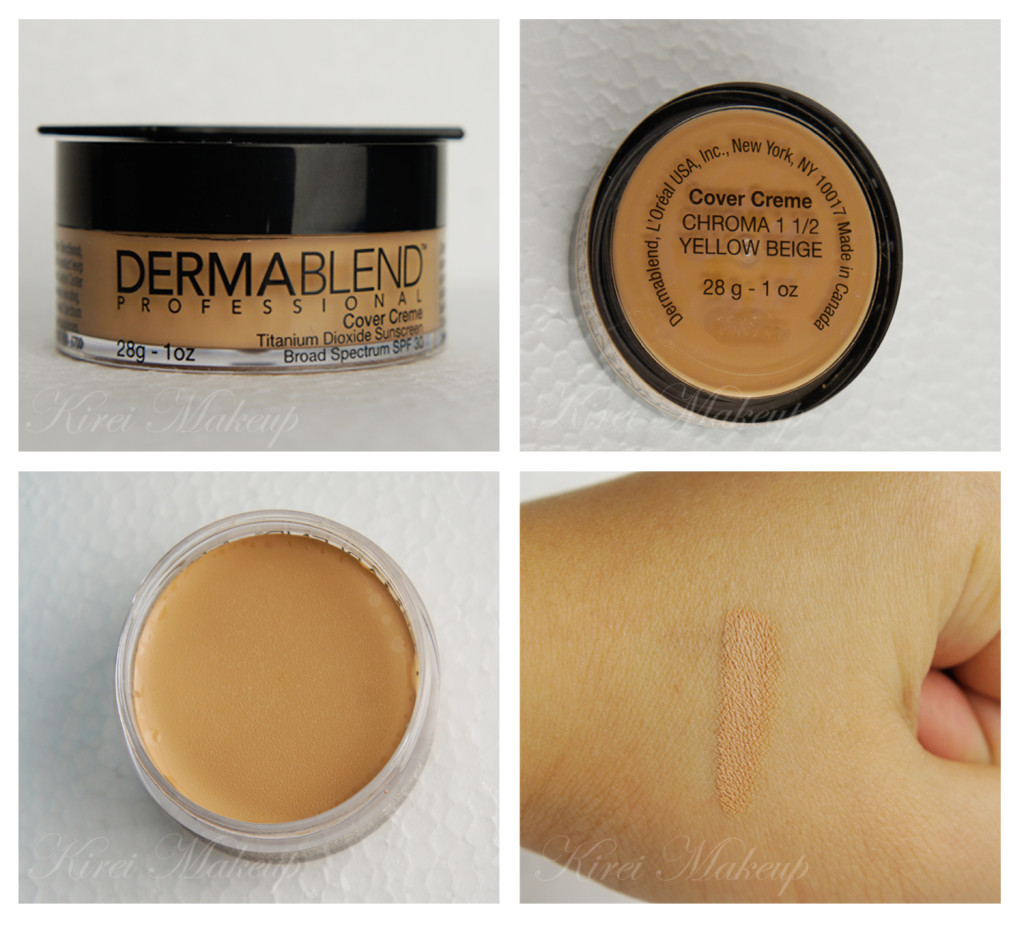
I was asked to choose a shade from the Nail Polish Canada website, but I wasn’t sure which shade I’m in. I decided to go with Yellow Beige, even though I was unsure. I’m usually a MAC NC30 in MAC Pro Longwear. I was also given the option to choose the different Dermablend products, but I chose this foundation since I think it’ll be beneficial for those who’d like to try a full coverage foundation.

I love how the Dermablend Cover Creme comes in a jar and a little spatula. Even if you are not a makeup artist, you might find the spatula to be quite useful. Use the spatula to pick the foundation up from the jar instead of dipping your finger or brush directly into it, to avoid bacterial contamination.

You’ll find that the foundation is very tightly packed into the jar. This little jar will probably last you a good while. A little goes a long way with this foundation.

The foundation also blends very easily and smoothly to the skin. It almost feels like it melts into your skin. I applied the foundation by putting a little bit of it at the back of my hand, and work the product using the spatula. Then, I used the foundation brush to apply it to my face. The foundation is very pliable when you warm it up first.Dermablend Cover Creme NC30
Coverage

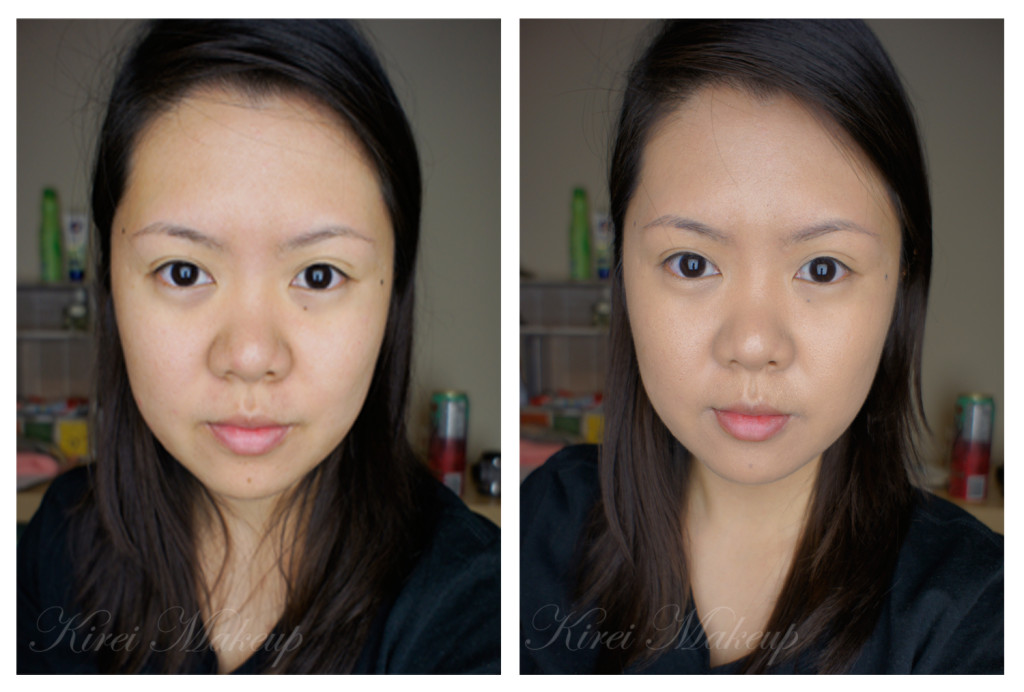
The Dermablend Cover Creme is a full-coverage foundation. However, like any other full-coverage foundation, this product can be applied thinly to create a sheer coverage. You can achieve a sheer to medium coverage by applying it using a damped sponge, or mixing the foundation with a primer or moisturizer.

In the pictures below, I applied a layer of foundation using a foundation brush. There are several ways to create a heavier coverage:

  • Layer your foundation.
  • Stippled or dabbed the foundation to your skin using a dry sponge, or your finger.
  • Buff it to your skin using a buffer brush, something like Sigma Round Kabuki or a Sigma Flat Kabuki brush.

Finish

I was expecting the finish to be matte, but I was quite surprised at the result. I mean, look at my “after” picture, it doesn’t look super matte, does it? I feel like it actually has quite a natural finish. I think my “before” picture is more matte than the “after”.

I find the finish to be quite velvety. I like how it looks. It’s not too matte, not extremely dewy either. Just the right amount.

Longevity

The brand claims that it lasted for up to 12-hour. I’m not sure how true it is if you don’t set it. I wore it for couple hours (4hrs), and I noticed the foundation has started to settle on the lines under my eyes. I did not powder it, so may be if I do, it’ll last longer. Keep in mind that I have a combination skin type.

The foundation is quite slippery, so if you have an oily skin, you might want to set it with powder to ensure that the foundation will stay.

Shade

21 shades ranging from light to dark, along with different undertones (yellow, pink, olive, and red).

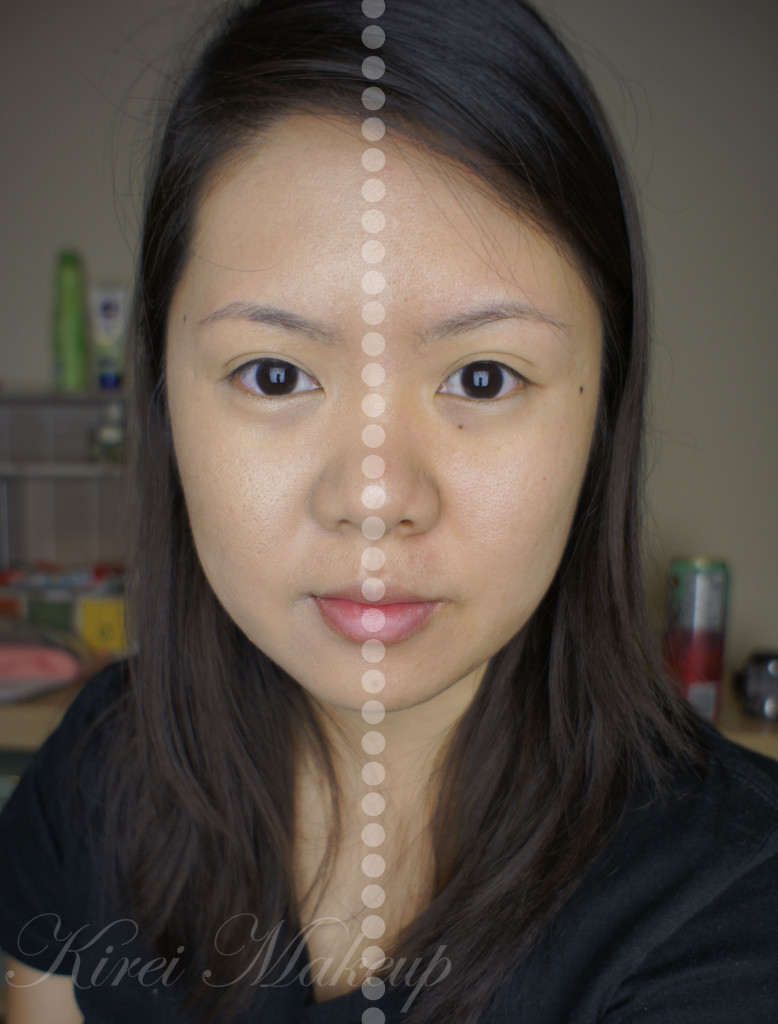
I picked Yellow Beige, thinking it might have more yellow undertone, but I feel that it has quite a pink undertone. In the picture you might think that it matches my skin tone, but I can assure you it did not. It’s very pink, but I know I can probably neutralize the pink slightly using a very yellow powder when setting it.

Price

Currently it’s sold for CAD $36 (usually $38) from Nail Polish Canada. I don’t know how much it is in other store. I think the price it’s not too bad, considering how much you get out of it. There are lots of other foundation that’s even more expensive and not as good as this one.
Dermablend Cover Creme Asian

Pros

  • Full coverage, but can be thinned out if needed.
  • It covers everything! I didn’t even need to use concealer for this review.
  • A large range of shades is available for all different skin tones.
  • Suitable for all skin type, including those with sensitive skin.
  • Natural to velvety finish, if you prefer a non-matte skin.
  • Blends easily.
  • Consists of SPF 30.
  • Great packaging and love the spatula.

Cons

  • For me, the cons would be the wrong undertone. Too pink, may be better luck for me next time…I think if you want to buy this online, make sure you already tested the foundation before hand to match your skin. If not, you’ll be like me doing a guessing game.
  • Settles on fine lines, but can easily be fixed by setting it with powder.
Dermablend Cover Creme review

(Left: with Dermablend Cover Creme; Right: Bare face)

Product of the Week: MAC Masterclass Brush Oval 6

Hi all! Before we proceed to the review, don’t forget to join my GIVEAWAY (worth up to $250 of gift cards)! Read more all about it in my Trend Trunk post!

So, I have been waiting for this MAC Masterclass brushes ever since I found out about it last month. When it was released last week, I couldn’t handle the excitement and ordered the Oval 3 and Oval 6 brushes! Today, however, I’ll be sharing with you how I feel about the Oval 6 brush.

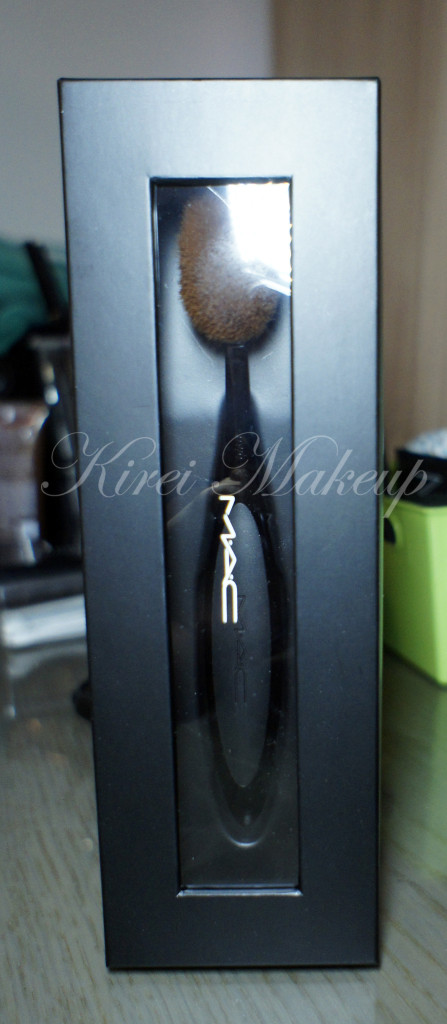
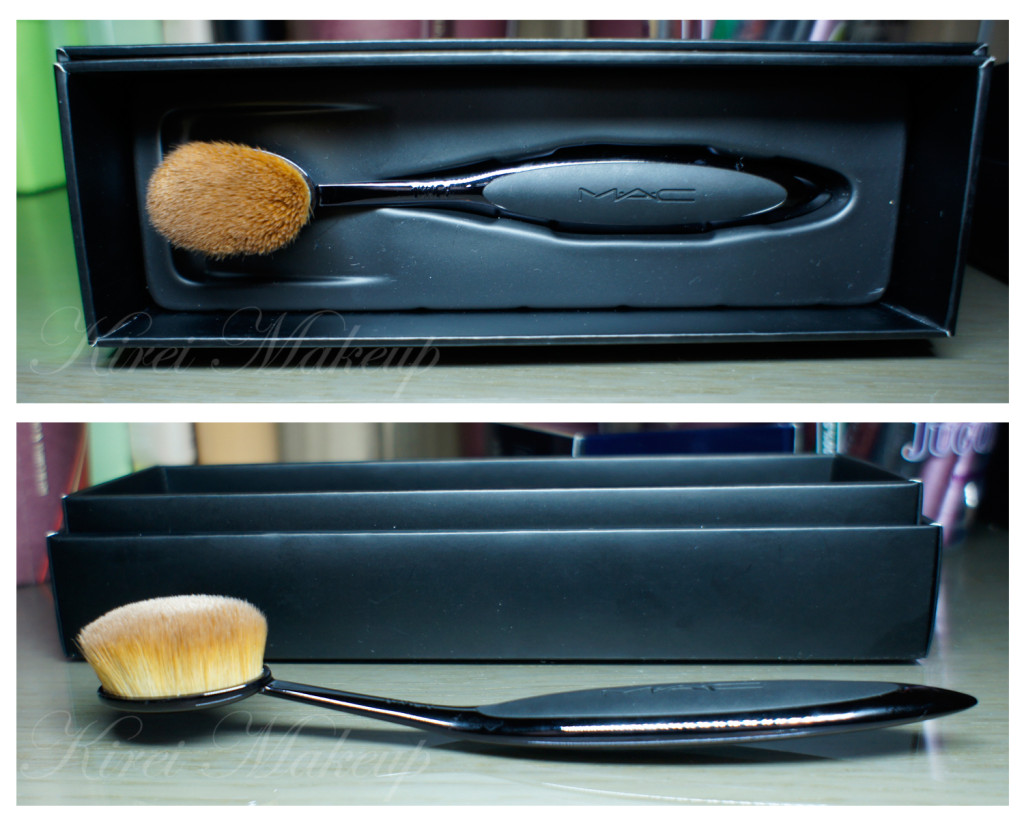
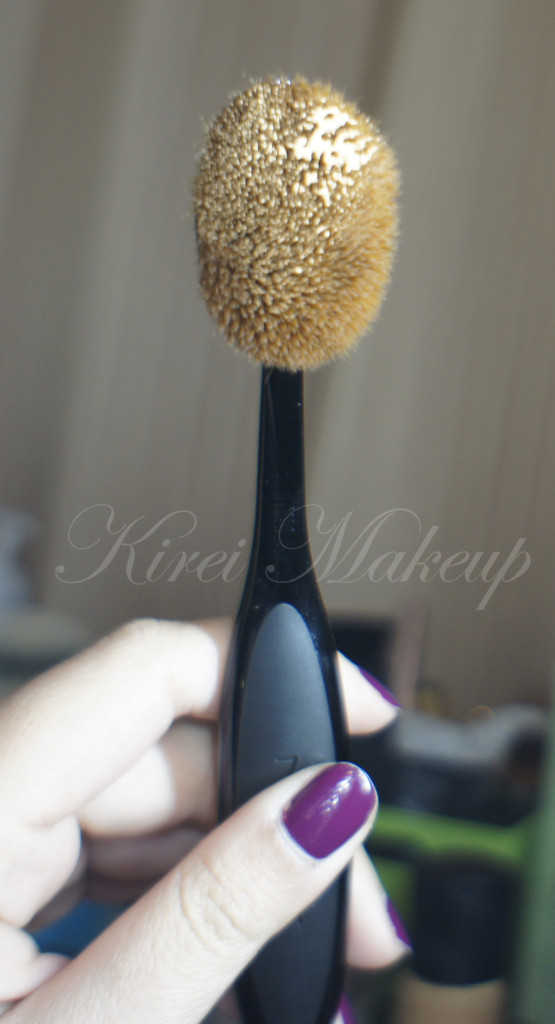
When I received this brush, I put a picture of it on Instagram and people were saying that it looked like a toothbrush. It does look like a toothbrush, eh? This brush is definitely quite different than any makeup brushes that are around. The handle is different, the bristle is different and there is no ferrule.

MAC Oval 6 brush

I think the pictures above and below are pretty explanatory on how the brush looks like. The bristles are so lovely! It’s super dense, soft and fluffy. It is not too stiff, nor too flimsy.

From MAC Website:

Ideal for blush, foundation or powder, the rounded, medium-sized brush applies, blends and contours all over the face or cheeks for even, flawless coverage. Synthetic fibres. Handle features special grip design and tilted brush tip for ultimate precision. Sleek black finish.

MAC masterclass brush

MAC Pro Longwear before and after nc30

I applied MUFE HD Elixir primer all over my face using the brush. Then, I squirted a pump of MAC Pro Longwear foundation on the back of my hand, and then picked some of the foundation using the Oval 6 brush. 

I think the trick with this brush is to apply it in downward stroke. Doing small circular movement (otherwise called buffing) also helps, unless you have dry patches on your face. The buffing motion might cause the dry skin patches to flake, so make sure you moisturize your skin really well.

If you are a beginner, you’ll probably find that this foundation brush is easier to use than other brushes in the market. If you have issue with streak marks from foundation application, you might find that this brush would help to get rid of that streaking issue. I also find the Oval 6 brush is perfect for blending the foundation into the skin.

MAC Oval 6 brush review

How-to:

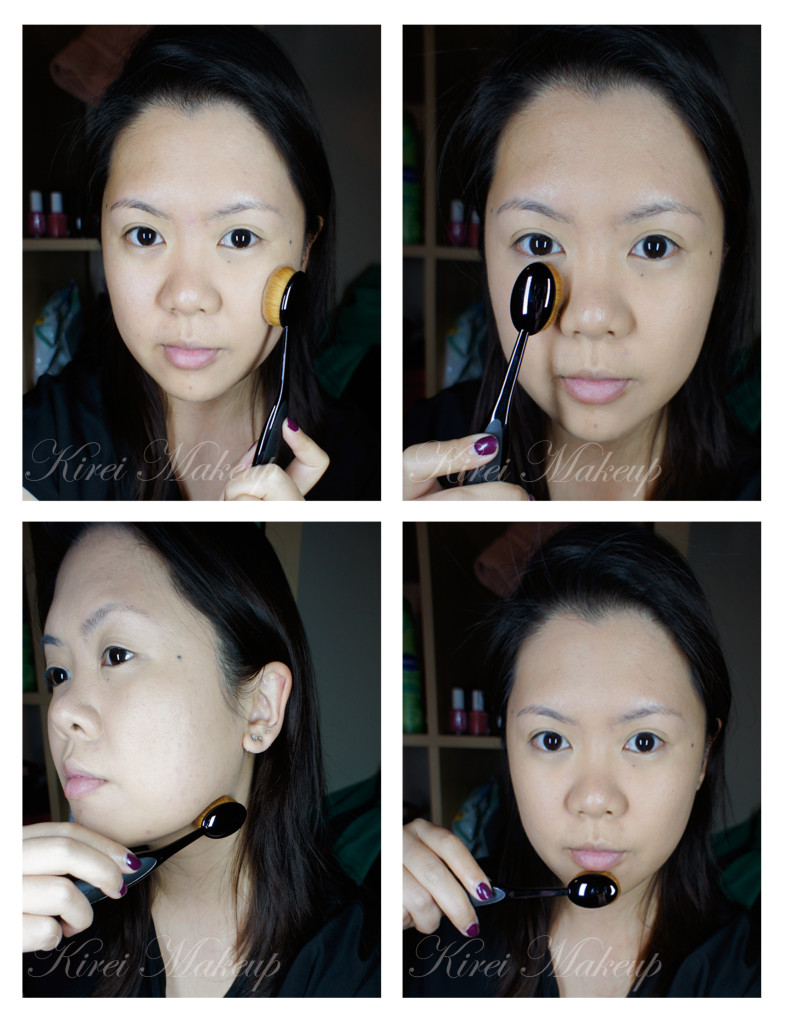
  1. Apply foundation using Oval 6 brush on the face. Apply from the center of the face outwards. You want to use downward strokes. I also used a small circular movement to buff the foundation into the skin.
  2. Using the tip of the brush, I applied the foundation under my eyes in a left-right motion.
  3. I also used a downward stroke from my jawline down to my neck.
  4. For the chin, I tilted the brush horizontally so it’s parallel to the floor. Again, I used downward stroke for foundation application.
  5. I used stippling motion for blemishes.

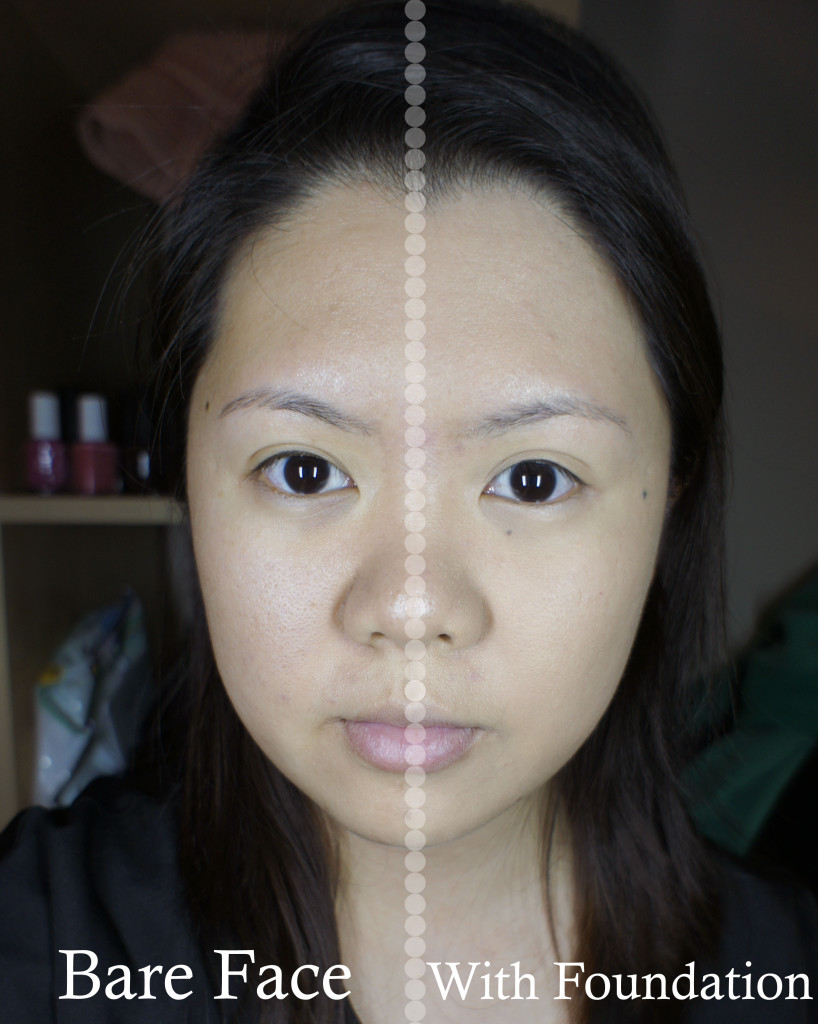
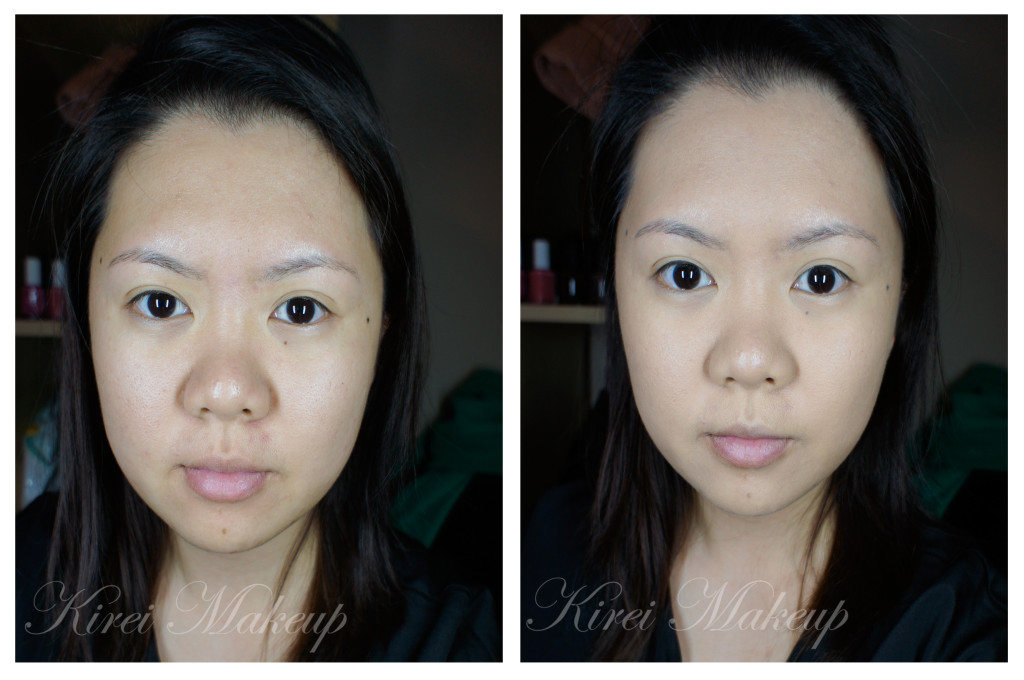
how to use MAC Oval 6 brushI simply love the result that I achieved using this brush! I feel like my pores were completely covered, and almost disappeared. Such flawless result!

Not to mention, this brush takes out the guesswork. It’s so simple to use! You can use any type of motion – downward strokes, buffing, stippling to use it.

It costs CAD$50.50 for Oval 6 brush. Pretty pricy, compared to a normal foundation brush, like the MAC 190 that costs CAD$41.

MAC Pro Longwear nc30

(Left: Bare Face; Right: with MAC Pro Longwear applied using MAC Oval 6 brush)

Pros:

  • Easy to use
  • Flawless result
  • No streaking
  • Great packaging
  • Soft bristles
  • Synthetic fibers
  • Multi-use: can be used for primer, foundation application, blush and/or contour.

Cons:

  • Pricy!
  • No Pro Discount

4.5 starts out of 5! Lost 0.5 star because of price.