Lavish

I’m just going to say please ignore that red dot on my eyebrow. It hurts and it’s a slightly irritated. Thanks! I accidentally scratched it cause it was itchy when I was doing my eyes, and in the pictures below it was irritated and a bit swollen.

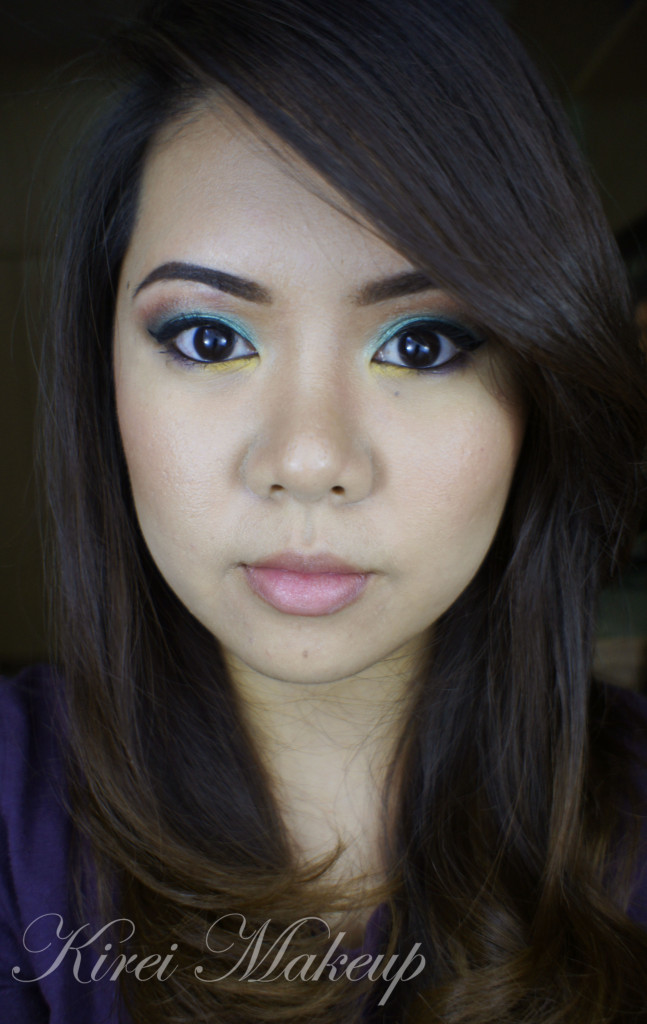
Anyhow, I just recently watched Percy Jackson and the Sea Monster (I also watched Elysium!). Anyways, I saw the Hippocampus from the movie and I love its color. Gorgeous! Anyways, I took some of the colors that I can see prominently on the Hippocampus as an inspiration. Not to mention, I just bought the new Clinique Chubby Eye Tint in Two Ton Teal, so a good excuse to do a teal look!

Let’s get the tutorial started!

How-to:

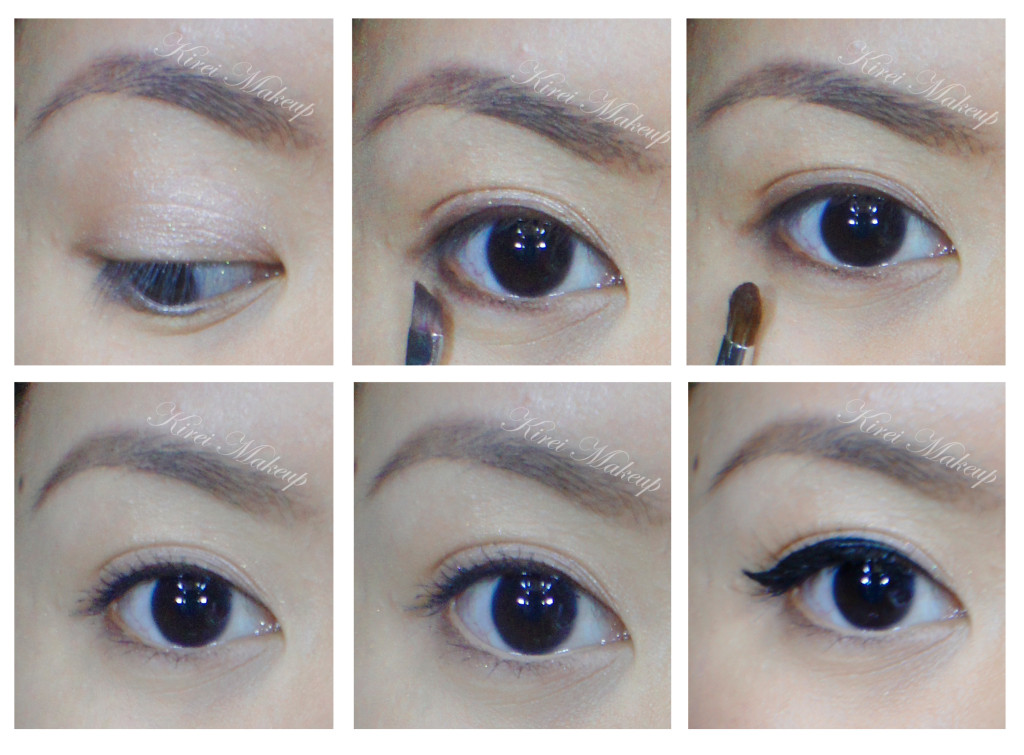
1. I applied Clinique Chubby Stick Eye Tint in Two Ton Teal all over the lid. I layered this product several times to get the intensity I want.

2. Using a flat eyeshadow brush, I applied MAC Shimmermoss on top of the Two Ton Teal.

3. I used a small shader brush and applied no-brand black eyeshadow on the outer V of the lid.

4. Using a clean fluffy blending brush, I clean up the crease.

5.  Using another clean blending brush, I applied MAC Coppering just slightly above the crease.

6. I used an angled brush to apply MUFE no. 71 on the inner corner of the eyes and MAC Indigo Ink on the outer corner of the lower lid.

7. I lined my waterline and tightline using L’oreal Voluminous Smoldering eyeliner.

8. I created a feline flick (or winged eyeliner) along the upper lashline using Kanebo Kate Super Sharp eyeliner.

9. I filled my brows in using MUFE Aqua Brow Gel.

10. I curled my lashes and applied L’oreal Double Extended Curl mascara on both top and lower lashes.

Purple and teal makeup

11. For the face, first I applied Clinique CC cream to prep the skin, and then applied MUFE HD Foundation all over using a foundation brush. I covered my blemishes and under eye circles using MUFE HD concealer

12. I also contoured my cheeks and nose using MAC Shadowy.

13. I applied a mix of MAC Cubic and MAC Fleur Power on the cheeks.

14. On the lips, I applied Clinique Bountiful Blush chubby lipstick.

Teal and purple makeup

Color Me Fuschia

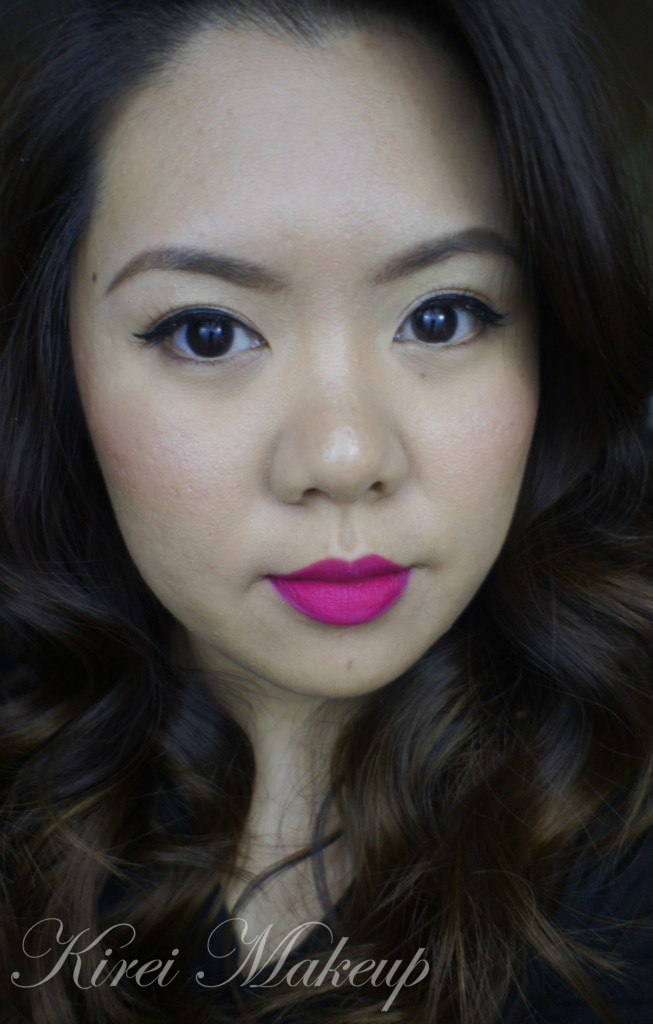
Fuschia lips are here to stay! I’m officially a Fuschia-lips fanatic. I love this bright color on my lips, and I definitely love wearing it when my day is gloomy. I’ve done similar look in Colour Splash and in Eyes, Lips, and Polka Dots.

For this tutorial, I used the lipstick that was given to me from Shu Uemura Indonesia from last week’s Ob Collection event. This Shu Uemura Unlimited Supreme Matte Lipstick in PK376 is a matte fuschia lipstick. This lipstick will suit every skintones. You’ve might have seen Kim K and Emma Stone sporting Fuschia lips on my Pinterest 😉

For the rest of the face and eyes, you can definitely go for very little makeup. I just added eyeliner and falsies because I wanted to make it a little more retro. If you aren’t comfortable with the eyeliner and falsies, just skip them altogether.

How-to:

1. For the face, I prepped the skin by moisturizing it using Body Shop Vit. E moisturizer, and applied L’occitance lip balm on the lips.

2. I applied MUFE HD Foundation using my fingers.

3. I filled in my brows using Shu Uemura Brow Pencil.

4. On the eyes, I applied Chanel Illusion D’ombre in Emervielle all over the lid using my ring finger.

5. I applied a warm brown eyeshadow (can’t remember the name) on both upper and lower lashline using an angled eyeliner brush.

6. Using a small shader brush, I lightly blended the liner to diffuse any harsh lines.

7. I curled my lashes and applied L’oreal Double Extender Curl mascara on both top and bottom lashes.

8. I lined my waterline using MAC Chromagraphic liner in NC30. *You can stop here if you want and continue on lips*

9. I applied winged liner along upper lashline using Kate Sharp Eyeliner and Ardell Medium false eyelashes.

10. I removed the lip balm on my lips by blotting it off using a clean kleenex.

individual false eyelashes

11. For the lips, I applied Shu Uemura Unlimited Supreme Matte lipstick in PK 376 using a lipbrush.

12. Once I filled in my entire lips, I blot it off using a clean piece of kleenex and re-apply the lip color as needed.

13. *optional* If you want to re-shape your lips, apply lip liner of the same color as your lipstick before lipstick.

14. I applied MAC Fleur Power blush on my face so I don’t look washed out.

shu uemura fuschia lipstick

Olive Twist

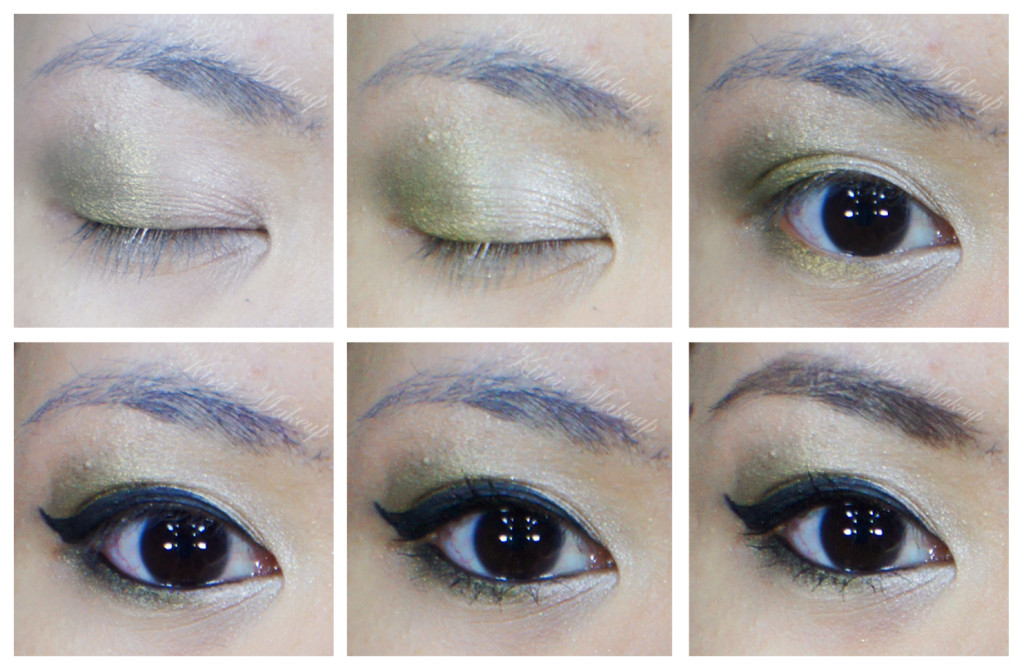
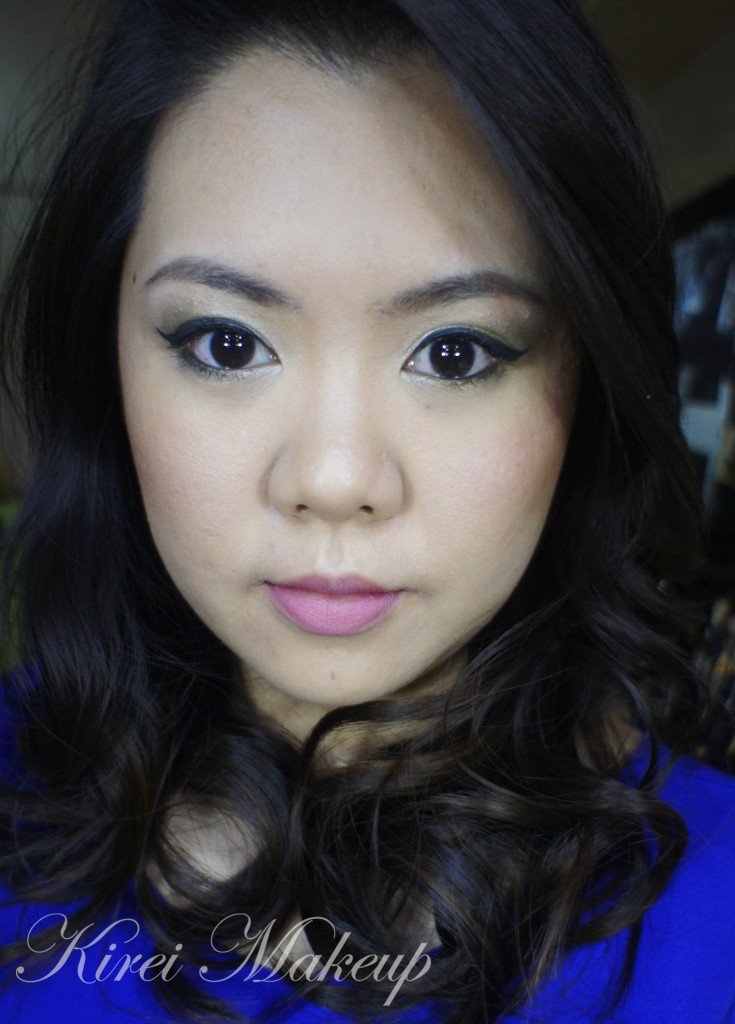
I always have this soft spot for olive colored eyeshadows cause they are just so lovely and pretty. This MAC Duo Mineralized eyeshadow in Bright Side/Gallery Gal is one of my favorite. You can apply the eyeshadows wet or dry, and you can do smoky, neutral, color anything you like! A simple duo eyeshadow can be used in so many ways!

The tutorial showed how to use the eyeshadows together in a very simple way, and you can wear this as a day look, or a night out. If you’re feeling brave, pair this up with a red lip, if you’re going to a party, apply false eyelashes. Make it your own! This classic liner look is getting a little twist from the olive-colored eyeshadow!

How-to:

1. I applied Shiseido primer all over my face.

2. Using a flat eyeshadow brush, I applied MAC Gallery Gal (the olive side) on the outer half of the lid.

3. Using another flat eyeshadow brush, I applied MAC Bright Side (the champagne side) on the inner half, blending it towards the olive.

4. Applied the same sequence of eyeshadow on the lower lid using a pencil brush.

5. Using an angled eyeliner brush, I applied MUFE Aqua Black gel liner and created a winged/cat-eyeliner on the upperlash line.

6. Using whatever was left on the brush, I applied MUFE Aqua Black along the waterline.

7. I curled my lashes and applied Dior Overcurl mascara on both top and bottom lashes.

8. I filled in my brows using a mixture of MAC Omega and Brun.

MAC mineralized eyeshadow

9. For the face, I applied Estee Lauder Double Wear Light foundation.

10. For contouring, I applied MAC Shadowy on the temples as well as hollows of the cheeks using a face fan brush. I also applied it on the sides of the nose using Sigma Angled Precision brush.

11. For the cheeks, I applied MAC Cubic blush.

12. On the lips, I applied Tarte Lipsurgence in Hope.

Everyday makeup - Kirei Makeup

Marylin Inspired

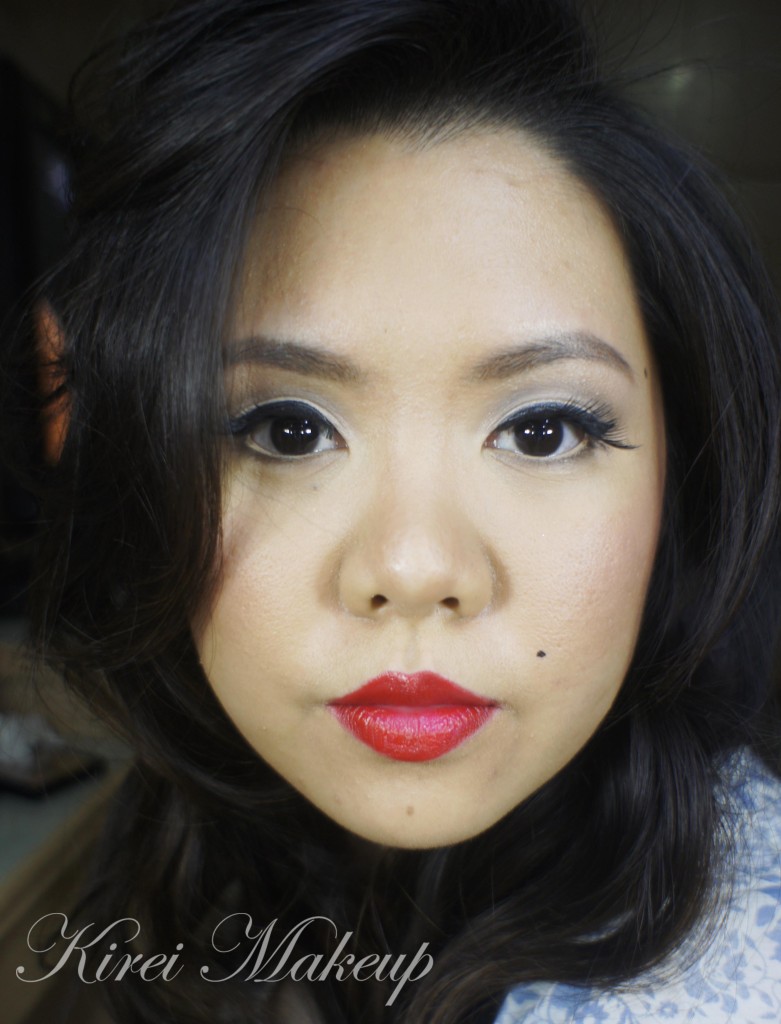
Hellow! I’m back this week with a 50s inspired makeup! Actually there’s a beauty blogger challenge this month in which the theme was Dazzling like Marylin. I’m not sure if I’m gonna join the challenge, I was just running out of some inspiration for tutorials, thus why I made this tutorial..hahaha.. 😛

Anyways, as we all know Marylin Monroe is an icon. The first image that comes to mind when someone said Marylin is probably her gorgeous smile, red lips and those sleepy eyes, and obviously her blonde hair. OBVIOUSLY, I’m not Marylin, nor do I look like her. This is an inspired makeup, not supposed to look exactly like her. I’ve to adjust the makeup to suit my face.

I wanted to do the falsies with individual lashes, but I’ve run out of it, so I had to use this one with long wispy corner at the end from Make Up For Ever. The brows in the 50s are more triangular shaped, so I had to re-shape my brows a little since mine aren’t angular.

How-t0:

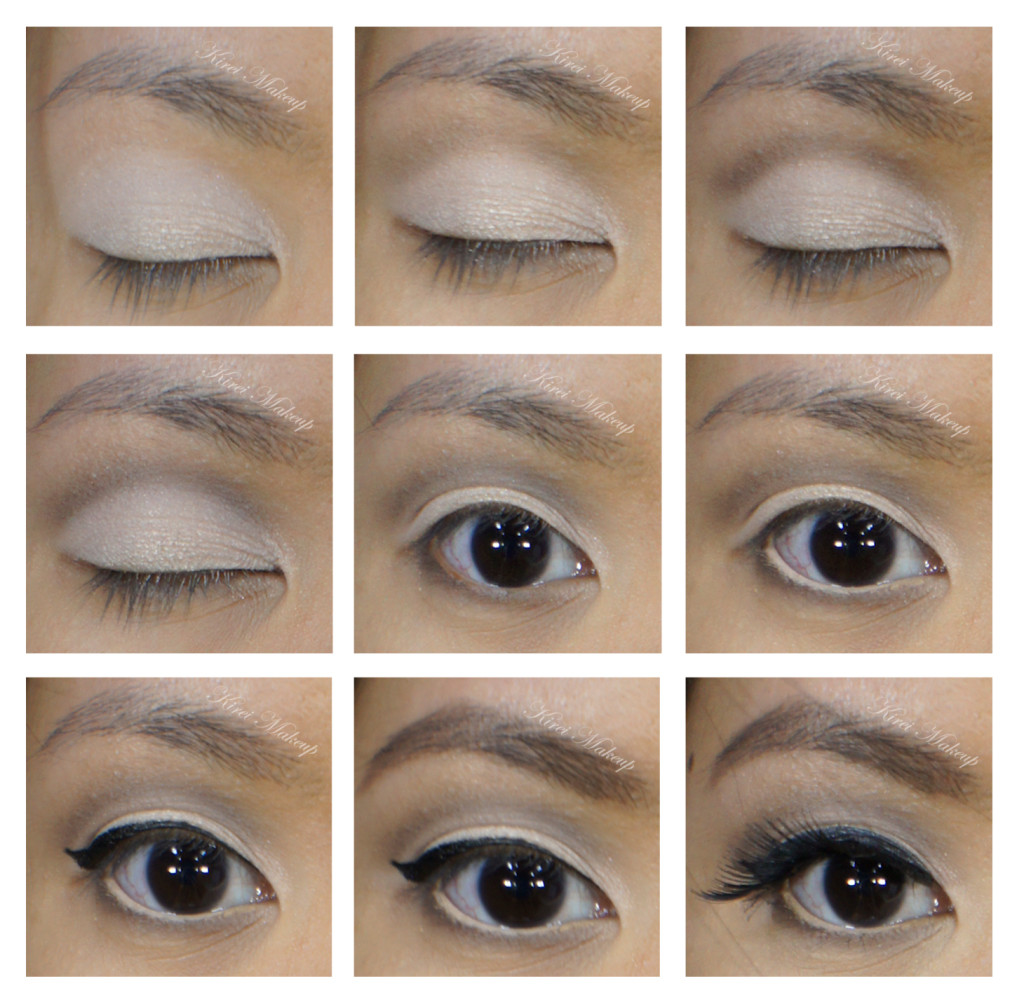
1. I applied MAC Blanc Type all over my eyelid using a flat eyeshadow brush.

2. Using a clean blending brush (MAC 217), I applied MAC Omega just slightly above the crease lightly.

3. Using a small blending brush, I applied MAC Brun on the crease.

4. With a MAC 217, I blended out MAC Brun on the crease so it blends out.

5. I applied MAC Brun on the lower lid using a small angled eyeliner brush.

6. For the waterline, I applied MAC Chromagraphic eyeliner in NC30.

7. I lined my upper lashline using Kat Von D Trooper liquid liner.

8. Lashes are curled and I applied L’oreal Voluminous Carbon black mascara on both top and bottom lashes.

9. I applied Make Up For Ever falsies 125 on upper lashes.

10. I filled my brows using a mixture of MAC Omega and MAC Brun, filled them in with an angled brow brush.

cat liner

11. For the face, I applied Make Up For Ever Pro Finish in 118 all over my face using a round kabuki brush from Sigma.

12. For under the eyes, I applied MAC studio finish concealer in NC30.

13. For contour, I used MAC Blunt blush on the hollows of the cheeks, temples and sides of the nose.

14. For the cheeks, I applied NARS Matahari on the apples lightly. Blush intensity is adjusted after I applied red lips to ensure my face does not look washed off.

15. For the lips, I filled it in with MAC Redd lipliner and applied OCC Stalker lip tar on top of it.

16. For the fake mole, I dotted my face using Kat Von D Trooper eyeliner.

marylin monroe makeup

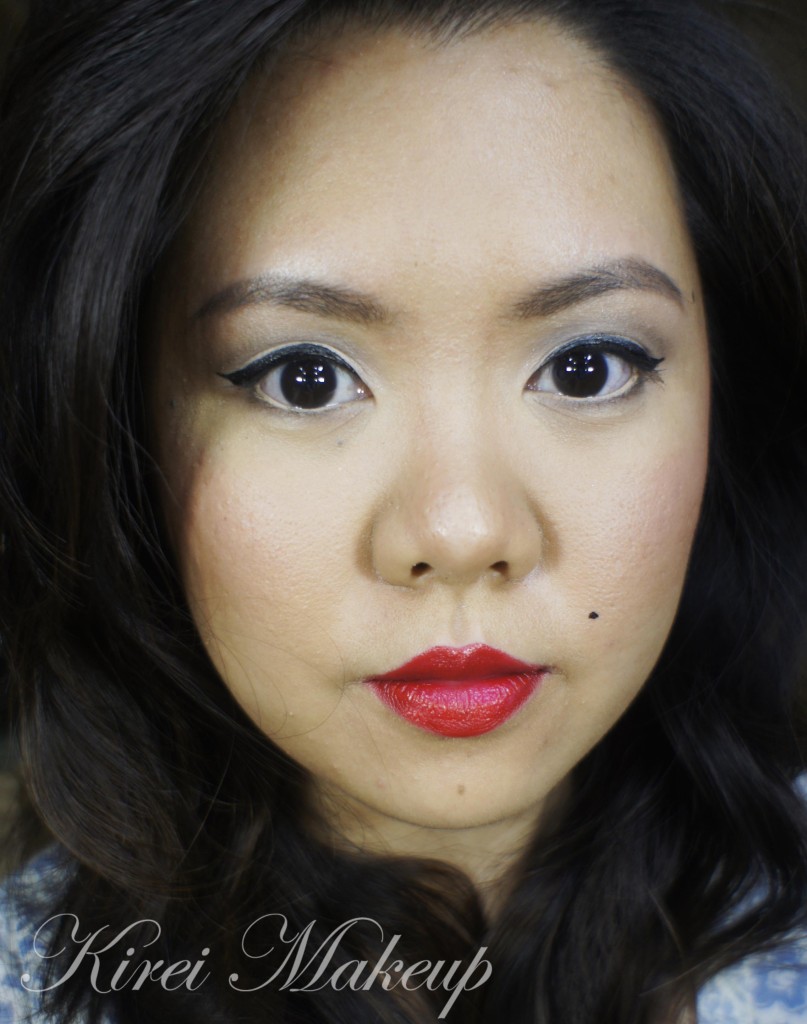
Photo below is without the falsies. Quite wearable, don’t you think? For parties, may be? 😀

marylin monroe makeup