Product of the Week: Shu Uemura Hard Formula Brow Pencil

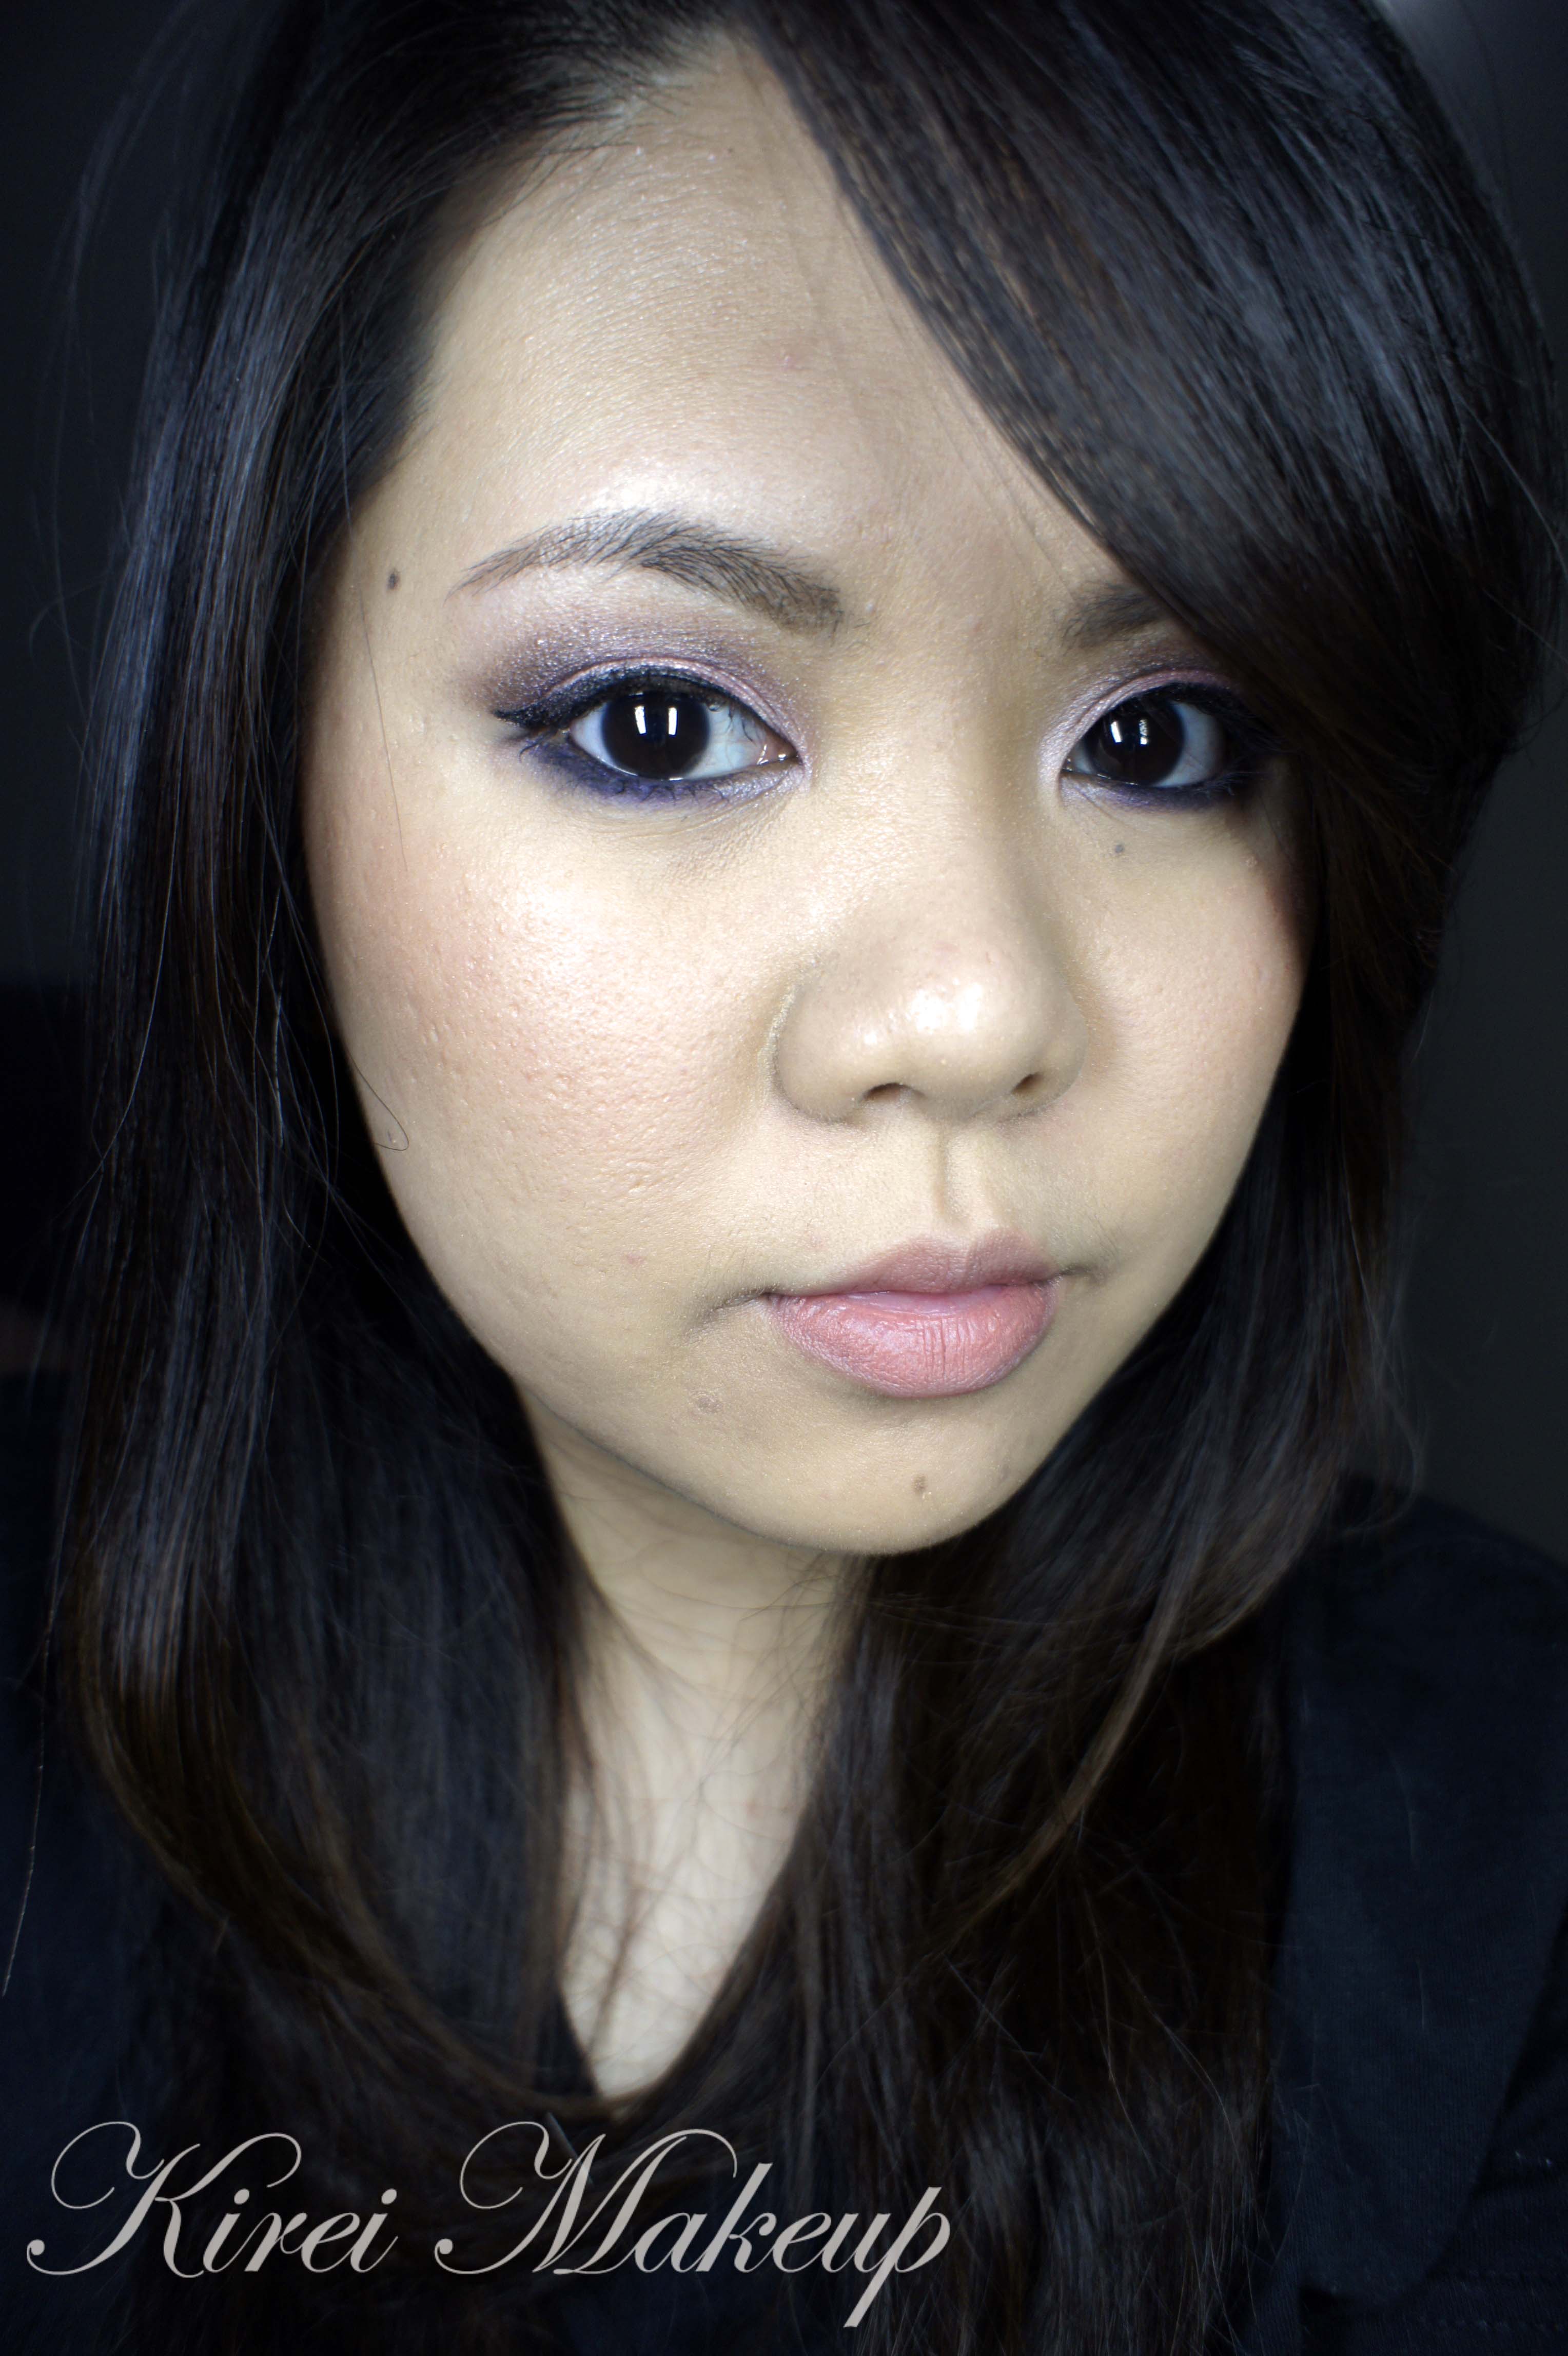
Brows, brows, brows! I’ve been asked to do a brow tutorial, but been putting it on hold for the longest time. Let me first of all, introduce this brow pencil to you guys. Whether you are a beginner or a makeup artist, I think everyone should own the Shu Uemura Hard Formula brow pencil! This pencil is currently my favorite brow product, ever since I ran out of my Anastasia Brow Wiz.

Anyhow, so what is Shu Uemura Hard Formula Brow pencil?

Natural finish and shape. This unique eyebrow pencil only releases color pigment when it interacts with the oils in the brow hairs. The result is natural, defined brows. Smudge-proof and long-lasting. (Shu Uemura, 2013)

Shu Uemura Brow Pencil

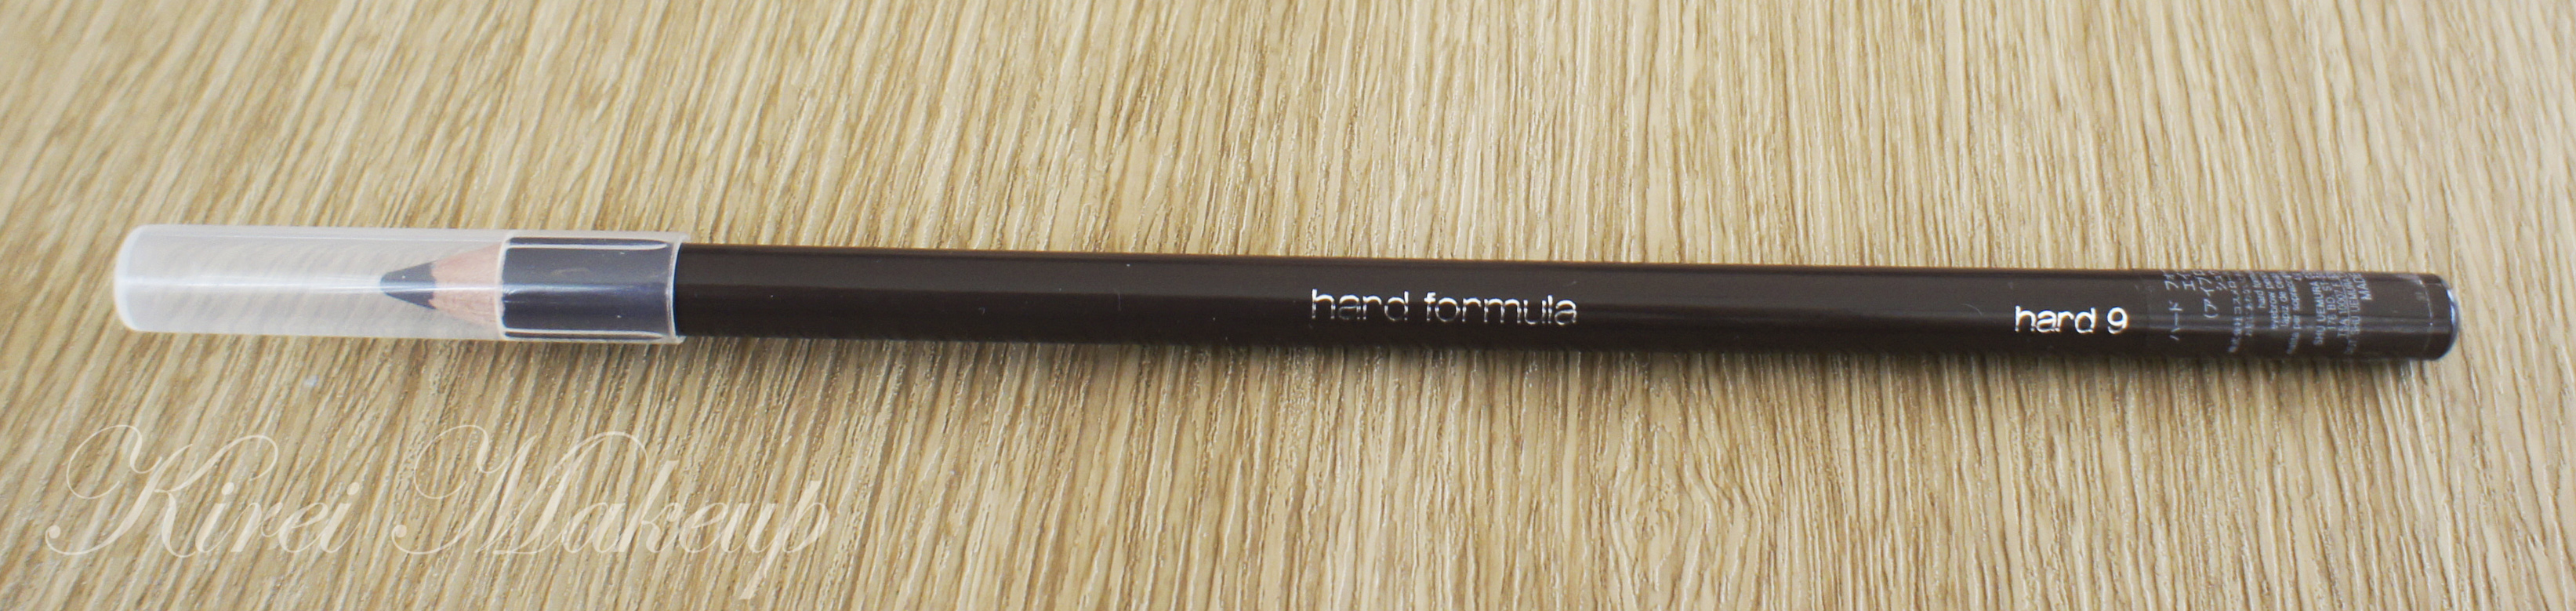
If you happen to go to a Shu Uemura counter or their website, you might realized that the shape of their eyebrow pencil is not exactly like my photo. That’s because their pencil is shaped using a cutter in a Naginata shaped. I knew about the shape because I went to a Shu Uemura counter in Canada and they explained it to me back then. However, I purchased this pencil from Shu Uemura counter in Grand Indonesia mall, and they did not cut it for me in Naginata style, instead they handed me in this form. I don’t really care, Naginata or not, this brow pencil still rocks!

Anyways, I might drop by the Shu Uemura counter again just to ask them to re-shape my brow pencil.

Pros

  • The color is perfect. Mine is Hard 9 (Acorn), and I think it has just enough warm undertone for my warm undertone hair. It’s not too red, and at the same time not too ashy.
  • It brings a certain warmness to the face and it works for a lot of people. I’ve used this pencil on several people and for bridal makeup as well.
  • Since its hard formula is very waxy, when you draw this pencil in, it mimicked your brow hair. You can get the most natural finish with this product.

Longevity

I’ve worn this pencil for a good 8-10 hours without any smudging whatsoever in a very warm and humid climate (a.k.a Bali).

Price

I don’t quite recall how much it cost in Jakarta since I’ve bought it quite a while back.  I will let you guys know once Shu Uemura Indonesia answers my tweet 😉

Anyways, I know this pencil costs CAD$29 in Canada and USD$23 in USA.

Cons

  • Since it’s a hard formula and very waxy, you might not be able to swatch this on your hand. I managed to do it after going at it several times the back of my hand.
  • They carry 2 more colors in Asia than in North America, namely Acorn and Walnut Brown.

Shu Uemura Brow Pencil no. 9

Keep in mind, even if your hair is black, you might want to use brown instead so your brows don’t look harsh.

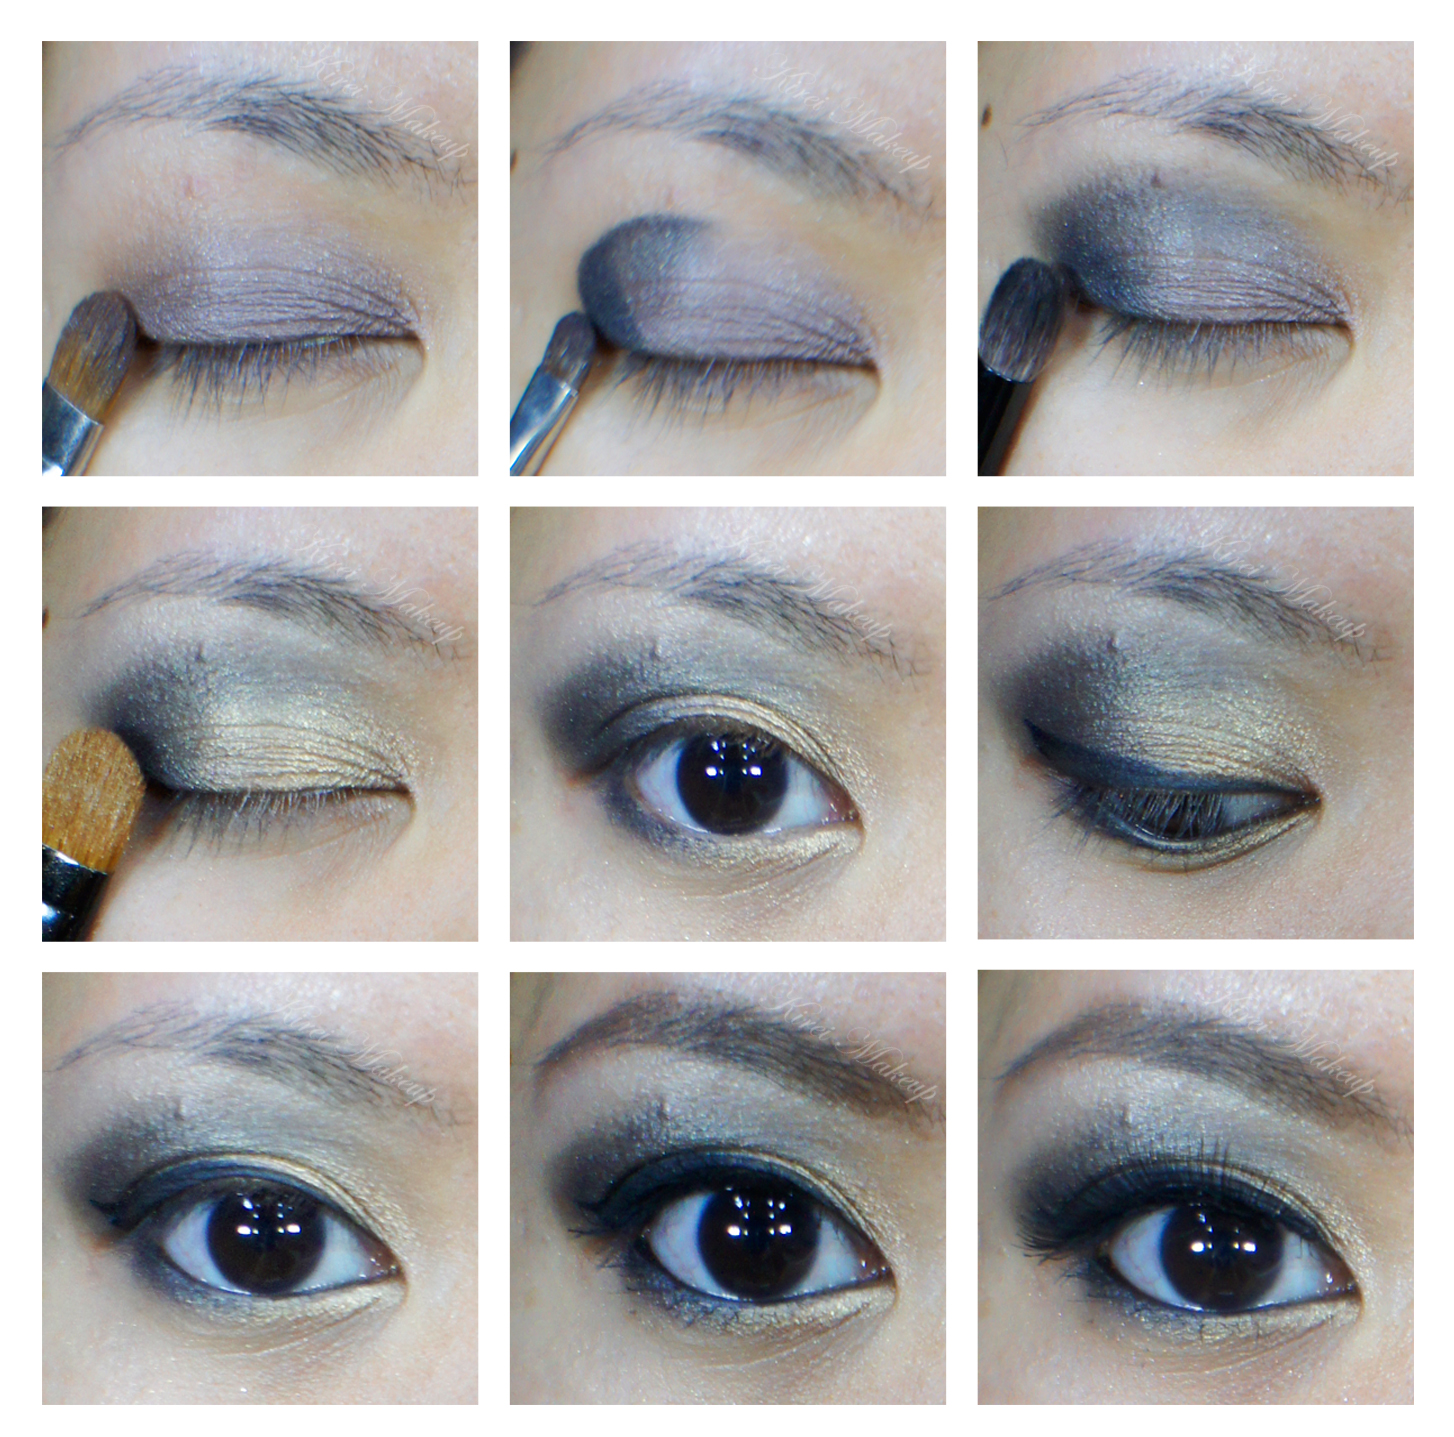
Also, if you want to know how I shaped my brows, please visit my tutorial in Brows 101.
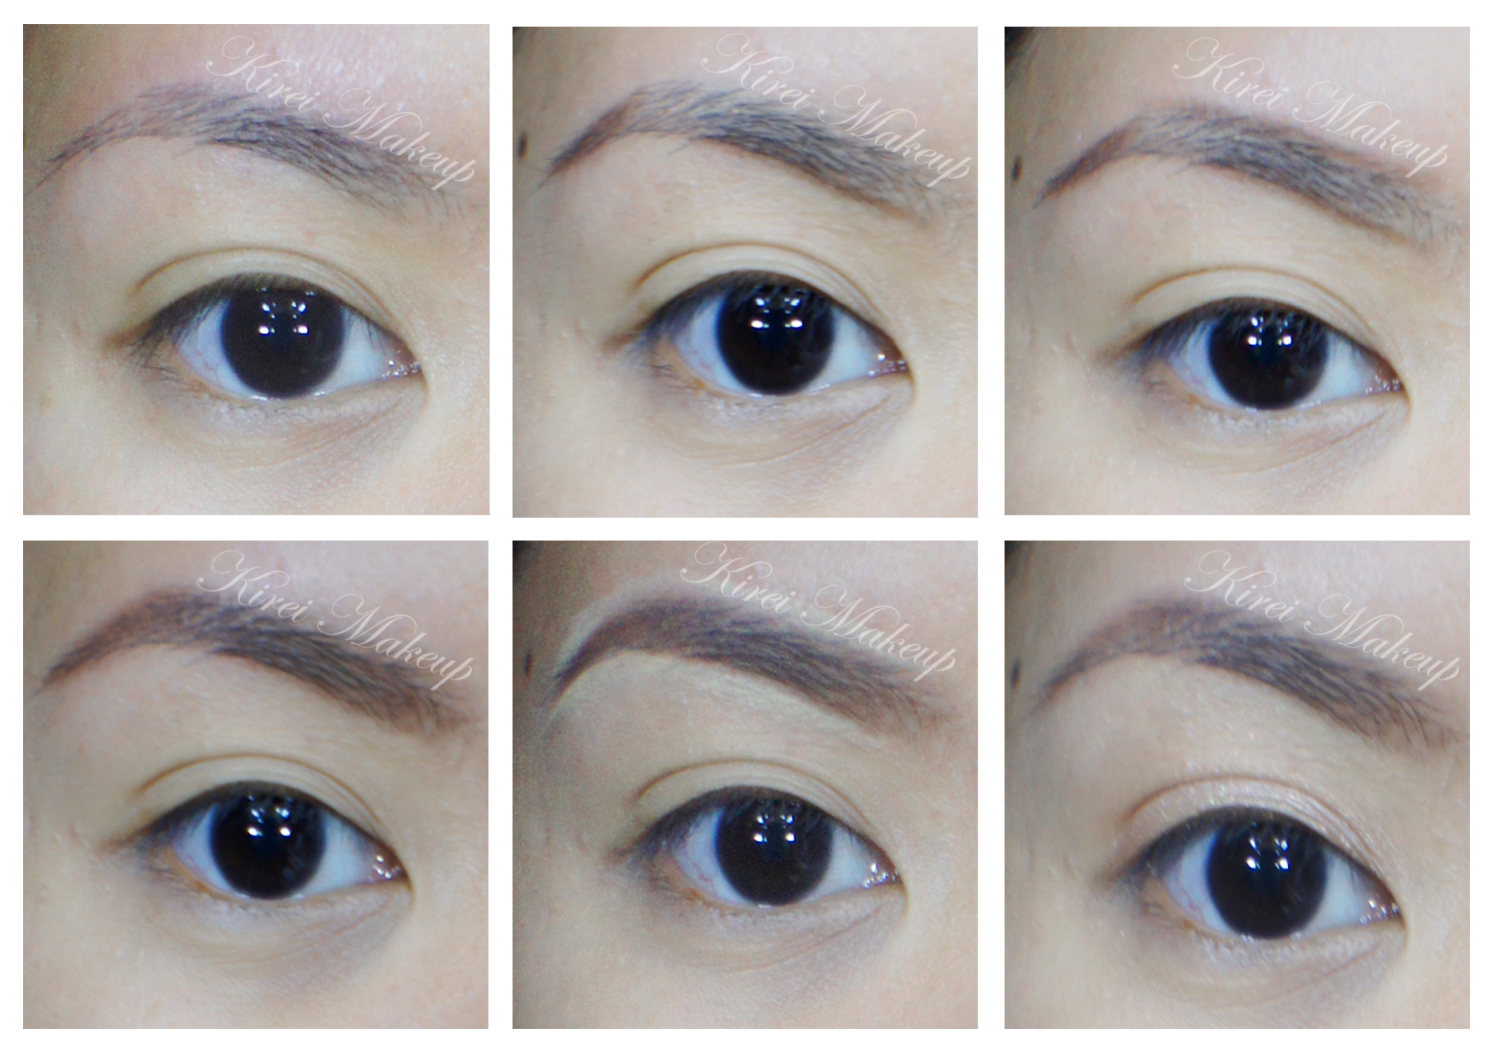
How-to:

1. Starting with a clean brow, use a clean spooly (or mascara brush) to brush the brow hair upwards. Trim any excess with a cuticle scissors if needed.

2. I like to start with the tail of brow. Just filling it in and extend it slightly.

3. I created a diagonal line on the lower part of my brow from the head to just below the arch (hard to explain, please look at photo below…bahahaha).

4. Next I drew a diagonal line along the top of the brow to the highest point of the brow (i.e. arch).

5. I filled it the rest of the brow using the pencil. (I purposely drew a lot in so you can see the difference between my non-filled brow with the filled-in brow).

6. This step is optional, but works wonder if you want an extra shape or an extra lift. So, using a flat sturdy brush, I applied M.A.C pro conceal/correct palette in yellow corrector along the bottom and top part of the brow. I blended it out using a clean flat brush.

7. At this stage, I brushed my brow hair upwards again using a clean spooly (or mascara brush) for a natural finish look.

Pretty much, lots of my tutorials prior to this post used the Shu Uemura Hard Formula Brow Pencil.

how to do brows

Baked It Up!

Who doesn’t love Urban Decay Half-Baked eyeshadow? It’s bronzy, it’s shiny, it’s shimmery and it’s just gooorgeous! I think it might work for brides-to-be who’d like to go for a smoky look, definitely a party makeup and might look great for prom! It suits every eye colors and skin color. The bronze might pop out even more on medium-dark skin. If you’re pale, opt for brown instead of black eyeshadow if this is too intense.

*Please do ignore the acne on my crease*

How-to:

1. I applied the brown eyeshadow from  Smashbox  Smokeout trio eyeshadow (discontinued) on the eyelid using a flat eyeshadow brush.

2. Using a small shader brush, I applied the black eyeshadow from Smashbox Smokeout trio eyeshadow on the outer V.

3. Using Smashbox bullet brush, I blended the black eyeshadow so there’s no harsh line.

4. Using a flat eyeshadow brush, I applied Urban Decay Half-Baked eyeshadow on the inner lid and center of the lid, carefully blending it towards the black eyeshadow.

5. At this stage, you can opt to add more black eyeshadow, or use the brown eyeshadow to blend the black eyeshadow towards the bronze using the flat eyeshadow brush on step 1.

6. Using a clean small shader brush, I applied Urban Decay Half-Baked eyeshadow on inner part of the lower lid, and the black eyeshadow on the outer part of the lower lid.

7. Using an angled eyeliner brush, I applied Clinique gel liner along the upper lashline as a winged liner.

8. I lined my waterline and tighline using L’oreal Voluminous Smoldering eyeliner.

9. I filled in my brows using Anastasia brow powder in Brunette.

10. I curled my lashes and applied L’oreal Voluminous Carbon Black mascara on both top and bottom lashes.

11. Optional – I applied M.A.C False Eyelashes no. 4 on the upper lashes just for some added drama. Made my eyes look bigger, I think 😀

Party Makeup

12. For the face, I applied yellow corrector from MAC Pro Correct and Conceal palette in Medium. I applied it under my eyes, on the bridge of my nose, on the temples and cupid’s bow.

13. Using MUFE HD foundation and a Sigma Kabuki Round Brush, I buffed the foundation all over my face.

14. I applied Clarins Instant Light Blush in Vitamin Pink on the cheeks using a foundation brush.

15. I powder my T-zone using Cinema Secret loose powder.

16. For the lips, I lined and filled my lips using MAC Dervish lipliner and applied L’oreal Colour Riche Caresse Shine Stain Lipcolour in Eternally Nude on top of it.

Prom Makeup


Nails of the Day – Essie Navigate Her

Product of the Week for this week is Essie Navigate Her nail polish! I absolutely adore this color. It’s bright, it’s light, it’s pastel and it’s very Spring! I bought this at Trade Secret in Canada last year for about CAD$ 8.99. This color was from the Spring Collection 2012. I’d say that this nail polish is light green with a yellow undertone.

I applied two coats of the nail polish to achieve an opaque finish. The first layer might get streaky, so definitely apply 2-3 coats for a beautiful opaque finish. The consistency of the nail polish is quite runny compared to OPI. I find that most of Essie nail polishes are quite runny, anyways.

Regarding the longevity of the nail polish really depends on where you are and how much work do you do with your hands. When I was in Canada and it’s cold, and I’ve to apply a lot of hand lotions, do the dishes, showered with really hot water etc, the nail polishes usually lasted for about 3-4 days. In Indonesia, since it’s warm, showered with cold water, not much lotion etc, the nail polishes lasted longer usually for about a week with minimal chipping.

Essie Navigate Her

Sweet Plums

Valentine’s day is 11 days away, and here’s another Valentine’s day inspired look. I probably won’t wear this on a Valentine’s day, but I just pick colors that I feel is valentine-ish. The look has plums, purple and pink in it. I feel that the colors look better on real life, probably because my camera isn’t picking up the colors since I changed my lights (grrrr)..Hopefully once I’m back home I’ll be able to take better pictures…

Anyhoow, enough of me complaining…This look is more on the smokier side. May be on the next tutorial I’ll post a look that’s more wearable for Valentine’s day.

How-to:

1. I applied Maybelline Color Tattoo in Inked in Pink all over my lid using my ring finger.

2. I used a large eye angled brush and applied a berry-burgundy eyeshadow from Lancome (discontinued) on the outer V and just above the crease. I wanted to add some warmth to the look.

3. I used a blending brush and blended it.

4. Using a flat eyeshadow brush, I applied L’oreal Purple Obsession  Infallible eyeshadow right on the crease (or in my case, where the fold of my eyelid is). It’s ok if some of the shadow fall on the lid area (like mine)

5. Using a clean blending brush, I blended the purple until there’s no harsh line. I used small circular motion to blend the shadow.

6. Using a flat eyeshadow brush, I applied L’oreal Sweet Strawberry Infallible eyeshadow on the inner to the center of the lid using a patting motion.

7. I applied a vanilla eyeshadow on the inner corner, but I think a peachy or champagne highlighter will work better. Oh well.

8. I lined my waterline and lower lashline using Make Up For Ever eyeliner (4L).

9. I applied Galeano eyeshadow from Kat Von D Beethoven palette on the lower lid.

10. I lined my upper lashline using Kat Von D Trooper liquid liner to create a winged liner.

11. I curled my lashes and applied L’oreal Voluminous Carbon Black mascara on both top and bottom lashes.

12. Using MAC Brule, I applied it under the brow bone.

13. I filled my brows using a mix of MAC Omega + MAC Brun using an angled brush.

14. Using a very clean blending brush, I blended the crease a little bit more.

Purple Smoky eyes

15. On the face, I applied MAC Moisture Cover on NW 15 under my eyes.

16. Then, I applied L’oreal Magic Lumi foundation all over my face using Sigma Kabuki Round brush.

17. I applied MAC Warmth of Coral mineralized blush on the cheeks.

18. For the lips, I filled in my lips using L’oreal Beyond Pink lip liner and applied Revlon Mauve It Over on top of it.

Pink and Purple smoky eyes