Brows, brows, brows! I’ve been asked to do a brow tutorial, but been putting it on hold for the longest time. Let me first of all, introduce this brow pencil to you guys. Whether you are a beginner or a makeup artist, I think everyone should own the Shu Uemura Hard Formula brow pencil! This pencil is currently my favorite brow product, ever since I ran out of my Anastasia Brow Wiz.
Anyhow, so what is Shu Uemura Hard Formula Brow pencil?
Natural finish and shape. This unique eyebrow pencil only releases color pigment when it interacts with the oils in the brow hairs. The result is natural, defined brows. Smudge-proof and long-lasting. (Shu Uemura, 2013)
If you happen to go to a Shu Uemura counter or their website, you might realized that the shape of their eyebrow pencil is not exactly like my photo. That’s because their pencil is shaped using a cutter in a Naginata shaped. I knew about the shape because I went to a Shu Uemura counter in Canada and they explained it to me back then. However, I purchased this pencil from Shu Uemura counter in Grand Indonesia mall, and they did not cut it for me in Naginata style, instead they handed me in this form. I don’t really care, Naginata or not, this brow pencil still rocks!
Anyways, I might drop by the Shu Uemura counter again just to ask them to re-shape my brow pencil.
Pros
- The color is perfect. Mine is Hard 9 (Acorn), and I think it has just enough warm undertone for my warm undertone hair. It’s not too red, and at the same time not too ashy.
- It brings a certain warmness to the face and it works for a lot of people. I’ve used this pencil on several people and for bridal makeup as well.
- Since its hard formula is very waxy, when you draw this pencil in, it mimicked your brow hair. You can get the most natural finish with this product.
Longevity
I’ve worn this pencil for a good 8-10 hours without any smudging whatsoever in a very warm and humid climate (a.k.a Bali).
Price
I don’t quite recall how much it cost in Jakarta since I’ve bought it quite a while back. I will let you guys know once Shu Uemura Indonesia answers my tweet 😉
Anyways, I know this pencil costs CAD$29 in Canada and USD$23 in USA.
Cons
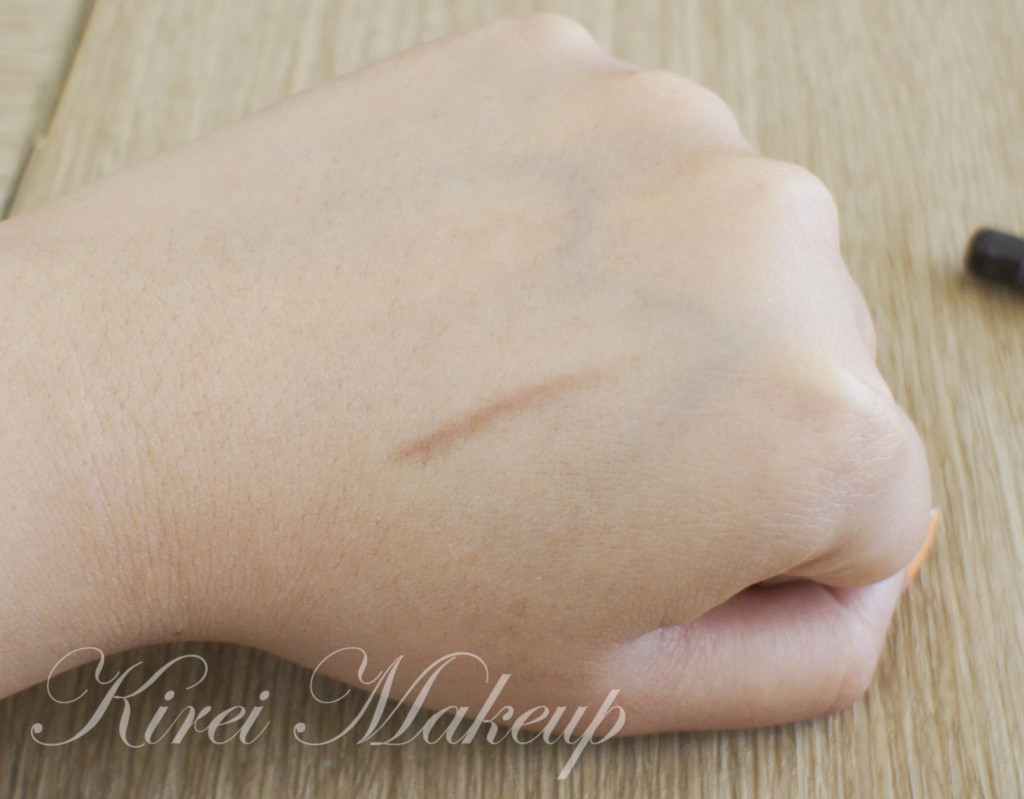
- Since it’s a hard formula and very waxy, you might not be able to swatch this on your hand. I managed to do it after going at it several times the back of my hand.
- They carry 2 more colors in Asia than in North America, namely Acorn and Walnut Brown.
Keep in mind, even if your hair is black, you might want to use brown instead so your brows don’t look harsh.
Also, if you want to know how I shaped my brows, please visit my tutorial in Brows 101.
How-to:
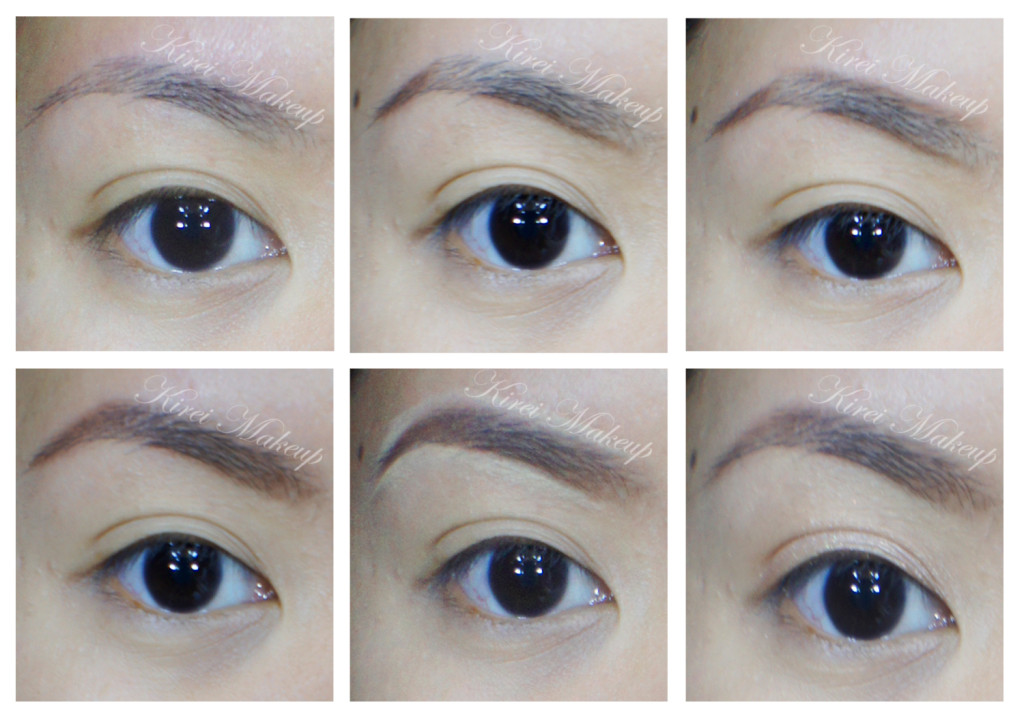
1. Starting with a clean brow, use a clean spooly (or mascara brush) to brush the brow hair upwards. Trim any excess with a cuticle scissors if needed.
2. I like to start with the tail of brow. Just filling it in and extend it slightly.
3. I created a diagonal line on the lower part of my brow from the head to just below the arch (hard to explain, please look at photo below…bahahaha).
4. Next I drew a diagonal line along the top of the brow to the highest point of the brow (i.e. arch).
5. I filled it the rest of the brow using the pencil. (I purposely drew a lot in so you can see the difference between my non-filled brow with the filled-in brow).
6. This step is optional, but works wonder if you want an extra shape or an extra lift. So, using a flat sturdy brush, I applied M.A.C pro conceal/correct palette in yellow corrector along the bottom and top part of the brow. I blended it out using a clean flat brush.
7. At this stage, I brushed my brow hair upwards again using a clean spooly (or mascara brush) for a natural finish look.
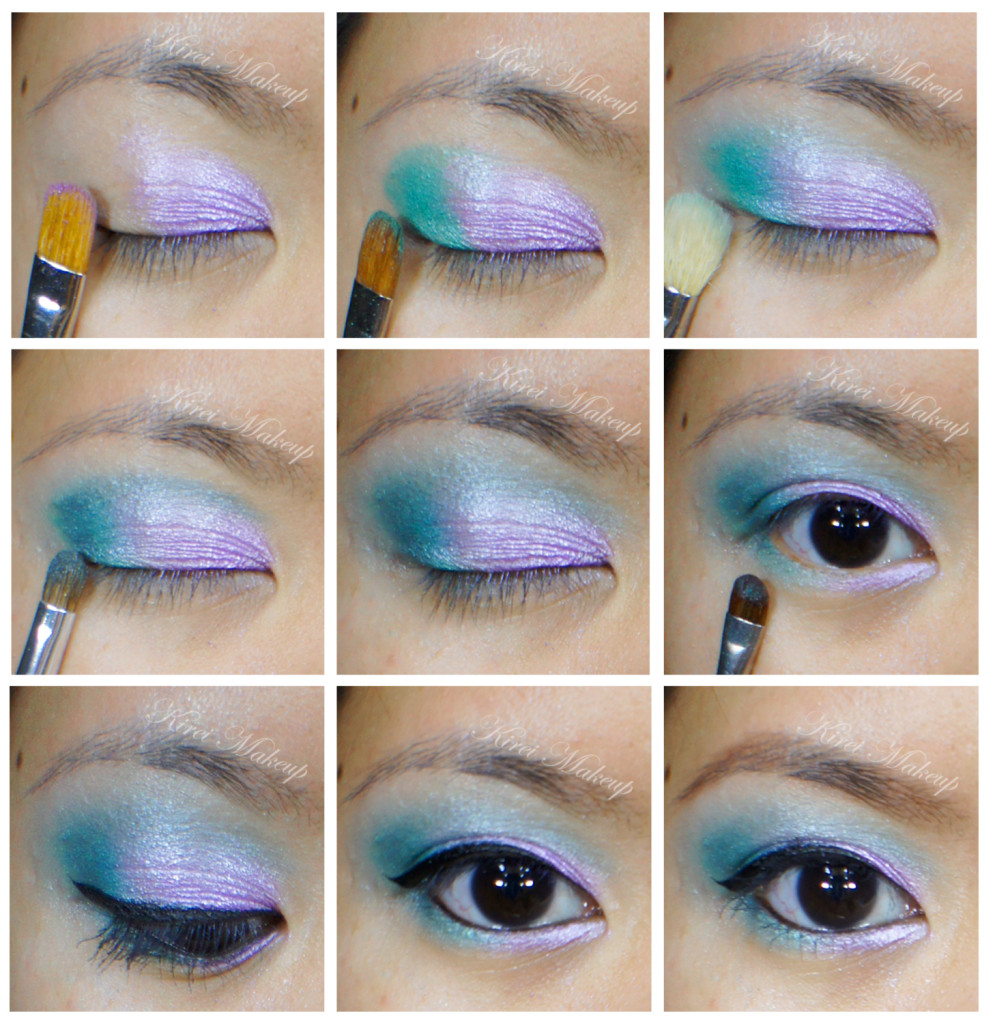
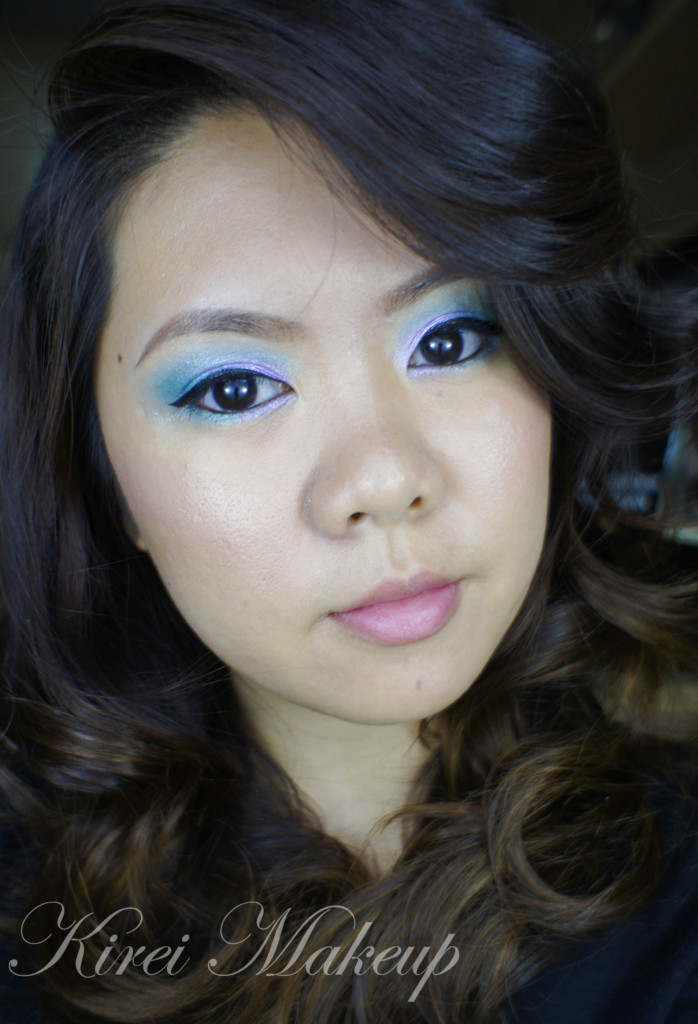
Pretty much, lots of my tutorials prior to this post used the Shu Uemura Hard Formula Brow Pencil.


