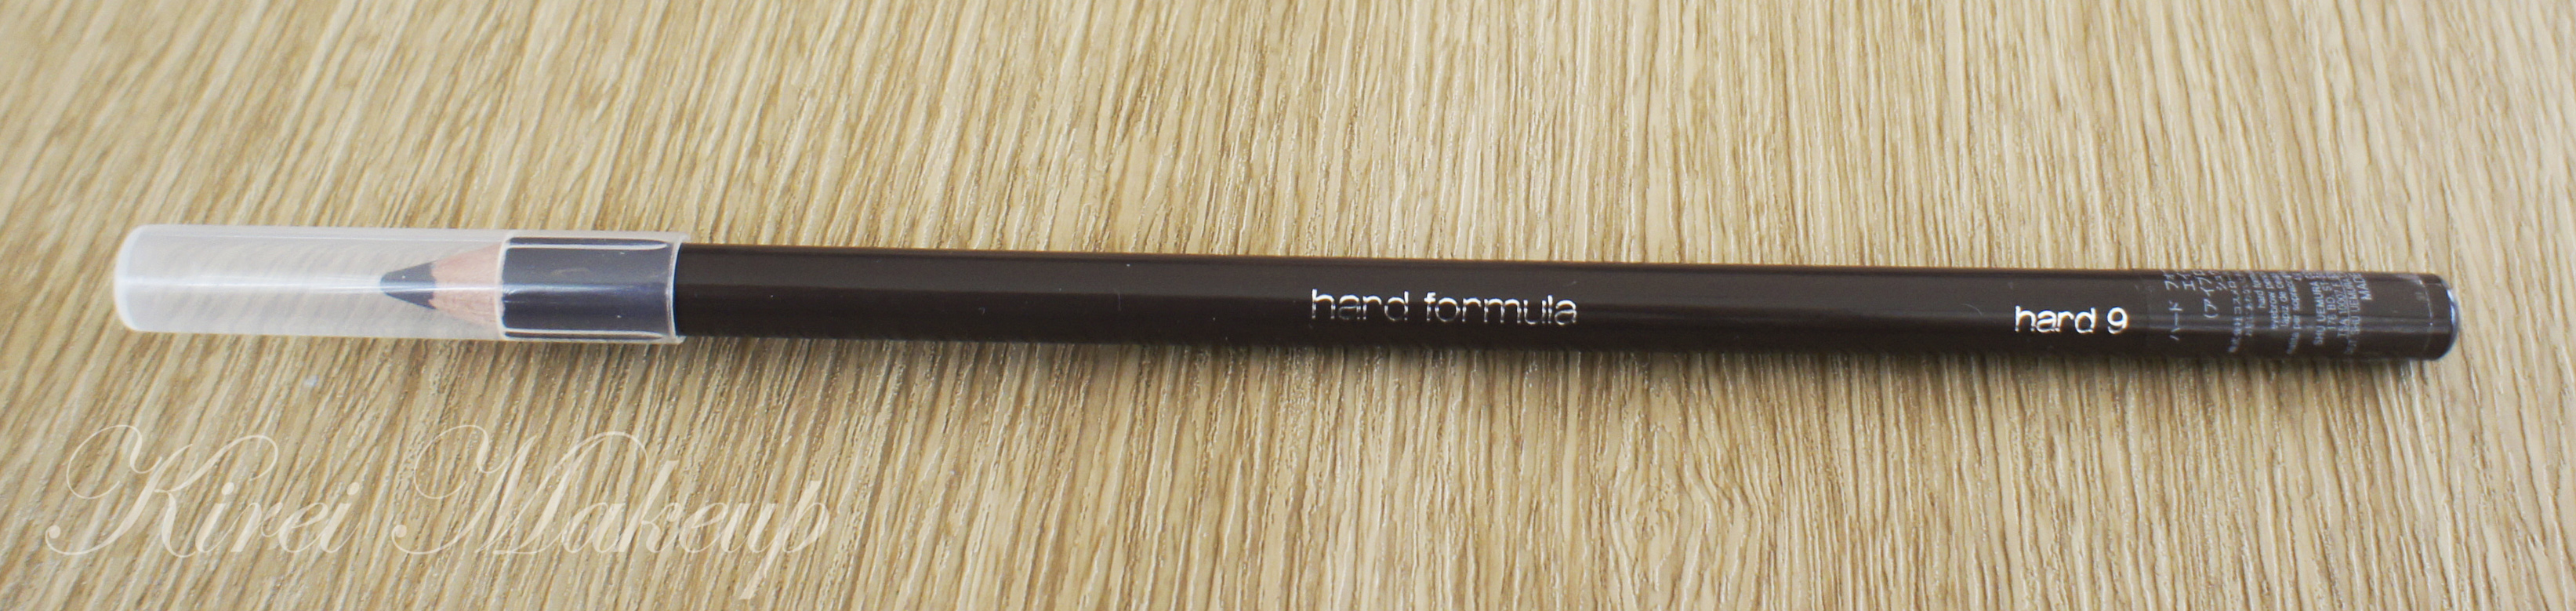
As promised, I’ll be talking about MUFE Aqua Brow gel in this week’s installment of Product of The Week. I bought this a few weeks a go out of the blue. I actually didn’t look it up online or even read any reviews about it. I wanted to buy it just because I simply have never used a gel product for my brows. Usually it’s either pencil or powder since I really like a natural finish for the brows. If you want to get a natural finish, please visit my Shu Uemura Hard Formula post.
Let me just start by saying that this is not a beginner’s product. If you are not comfortable using pencil or powder for your brows, stay away from the gel! If you don’t use this properly, you might end up with crazy brows that are too thick. If you have a heavy-hand, stay away from this product!
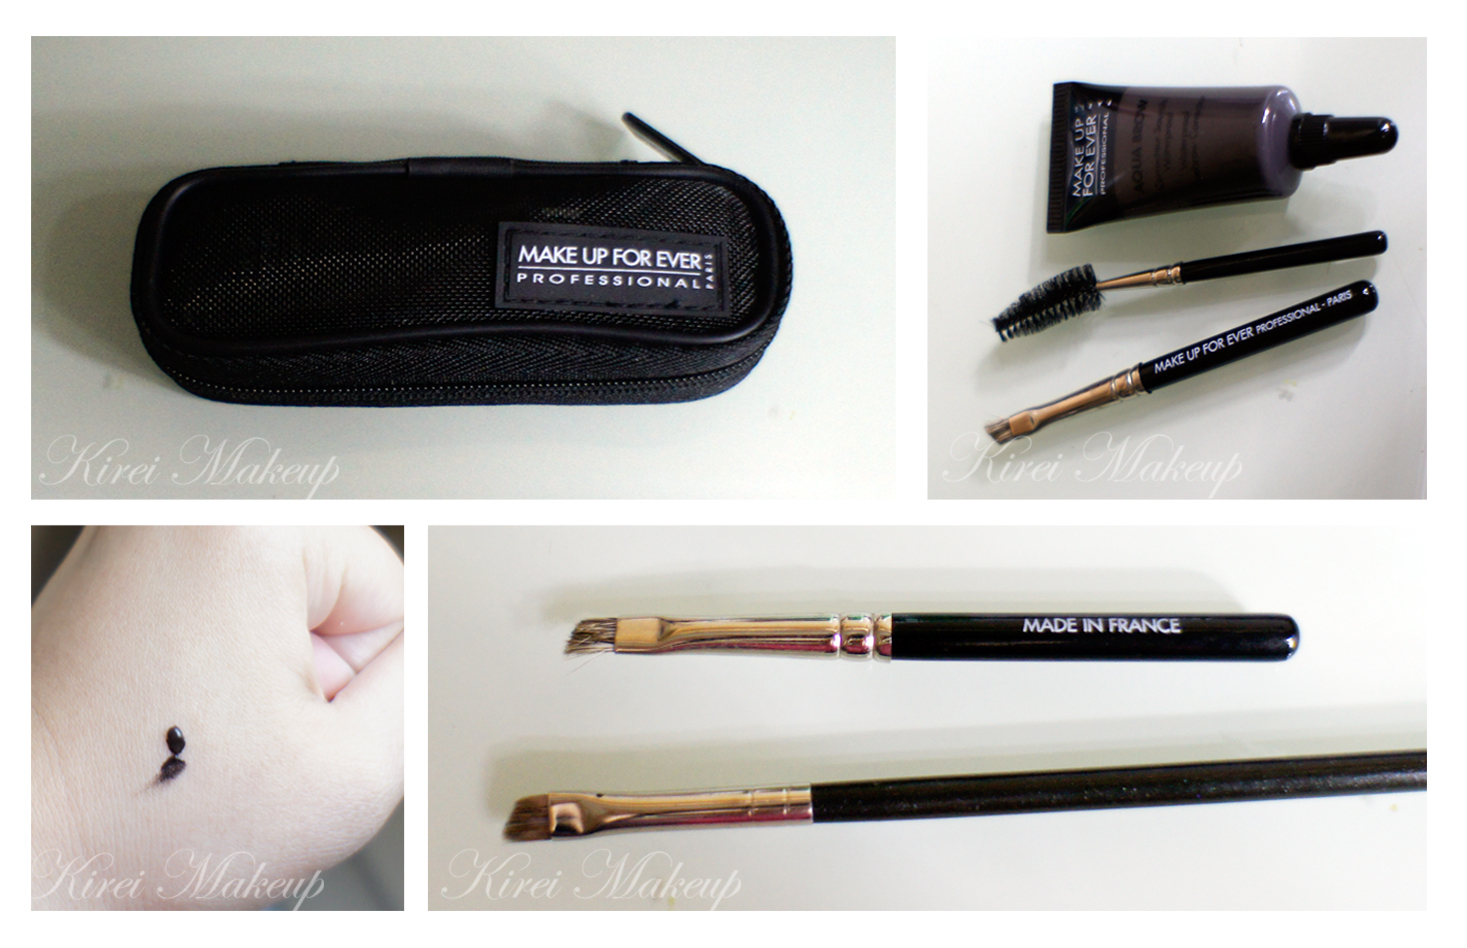
Ok, so the brow set comes in a little MUFE pouch, which I find it to be very convenient! Inside the pouch, you’ll get 1 MUFE Aqua Brow, 1 spooly and 1 angled brush. I don’t use that brush, instead I used my MAC 266 brush. It gives a more define and precise brows.
Remember, a little product goes a long way! See that tiny teensy dot on my hand. That will do 1 of my brows. It’s better to use a little then add more, than to use too much and try to take it off.
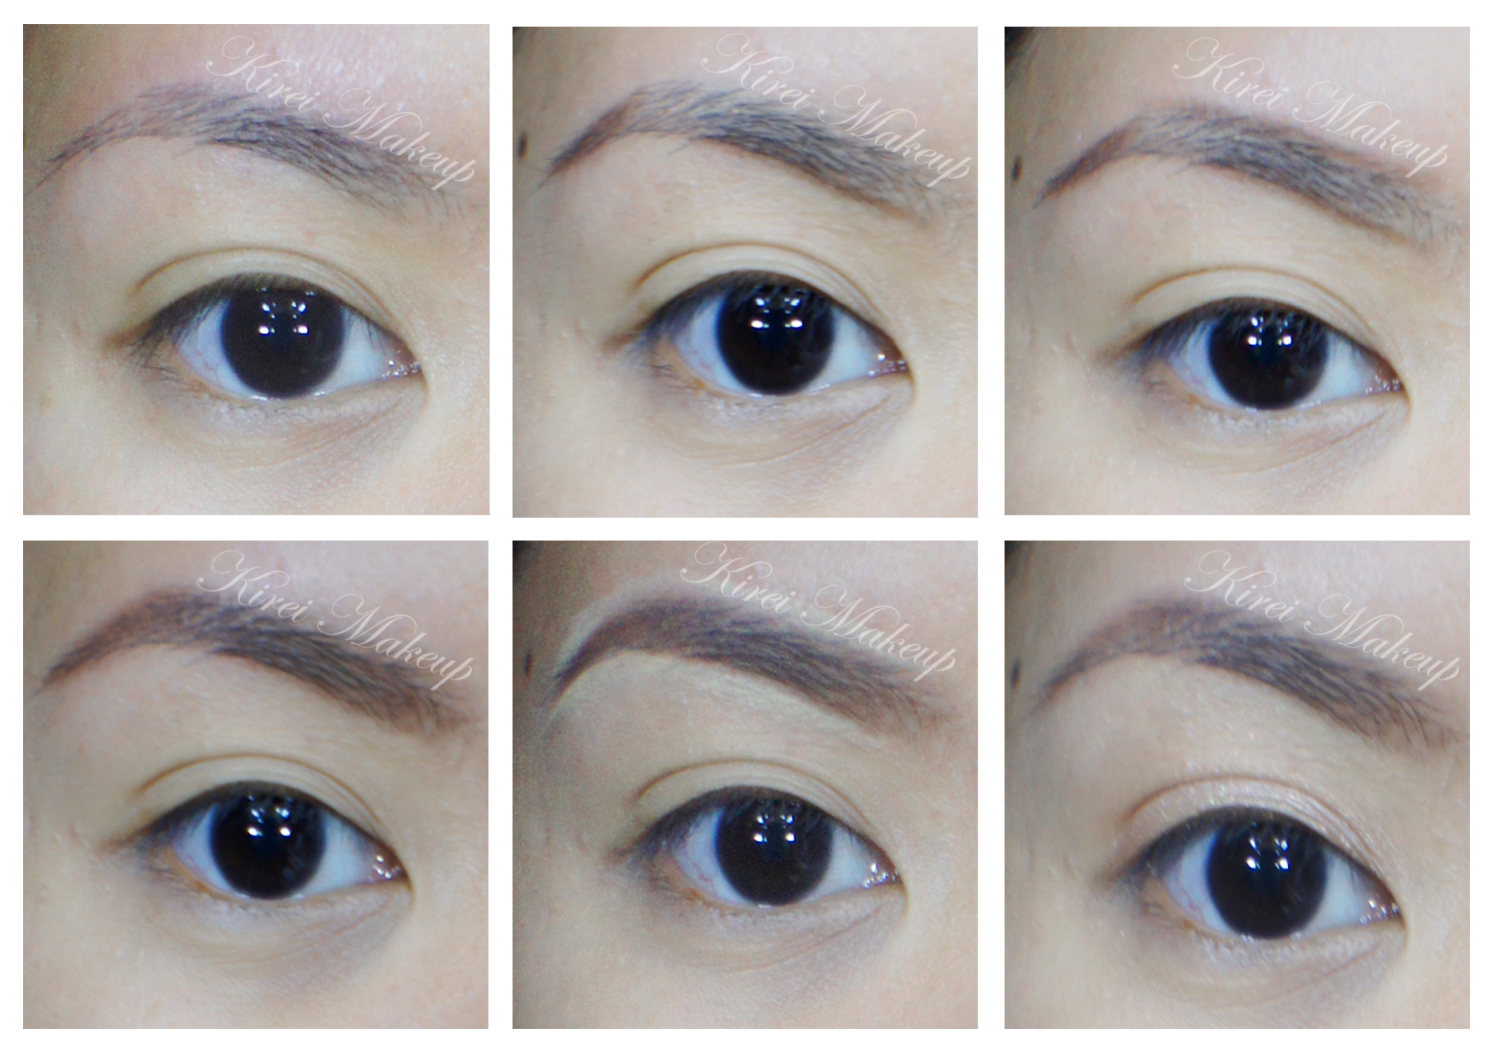
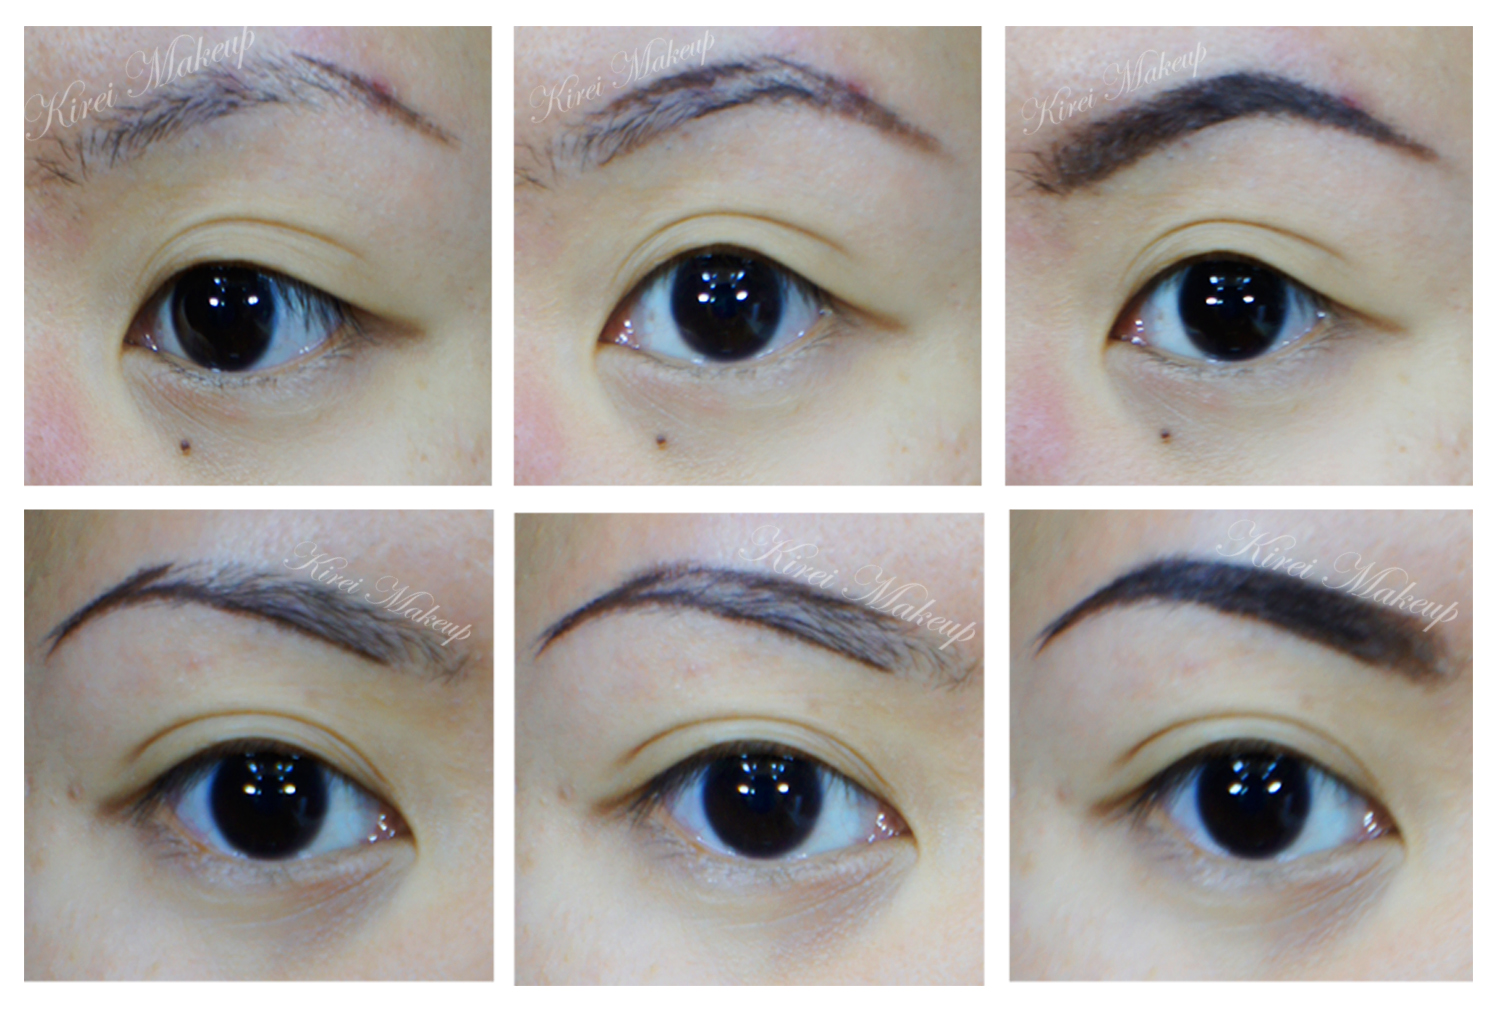
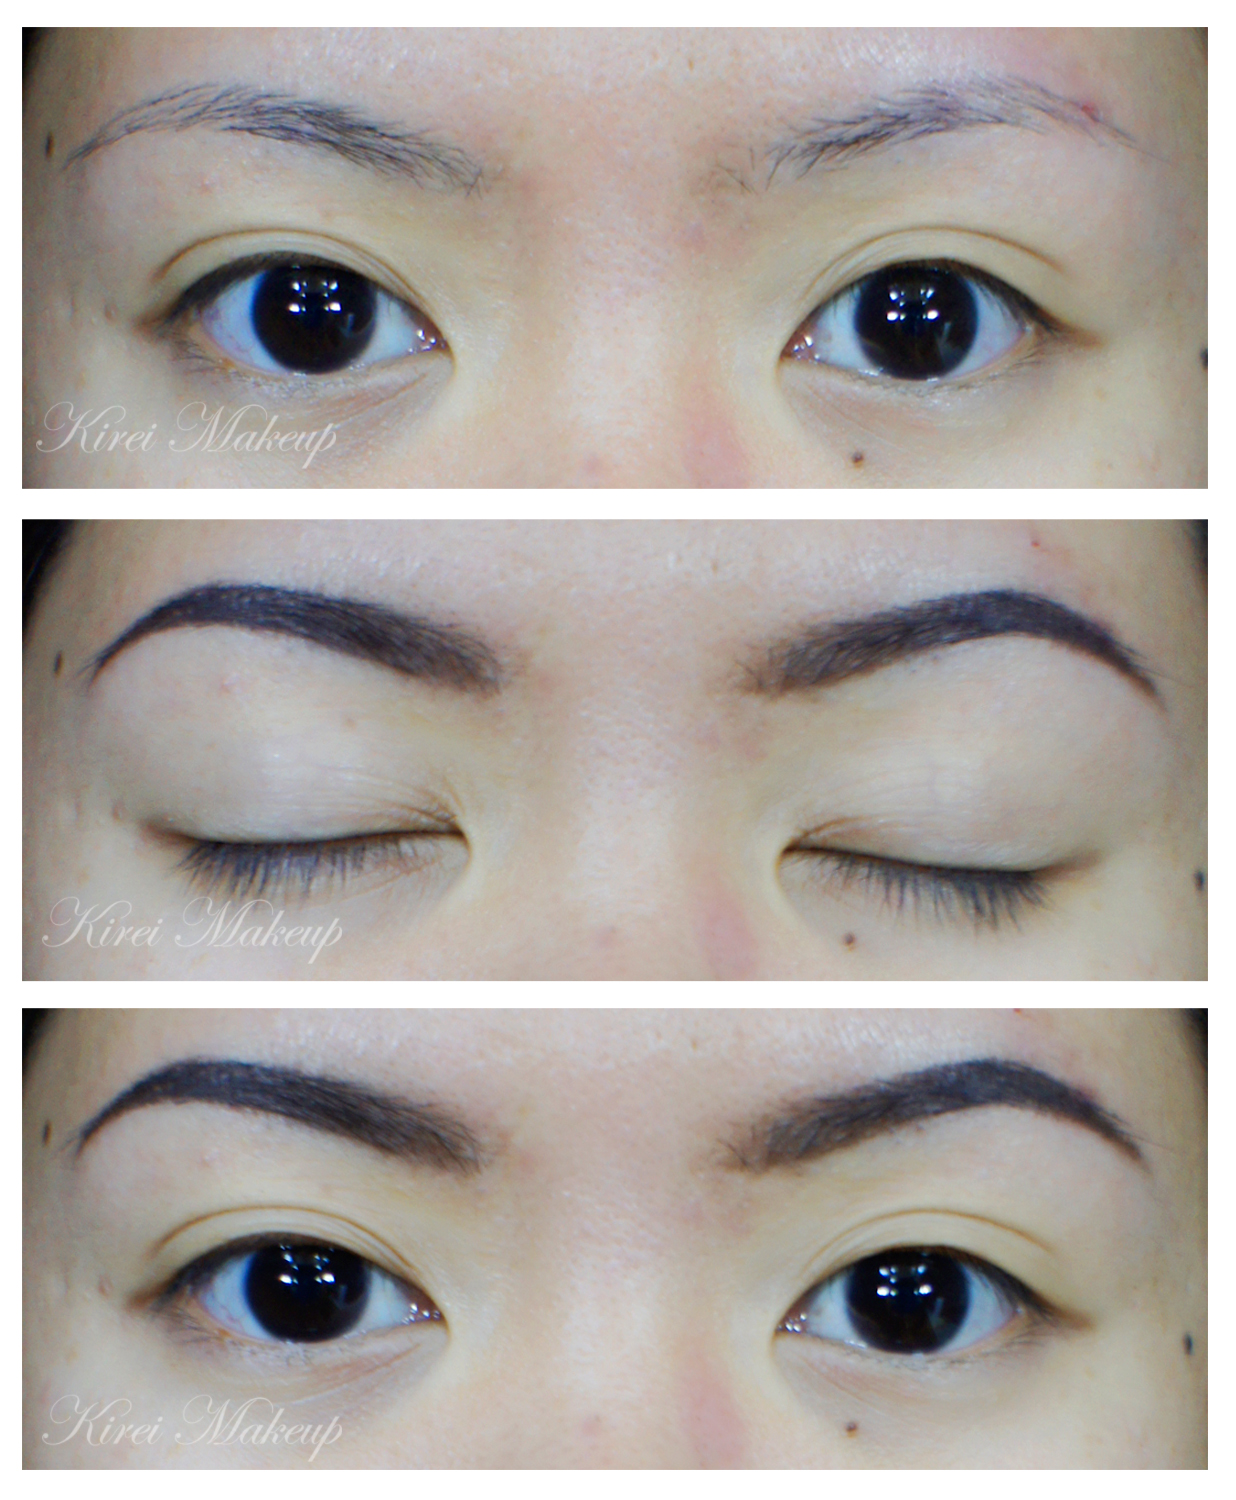
I tweezed and trimmed the brows myself. If you want to find out an easy way to shape your own brows, please check this post Brow 101. My own eyebrows have quite a lot of hair, but the hair has a very unflattering greyish shade to it. Not to mention, my left eyebrow (right in the picture) has a sparse eyebrow “head”. Filling my brows this way really frame my face and eyes nicely.
The pictures below showed how I filled my brows in. I think it’s pretty self explanatory. Oh, at the end of it, I also brushed out my eyebrows using the spooly that came with the set. This will remove some of the products, making it less harsh-looking.
Please comment below if you have any questions or if you want to see me do a video on how to fill in the brows.
Back to the product itself!
What is MUFE Aqua Brow?
Aqua Brow is a waterproof eyebrow corrector that fills, defines and lengthens brows. Formulated with volatile oil and carnauba wax, its creamy gel texture gives an even, natural result with a long lasting hold. The result remains flawless throughout the day and holds up under all conditions (water, heat, etc).
Formula:
Volatile oil
Carnauba wax
Hydrophobic treated, concentrated pigments
Xanthan gum
(credit: Make Up For Ever, 2013)
Shades
Comes in 7 available shades – 10 Light Blonde, 15 Blonde, 20 Light Brown, 25 Ash, 30 Dark Brown, 35 Taupe and 40 Brown Black.
I was recommended by the MUFE Artist in the counter to buy no. 40, which is slightly too dark for me I think. I didn’t actually mind it at all since my ombre hair has quite a dark roots. It’s also a great addition to my makeup kit in case I’ve to do dark brows. However, I might get no. 10, 20 and 35 in the near future to be added to my kit.
If you are of medium-dark skin, no. 40 might be a good color for you. It’s a very cool brown.
Longevity
This product is waterproof, smudge-proof, and sweat-proof since it’s from the Aqua range. If you want to go swimming in this, go ahead, it’s completely waterproof. I’ve never worn this product for more than 4-6hrs, so I can’t really say if it stayed on the whole day. But, pretty much when it dries, it will not move until you remove it with makeup remover.
Price
CAD$24 in Sephora. Not sure how much it is in Jakarta. I did buy it in Jakarta, but I bought other stuffs with it and didn’t really pay much attention to it. I think it’s on the Rp. 300,000 range.
Pros:
- 7 shades that cover every skin-tones.
- Waterproof, smudge-proof and sweat-proof.
- The set comes with brush and spooly which makes it very convenient for traveling.
- Squeeze tube packaging makes it ideal for the kit. I don’t have to worry about it breaking or anything.
- You can use the product to create a natural look or you can use it for a more precise application.
- Can be used to darken any stubble or beard or side burns for men, or in creating character makeup.
Cons:
- Might be too pricy than powder or pencil brow products.
- If you are not used to working with gel/cream brow products, this might be hard to do.
- If you apply too much, you might end up with harsh brows.
- Difficult to remove once you make a mistake. Make sure you have waterproof makeup remover handy.
If you want to see a complete makeup look using MUFE Aqua Brow, please see my previous post “Neutral”.
MUFE Aqua Brow Gel gets a 4.5 out of 5. It loses 0.5 point because of the difficulty level for beginners.