Recently I bought a few Chanel’s products from the newly opened Chanel Nordstrom counter in Yorkdale, and so today I want to use those products to create this soft smoky eyes look paired with red lips for the cold weather. I’m absolutely loving the Chanel Candeur Et Experience palette, and I’m definitely obsessed with Chanel Rouge Allure Ink! Read more below.
Tag: red lips
Pat McGrath Lust 004 Red Glitter Lips Tutorial
As mentioned on my IG Stories, today I’ll be sharing with you guys this gorgeous Glitter Red Lips using Pat McGrath Lust 004 Bloodwine Lip Kit. I actually bought this Bloodwine kit from her website, but as it turns out Sephora also carries them now! So, I also went ahead and bought the Everything kit, and now I have 2 Bloodwine kits. Anyways, watch the video below for the tutorial and a quick review on this lip kit. Read more below for more pictures and info regarding the Pat McGrath Lust 004.
Urban Decay Gwen Stefani Tutorial #1
I did promise to post an Urban Decay Gwen Stefani tutorial in my previous post, and here it is! I did this pretty quickly since I was testing several products all at once. It’s very simple and easy to do. I pretty much only used 2 brushes for the eyes – blending and flat eyeshadow brushes, and this is just my regular go-to eye makeup look.
I’ll be posting more Urban Decay Gwen Stefani tutorials, so if you have any requests, feel free to leave a comment below! As you know, Gwen Stefani is no stranger to bold makeup look, so for this tutorial, I’ve decided to pair the eyes with red lips. Gwen Stefani does wear a lot of red lipstick paired with bold winged liner. I did a winged liner, but not as bold as her since I don’t have the “real estate” (aka enough space) on my eyelids to do so.
Check out my VLOG using this palette!
Have you guys check out my UD x Gwen Stefani swatches and first impression yet?! You should!
Products used
Eyes
- Primer – Urban Decay Primer Potion “Anti Aging”
- Base – Urban Decay Gwen Stefani “Skimp”
- Transition –Urban Decay Gwen Stefani Stefani “Anaheim”
- Crease – Urban Decay Gwen Stefani “Zone”
- Outer V/Lower Lash line – Urban Decay Gwen Stefani “Punk”
- Eyelid – Urban Decay Gwen Stefani “Blonde”
- Waterline – MAC Chromagraphic eyeliner NC30
- Winged liner – Kanebo Kate Super Sharp eyeliner
- Mascara – NARS “Audicious” mascara
- Falsies – Ardell “Demi Wispies”
- Brows – Anastasia Brow Pomade “Medium Brown”
Face
- Base – Bobbi Brown “Vitamin Enriched Face Base”
- Foundation – Shu Uemura Skin:Fit foundation
- Concealer – NARS Radiant Creamy Concealer “Custard”
- Setting powder – Laura Mercier “Invisible Loose Powder”
- Nose contour – Make Up Store “Smog” Micro Eyeshadow
Cheeks
- Blush – Eve Pearl “Bronzing Trio”
Lips
- Lip pencil – MAC “Brick” lip pencil
- Lipstick – MAC “Russian Red” lipstick
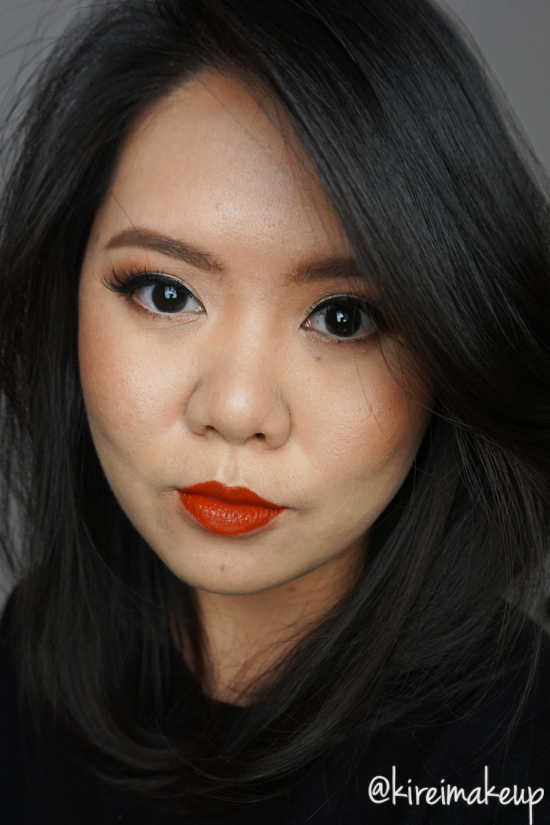
Red Lips with Revlon Fire and Ice
Another lips look, as mentioned, but this time I’ve decided to use this gorgeous shade – Revlon Fire and Ice. Apparently, this shade was first launched in the 50s, so of course I have to have it!To find out more about the history of this iconic shade, feel free to read about it in Fire and Ice, and Everything Nice.
The best part about this shade is the fact that it is a neutral red – it has both warm and cool undertone, which makes it the perfect shade for everyone. To be honest, I personally find this shade to be slightly on the brighter side compared to the other red lipsticks that I owned, but I don’t mind it. On myself, the shade looks slightly on the coral side. However, this shade might look different depending on your own skin tone, which I think is great since it’ll be a unique color to each person.
I applied the lipstick without any lip liner, and straight from the tube. I didn’t blot and powder it for this tutorial so you can see its true shade and texture. Revlon Fire and Ice is a super lustrous lipstick, which means it’s slightly more on the creamier side. I don’t find this shade to be drying at all.
Also, if you noticed, I’ve been switching my makeup from eyes to lips lately. I actually rocked a red lip last weekend to attend a friend’s wedding (after doing her makeup and hair). Curious to see which red lips I wore last weekend? Check out my Instagram!
For my eyes, I’m using the Kat Von D Monarch palette. I’ve done a tutorial using this palette before in Kat Von D Monarch Palette makeup tutorial.
How-to:
1. I prepped my eyelids using Urban Decay Primer Potion in Sin.
2. On my crease, I applied Buck from Urban Decay using a fluffy blending brush.
3. Using a small crease brush, I defined my crease a bit more using Shadow Box from Kat Von D Monarch palette.
4. I applied Deadhead from Kat Von D Monarch palette on the outer V using a small shader brush.
5. On the eyelid, I applied Telepathy using a flat eyeshadow brush.
6. I created a winged liner using L’oreal Infallible Gel Lacquer in Blackest Black.
7. I lined my lower lid using L’oreal Voluminous Smoldering eyeliner.
8. On the lower lid, I applied Deadhead on the outer half and Telepathy on the inner corner.
9. I also lightly dust Entomology from the Kat Von D palette on the inner corner of my eyes.
10. I curled my lashes and appied Ardell demi wispies falsies.
11. On my brows, I applied Anastasia Brow Wiz in Medium Ash.
12. For my face, I applied MUFE HD Foundation in 120.
13. I contoured my face using Cover FX N110 cream foundation.
14. On my cheeks, I applied NARS Mata Hari.
15. On my lips, I applied Revlon Fire and Ice lipstick.
Easy Red Lips Holiday Makeup
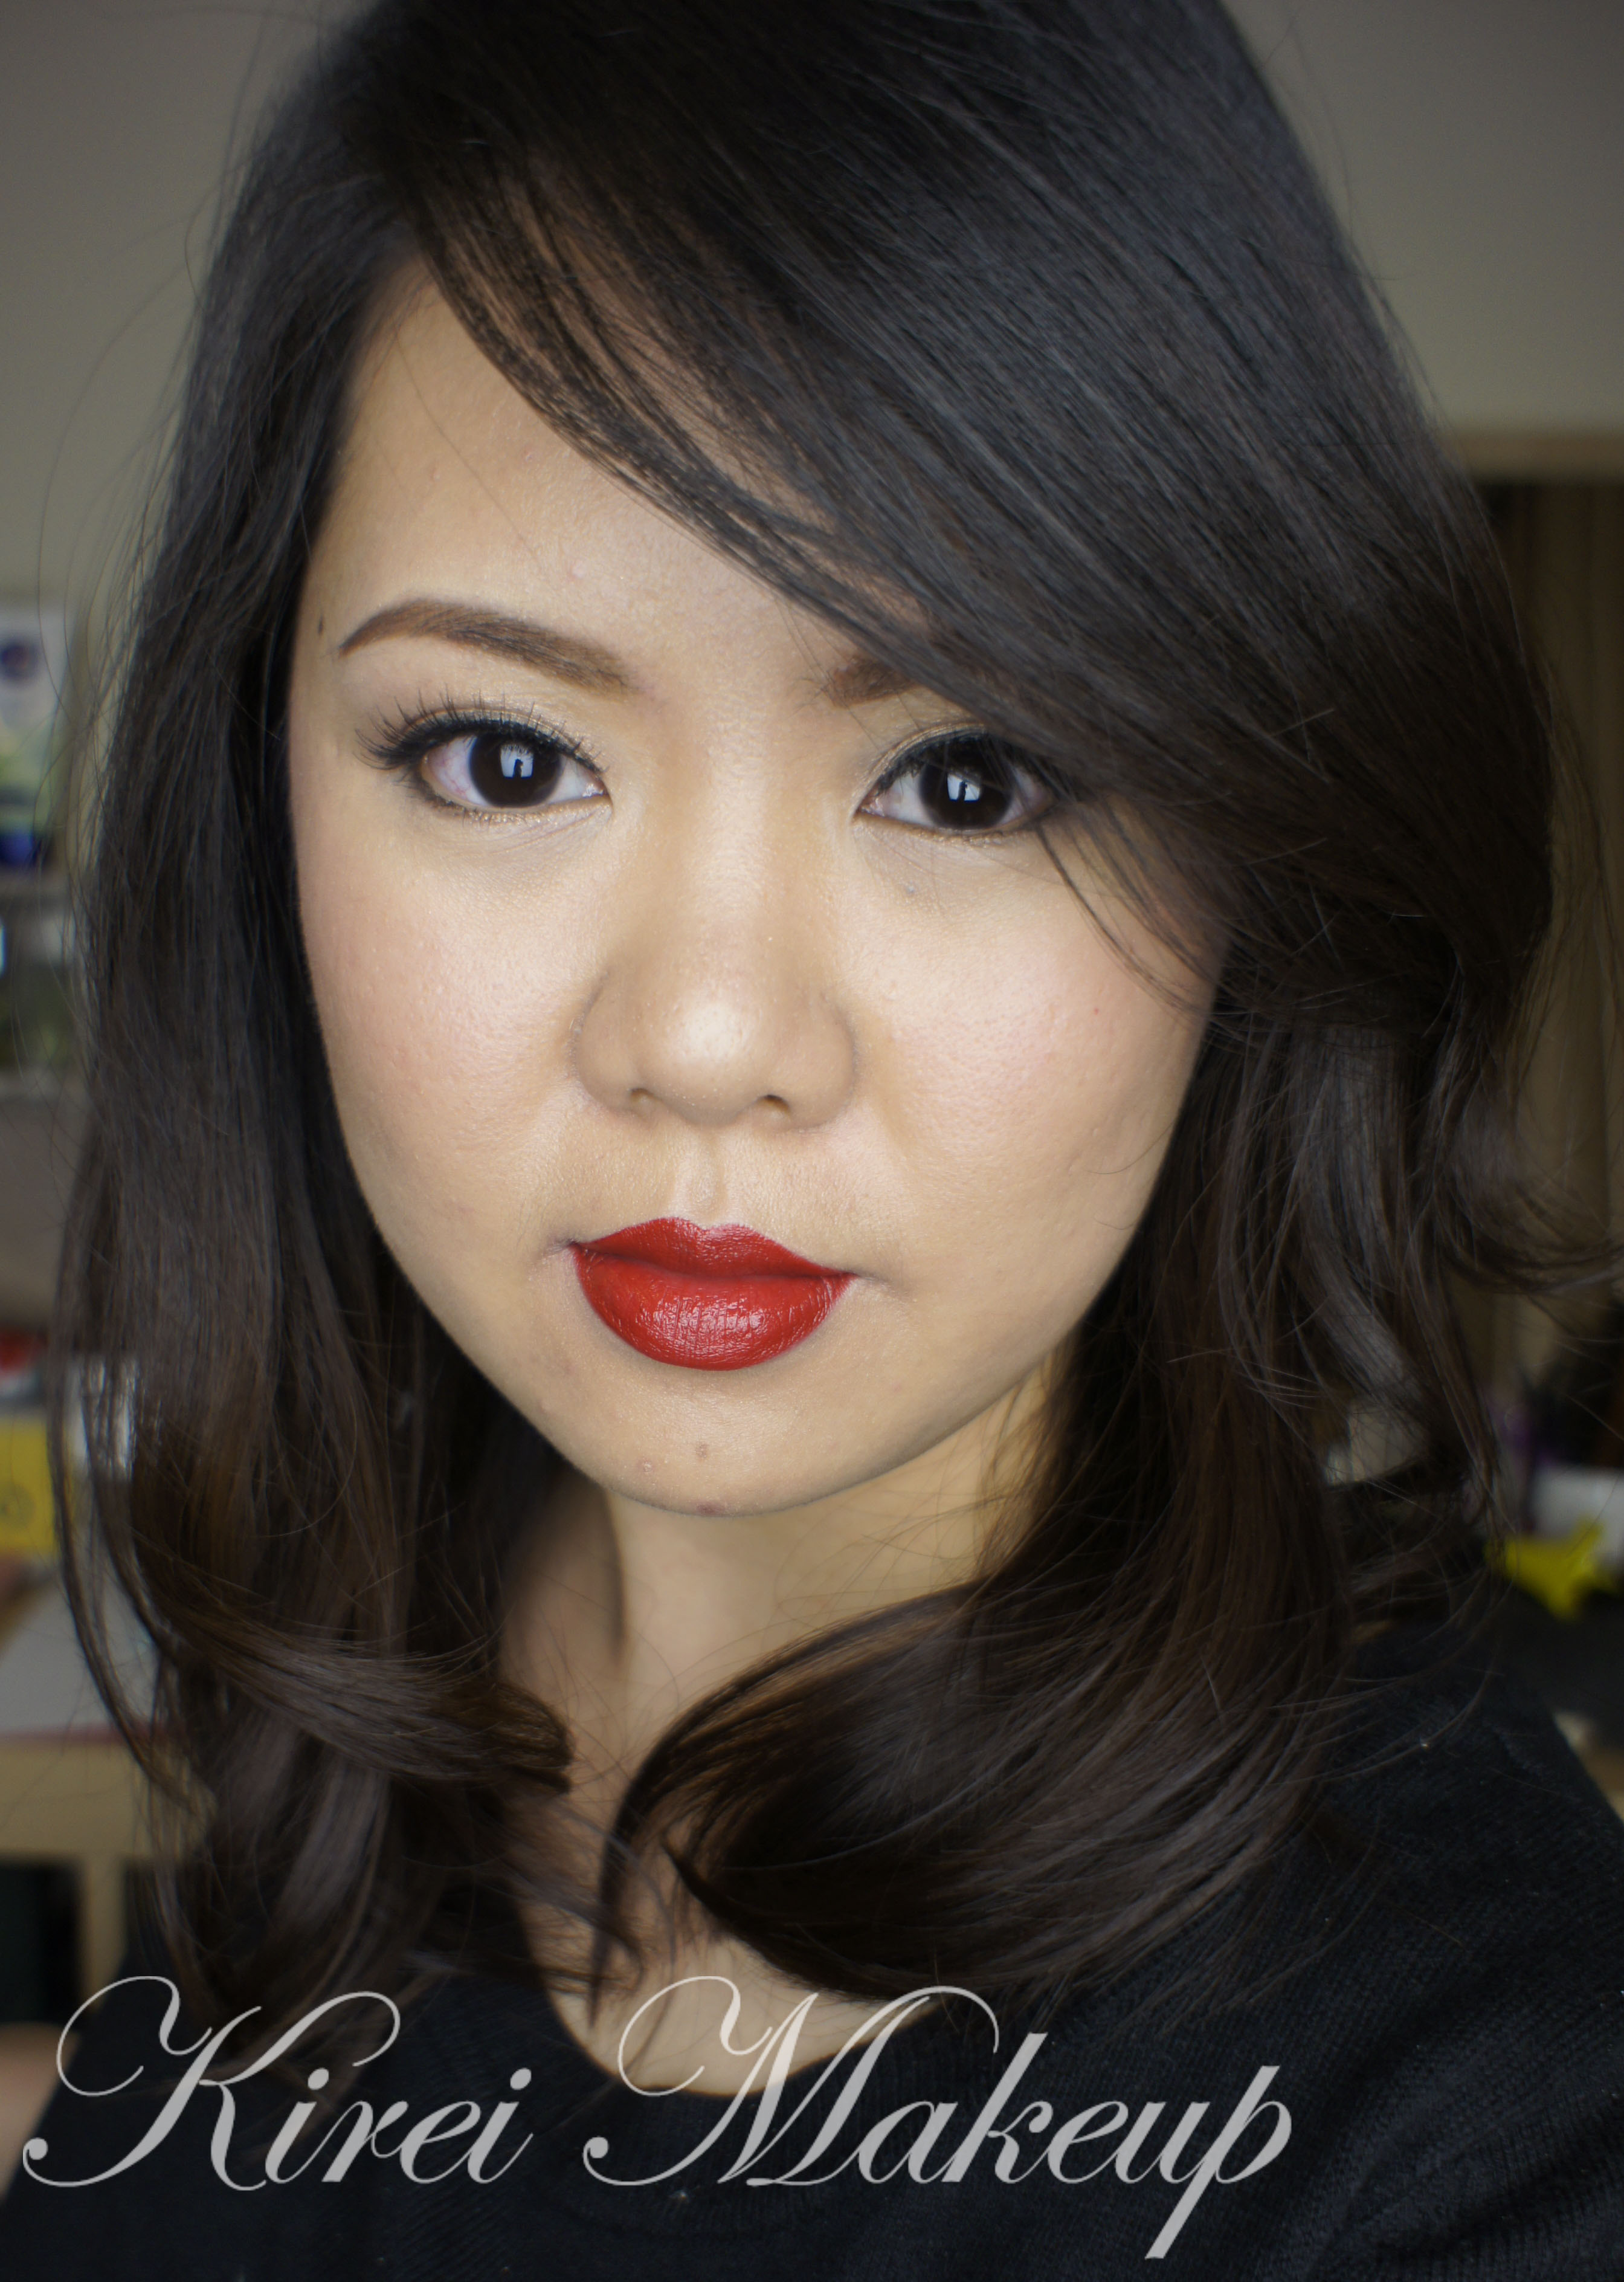
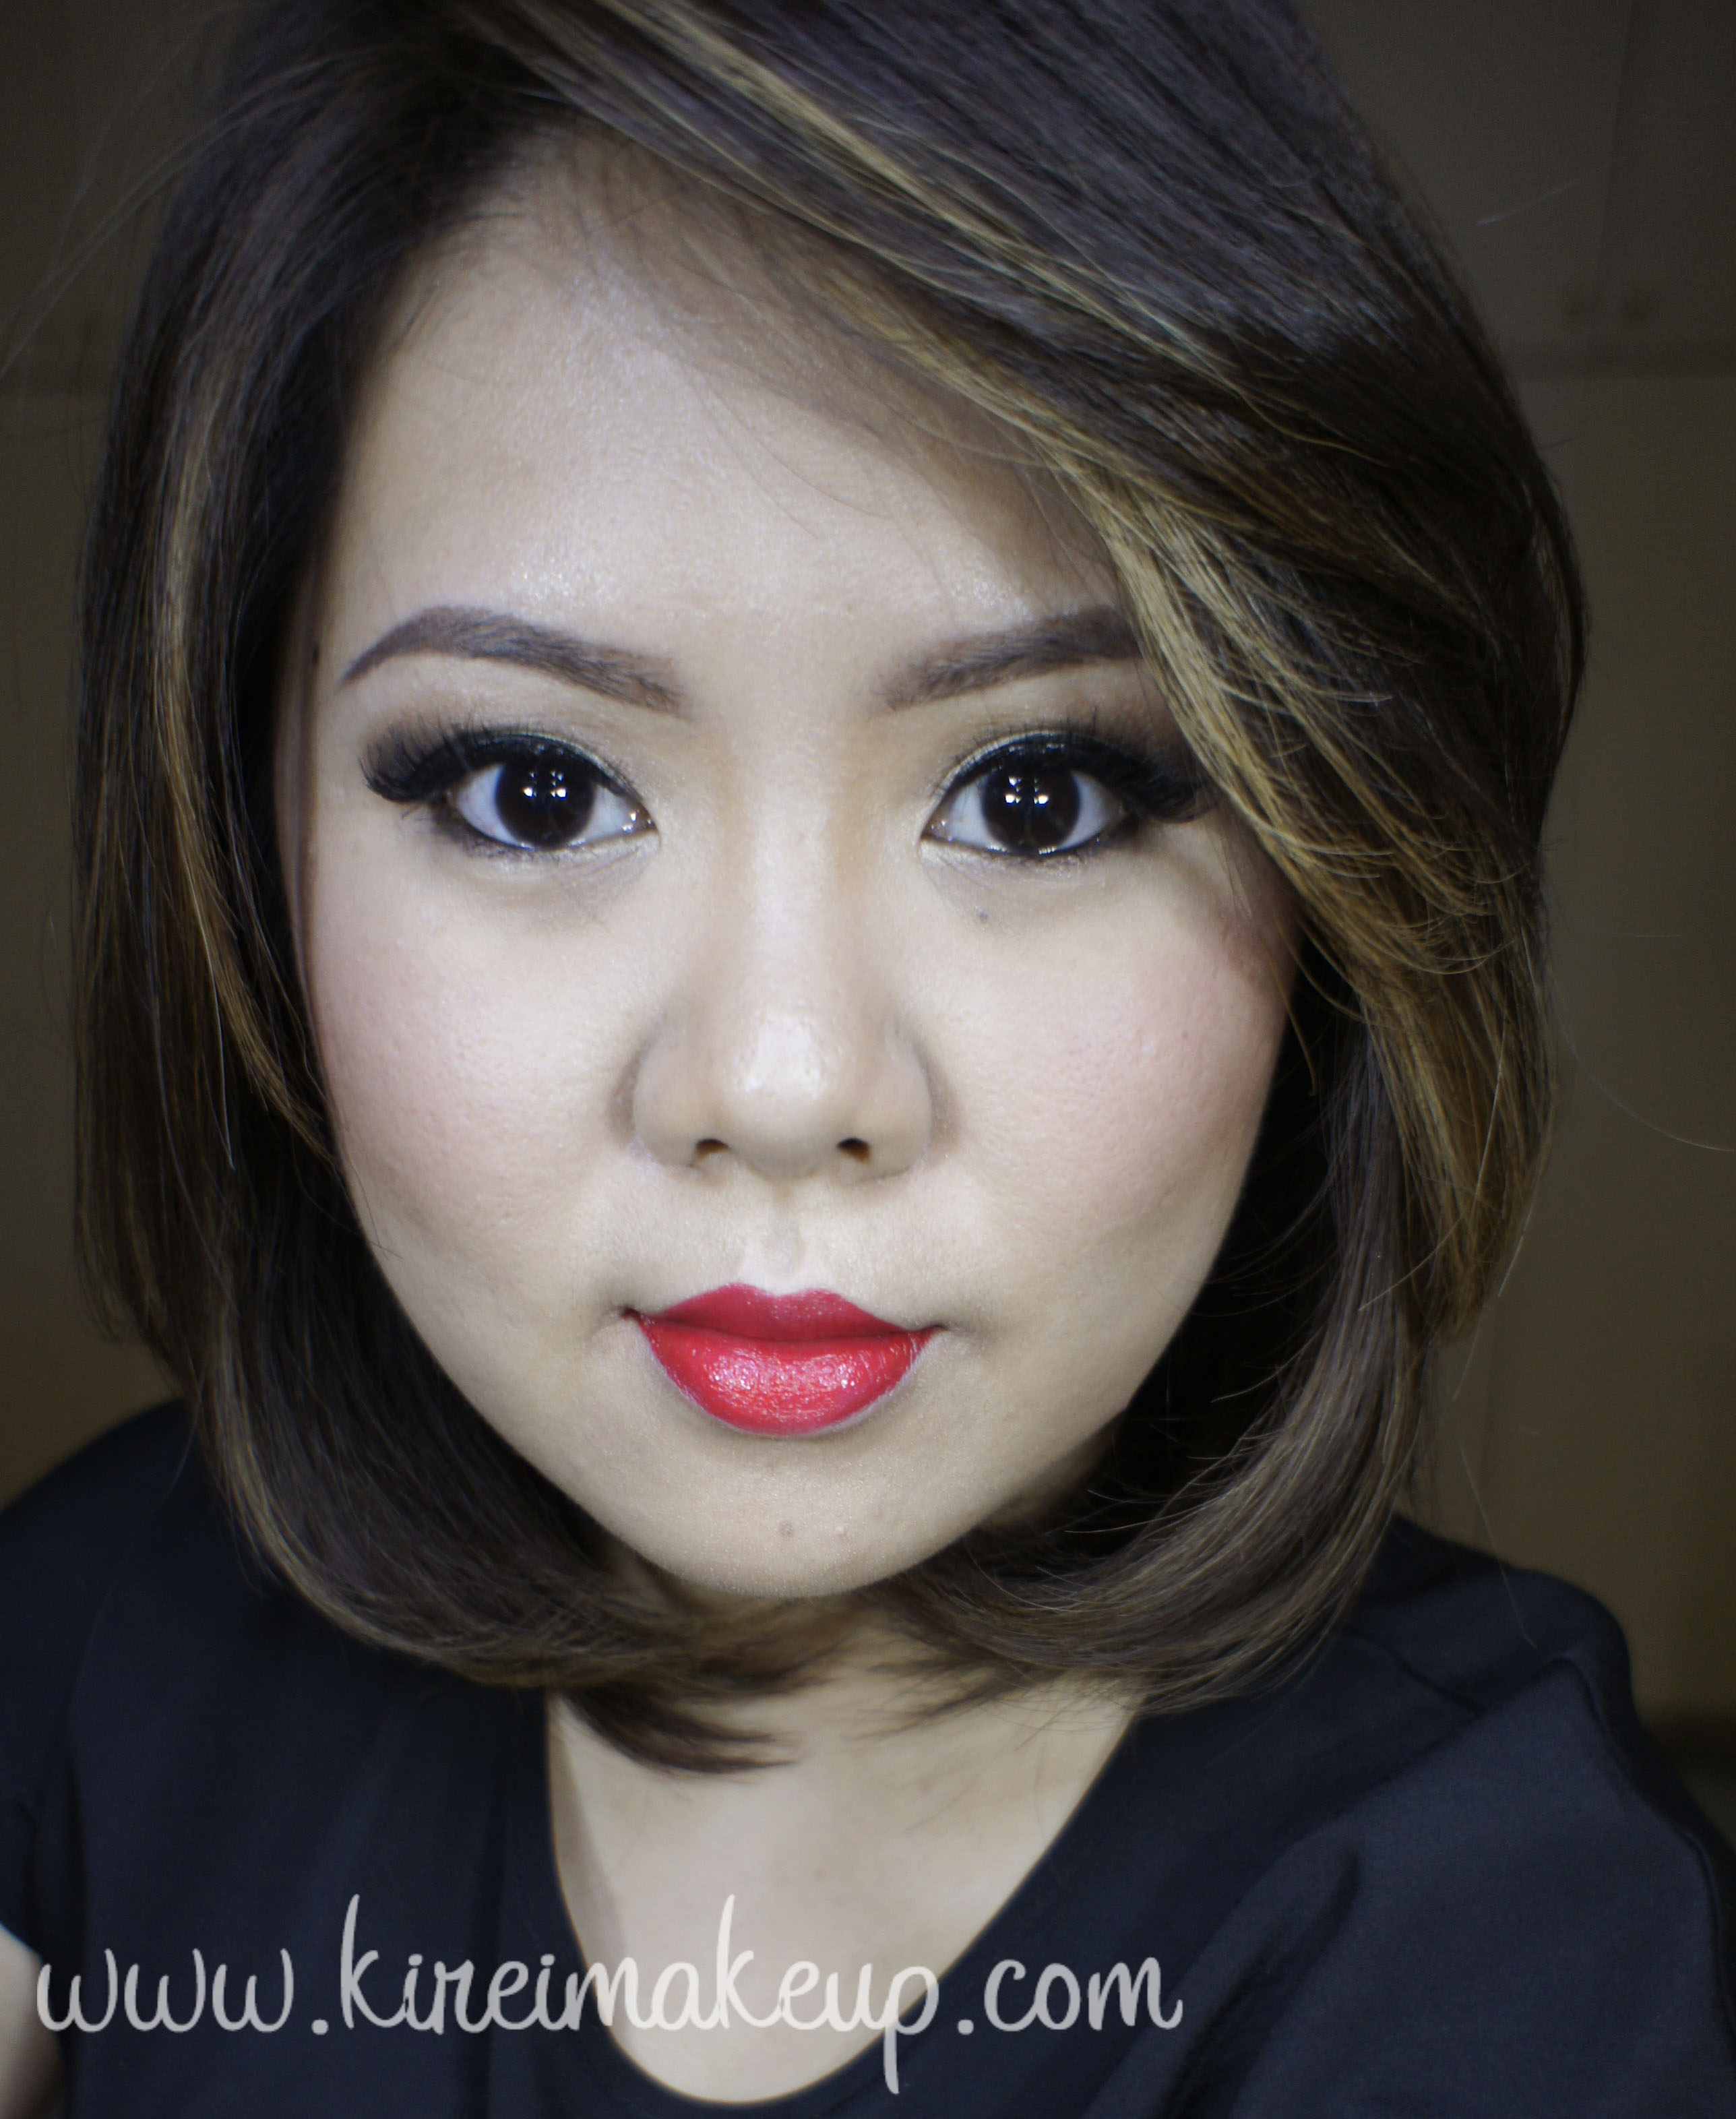
Hi ya’ll!!!! As the holiday is fast approaching, I want to do at least 1 red lips tutorial before Christmas comes around. This is such easy red lips holiday makeup look! The eyes are very simple, and the lips are in a shade of a beautiful red. Not too bright, not too dark. This is a very nice makeup for brides who are going for the red lips look.
I added an extra touch of false eyelashes just because I want the eyes to look even bigger and more dolled-up. After all, it is a holiday makeup!
if you want to find out how I apply and create long-lasting lips, please check my “How-to apply [red] lipstick” tutorial. On the full-face picture, the lips look a bit bright, but that’s because of the light that I use for this tutorial. The lips are actually slightly darker than the picture. It’s a very nice warm brown-red.
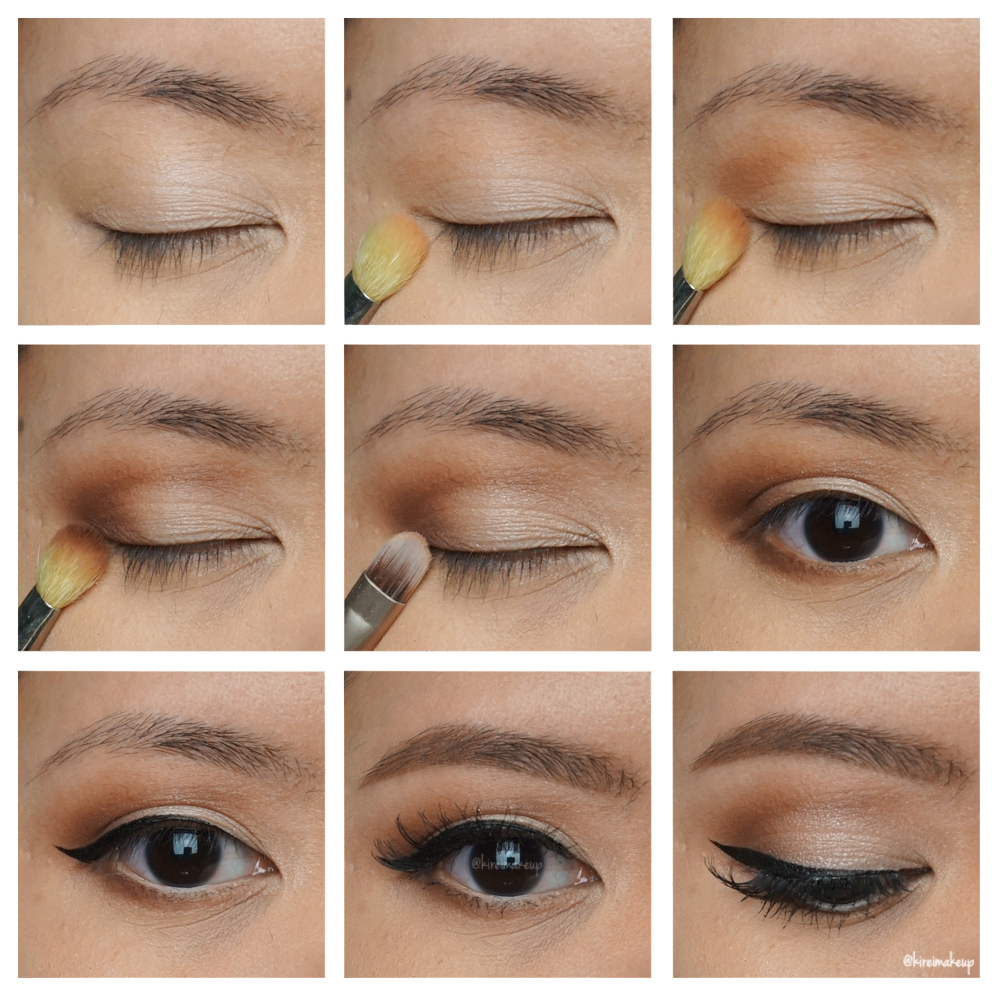
How-to:
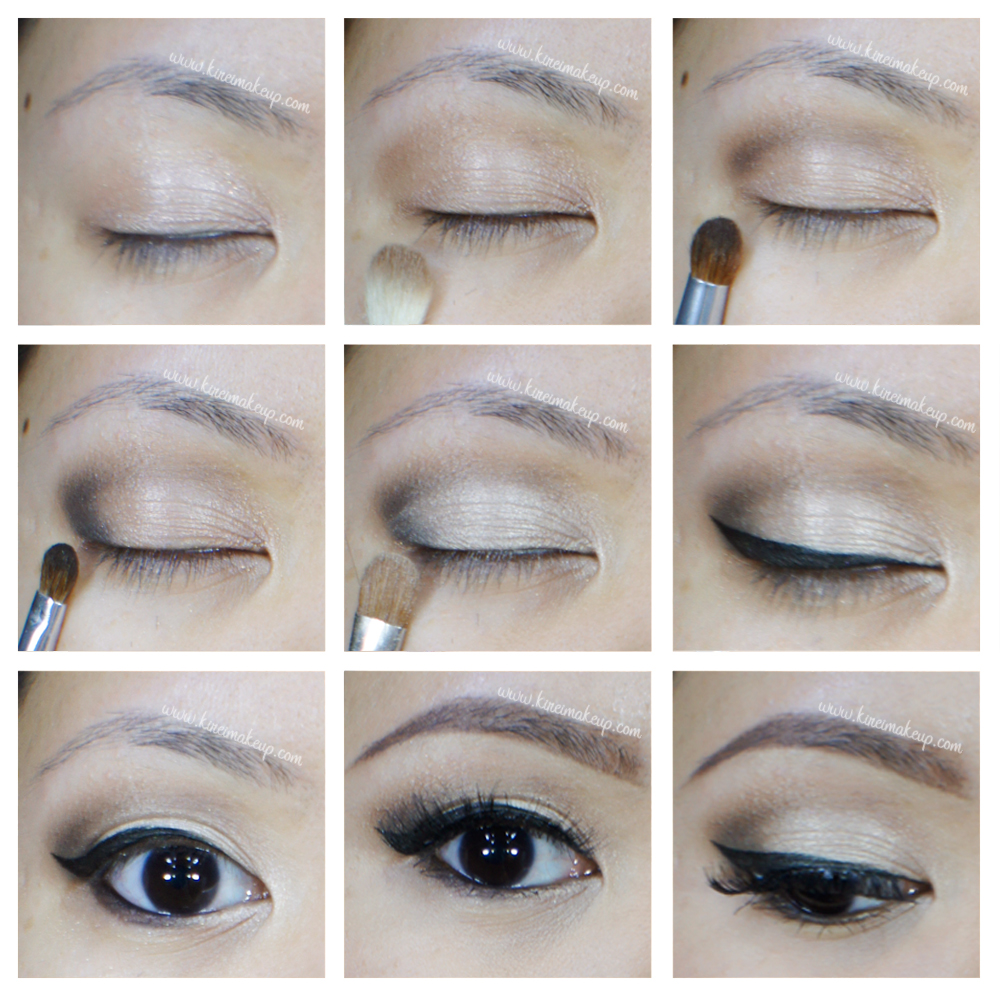
1. I applied MAC Patina eyeshadow all over my eyelid using a flat eyeshadow brush.
2. Using another clean flat eyeshadow brush, I applied MAC Woodwinked on the center of the lid.
3. I applied MAC Patina eyeshadow on the outer half of my lower lid, and MAC Woodwinked on the inner half using an angled eyeliner brush.
4. I created a very small feline flick using a black eyeshadow and an angled eyeliner brush.
5. Using the same eyeshadow and brush as step 4, I lightly lined the outer corner of my lower lash line.
6. I applied MAC Chromagraphic eyeliner pencil in NC30 on the waterline.
7. I applied Anastasia Brow Duo Powder in Brunette on my eyebrows.
8. Next, I curled and applied Clinique High Impact mascara on both top and bottom lashes.
9. Then, I applied Ardell false eyelashes in 109 on the upper lash line.

10. I applied L’oreal Magique Lumi foundation in W3 all over my face using CoverFX cream foundation brush.
11. Using a small concealer brush, I applied a very light coat of foundation on my lips.
12. Then, I lined and filled my lips using MAC Brick lip liner.
13. I also filled my lips using MAC Dare You lipstick using a rounded lip brush.
*for futher tutorial on how I make the lipstick last, please check my how-to apply [red] lipstick tutorial*
14. Using MUFE HD concealer, I concealed my dark under eyes.
15. I powdered my face using CoverFX translucent powder.
16. I slightly contoured and highlight my face using Smashbox contour/highlight trio palette.
17. I applied NARS Mata Hari blush on my cheeks.
18. My hair was set using Caruso Steam Rollers.