I wrote a bunch of stuff for this Holiday Makeup post, and when I tried to save it as my draft, I lost my post! I’m so mad!!! Uggh!!! Anyways, I’m so tired and busy that I don’t have the energy to re-write what I already lost. I do apologize, but I’m going to keep this post short and simple. Please watch the tutorial for explanation and read more below for product info.
Tag: asian smokey eyes
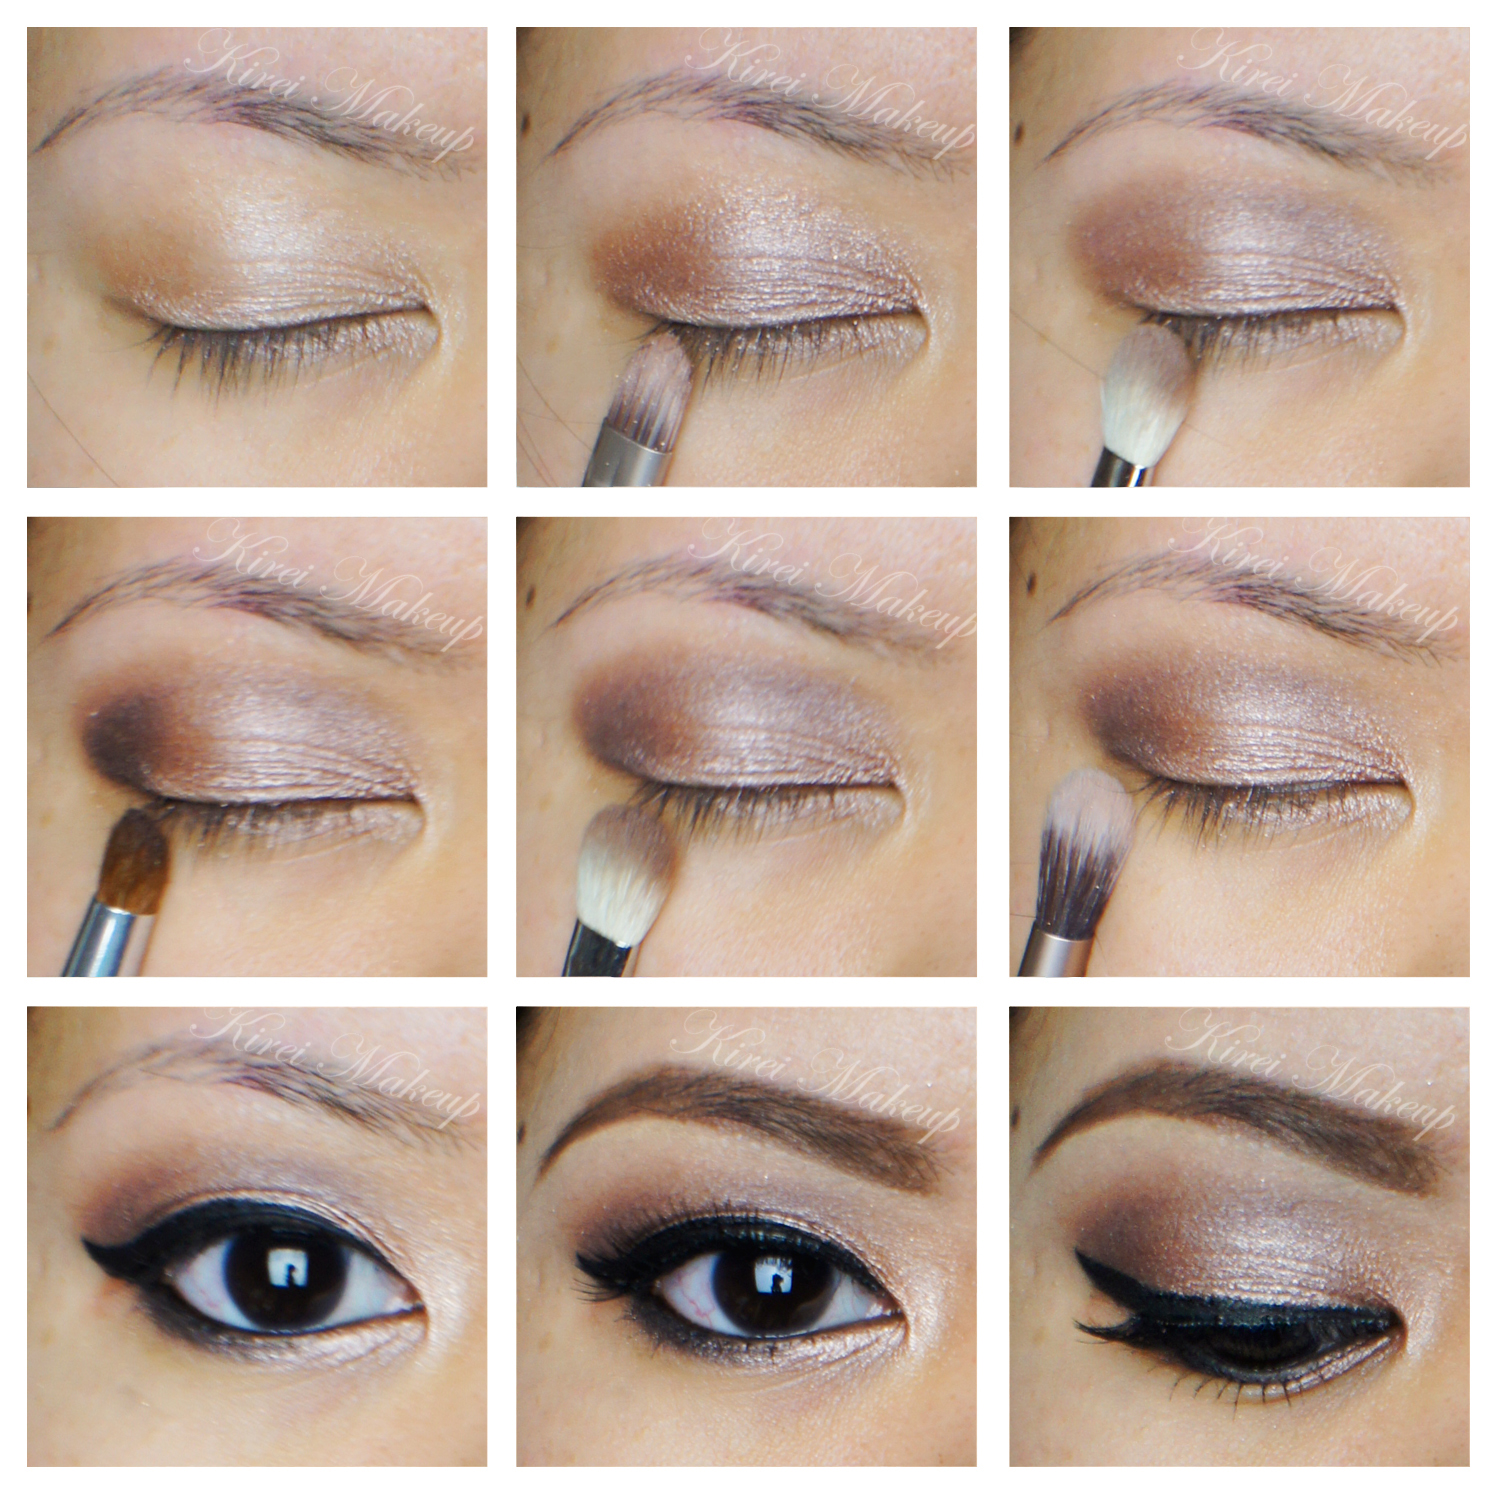
Daytime Brown Smoky Eyes ft. UD Naked Smoky
Today’s Daytime Brown Smoky Eyes makeup tutorial is a requested look by a good friend of mine, and she wanted me to create a look based on the Urban Decay Naked Smoky palette. So, I created this easy to follow brown smoky eyes tutorial for her. This look is simple and very wearable during the day. If you prefer to wear this for a daytime makeup, you can skip the falsies. If you want to wear this for a night look, you can make the smoky eyes even darker by applying Black Market on the outer V and crease.
Kat Von D Monarch Palette Tutorial – Smokey
I am back! Sorry for missing for a week, guys! I’m actually in Canada right now, so I had to deal with jet lag and weather change, actually I got sick for a while due to the change in weather. Anyways, I did a tutorial before I left, but didn’t have the chance to post it. Here’s another Kat Von D Monarch Palette tutorial! If you don’t already know, this palette is like my favorite! I have done other tutorials using the same palette, but this is like the smokiest of them all! I think I might go grab some more Kat Von D products, any recommendation?
Also, I received a few products from L’oreal Paris Indonesia, which I’ll share with you guys on the next post. Out of all the products, I was only able to bring the lipsticks with me. One of the lipsticks was the JLo signature lip color, which I used on this tutorial. I don’t love how it ends up, I think it’s too pale, I prefer a bit more color on my lips. Nevertheless, I thought I wanted to share with you guys how it looks. I’m not a big fan of super pale nude lips, so this is definitely not my favorite lipstick.
Anyways, let’s get on the pictorials. All products listed below! Don’t forget to check out my other Kat Von D Monarch palette looks!

Eyes
- Primer – Urban Decay Primer Potion (original)
- Eyeshadow – Kat Von D Monarch Palette (base: Entomology, crease/lower lash line: Wrath, outer V: Shadow Box, eyelid/lower lash line: Deadhead)
- Eyeliner/waterline/tightline – L’oreal Voluminous Smoldering eyeliner
- Mascara – Maybelline Express Volume Turbo Boost
- Eyebrows – Anastasia Brow Wiz in Taupe and Brunette
Face
- Foundation – Make Up For Ever HD Foundation
- Corrector – Bobbi Brown Peach corrector
- Concealer – MAC Pro Longwear concealer
- Powder – NARS Setting powder
Cheeks
- Bronzer – Chanel Universal bronzer
- Cheeks – Benefit Hervana
- Highlighter – The Balm Mary Lou Manizer
Lips
- Lipstick – L’oreal Collection Star JLo Barely Greige
NARS Mekong Smoky Eyes (NARSissist palette)
Who doesn’t love a good smoky eyes? I sure do! I’m sure my friend, Finency, loves it too! She showed me this picture on Instagram, and it showed a smoky eyes using NARS Mekong eyeshadow. I love how simple, easy, and definitely I’ll wear this for a night out.
I skipped the whole false lashes so this look is more grungy, and more me. I don’t usually wear falsies, so this really stay true to how I’d wear my smoky eyes. I also filled my brows without shaping it using any concealer. Again, just want to stay true to how I usually do my makeup. As I said, it’s very simple and quick. No fuss, sexy, and sultry. I like my makeup to be as simple as possible. This is just how I prefer to do my makeup, but if you like more of a glam look you can take a look at my other tutorials under smoky eyes.
For this tutorial, I used NARS eyeshadows from the NARSississt palette. I’ve done tutorials, and review of this palette. Please feel free to check them out.
How-to:
1. I prepped my eyelids by applying a cream-base eyeshadow. I used Smashbox limitless 15-hour cream shadow in Stone.
2. Using a flat eyeshadow brush, I applied NARS Mekong eyeshadow all over my eyelid. The camera didn’t pick it up, but there’s lots of gorgeous golden flecks on my lids.
3. Using a fluffy blending brush, I applied NARS Madrague I on the crease to diffuse the color out.
4. I applied NARS Mekong on the lower lash line using a small shader brush.
5. I lined my waterline, tightline, and upper lash line using L’oreal Voluminous Smoldering eyeliner.
6. Using an angled eyebrow brush, I applied NARS Pandora II along the upper lash line. I kind of winged mine a little, but you don’t have to.
7. I filled my brows using Anastasia Brow Wiz in Medium Ash.
8. I curled my lashes and applied MUFE Aqua Smoky Lash mascara on both upper and bottom lashes.
9. On my face, I applied Smashbox Liquid Halo Foundation using CoverFX cream foundation brush.
10. I highlighted (under my eyes, bridge of my nose, cupid’s bow, chin, & forehead) my face using YSL Touche Eclat.
11. I set my face using Cover FX translucent powder.
12. I lightly contoured my face using Smashbox contour palette.
13. On my cheeks, I applied Chanel Blush de Horizon.
14. I filled my lips using MAC Spice lip liner, and Clinique Heaping Hazelnut Chubby Stick lip balm.
Products used
Eyes – Smashbox limitless 15-hour cream shadow in Stone; NARSissist eyeshadow palette (Lid: Mekong, crease: Madrague I, liner: Pandora II); Anastasia Brow Wiz in Medium Ash; MUFE Aqua Smoky Lash mascara
Face – Smashbox Liquid Halo foundation; YSL Touche Eclat; Cover FX Translucent Powder; Smashbox contour powder; Chanel Blush de Horizon
Lips – MAC Spice lip pencil; Clinique Heaping Hazelnut chubby stick
Smokey Eyes using NARSissist Eyeshadow Palette
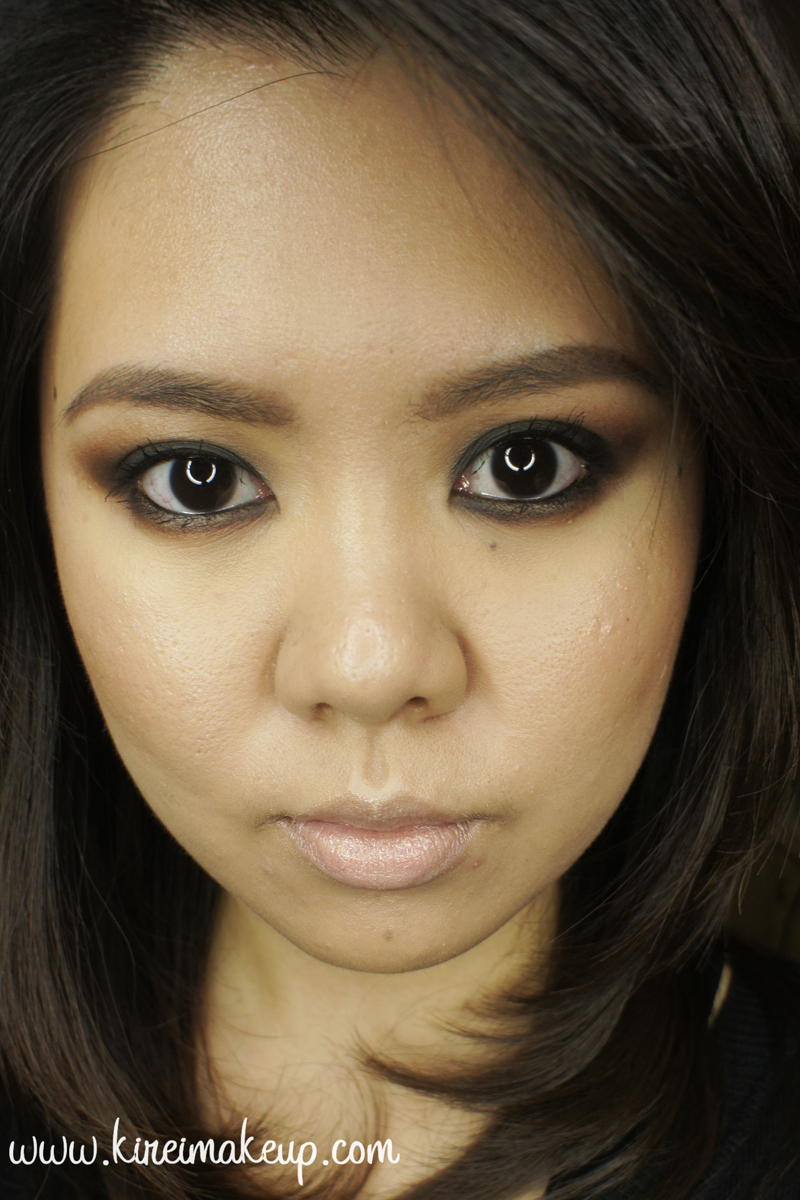
Alright, as promised, a tutorial using NARSissist Eyeshadow Palette! Also, don’t forget to check out my NARSissist eyeshadow palette review if you haven’t! For today’s tutorial I wanted to create a smoky eyes, because let’s face it, who doesn’t love a good smoky eye makeup, eh?!
My favorite type of smoky eye is one where it’s really dark around the lash line area, and it smokes out to grey and then to nothingness. I also like to keep the brows pretty natural looking since the eyes are so strong, and the rest of the face is simple and easy. For this tutorial, I added a dark purple on the lower lash line, to make it slightly chic and to compliment my eye color (purple looks great on any eye colors!).
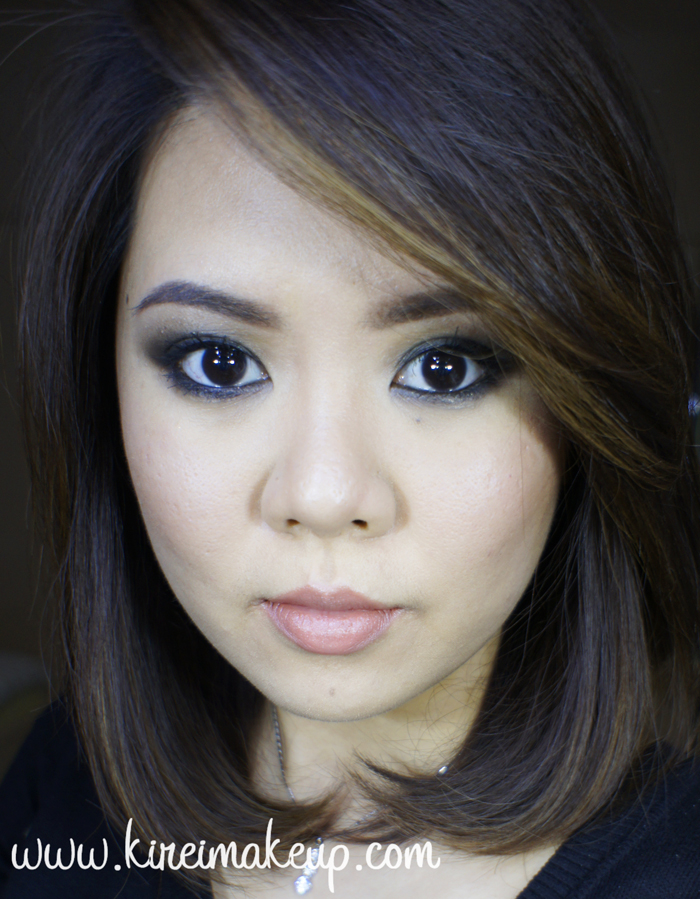
About the lighting – since my lights are not with me (I’m in Jamaica at the moment), I do take all my pictures with natural daylight. As you can see on the final picture, this look is very light with emphasize on the eyes. I want to show you that you can still rock that dark smoky eyes with very minimal face makeup.
Personally, I don’t like wearing a lot of makeup – aka heavy contouring, heavy foundation, drawn in eyebrows. Not that there’s anything wrong with heavy makeup (which I do too for tutorials, and for special occasions). So I hope this type of tutorial will work for those who have similar preference like me.

Scroll all the way down if you want to skip the tutorial, and only interested in getting the list of products used.
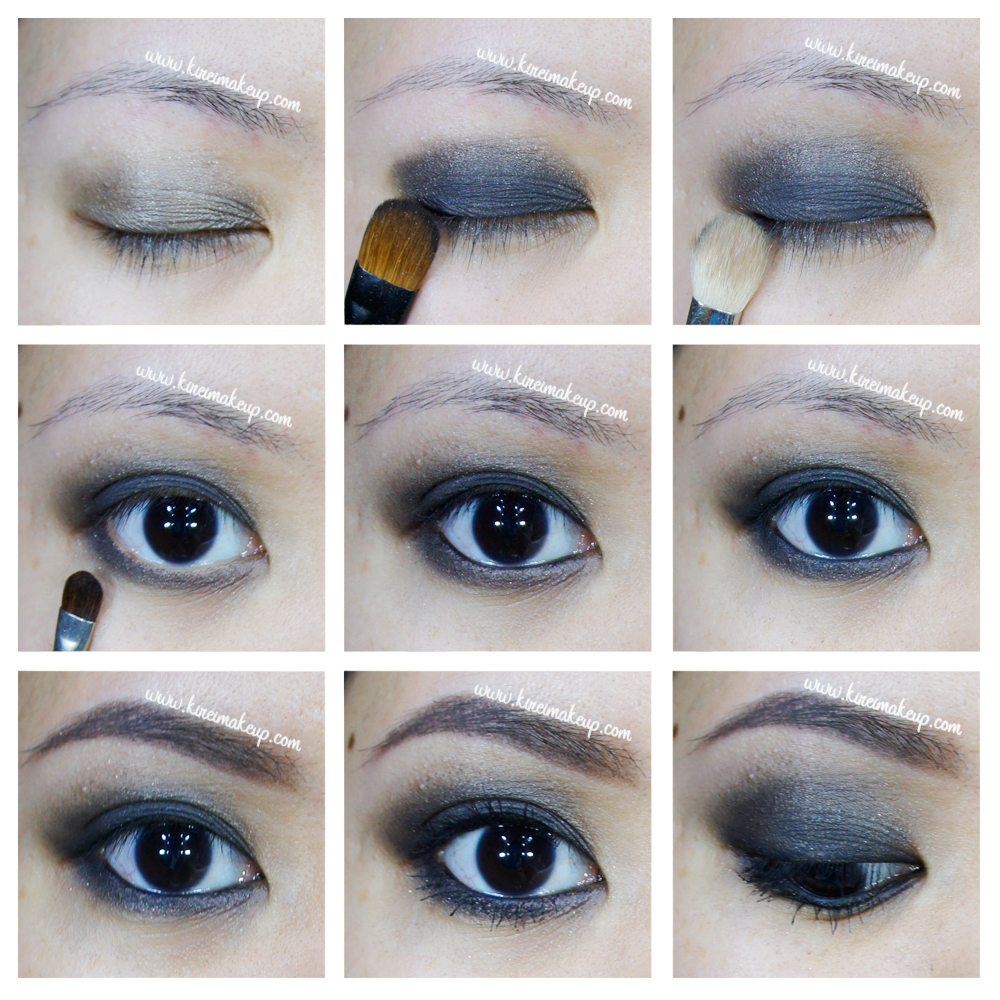
How-to:
1. I applied L’oreal Voluminous Smoldering eyeliner on my upper and lower lash lines, as well as waterline. Don’t worry if it is messy!
2. Using a flat eyeshadow brush, I applied NARS Dogon II all over my eyelid. Don’t go all the way to the crease, stop it just below the crease.
3. Using a shader brush, I applied NARS Bad Behavior on the crease.
4. I applied NARS Madrague II as a transition color (just slightly above the crease) using a Smashbox Bullet Crease brush.
5. On the lower lid, I applied NARS Brousse II using the tip of a flat eyeshadow brush.
6. Using a small shader brush, I applied Madrague I on the inner corner of the lid just to brighten up my eyes a little bit.
7. I created a winged liner along the upper lash line using Kanebo Kate Super Sharp eyeliner (optional).
8. I curled my lashes, and applied Make Up For Ever Smoky Extravagant mascara on both upper and lower lashes.
9. I filled my brows very lightly using Anastasia Brow Wiz in Ash Blonde and Brunette.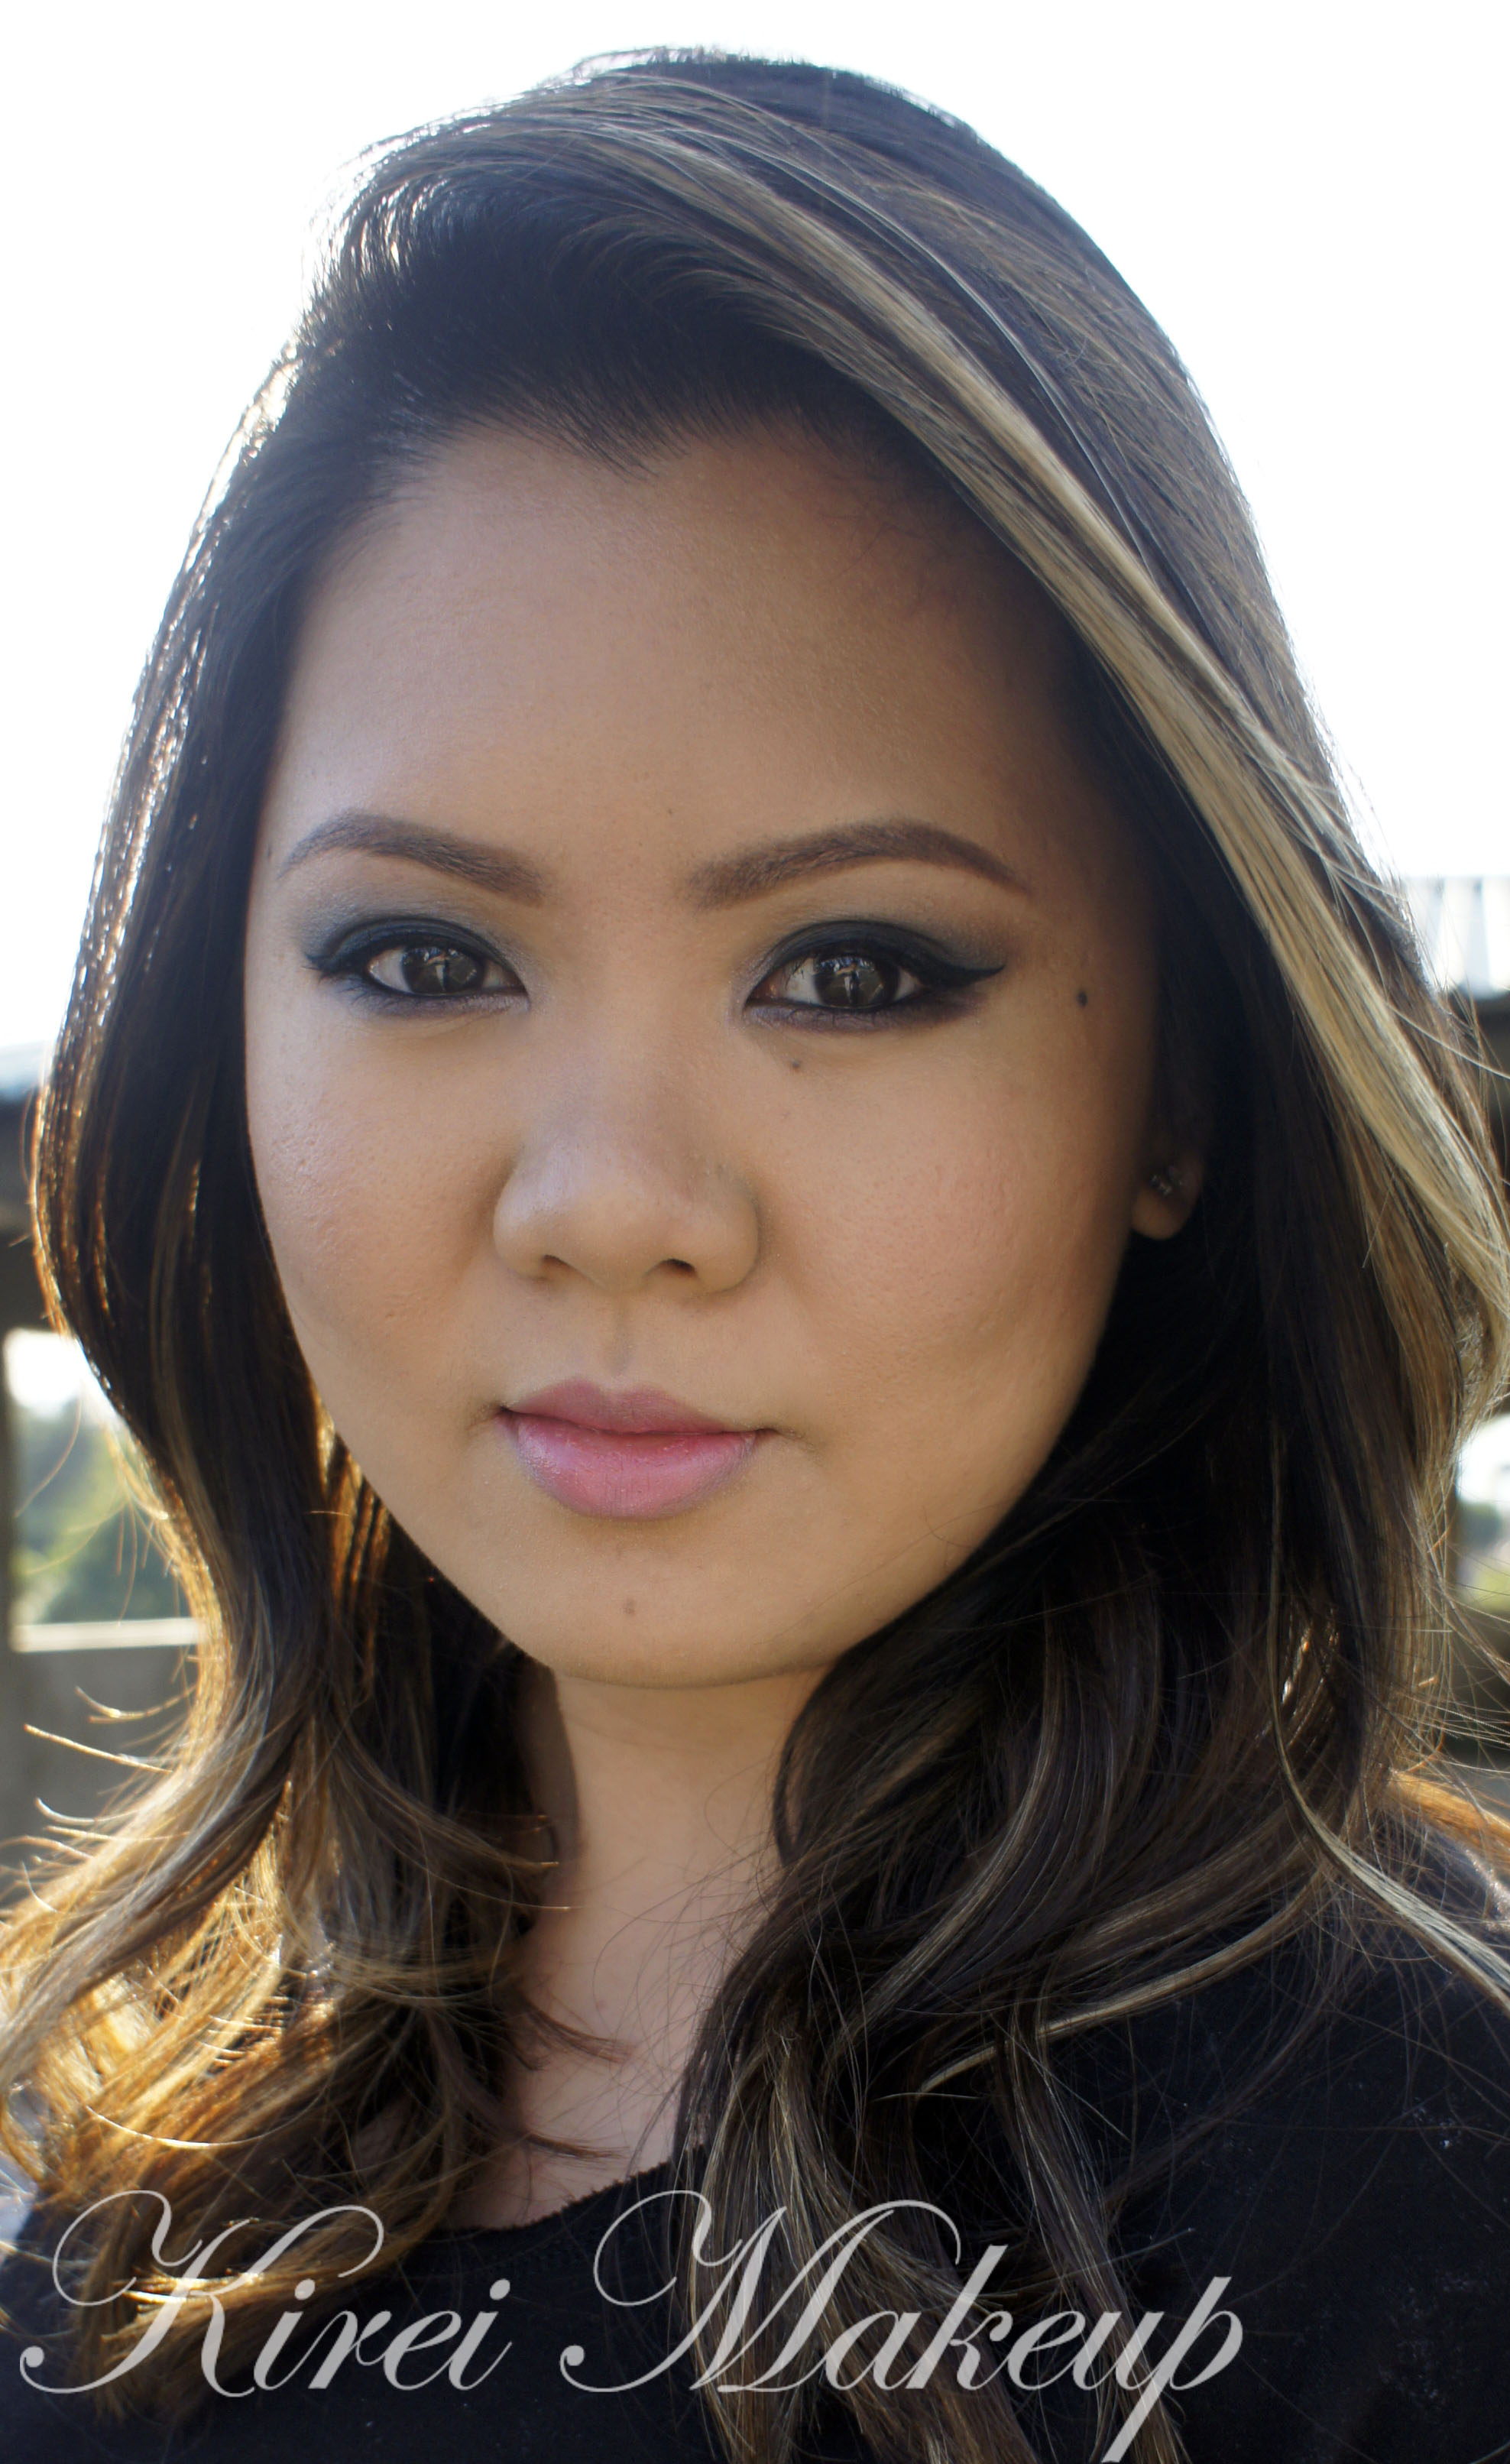
10. On my face, I applied Smashbox Halo foundation using Sigma Round Kabuki Brush.
11. I lightly contoured my face using MAC Blunt.
12. On the cheeks, I applied MAC Dainty.
13. On my lips, I applied Tarte Lipsurgence in Lively.
Products used:
Eyes – NARSisisst eyeshadow palette (Dogon II – eyelid, Bad Behavior – crease, Madrague II – transition, Brousse – lower lid, Madrague I – inner corner); L’oreal Voluminous Smoldering eyeliner; Kanebo Kate Super Sharp eyeliner; MUFE Smoky Extravagant mascara; Anastasia Brow Wiz.
Face – Smashbox Halo foundation; MAC Blunt; MAC Dainty.
Lips – Tarte Lipsurgence.
Disclaimer: clicking on the Sigma link will take you to my Sigma affiliate page. Any purchase you make on Sigma from my website will help in this blog’s maintenance. Rest assured, I only recommend products that I honestly love and use on myself. Thank you for your support!
Soft Smokey Eyes using Urban Decay Naked 2
Happy Lunar New Year, everyone! I hope this year will bring more luck, health, and prosperity for you! Oh, how I miss being home for Lunar New Year, all those yummy food and family gathering together!
Anyways, for this tutorial, I wanted to use my Urban Decay Naked 2 palette to create a soft smokey eyes. Ever since I’ve been using my Naked 3, I felt that the Naked 2 and 1 were being left out in the corner, crying for my attention.
I also wanted to practice some contouring and highlight using my Kryolan HD Foundation palette, and I do have to say the foundation is so creamy and it blends so nicely into the skin. If you don’t like the heavy makeup on this tutorial, feel free to skip the contour/highlight part.
How-to:
1. I applied MUFE Aqua Shadow in 28E all over my lid, blending it out using my finger.
2. Using a flat eyeshadow brush, I applied YDK from UD Naked 2 on my eyelid.
3. Using a fluffy blending brush, I applied Tease from UD Naked 2 on my crease.
4. I applied Busted from UD Naked 2 on the outer V using a crease brush.
5. I blended Busted using the brush I used on step 3.
6. Using a clean blending brush, I applied Foxy from UD Naked 2 under the brow.
7. On my lower lid, I applied Chopper from UD Naked 2 on the inner half and UD Blackout on the outer half.
8. I lightly applied Verve from UD Naked 2 on the inner corner of my eyelid using a clean fluffy blending brush.
9. I created a winged liner using L’oreal Infallible Gel Lacquer Liner in Blackkest Black.
10. I lined my waterline using L’oreal Voluminous Smoldering eyeliner.
11. I curled my lashes and applied Cover Girl Lash Blast mascara on both upper and lower lashes.
12. I applied Gwiyomi false eyelashes (sold in Jakarta, please check my Instagram)
13. I filled my brows using Anastasia Duo Brow Powder.

14. On my face, I applied Urban Decay Naked Skin foundation using a Sigma Round Kabuki Brush.
15. I contoured and highlight my face using Kryolan HD Foundation palette.
16. I applied MAC Fleur Power on my cheeks.
17. For the lips, I applied Revlon Mauve It Over matte lipstick, and dabbed L’occitane clear lip balm on top of it.
Products used:
Eyes – MUFE Aqua Shadow 28 E, UD Naked 2, L’oreal Infallible Gel Lacquer Liner in Blackkest Black, L’oreal Voluminous Smoldering Eyeliner, Cover Girl Lash Blast mascara, Gwiyomi False Eyelashes, Anastasia Brow Powder.
Face – UD Naked Skin foundation, Kryolan HD Foundation palette, MAC Fleur Power blush, Revlon Mauve it Over lipstick, L’Occitane lip balm.