Kat Von D Monarch Palette Tutorial – Smokey

I am back! Sorry for missing for a week, guys! I’m actually in Canada right now, so I had to deal with jet lag and weather change, actually I got sick for a while due to the change in weather. Anyways, I did a tutorial before I left, but didn’t have the chance to post it. Here’s another Kat Von D Monarch Palette tutorial! If you don’t already know, this palette is like my favorite! I have done other tutorials using the same palette, but this is like the smokiest of them all! I think I might go grab some more Kat Von D products, any recommendation?

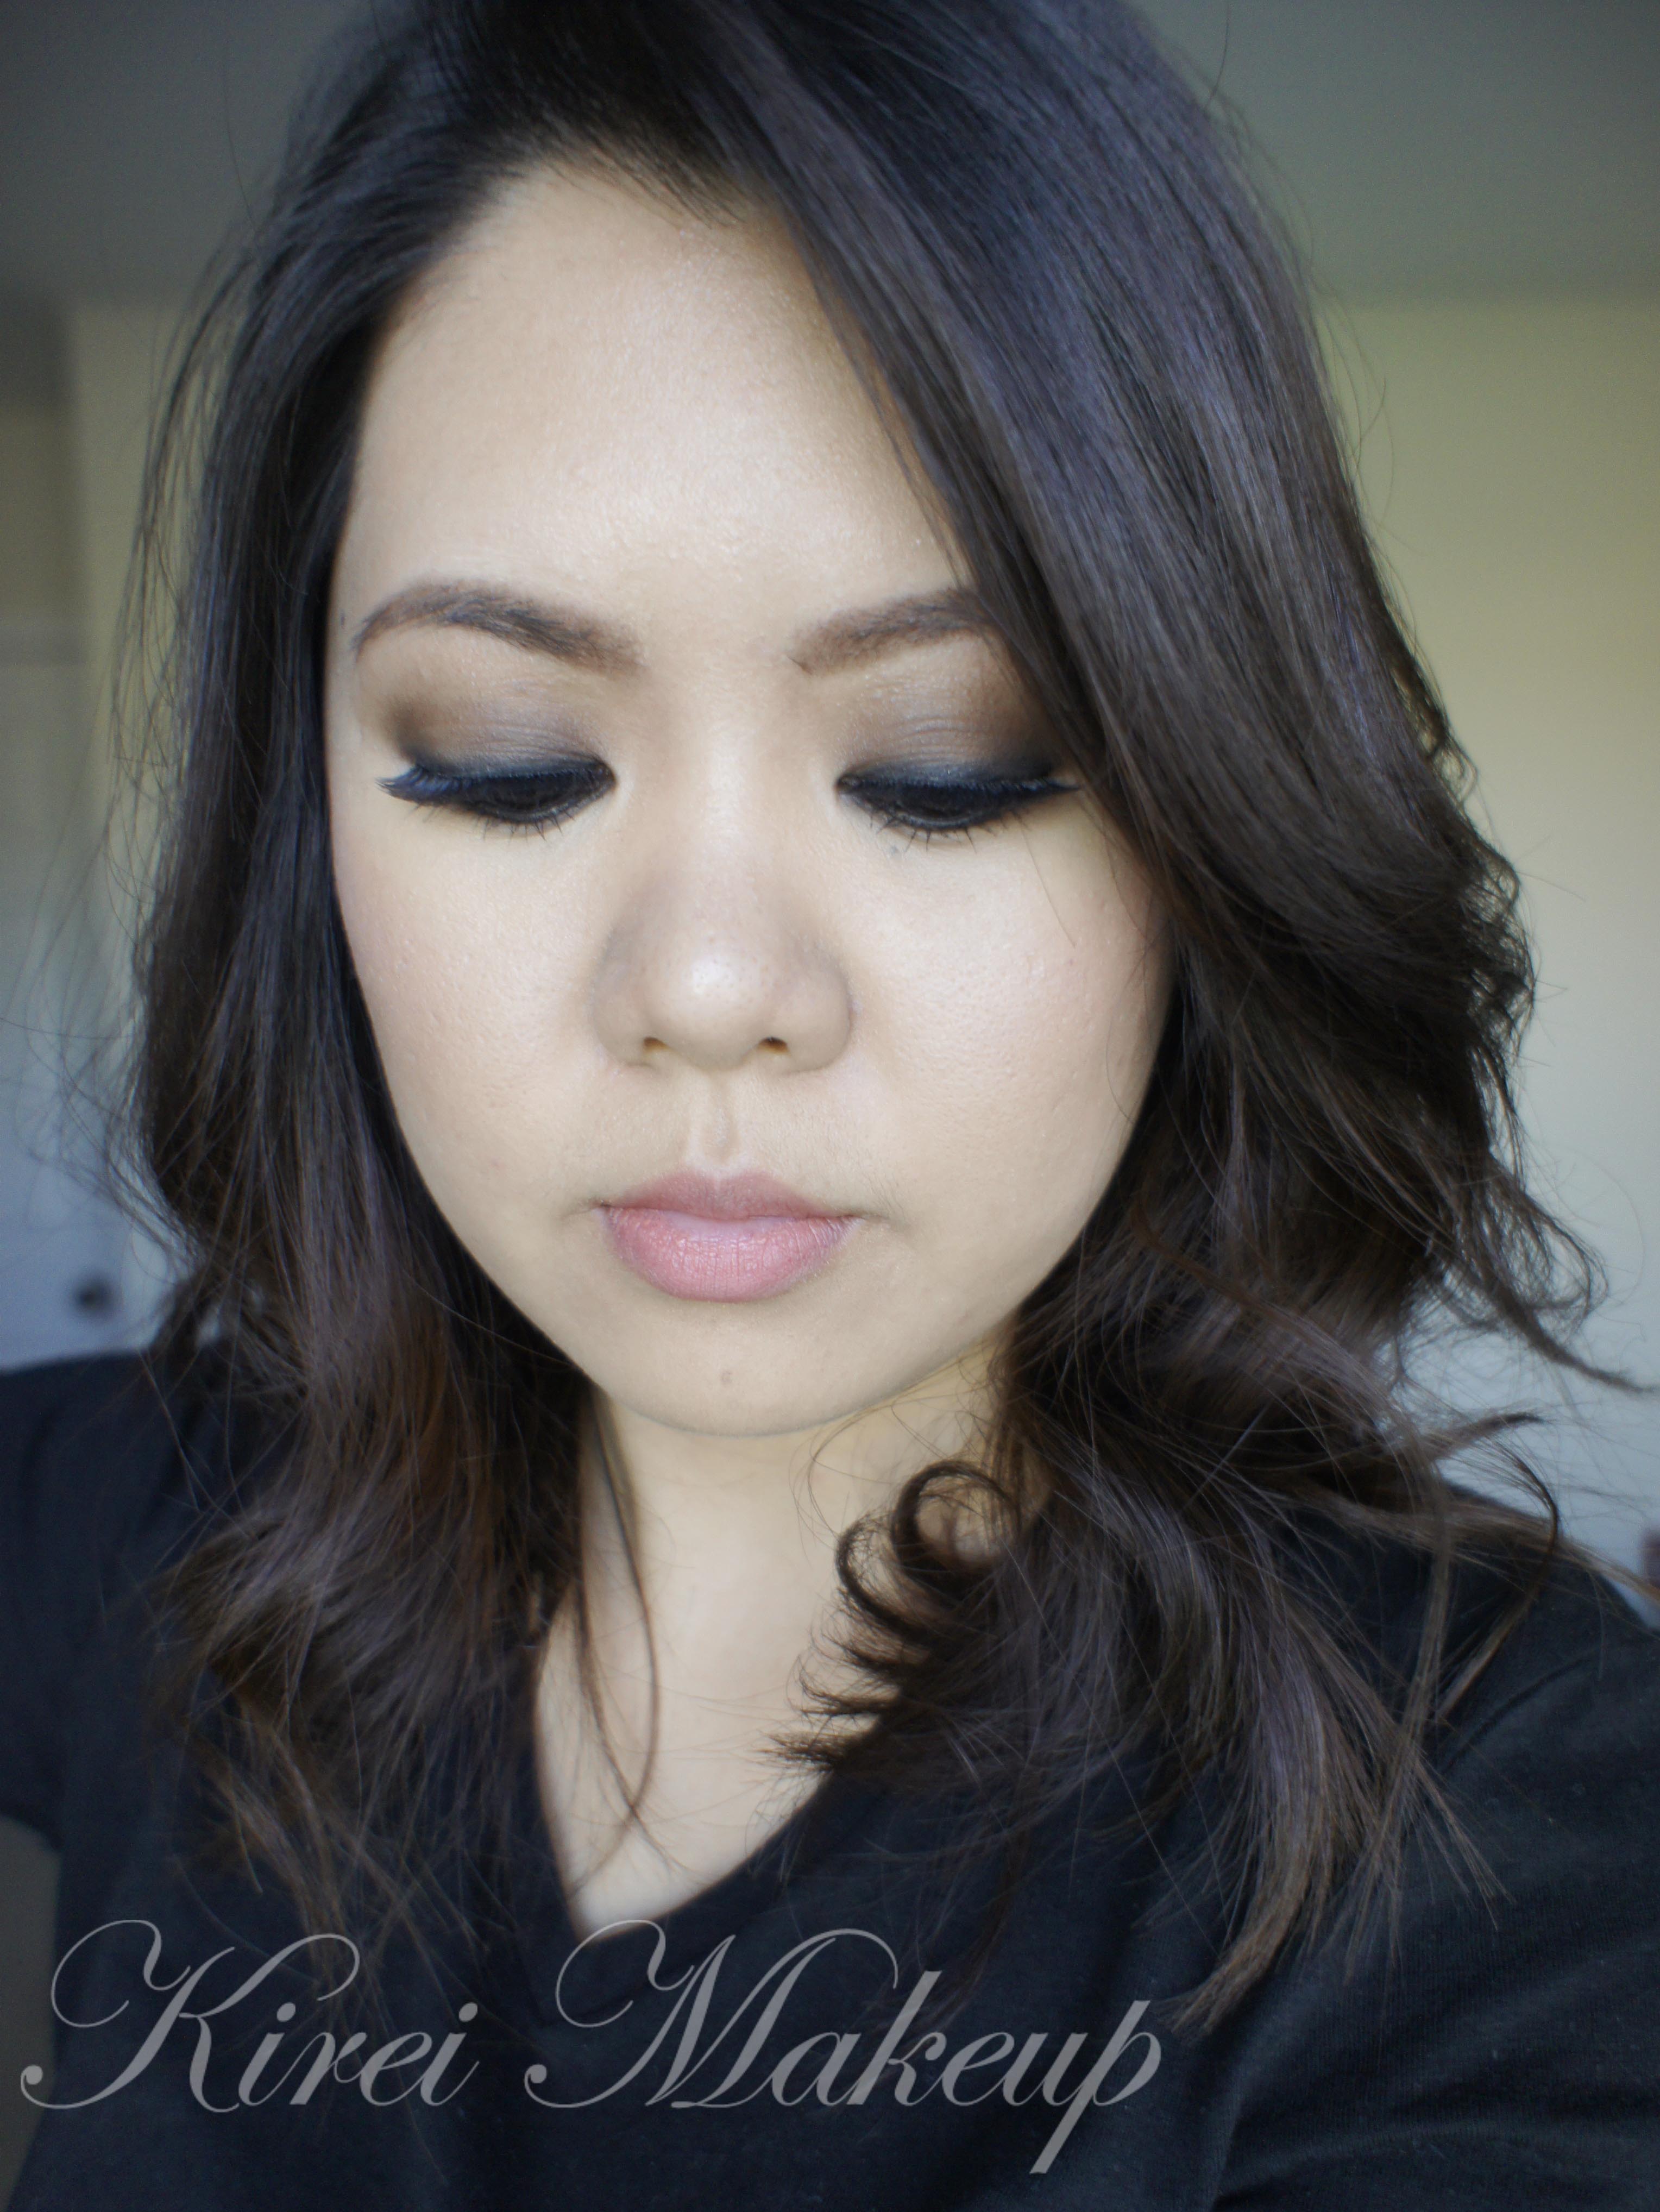
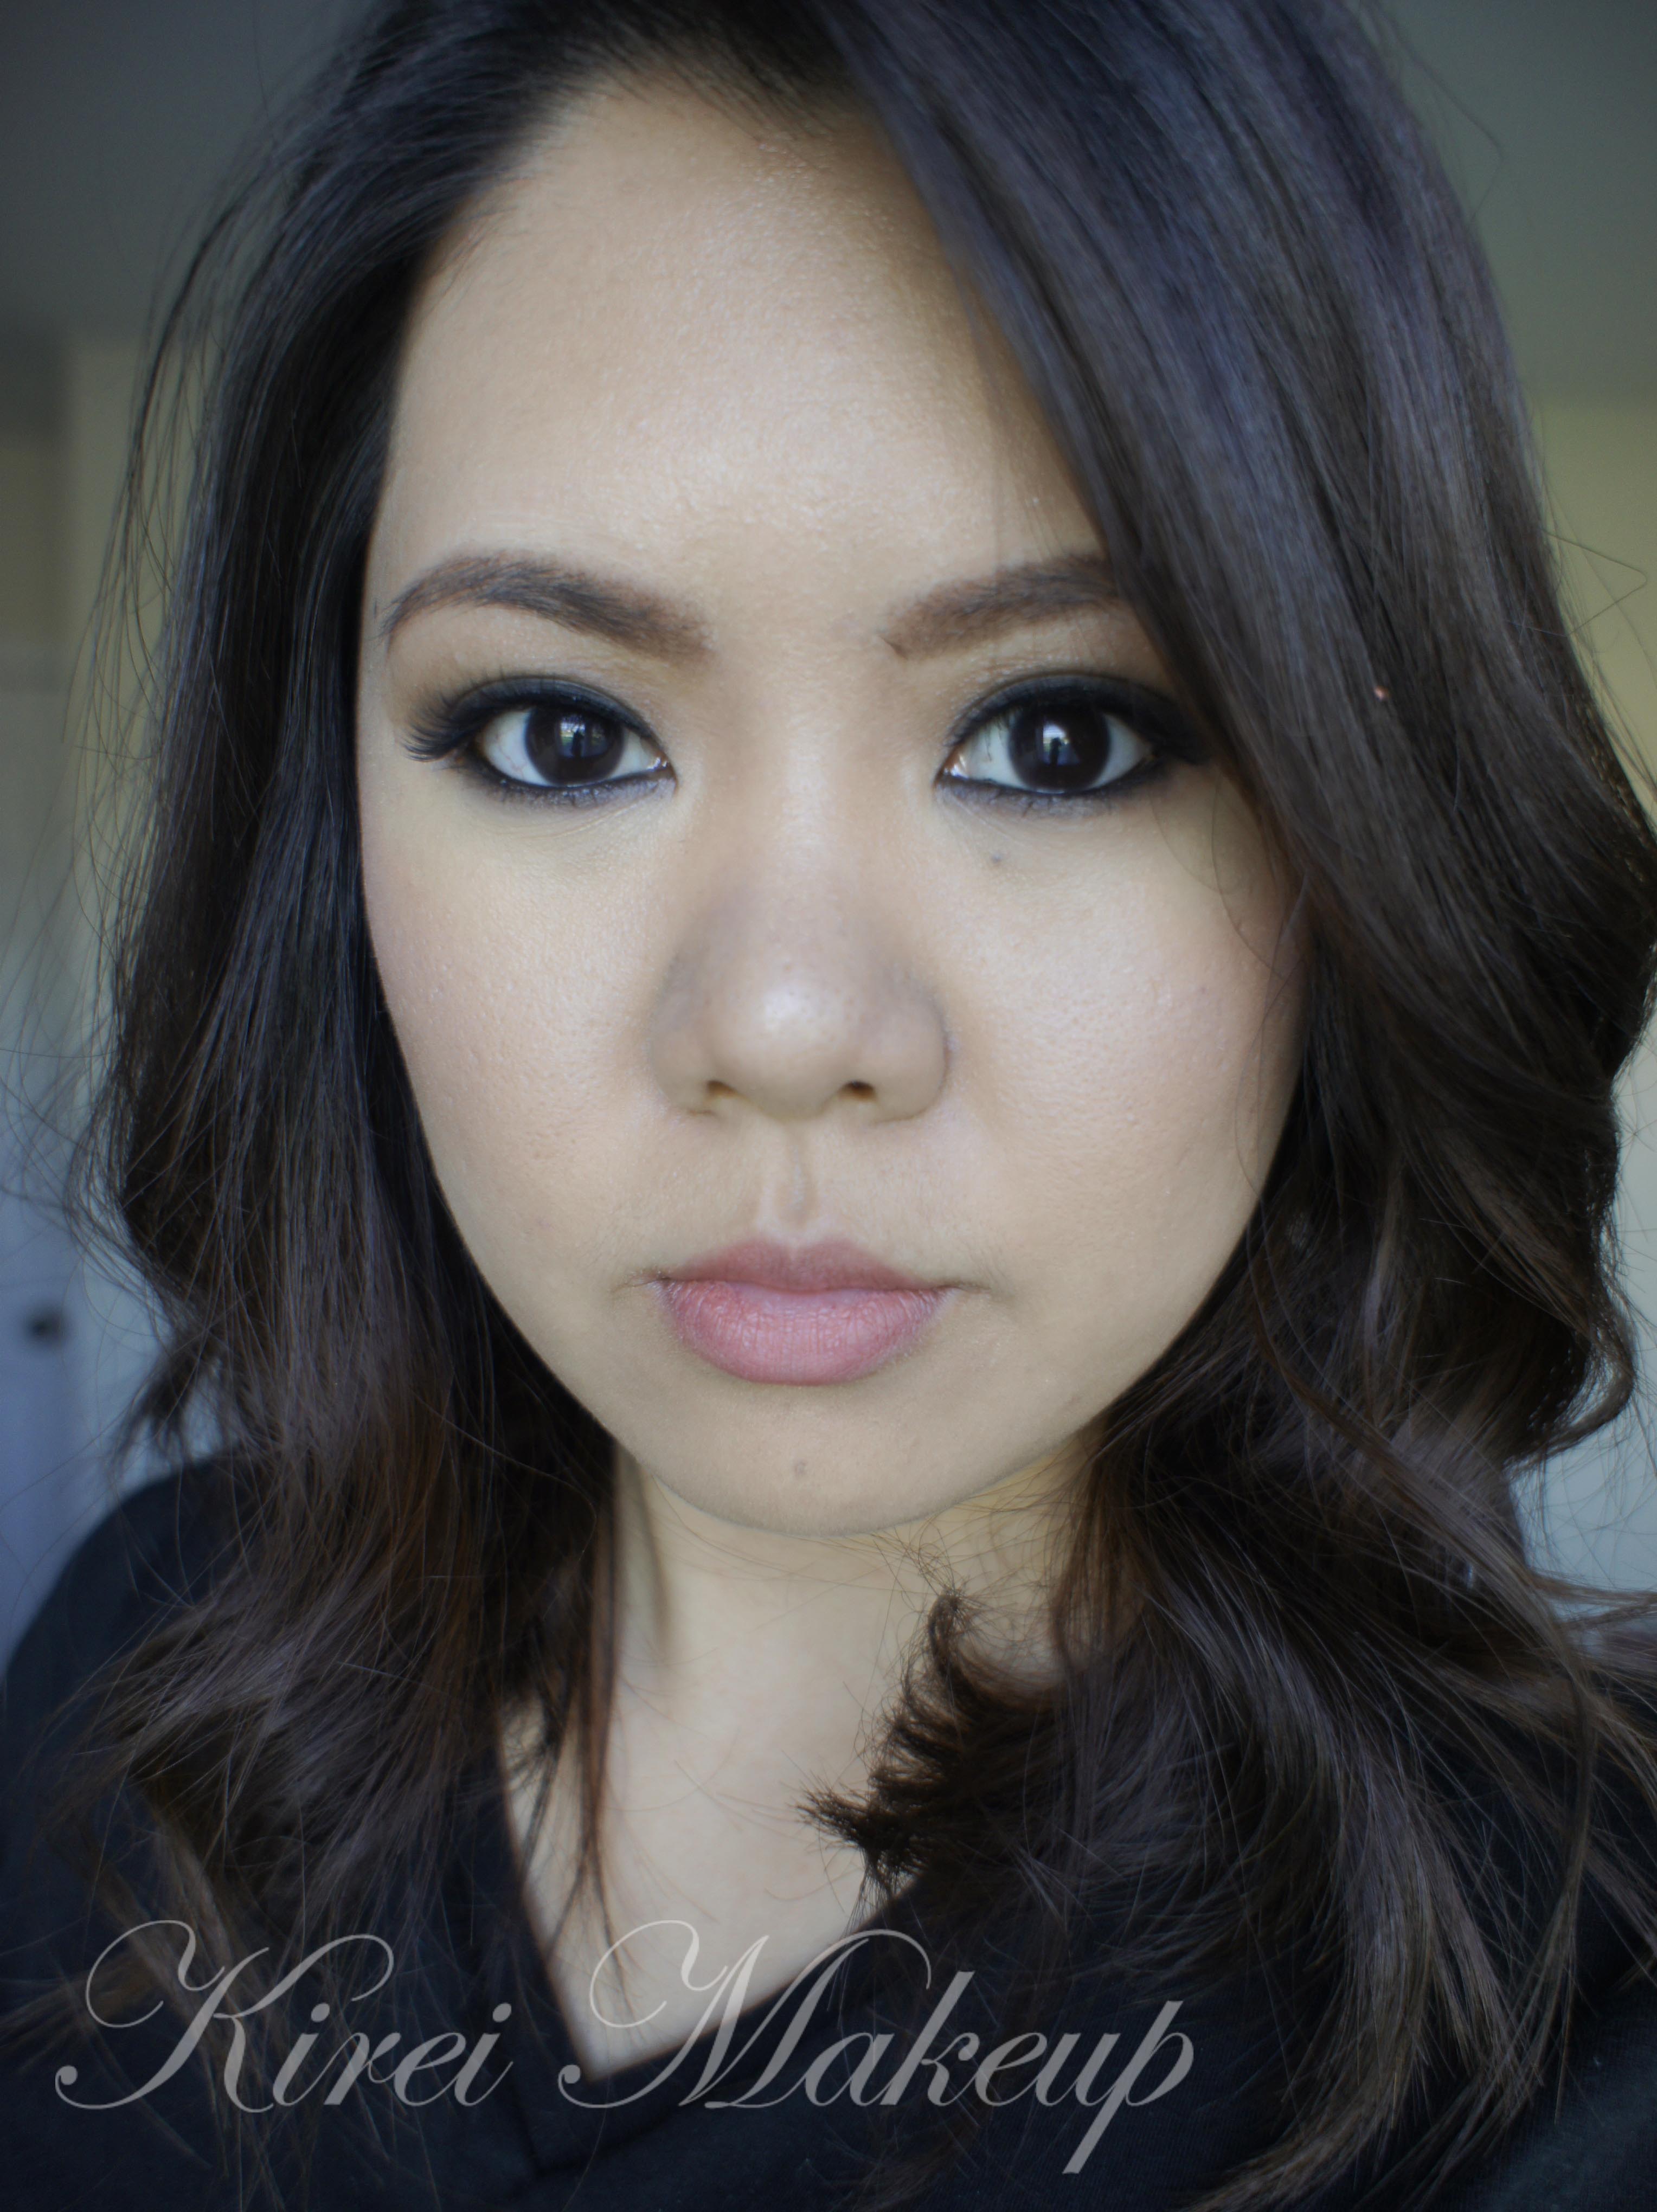
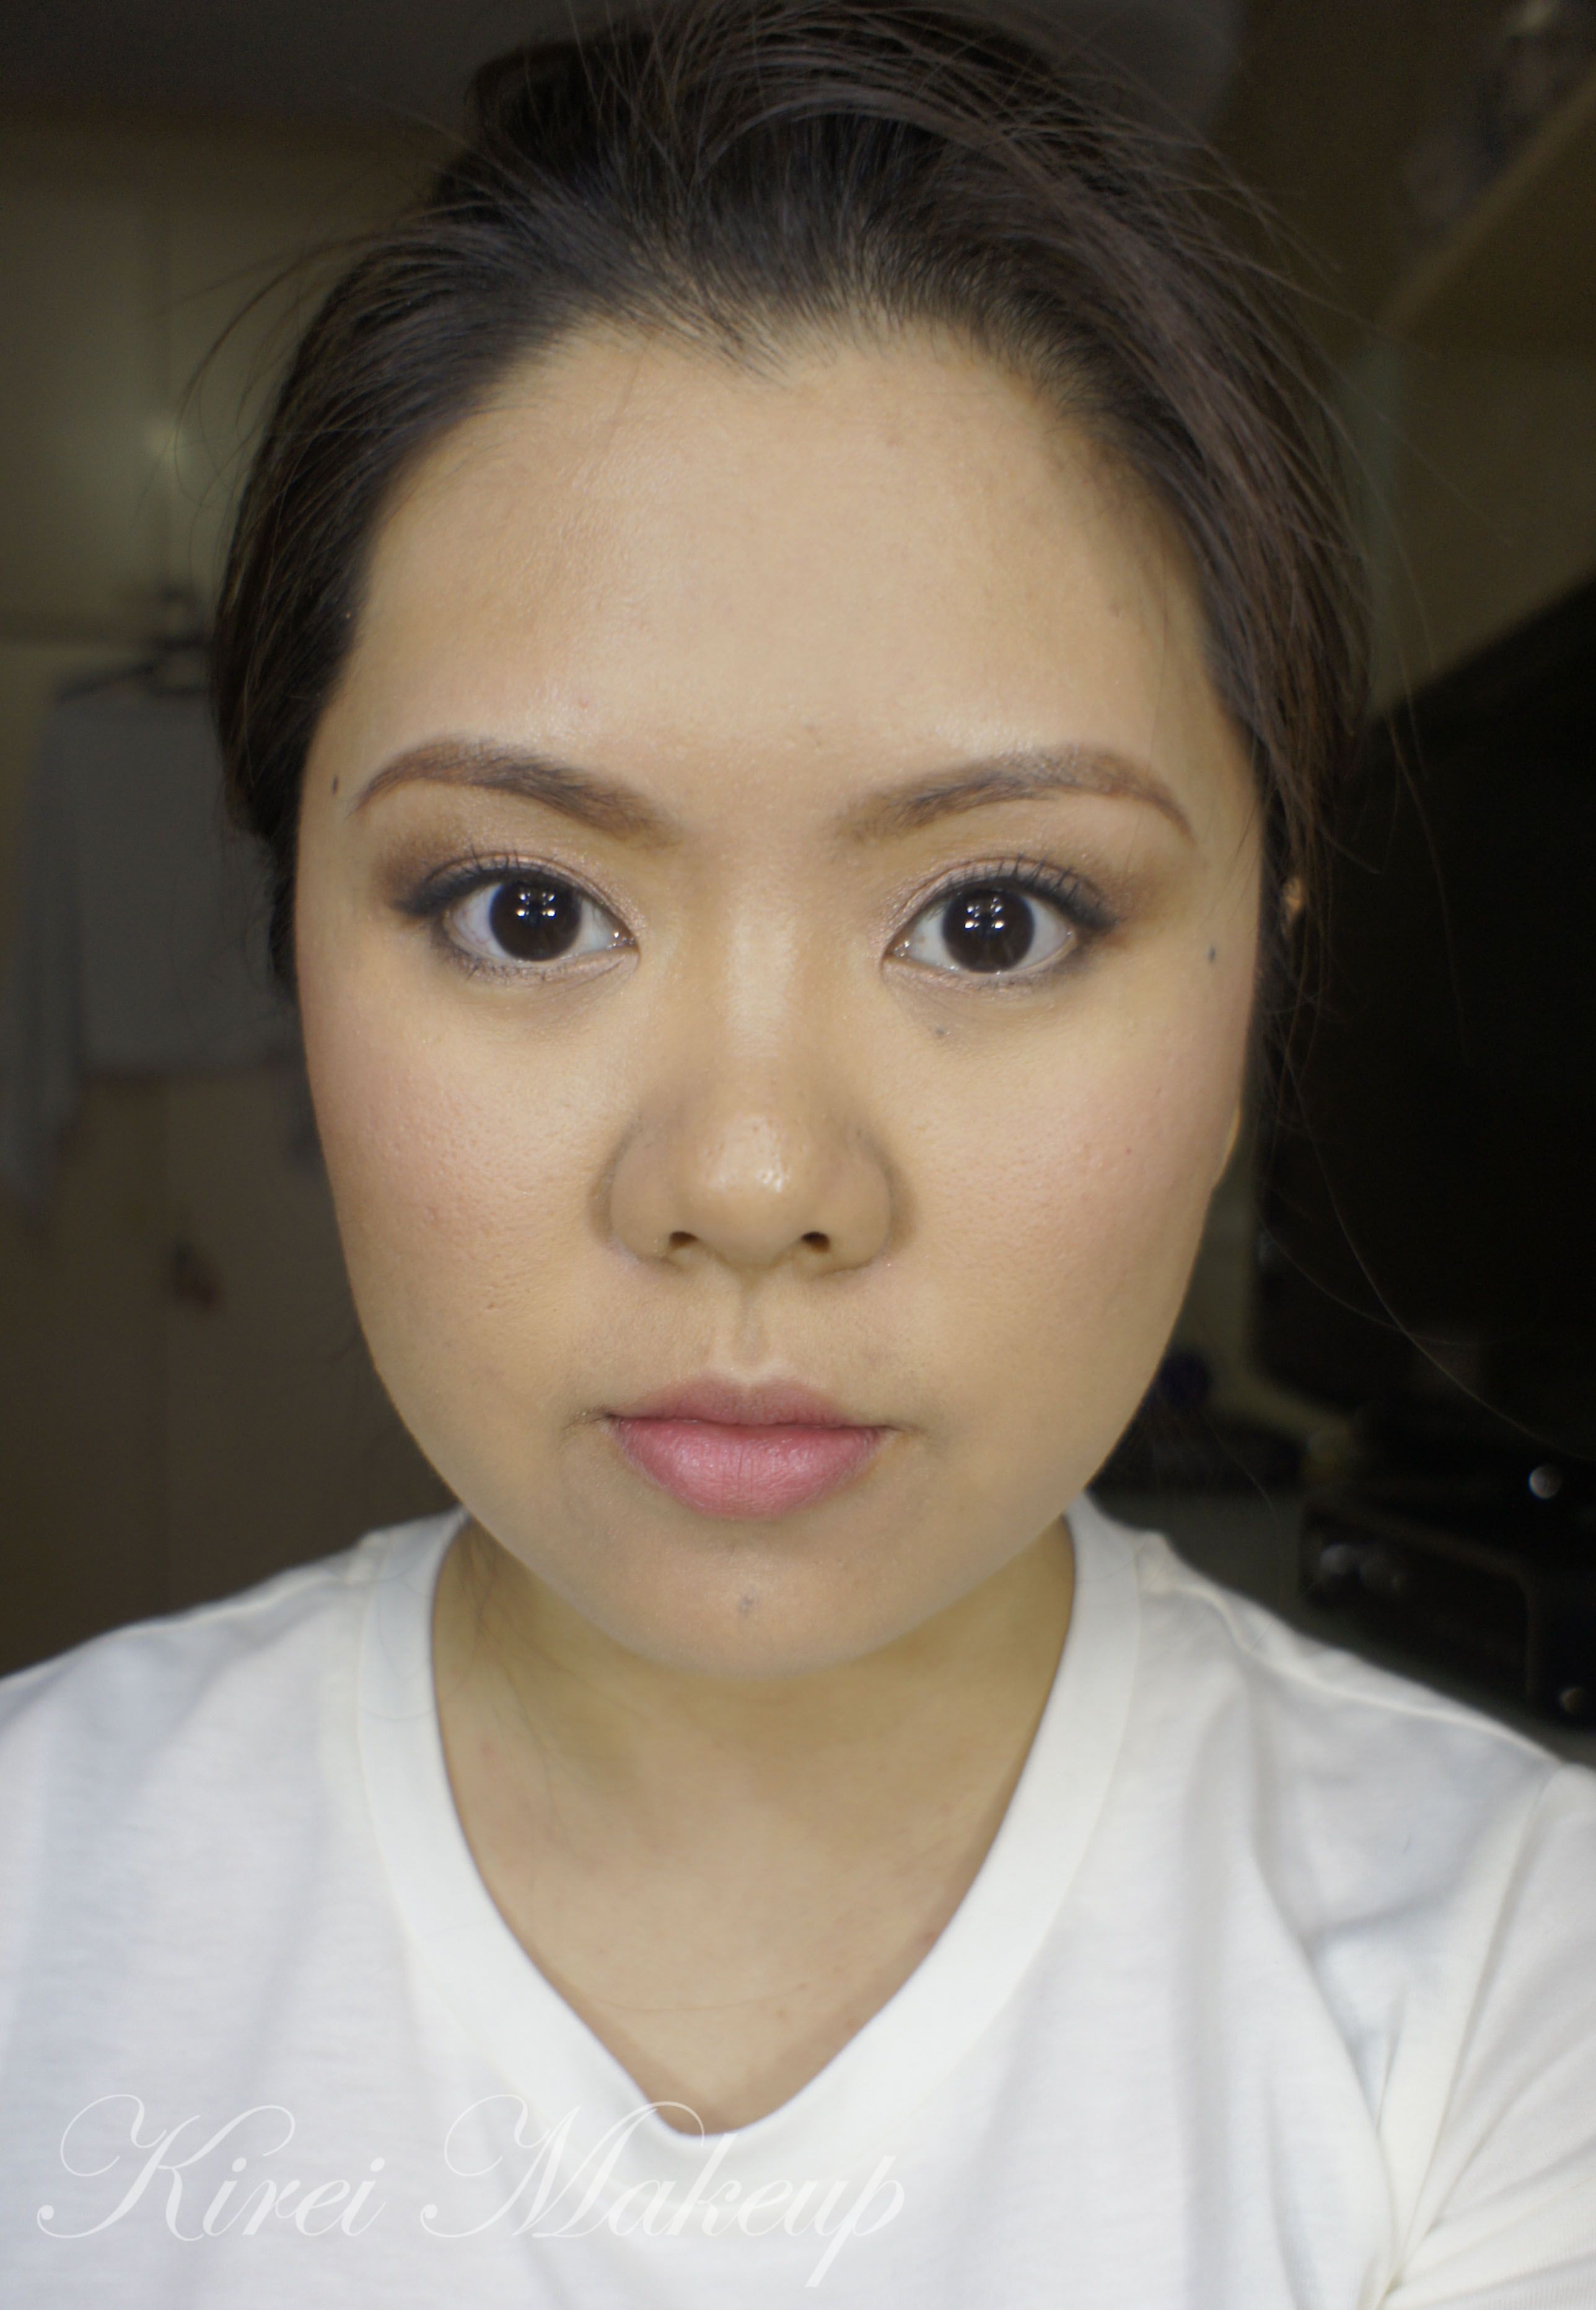
Also, I received a few products from L’oreal Paris Indonesia, which I’ll share with you guys on the next post. Out of all the products, I was only able to bring the lipsticks with me. One of the lipsticks was the JLo signature lip color, which I used on this tutorial. I don’t love how it ends up, I think it’s too pale, I prefer a bit more color on my lips. Nevertheless, I thought I wanted to share with you guys how it looks. I’m not a big fan of super pale nude lips, so this is definitely not my favorite lipstick.

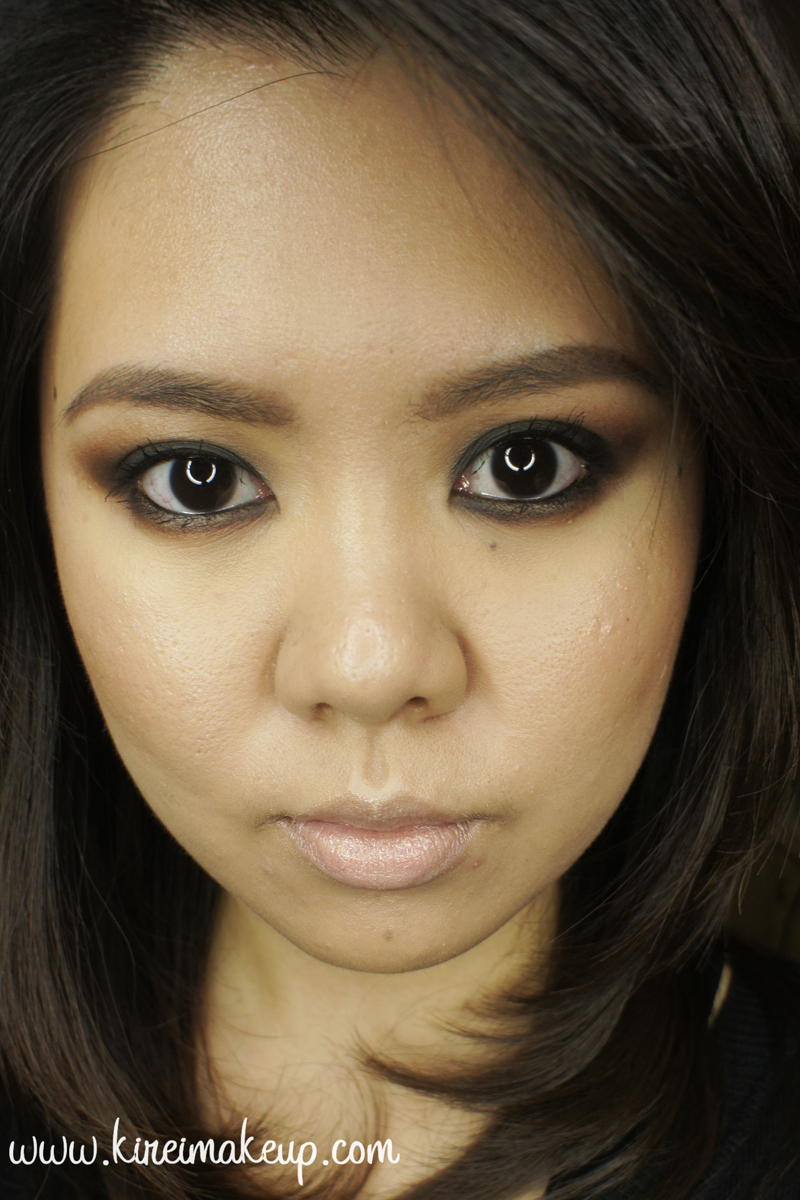
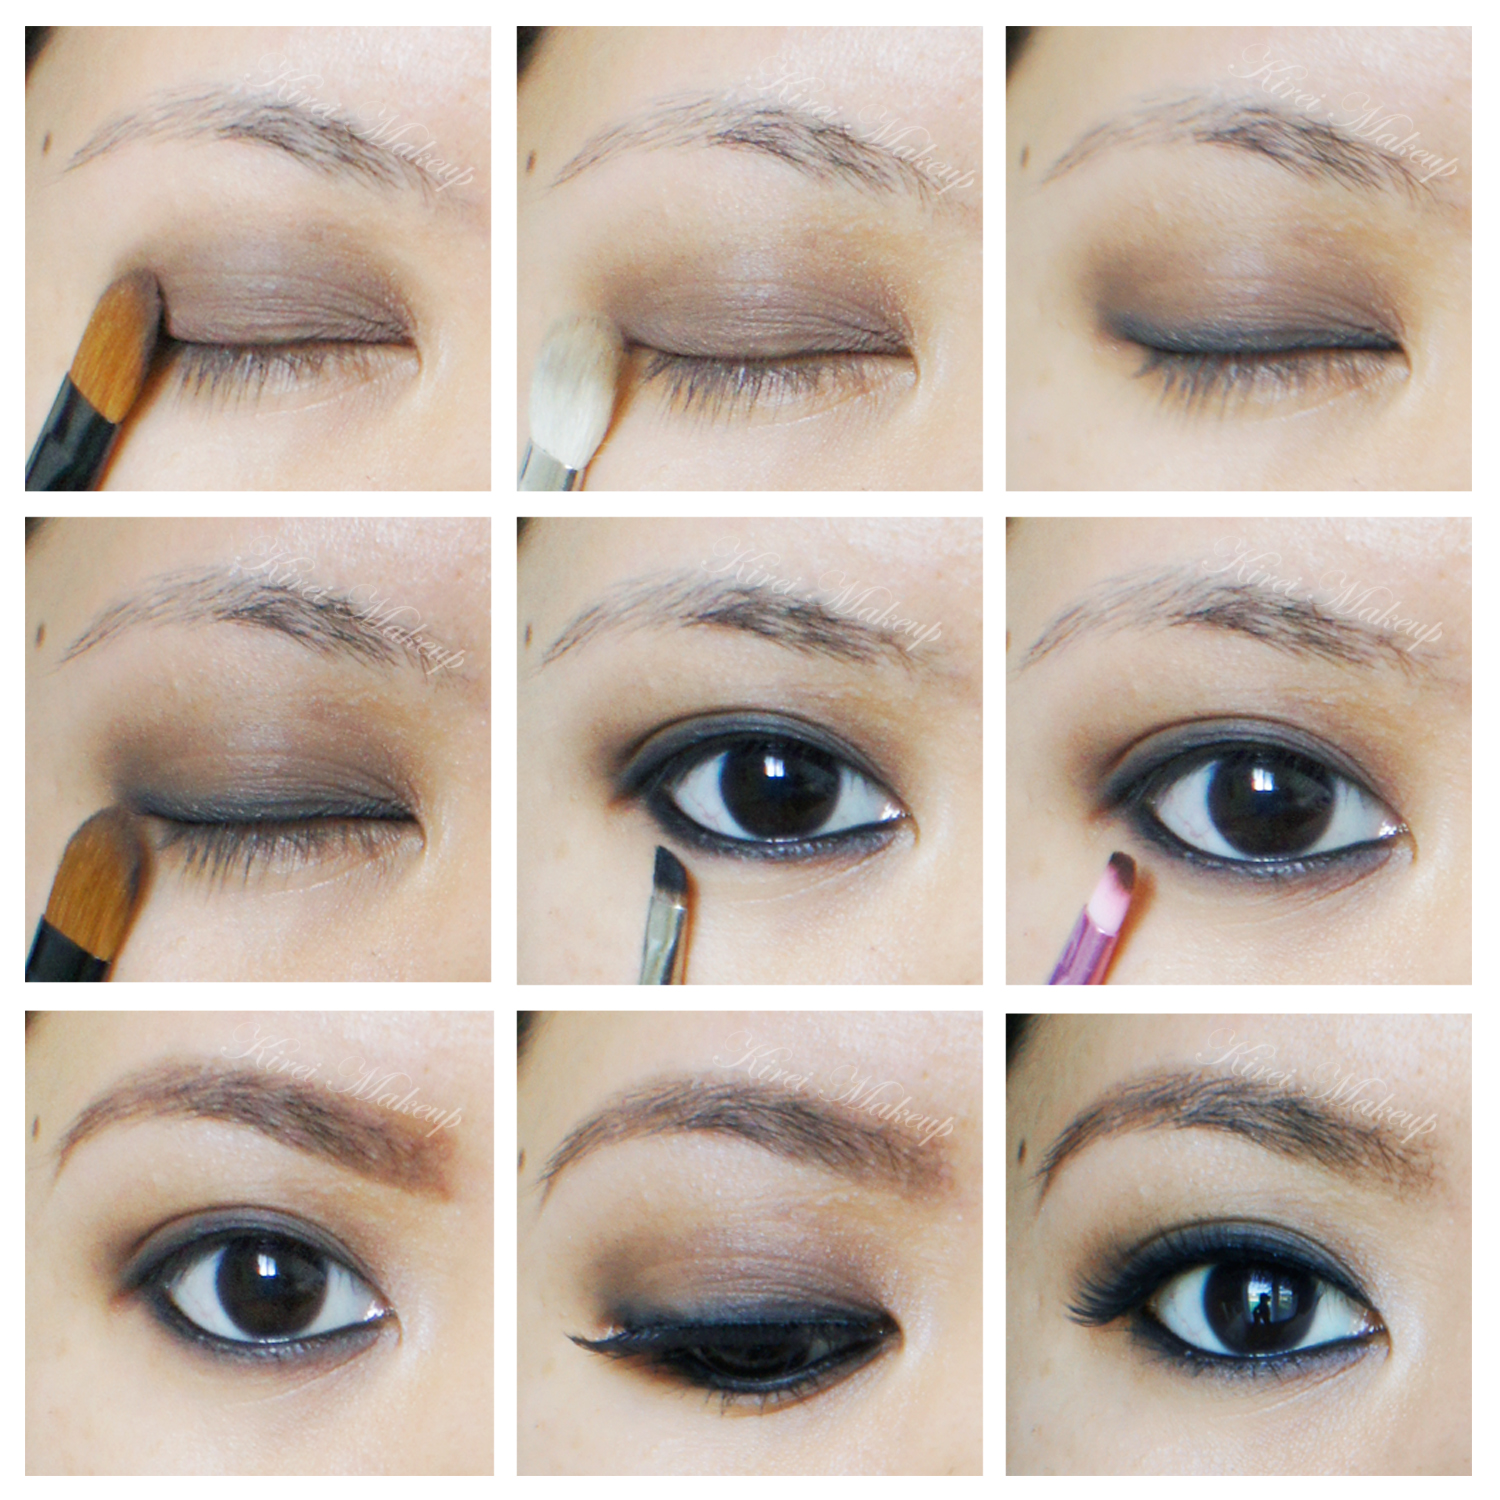
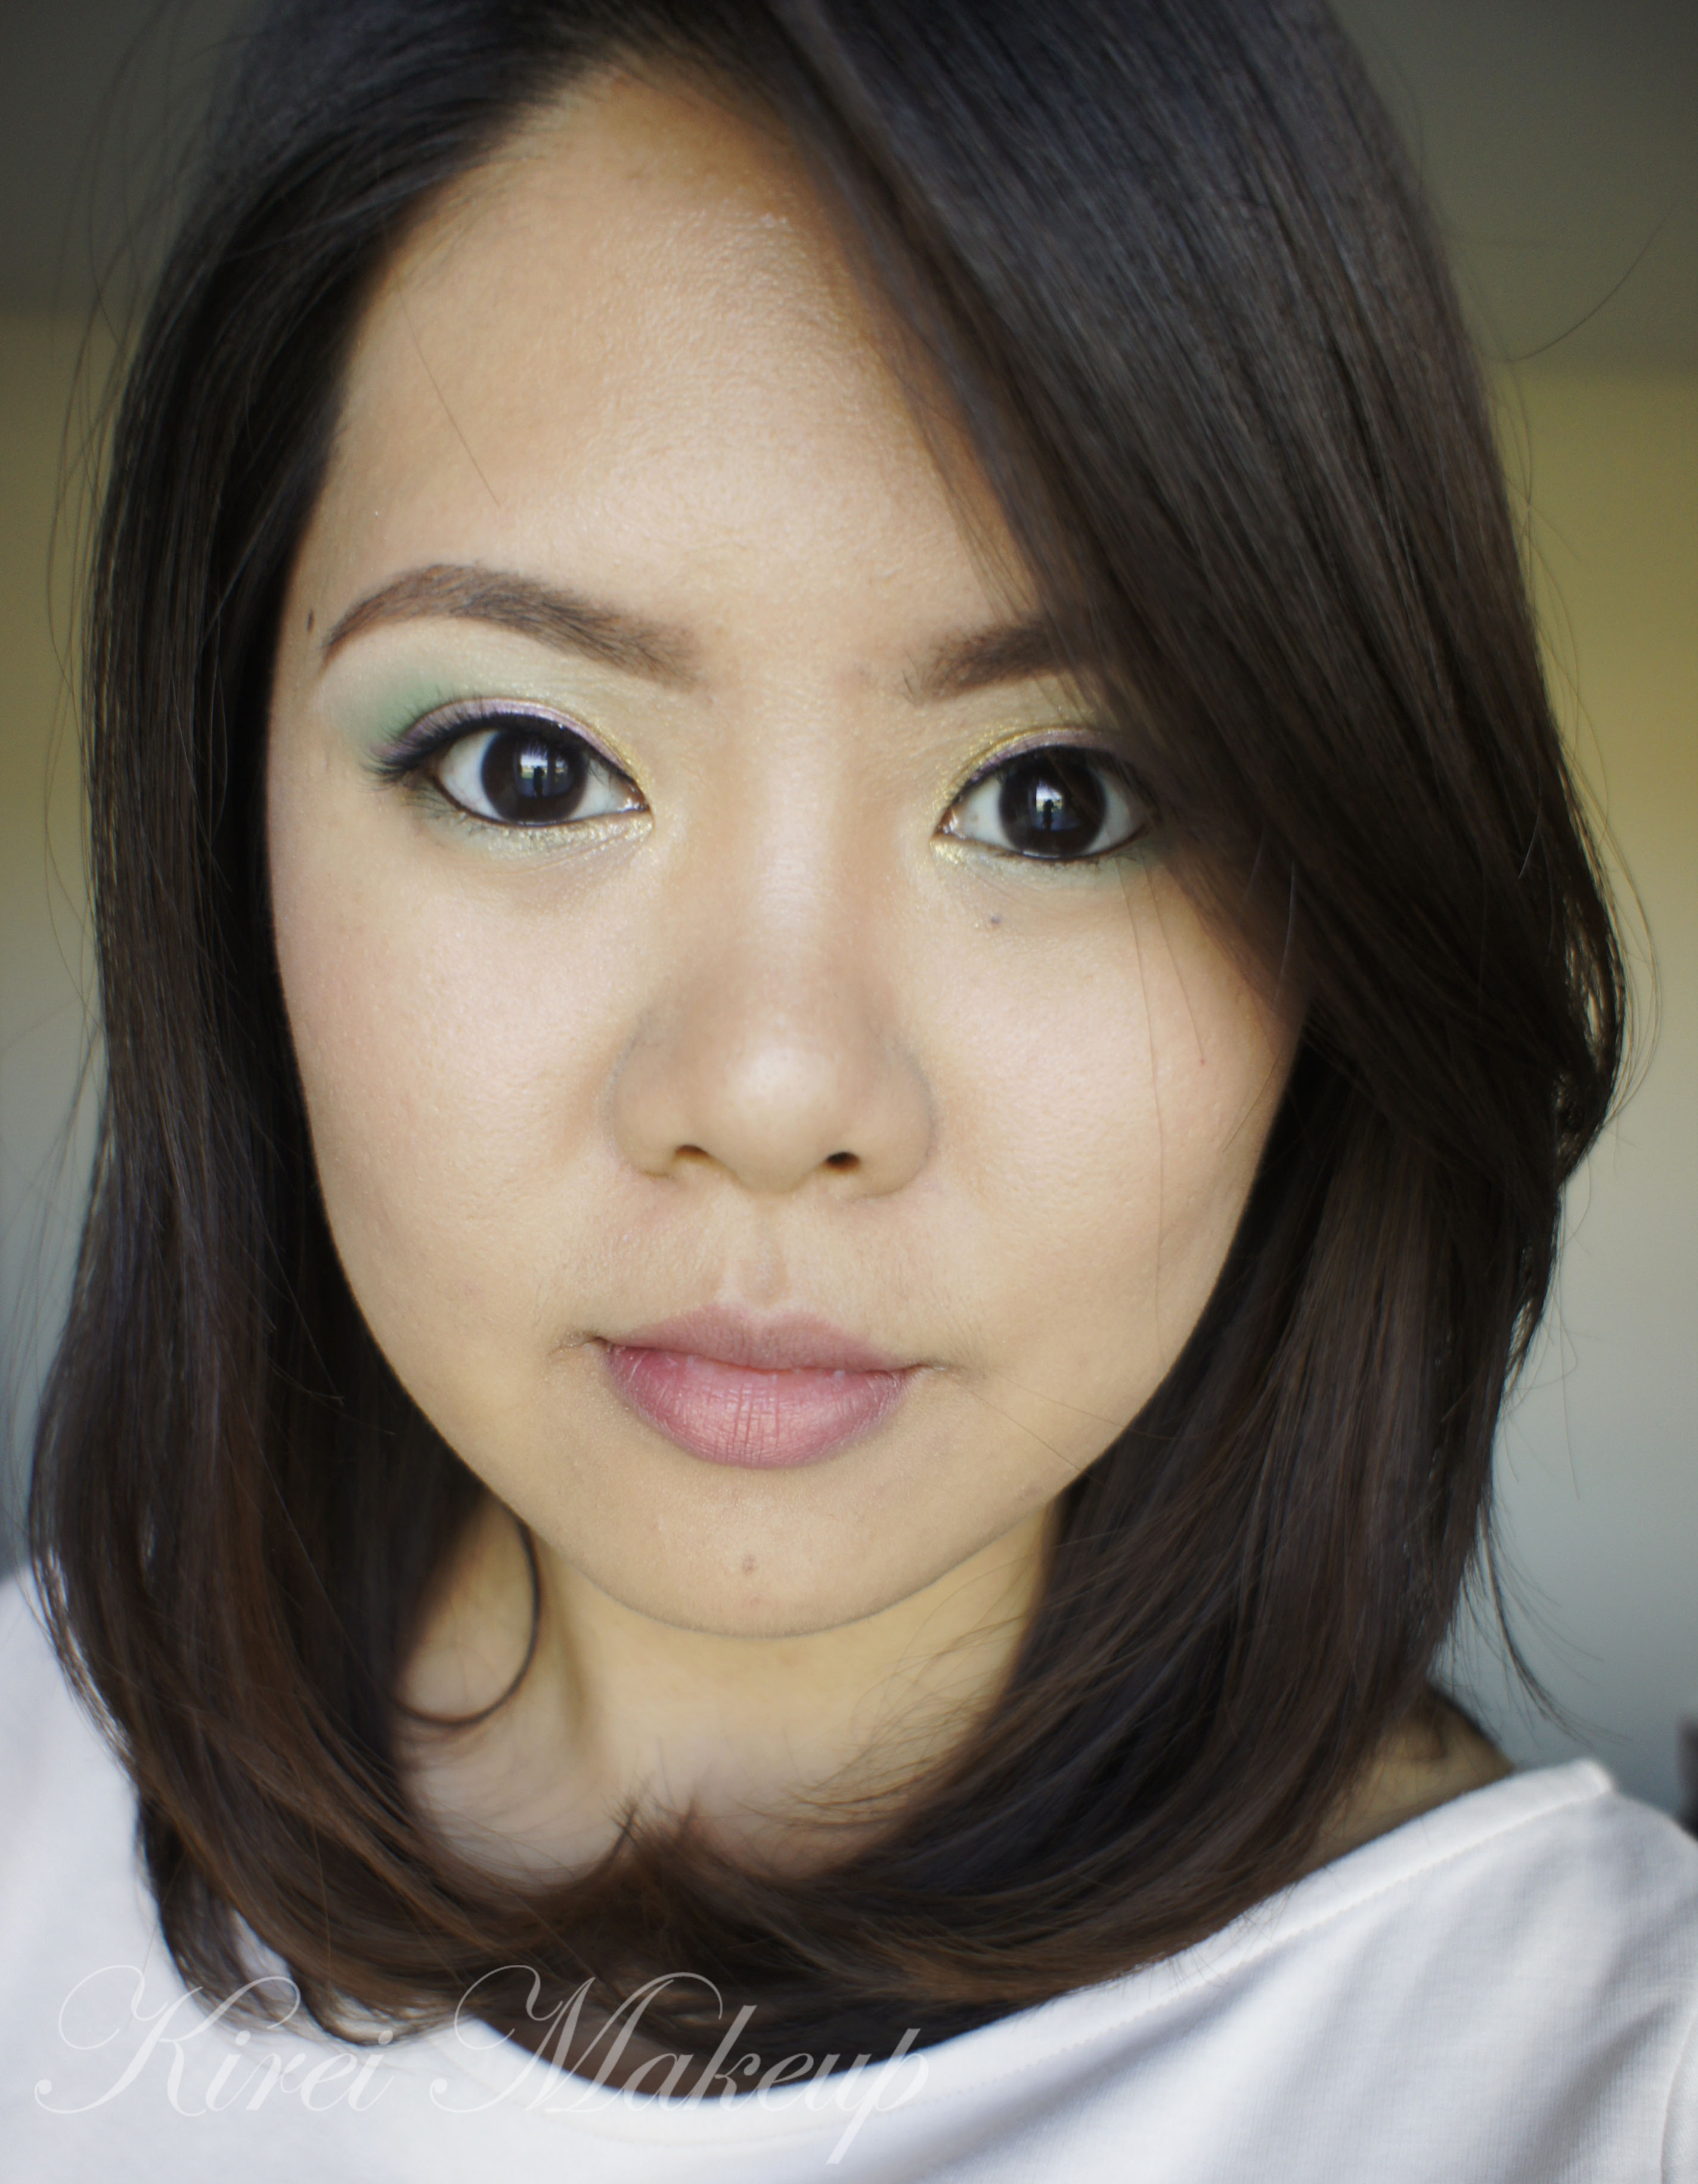
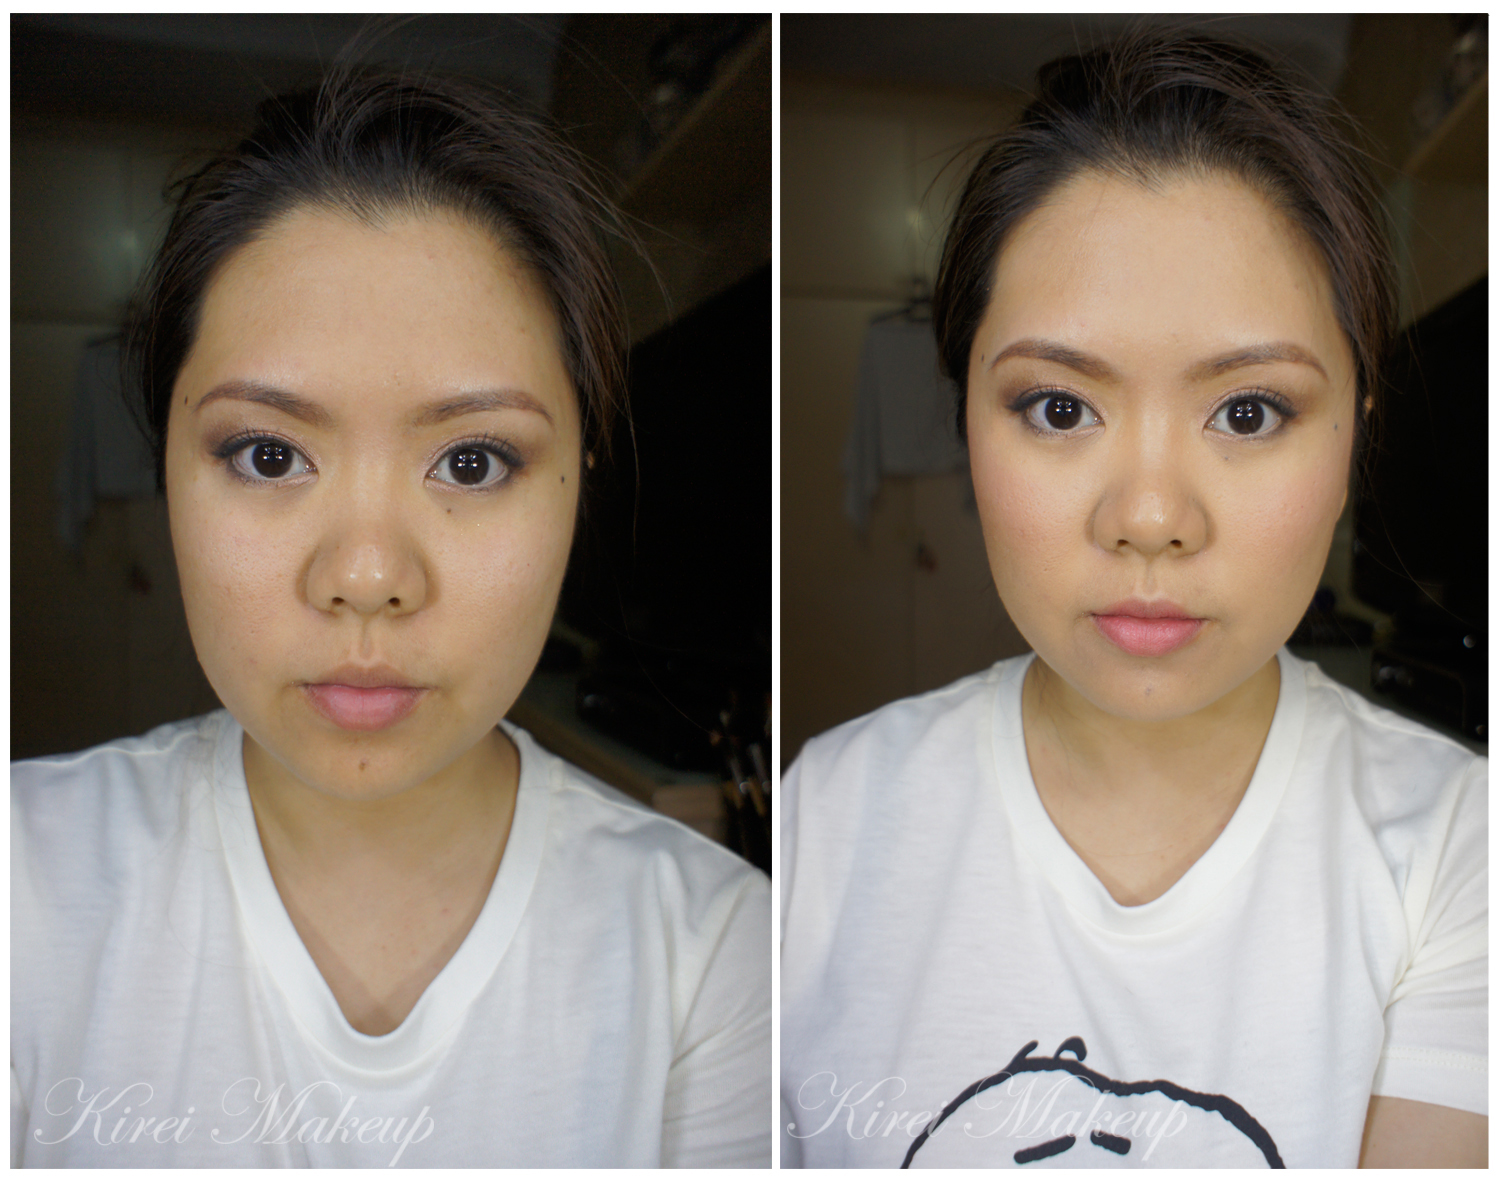
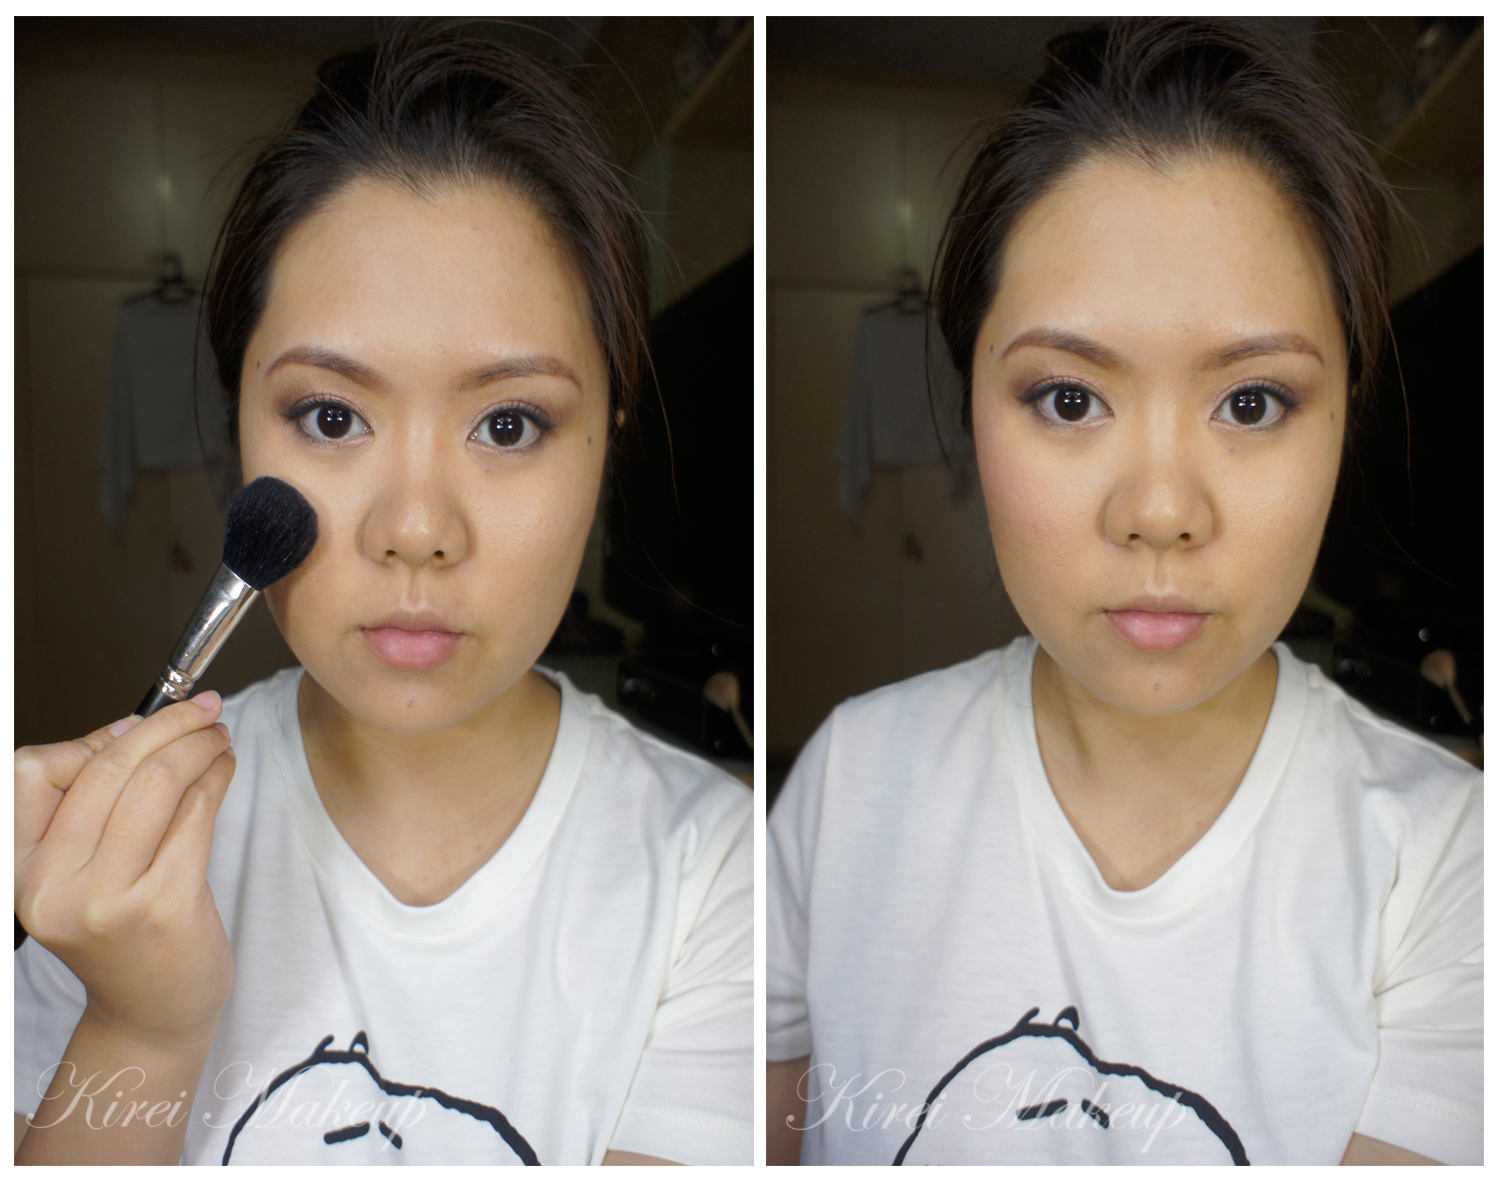
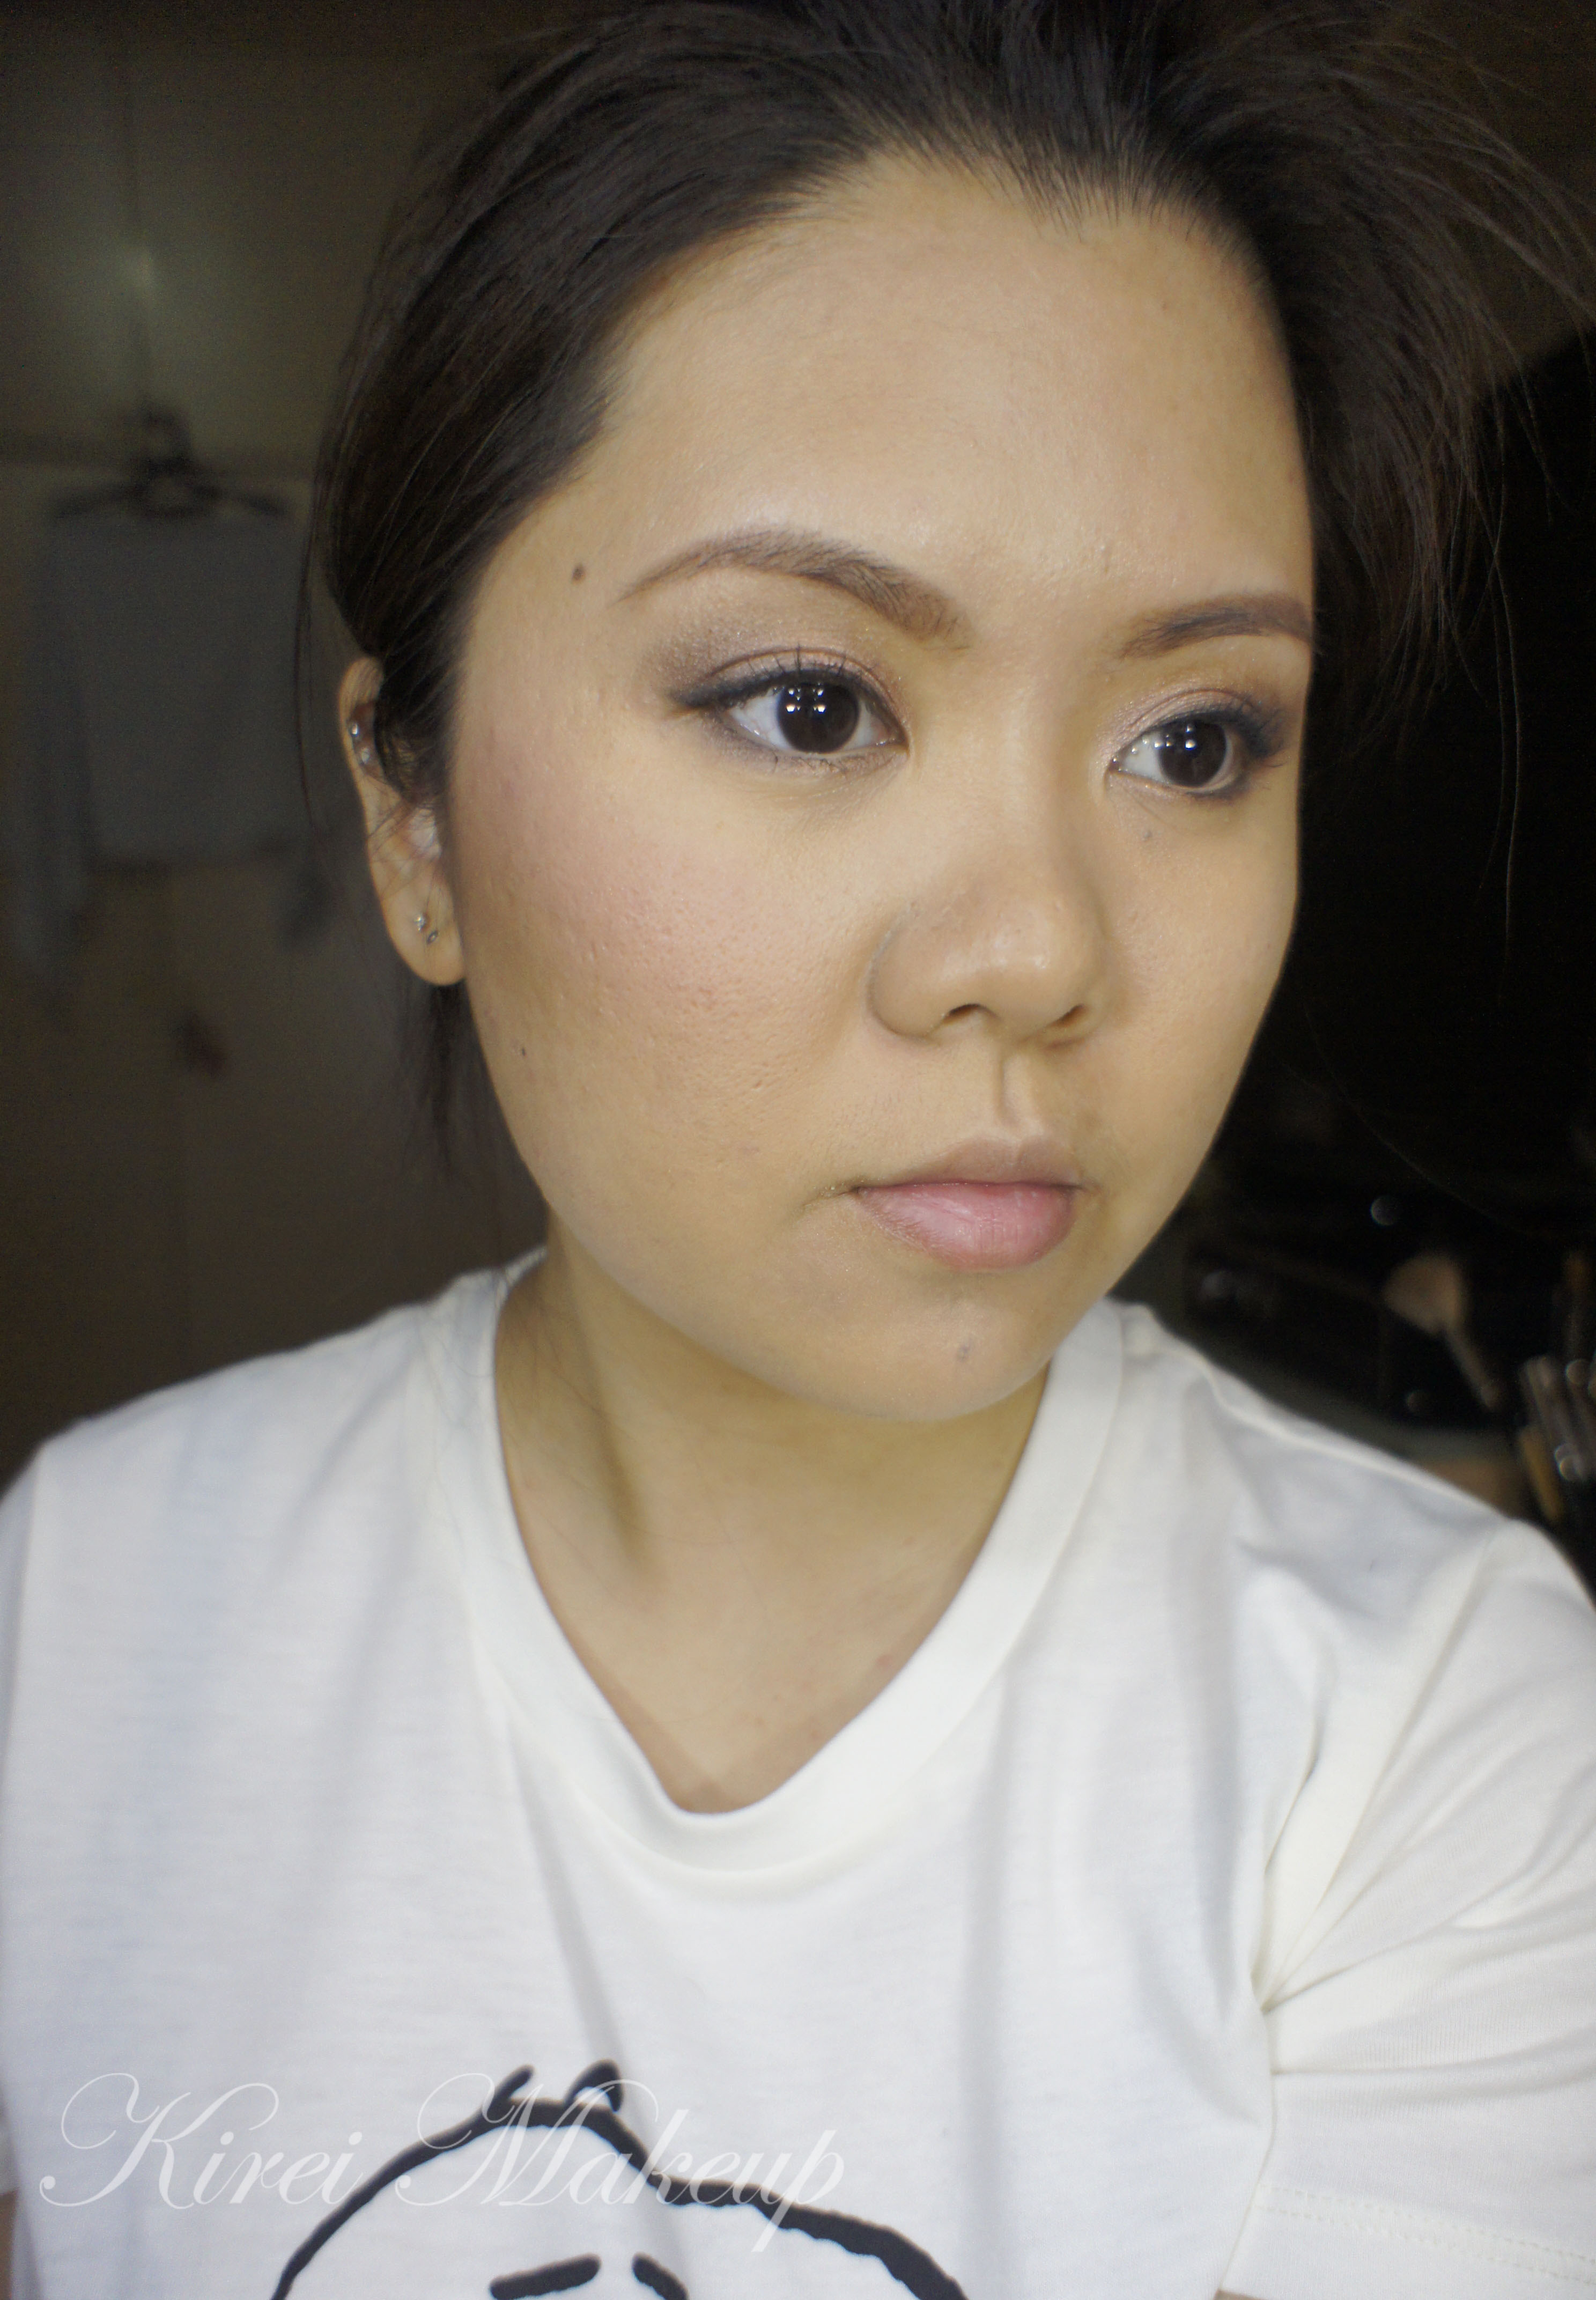
Anyways, let’s get on the pictorials. All products listed below! Don’t forget to check out my other Kat Von D Monarch palette looks!

Kat Von D smoky eyes monarch palette

Eyes

Face

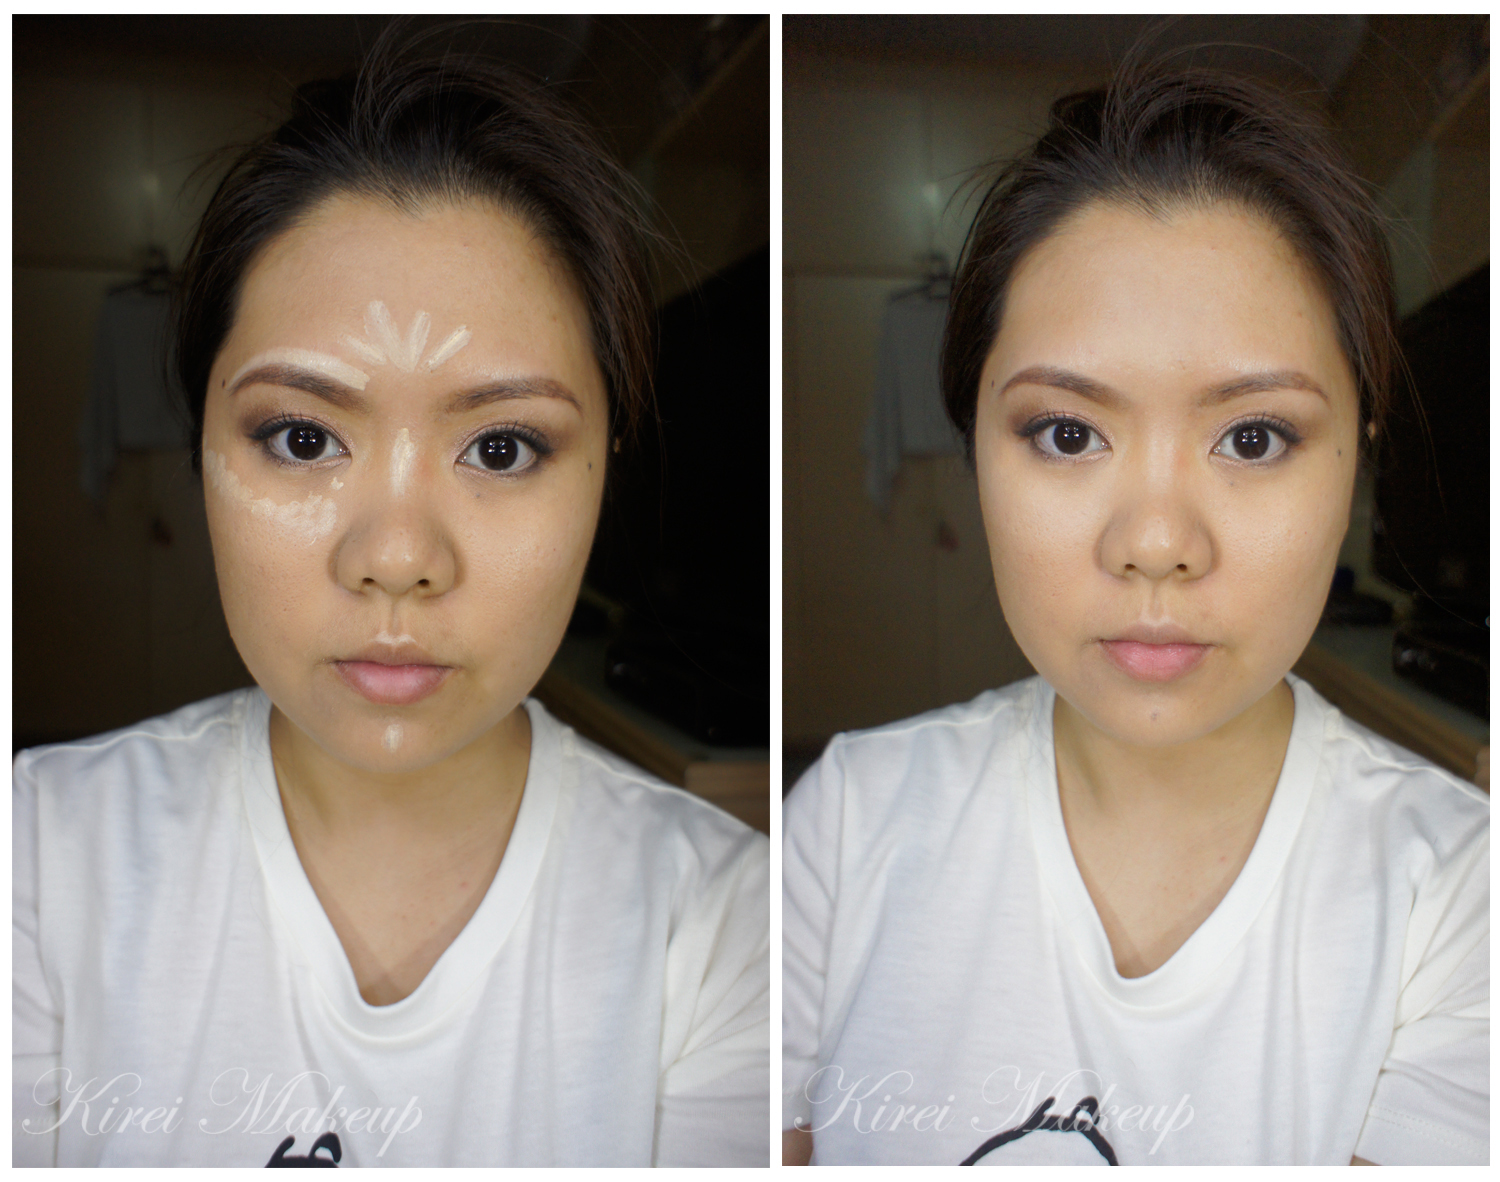
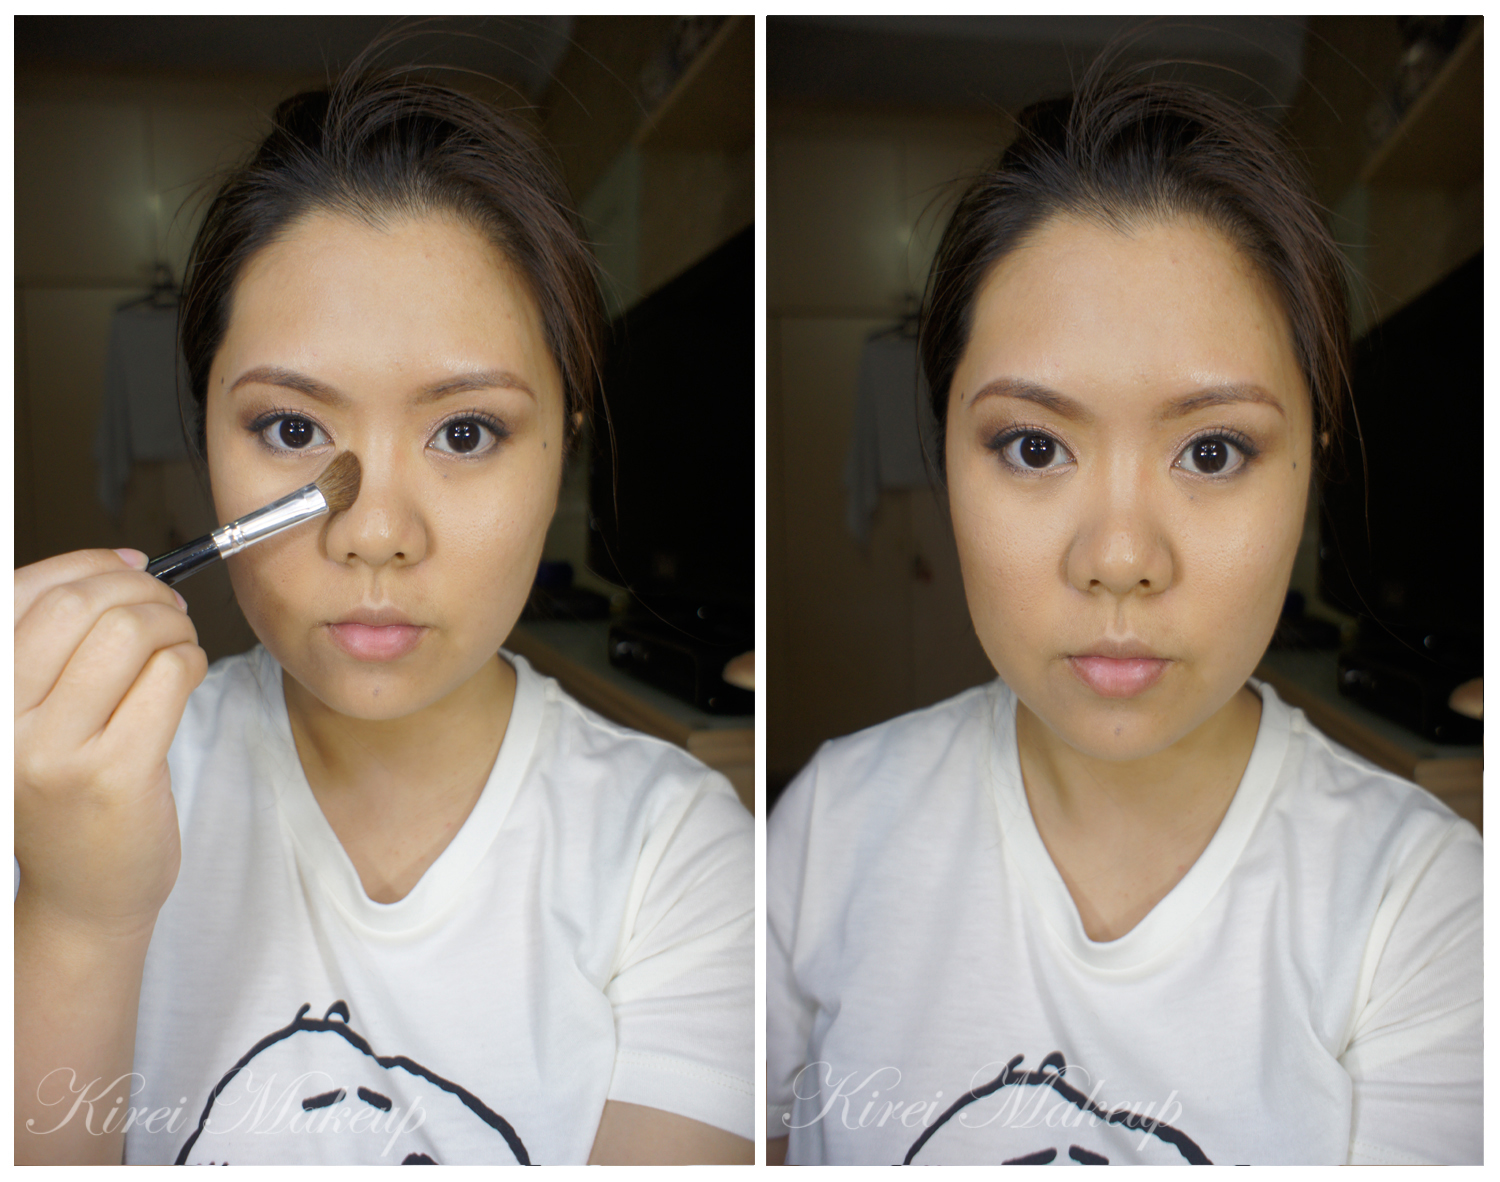
  • Foundation – Make Up For Ever HD Foundation
  • Corrector – Bobbi Brown Peach corrector
  • Concealer – MAC Pro Longwear concealer
  • Powder – NARS Setting powder
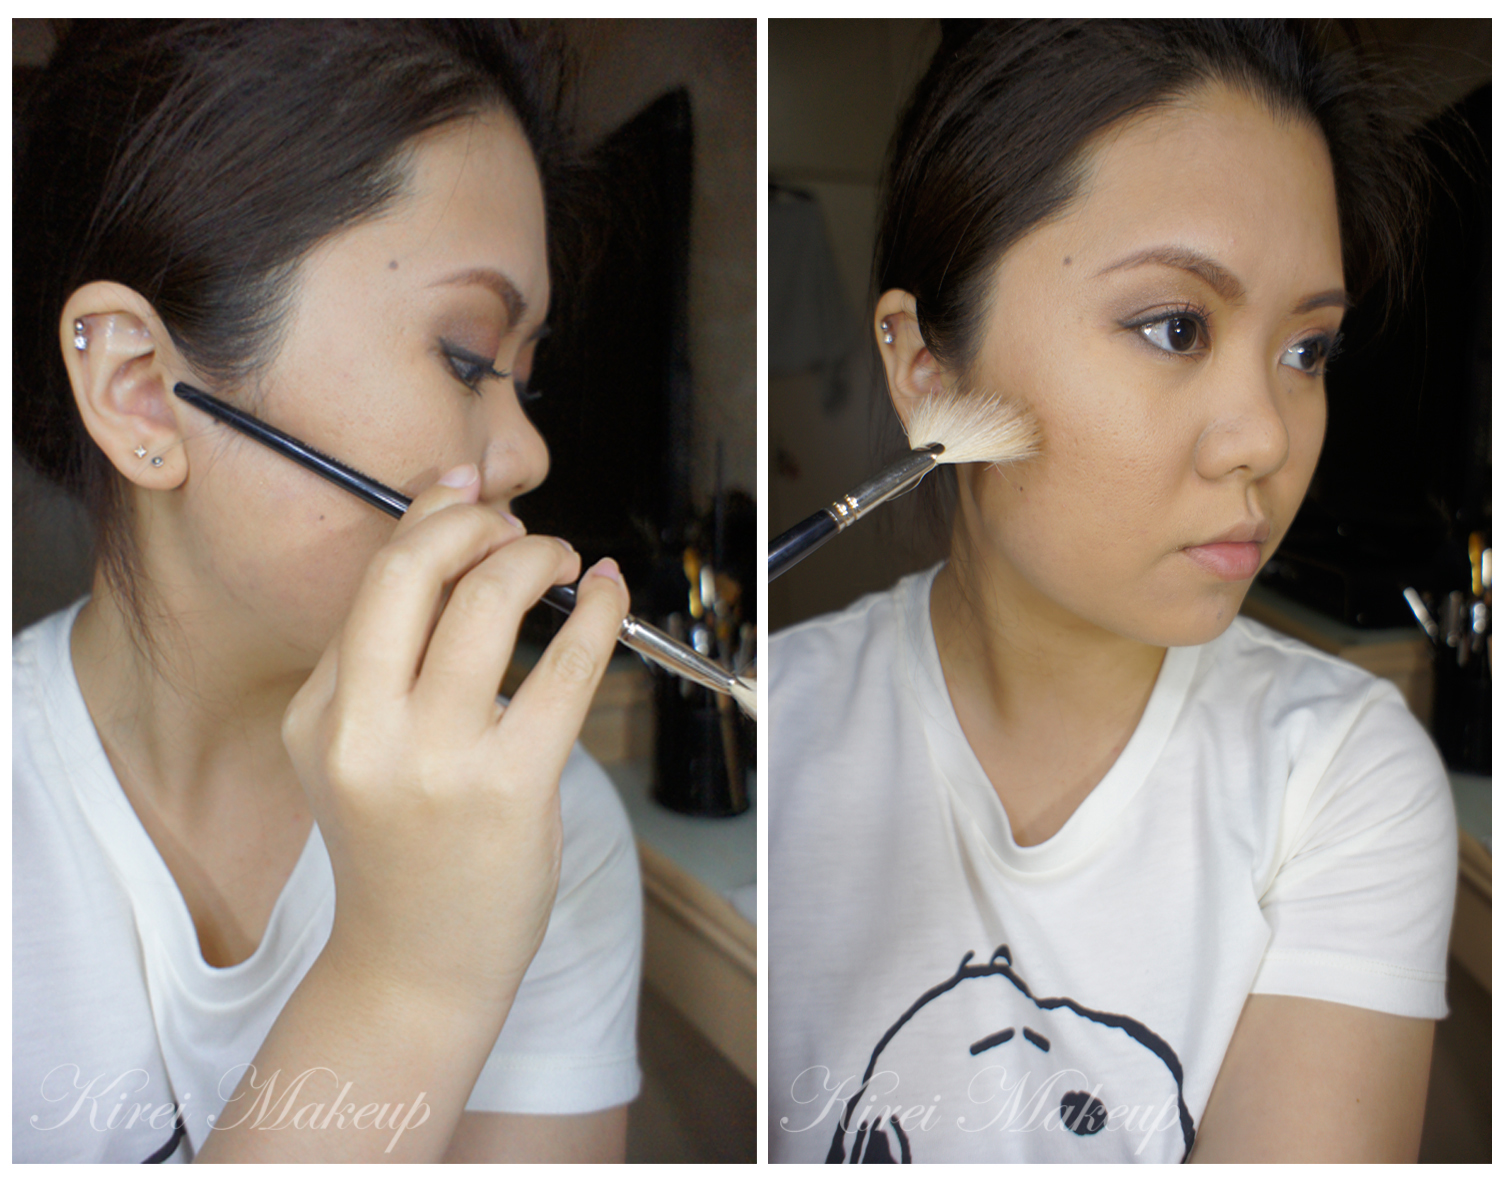
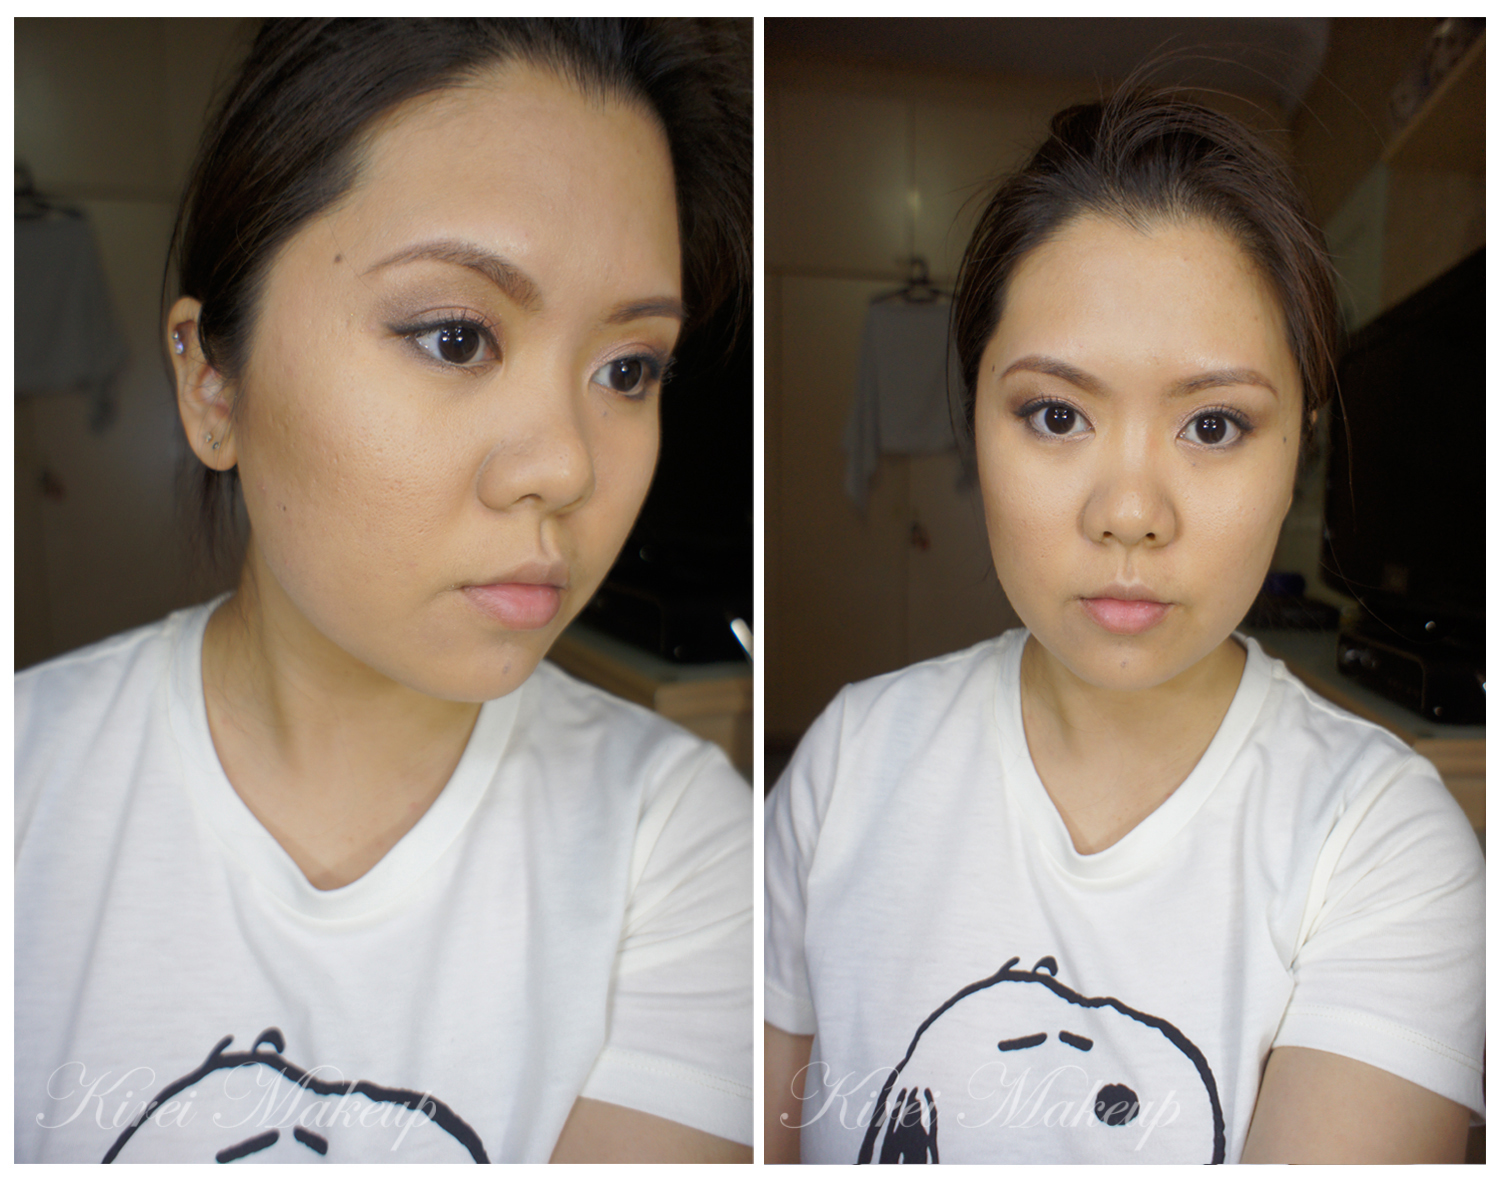
Cheeks

  • Bronzer – Chanel Universal bronzer
  • Cheeks – Benefit Hervana
  • Highlighter – The Balm Mary Lou Manizer

Lips

  • Lipstick – L’oreal Collection Star JLo Barely Greige


Jlo nude lipstick

Basic Smoky

Another tutorial using Urban Decay Naked Basics palette! Don’t forget to check a more neutral, day-makeup tutorial using UD Naked Basics palette on my last post. This time I decided to do my go-to smoky eyes makeup! This look is so simple and easy. I tend to do very simple makeup on myself because I’m quite lazy, to be honest. This palette is perfect for me, since I do like matte finish for my go-to smoky eyes.

Everyone can do this look! You don’t even have to have the same palette, just use whatever products you already have. All you need is 1 eyeshadow and a black eyeliner. It’s so simple, yet the result is so chic! If you’re a beginner, this would be a perfect look to create your very first smoky eyes makeup. I get asked all the time “how can I not look like I’ve a black eye when I do smoky eyes?”. Here’s the answer!

Tip no. 1: Use black eyeliner only to frame your eyes – meaning on the waterline, tightline, lower lashline and upper lashline.

Tip no. 2: Invest in a good blending brush.

Remember: Less is More!


Smoky eyes using urban decay naked basics

How-to:

1. Using a flat eyeshadow brush, I applied UD Faint all over my eyelid, up to the crease.

2. Using a CLEAN blending brush, I blended out the crease very lighty.

3. I lined my upper lashline using L’oreal Voluminous Smoldering eyeliner.

4. Using whatever is left on the brush from Step no. 1, I patted the eyeshadow on top of the eyeliner.

5. I lined my waterline and lower lash line using L’oreal Voluminous Smoldering eyeliner. I blended the eyeliner on the lower lid using an angled brush.

6. Using a small shader brush, I applied UD Faint on top of the black eyeliner on the lower lid.

7. I filled my brows using Shu Uemura Hard Formula 9.

8. I curled my lashes and applied false eyelashes. If you are not comfortable with applying false eyelashes yet, you can omit this step.

9. Using a clean blending brush, I applied UD Venus under the brow and on the inner corner of the eyes very lightly.

matte smoky eyes

10. For the face, I applied UD Naked foundation all over using a foundation brush.

11. I also applied yellow corrector under my eyes using MAC Pro Correct/Conceal palette in Medium.

12. I set my foundation using MUFE Pro Finish powder.

13. I applied Benefit Coralista on my cheeks as blush.

14. On the lips, I applied Revlon Just Bitten Kissable lip balm in Charmed.

ud naked basics tutorial

L’oreal Neon Skirt

Finally! A tutorial to be posted. I do have to say, I’m not really loving how this look ends up. I used L’oreal Neon Skirt Color Riche quad eyeshadow that I recently purchased (posted on Instagram and Twitter). I love the colors that come with this quad, but…*sigh here comes the but*…I feel that one of the shadows is quite difficult to blend. May be it’s my fault for not priming my eyelid since  I can’t find my primers because I’m not totally unpacked yet.

Anyhooow, I just wanted to do a quick tutorial so I don’t go missing for another week or so, leaving the blog empty. Hmm, what do you guys think? I followed the instruction from the back of the quad for this look. I feel that the green color wasn’t blended properly. I wanted a sheer wash of color, so I tried blending it out, but it doesn’t look that great, eh…Also, I don’t know how I feel about the purple eyeliner. It’s not intense enough for me to be an eyeliner. Also, there’s a lot of fall out from the purple, so watch out for it.

Nevertheless, I think this can be a great look if you want to try to wear colors to go out. It’s very sheer and kinda look like watercolors, no? Oh, I love the vanilla highlighter in the middle of the lid! It makes the eyes look so pretty when you blink.

How-to:

1. I applied the gold eyeshadow from L’oreal Neon Skirt quad on the inner half of the lid using a flat eyeshadow brush.

2. Using a clean blending brush, I applied the green shadow from the same quad on the outer half of the lid.

3. (you can skip this step) I blended out the green eyeshadow towards the brow bone, leaving a little bit of color concentration in mostly the outer V of the eyelid.

4. Using my ring finger, I lightly tapped the vanilla eyeshadow from the quad to the middle of the lid.

5. Using an angled brush, I applied the purple eyeshadow of the L’oreal Neon Skirt quad along the upper lashline.

6. I applied the green along the lower lash line using a pencil brush. I dabbed a tiny bit of gold in the inner corner of the lower lid using a small shader brush.

7. I also lined the waterline and tightline using L’oreal Voluminous Smoldering eyeliner.

8. I curled my lashes and applied L’oreal Carbon Black mascara on both upper and lower lashes. I also applied EyeMe false eyelashes (free sample from a friend) on the upper lashes.

9. I filled my brows in using Anastasia Brow Wiz in Brunette.

L'oreal Neon Skirt

10. For the face, I applied MUFE HD Foundation in 118 using a foundation brush.

11. I set the foundation using MUFE Pro Finish powder.

12. I contoured my face and nose slightly using MAC Shadowy.

13. On the cheeks, I applied MAC Dainty blush.

14. I filled my lips in using MAC Dervish lip liner.

L'oreal Neon Skirt

ps: Pictures are taken using natural light.

pps: Like my new hair? hahaha 😛


Nail Polish Canada (almost) the best e-tailer in Canada [Press Release]

NailPolishCanada.com is close to being named the best e-commerce company in Canada as part of Canada Post’s E-Commerce Awards and needs your help.

NailPolishCanada.com was selected as a finalist for best e-tailers in Canada by a panel of judges including executives at Facebook and Google (So yes Dad, nail polish is a “thing”!).

As for who will be crowned the Consumer Champion it now comes down to a vote

“It’s been thrilling to work with so many great customers and bloggers over the past few years. So thank-you all for building NailPolishCanada.com into a company worthy of such an honor. Sam even teared up a little bit as he wrote this sentence pretending to be me.” – Nikki, VP Glitter.

To encourage everybody to show their support and vote, NailPolishCanada.com is offering up to $2000 in prizes!

How it works:

Vote for NPC

You can vote every day. Voting runs from August 28th to September 20th 12:00PM.

You must record your vote to enter & win at Nail Polish Canada’s vote page here.
Voting & prizes are open to Canadian and U.S. residents.


Daily Draw

There is a daily thank-you draw for everybody who voted that day for awesome prizes!


Bonus: If Nail Polish Canada Wins the Vote


This is the kicker, if NailPolishCanada.com wins Consumer Champion then we’re having a huge giveaway with two winners!


Grand Prize #1: 24 bottles of Enchanted Nail Polish

Grand Prize #2: $1000 shopping spree at Nail Polish Canada


Both prizes are awarded separately and every day you voted for us as Consumer Champion is one entry to win.


Prizes are only open to Canadian and U.S. residents. See http://www.nailpolishcanada.com/vote for full details.

Product of the Week: MUFE Aqua Creams

I’ve been wanting to do this review for the longest time, and finally I have the chance to do it! If you are looking for a cream shadow or a base that is smudge-proof, crease-proof, water-proof, sweat-proof, tear-proof and everything else (you get the idea), this is the products for you! The aqua cream has a great range of colors, which is definitely one of their assets in this era of cream shadow. I’ve been using this line since 2010, and have never looked back.

What is Aqua Cream?

From MUFE website:

The Aqua Cream is an ultra-pigmented, long-lasting waterproof cream. Highly concentrated in mother-of-pearl pigments, it provides an immediate color intensity with a luminous finish.
Its long-lasting formula will not crease or smudge under the most extreme conditions.

Available in 22 shades, the multipurpose Aqua Cream can be applied on your lips, cheeks and eyes.

Shades #5, 6, 7, 8, 9, 10 are formulated for the Lips & Cheeks.
Shades #1, 2, 3, 4, 11, 12, 13, 14, 15, 16, 17, 18, 20, 21, and 22 are formulated for the Eyes & Cheeks.

Formula:

Volatil oil
Filmogen polymer
Synthetic Ester
High concentration of mother-of-pearls and pigments
Kaolin mineral powder
Paraben free
Dermatologist and ophtalmologist tested

MUFE Aqua Cream

Pros

So, I owned 6 different colors (top-bottom, left-right):

  • #1 Anthracite – gunmetal with a silver sheen. The color is leaning towards dark grey than black. I love using this as a base for smoky eyes.
  • #15 Taupe – metallic medium brown with warm undertone. This will look dark brown on lighter skin tone, and light on  darker skin tone.
  • #11 Gold – metallic golden yellow.
  • #12 Golden Copper – rich copper with red undertones.
  • #9 Coral – light coral pink.
  • #8 Red (for cheeks and lips only) – red with orange undertone (think fire trucks). I feel that this product has a golden sheen to it.

Don’t mind the crack in some of them. I had to travel with it a few times (Canada-Jakarta-Bali etc).

Longevity

For all of them, I’d say they (all except #8) lasted a good 8 hours on the eyes. I’ve used this mostly on brides and photoshoots. Once it’s on, it stays ON. This product once it’s on the eyes, it will not move. Like I said, it’s crease-proof, water-proof and smudge-proof.

For #8, I used it for 4-hour and it stayed put throughout. However, when I tried to remove it, it stained my lips pretty much the whole day. It has a velvety finish to it when it dried, so if you prefer a glossy finish, you can apply a clear gloss.

Finish

Out of the 6 that I owned, 4 has a metallic finish (#1, #15, #11 and #12). #9 has a gold shimmer and #8 has a golden sheen to it.

Coverage

You can apply this as a wash of color, or you can build it up in layers.

Packaging

Plastic container with a screw on lid. Very light, made it very easy to travel with.

Price

The product cost CAD$28 for 6 gram in Canada (Sephora). In Jakarta, when I bought #9, it cost me Rp. 250,000 for 6 gram. It’s cheaper in Jakarta than in Canada..(that’s a first!). Since it is cheaper in Jakarta, I might go over and buy a few more colors..hehehee *update as of June 2, 2013* MUFE Indonesia is selling their aqua creams at Rp. 300,000 each. Now, for price-wise, it’s similar to the Canadian counterpart.

Cons

Again, I’ve to repeat this: work fast with this product and in thin layers. The product dries very fast and once it dries, there’s no way of blending it. If you apply this product too thick on your first few layers, you might see a build-up of products on the skin. There’s no way of re-blending it once it becomes lumpy.

Also, for that price, you are better off buying Maybelline Color Tattoo 24-hour gel shadow which cost CAD$6.95! However, the color range might not be as much as the Aqua Cream. On top of that, the color tattoo line is not available in Indonesia.

I’m giving the Aqua Cream 4 winks out of 5!

p.s.: for tutorials using the aqua creams, please check the links below:

Subtle Highlight, Contour and Blush

I was asked to show how I do contouring by a few readers as well as my clients. So, I’m going to show you how I do highlight, contour and blush placement. For the eyes, please refer to my previous post Rosy for the tutorial.

I do contour differently depending on the shapes of the face, but in general, everyone always asked to get the hollows of the cheeks contoured, as well as nose (esp. for asians), and sometimes the jawlines. The idea of contouring is to make the facial structure looks sunken in. On the other hand, highlighting is all about making your feature stands out.

In this tutorial, my highlight/contour/blush technique used powder products. This is a very subtle way to contour/highlight/blush the face. If you want a heavier application, feel free to add more products.

Below is the Before and After photo.

contour and highlight asian

Just let me mention that this is NOT the only way to do highlight/contour/blush. There’s so many different version, you just have to play around and find what you like and which version you prefer. I might do a heavier contour/highlight/blush with cream products next week 🙂

Below is the “Before” photo with bare face.

how to contour

1. I applied moisturizer (Clinique Dramatically Moisturizing Gel) and face primer (Smashbox Foundation primer) all over my face before I started out.

tips: For mature and/or dry skin, I probably would choose to use a thicker moisturizer like the Clinique Dramatically Different Moisturizing Lotion, Elizabeth Arden 8hr cream, or Embryolisse  etc to ensure that their skin gets enough hydration before foundation application.

For pictures below, please note that I only applied foundation, highlight, contour and blush on one side of my face (the left side on your screen). The other side is kept bare as a comparison.how to highlight

2. I applied  YSL Touche Eclat in no. 1.5 on the places where I want my features to stand out: bridge of my nose, under the eyes, on top of the cheekbones, forehead, top of the brow, cupid’s bow and chin.

3. Using your finger/sponge/brush to feather the highlighter out and blend to the skin.

how to contour

4. Using the handle of a fan brush, I placed the brush underneath the cheekbone. You should be able to feel a hollow area under your cheekbones. The area where you want to contour is from your ear to just before the corner of your mouth.

5. Using MAC Shadowy pro powder and the face fan brush, I applied the contour right at the hollows of the cheeks towards the corner of the mouth. Stop your contour about 2-3 fingers away from the corner of your mouth.

6. Use whatever is left on the brush to be applied on the temples and jawline.

how to contour

7. I used a fluffy angled brush and MAC Shadowy powder to contour the side of the nose.

8. I placed the brush in the middle (see photo below), and swiped it down and up. Blend the line down to the side of the nose to remove any harsh line.

how to contour nose

9. Using Benefit Hervana blush, I applied it to my cheeks with a blush brush.

10. I applied the blush to the center of my cheeks without smiling so that the blush doesn’t get droopy. This will help to create an illusion of a higher cheekbone. This will benefit mature women to create a face lift and look younger.how to apply blush

Below is the side view of what we’ve done in the steps above. Keep the highlight/contour/blush at an angled to create an illusion of high cheekbones.

how to highlight

Below is the After photo with both sides of the face completed.

how to highlight