Candiliscious

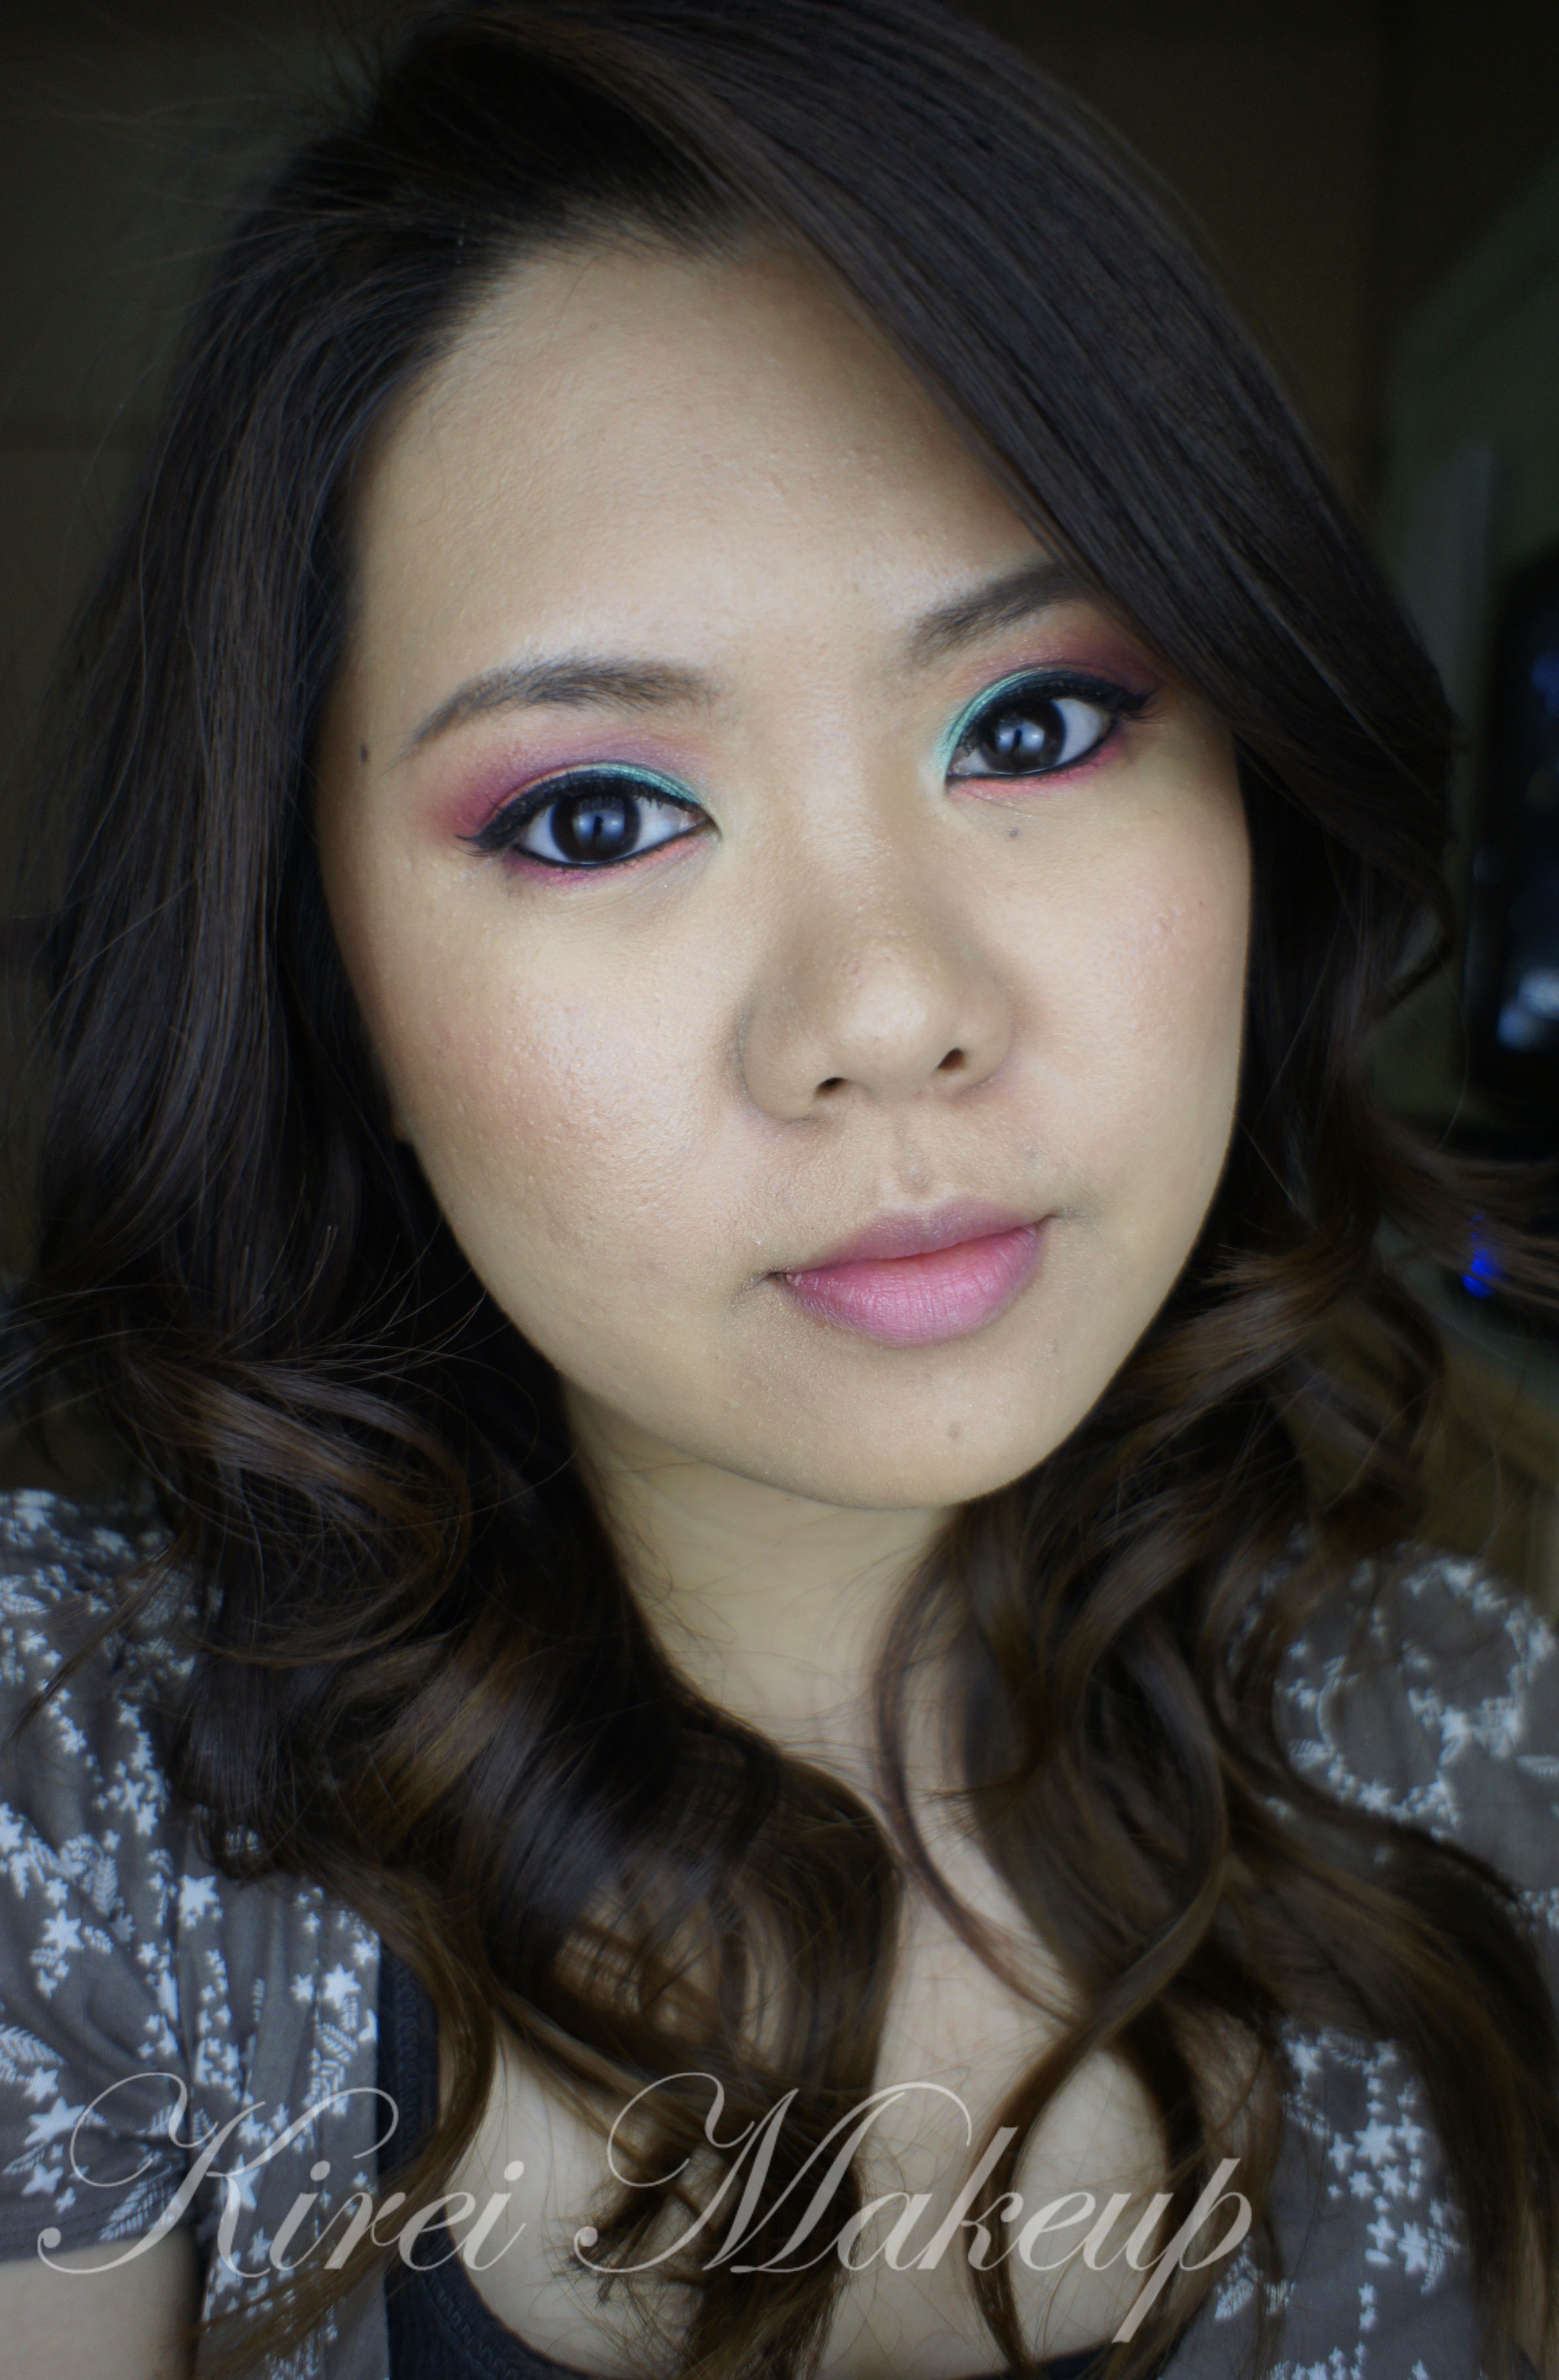
Sooo, as you guys know, I posted a sneak preview of today’s tutorial on Instagram and Twitter. If you didn’t check it out, follow me on both account (handle name: @KireiMakeup). I also mentioned on my tweet that I went to Plaza Indonesia to shop at Make-Up For Ever. I bought this gorgeous aqua cream shadow in no. 9, which is a beautiful shimmery coral color. I knew the moment I laid my eyes on it, I wanted to do a bright look. Thus, I paired the deliciously bright coral with a minty green. I love how this look turns out! So very summer-y! Kinda looks like candies, no?

I think this MUFE Aqua Cream no. 9 is actually for the lips, so you might want to test it out first if there’s any reaction when you apply it to your eyes. I had no sensitivity or negative reaction towards it, so I proceeded to apply it to my eyes.

I also filled in my brows slightly different this time since I’m trying to grow my brows out so I can re-shape them again. Instead of the usual arch, I drew the brows slightly lower this time, which helped with the overall look. I think the softer, lower brows make the look more wearable and framed the face softer.

The key to this look is to quickly blend the cream shadows before they dry out. Once the creams dry, you might have a difficult time blending it. The look works with just the cream shadows alone, but I like to set it with eyeshadows to make it last longer and for the colors to look even brighter.

How-to:

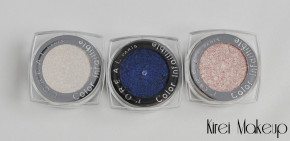
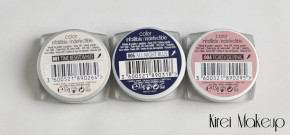
1. Using a synthetic brush (mine is an art brush from a bookstore), I applied Maybelline Color Tattoo 24-hr in Edgy Emerald on the inner half of the lid.

2. Using a flat eyeshadow brush, I applied Make Up For Ever Aqua Cream Shadow in no. 9 on the outer half, blending it towards the Edgy Emerald and on the crease slightly. I used a clean fluffy blending brush from Urban Decay to blend the crease.

3. Using a clean flat eyeshadow brush, I applied a mint green eyeshadow from Gosh Spring Passion (limited ed.) on top of Maybelline Edgy Emerald.

4. I also applied L’oreal Pepsy Coral infallible eyeshadow on top of MUFE no. 9 aqua cream shadow. I blended the color towards the mint so there’s no harsh line separating the 2 shadows.

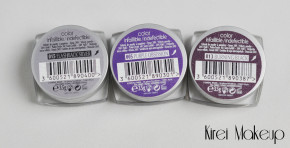
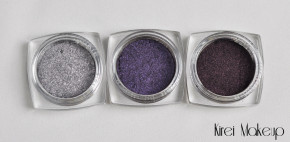
5. Using a small fluffy brush (mine was given by a chinese-based brush company), I mixed MAC Passionate and MAC Vibrant Grape at the back of my hand, then I applied it lightly on the crease.

6. I applied MUFE Aqua Cream no. 9 on the lower lid using a clean angled eyeliner brush.

7. On top of that, I also applied the same mix of MAC Passionate and MAC Vibrant Grape on the outer half of the lower lid. I also added L’oreal Pepsy Coral infallible eyeshadow on the inner corner of the lower lid.

8. Using an angled eyeliner brush, I created a thin winged liner along the upper lashline using MUFE Aqua Black gel liner. I lined my waterline using whatever that was left on the brush.

9. I filled in my brows using Dollywink brow pencil.

10. I curled my lashes, applied L’oreal Curl Impac Collagene mascara on the upper and lower lashes.

11. For some extra fun, I applied Ardell no. 110 false eyelashes and squeezed both fake and real lashes together so there’s no separation. At this time, I found that the liner on my waterline wasn’t black enough, so I applied Physician’s formula black eyeliner on it.

12. I applied MAC Brule eyeshadow under the brows.

coral and mint makeup

13. For the face, I applied MUFE HD Foundation using a Sigma Round Kabuki brush.

14. For concealer, I used L’oreal Magic Touche concealer under the eyes.

15. I applied Chanel Universal bronzer on the cheeks, temples and jawline.

16. For the cheeks, I applied MAC Cubic blush.

17. Lastly, I applied Tarte Lipsurgence in Hope on my lips.

mufe cream shadow

Sweet Plums

Valentine’s day is 11 days away, and here’s another Valentine’s day inspired look. I probably won’t wear this on a Valentine’s day, but I just pick colors that I feel is valentine-ish. The look has plums, purple and pink in it. I feel that the colors look better on real life, probably because my camera isn’t picking up the colors since I changed my lights (grrrr)..Hopefully once I’m back home I’ll be able to take better pictures…

Anyhoow, enough of me complaining…This look is more on the smokier side. May be on the next tutorial I’ll post a look that’s more wearable for Valentine’s day.

How-to:

1. I applied Maybelline Color Tattoo in Inked in Pink all over my lid using my ring finger.

2. I used a large eye angled brush and applied a berry-burgundy eyeshadow from Lancome (discontinued) on the outer V and just above the crease. I wanted to add some warmth to the look.

3. I used a blending brush and blended it.

4. Using a flat eyeshadow brush, I applied L’oreal Purple Obsessionย  Infallible eyeshadow right on the crease (or in my case, where the fold of my eyelid is). It’s ok if some of the shadow fall on the lid area (like mine)

5. Using a clean blending brush, I blended the purple until there’s no harsh line. I used small circular motion to blend the shadow.

6. Using a flat eyeshadow brush, I applied L’oreal Sweet Strawberry Infallible eyeshadow on the inner to the center of the lid using a patting motion.

7. I applied a vanilla eyeshadow on the inner corner, but I think a peachy or champagne highlighter will work better. Oh well.

8. I lined my waterline and lower lashline using Make Up For Ever eyeliner (4L).

9. I applied Galeano eyeshadow from Kat Von D Beethoven palette on the lower lid.

10. I lined my upper lashline using Kat Von D Trooper liquid liner to create a winged liner.

11. I curled my lashes and applied L’oreal Voluminous Carbon Black mascara on both top and bottom lashes.

12. Using MAC Brule, I applied it under the brow bone.

13. I filled my brows using a mix of MAC Omega + MAC Brun using an angled brush.

14. Using a very clean blending brush, I blended the crease a little bit more.

Purple Smoky eyes

15. On the face, I applied MAC Moisture Cover on NW 15 under my eyes.

16. Then, I applied L’oreal Magic Lumi foundation all over my face using Sigma Kabuki Round brush.

17. I applied MAC Warmth of Coral mineralized blush on the cheeks.

18. For the lips, I filled in my lips using L’oreal Beyond Pink lip liner and applied Revlon Mauve It Over on top of it.

Pink and Purple smoky eyes

L’oreal Infallible Bold Eye Contest

Dear family, friends and readers!

Exciting news! I managed to finally complete a video! ๐Ÿ˜€ With the help of bf who picked the fancy camcorder, model: Tayler who’s gorgeous as always and my workmate John Fleming who did the audio! Please visit http://www.youtube.com/watch?v=Q5Wx2sQLr1A for the video (or watch below). Now, I do have to say a huge thanks to L’oreal Canada who sent me all the great goodies! This video is an entry for the L’oreal Infallible Bold Eye Contest that L’oreal is holding. So, please do go on youtube and give me a thumb-up if you like the video ๐Ÿ™‚

How-to:

1. I applied L’oreal Tru Match Foundation (a mix of W2 and w4) to match Tayler’s skin colour perfectly with a damped beauty blender sponge.

2. I applied UD Primer Potion in Champagne on her eyelids.

3. I applied MAC Cakeshop paintstick so that the eyeshadow’s colour pop even more.

4. Using a flat eyeshadow brush, I applied L’oreal Infallible eyeshadow in Permanent Kaki all over her eyelid.

5. Then I used L’oreal Extra Intense Liquid Pencil Eyeliner on her upper lashline. I smudged it with a pencil brush.

6. I applied Loreal Infallible eyeshadow in All Night Blue on her lower lid with a small smudge brush.

7. With an angle brush, I applied L’oreal Infallible eyeshadow Unlimited Sky in the inner corner of the lower lid.

8. I used L’oreal Infallible eyeshadow in Hourglass Beige to highlight the bridge of the nose, cupid’s bow, brow bone and on top of the cheekbones.

8. Then I applied blush, bronzer and finish the look with lipstick.

10. I applied L’oreal Infallible eyeshadow in Forever Pink on the lips for an added sheen.

For more detailed info, please visit the youtube link so you can see how I did the whole look

ps: for her hair I just did a fishtail braid ๐Ÿ™‚

xoxo

L’oreal La Couleur Infallible

I received a pack of 9 eyeshadows by L’oreal last week in the mail! Thanks again, L’oreal Canada. Now, even though this is a sponsored post, I will let you know how I feel honestly about this product. I have yet to try it on, so I shall not comment on how long the eyeshadows last. I will, however, mention that this is by far one of the most pigmented eyeshadows/pigments I have ever used. I will try to post a tutorial tonight or tomorrow using these products.

What I like the most about this product is the way it comes. I’m unsure as how I should call this eyeshadows. They are kinda like loose pigments, yet they are packaged in a way that it’s like a compact eyeshadow. This product is very similar to Giorgio Armani Eyes to Kill eyeshadows. It’s basically a densely packed pigments! I love the fact that it’s super pigmented without being all over the place because they’re not loose pigments. Point is, they are awesome little products that won’t make much mess! ๐Ÿ™‚

The texture is like cream eyeshadow, but once applied it’s like a compact/powder eyeshadow. It’s very shimmery, yet the shimmer is not overpowering.

I shall comment on the blendability and lasting power on my next post.

I did not do any swatch because whatever the colour you see on the container, that’s what you will get. Also, I received 9 colours, but this product line actually consists of 11 colours. The 2 colours that I was missing were: Eternal Black and Endless Chocolate. I might get those 2 myself later on.

The 9 colours are:

Permanent Kaki (olive green), Unlimited Sky (light blue), Hourglass Beige (golden beige)

Flashback Silver (silver), Purple Obsession (purple), Burning Black (maroon)

Time Resist White (vanilla white), All Night Blue (deep navy), Forever Pink (rosy pink)

Price is pretty good for the amount of product that you get ($10 for 3.5g, compared to $20 for 4.5g from MAC). You can find this in Shopper’s Drug Mart in Canada.