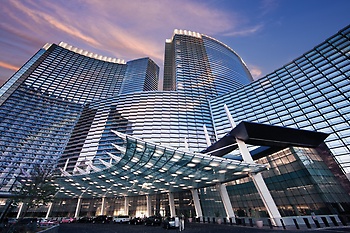
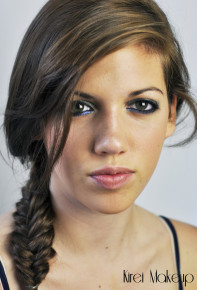
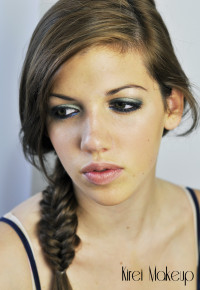
Today’s Night Out Makeup tutorial is a collaboration with Aria Resort in Las Vegas. I was approached by them to create a look for a night out in town. I took a look at pictures of their beautiful resort, and was inspired to do this gorgeous metallic smoky eyes. So, I used the picture below to create today’s look. I wanted to add more color, but decided to create something that’s more wearable instead. Perhaps next time, I’ll do a different look for Aria again.
Inspired by the glass windows of Aria Resort’s building, and of course the awesome lights in Vegas, I decided I want to create a smoky eyes with a hint of sparkles. So, I took out my MAC Blue-Brown pigment, and MAC Raindrops crushed metallic pigment for this look.
This look is a little bit over the top if you aren’t used to wearing makeup. Of course you can always take it down a notch, but hey, it’s Vegas, baby! Go big or go home, yes? hahaha..
For the face, I didn’t want to do anything too much since the eyes are already quite dramatic. Of course, you can contour and highlight to your heart’s content. I, personally, prefer a fresh dewy face look over a heavily contoured face to balance out the eyes, since it is a wearable look. You can wear this for a night-out, or to go clubbing. Whenever you blink, the shades will create beautiful sparkles when lights hit them.
Scroll all the way down for product list!
How-to:
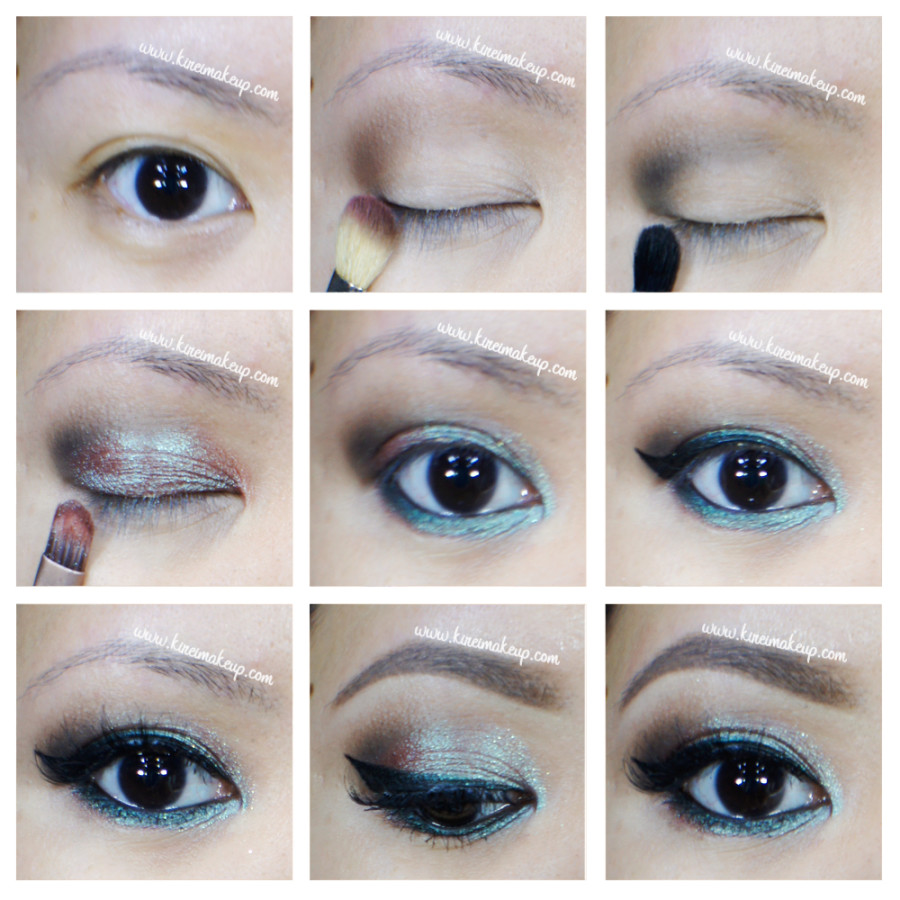
1. I prepped my eyelid using Urban Decay Primer Potion in Eden.
2. Using a fluffy blending brush, I applied Shadow Box from Kat Von D Monarch palette on my crease.
3. Using a bullet crease brush, I applied Deadhead from Kat Von D Monarch palette on the outer V, blending it to the crease.
4. I applied (dry) MAC Blue-Brown pigment using a flat eyeshadow brush. You can apply this pigment wet if you want a more intense look.
5. On the waterline and lower lid, I smudged L’oreal Voluminous Smoldering eyeliner.
6. Then, I applied MAC Raindrops crushed metallic pigment on top of the smudged liner on the lower lash line. I also applied this pigment on the inner corner of my eyes, and just a tiny bit in the center of my eyelid.
7. I created a winged liner using Kanebo Kate Super Sharp eyeliner.
8. I curled my lashes and applied MUFE Aqua Smoky Lash mascara. I also applied Lavie Lash false eyelashes in Fleur.
9. For the brows, I filled it in using Anastasia Brow Wiz in Ash Blonde and Brunette.
10. On my face, I applied Marc Jacobs Gel foundation using Cover FX cream foundation brush.
11. Under my eyes, I applied MUFE HD concealer.
12. I applied Benefit Moon Beam highlighter on top of my cheekbones, bridge of my nose, and cupid’s bow.
13. I set my foundation using MAC Mineralized skin finish in Medium.
14. I lightly contoured the hollows of my cheeks and sides of my nose using MAC Mineralized Skin Finish in Deep.
15. On my cheeks, I applied Smashbox Halo Blush in In Bloom.
16. I lined and filled my lips using MAC Lip Liner in Spice. On top of it, I applied Vaseline to keep it moist.
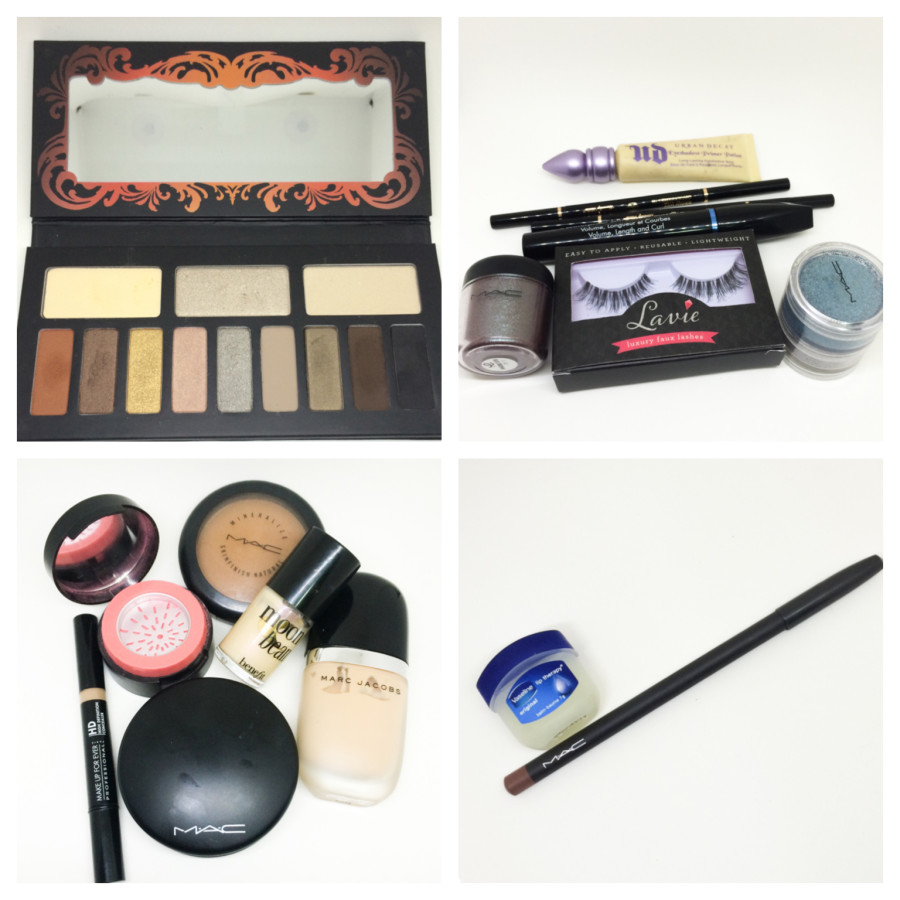
Products used:
Eyes – Urban Decay Primer Potion in Eden; Kat Von D Monarch Palette (crease: Shadow Box, outer V: Deadhead); MAC Blue-Brown loose pigment; MAC Raindrops crushed metallic pigment; Make Up For Ever Aqua Smoky Lash; Lavie Lash in Fleur, Anastasia Brow Wiz (Ash Blonde, Brunette).
Face – Marc Jacobs Gel foundation; Make Up For Ever HD Concealer; Benefit Moon Beam highlighter, MAC Mineralized Skin Finish (setting powder: Medium, contour: Deep); Smashbox Halo Blush in In Bloom.
