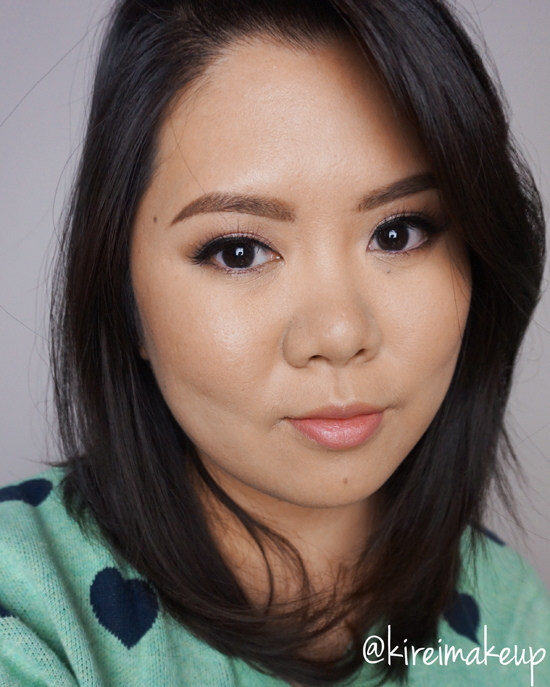
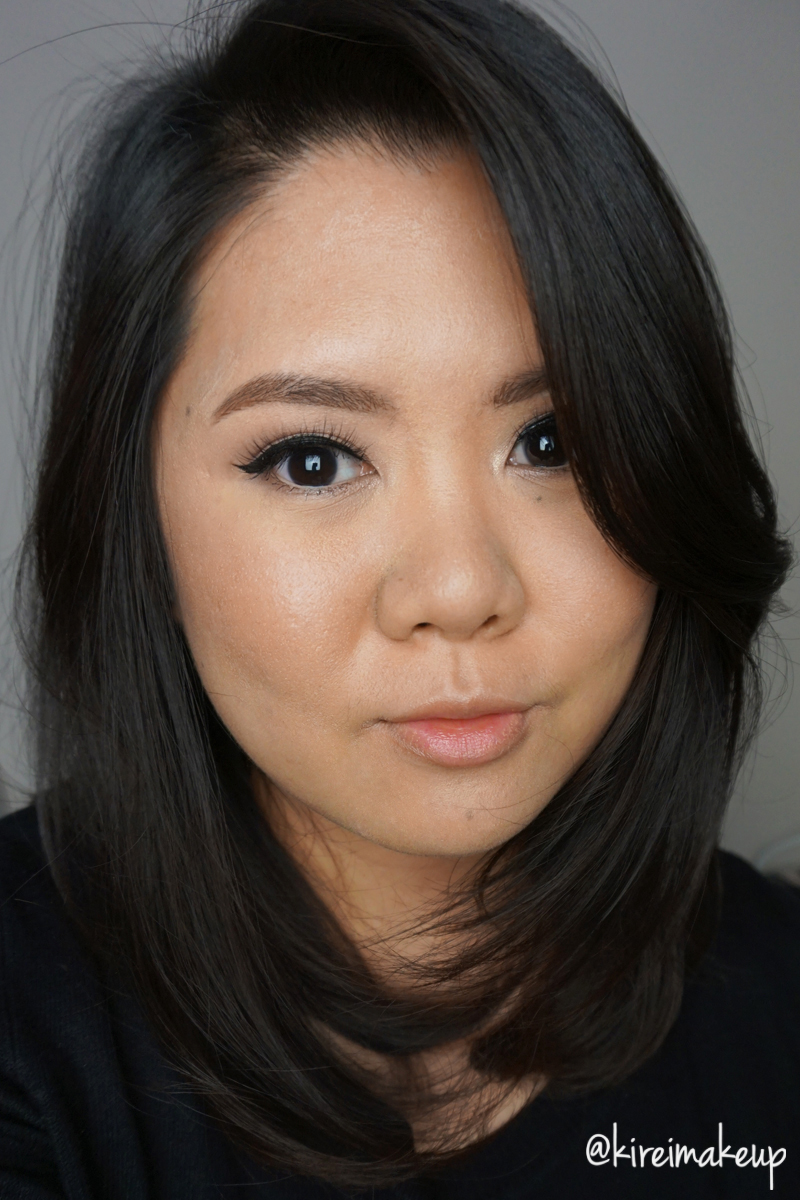
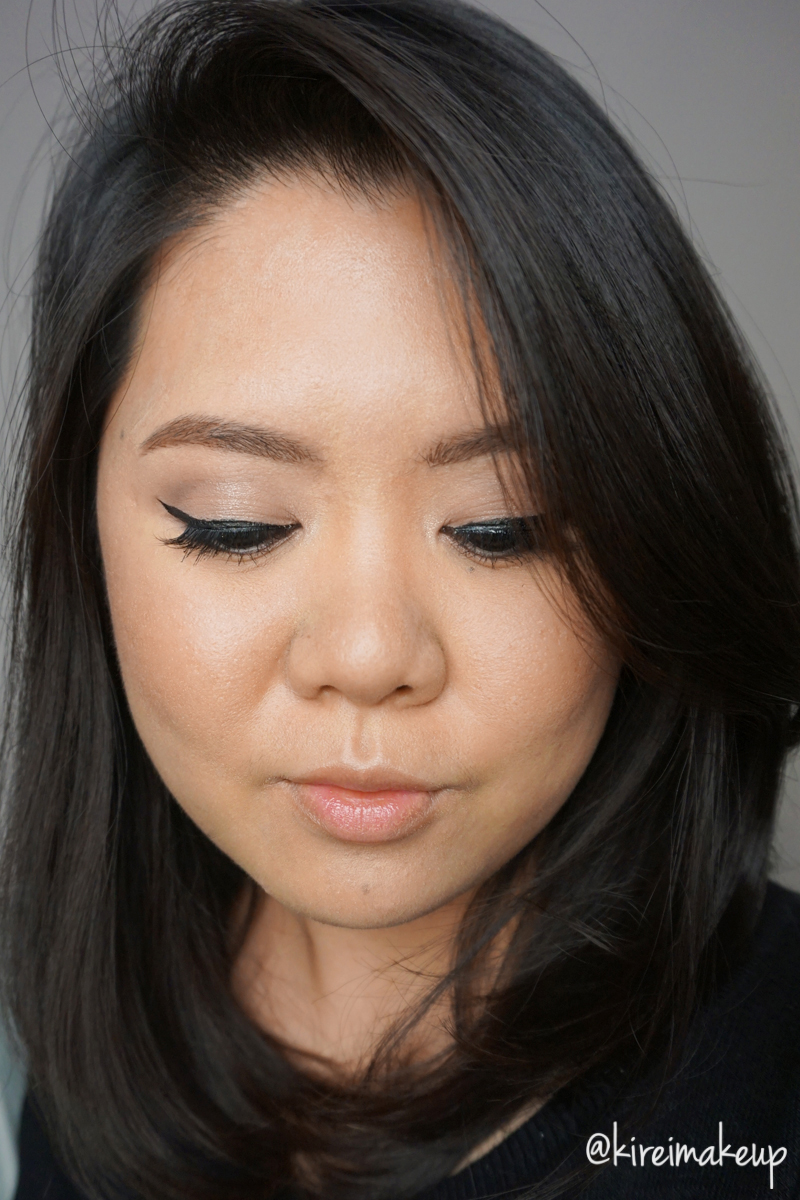
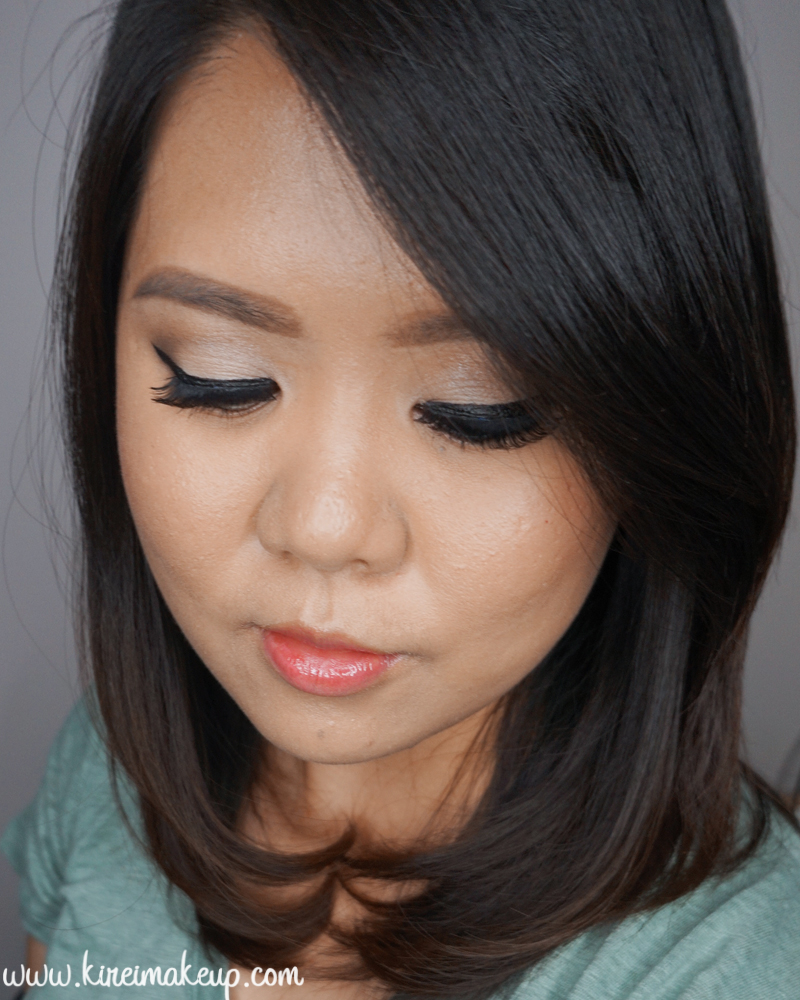
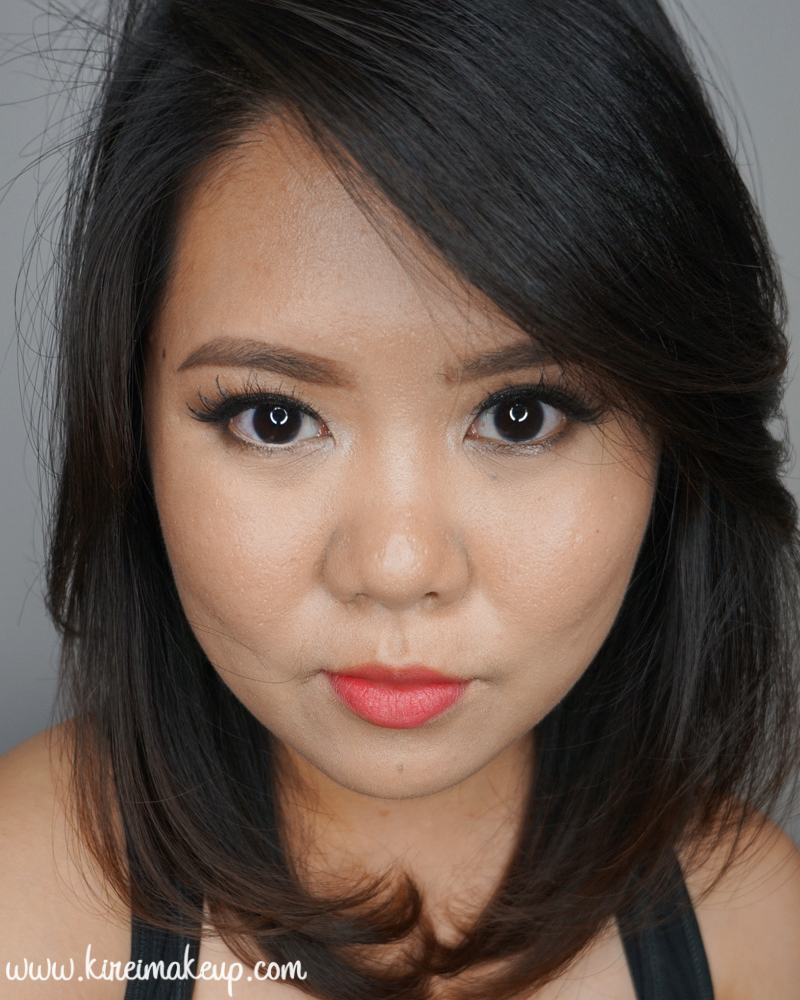
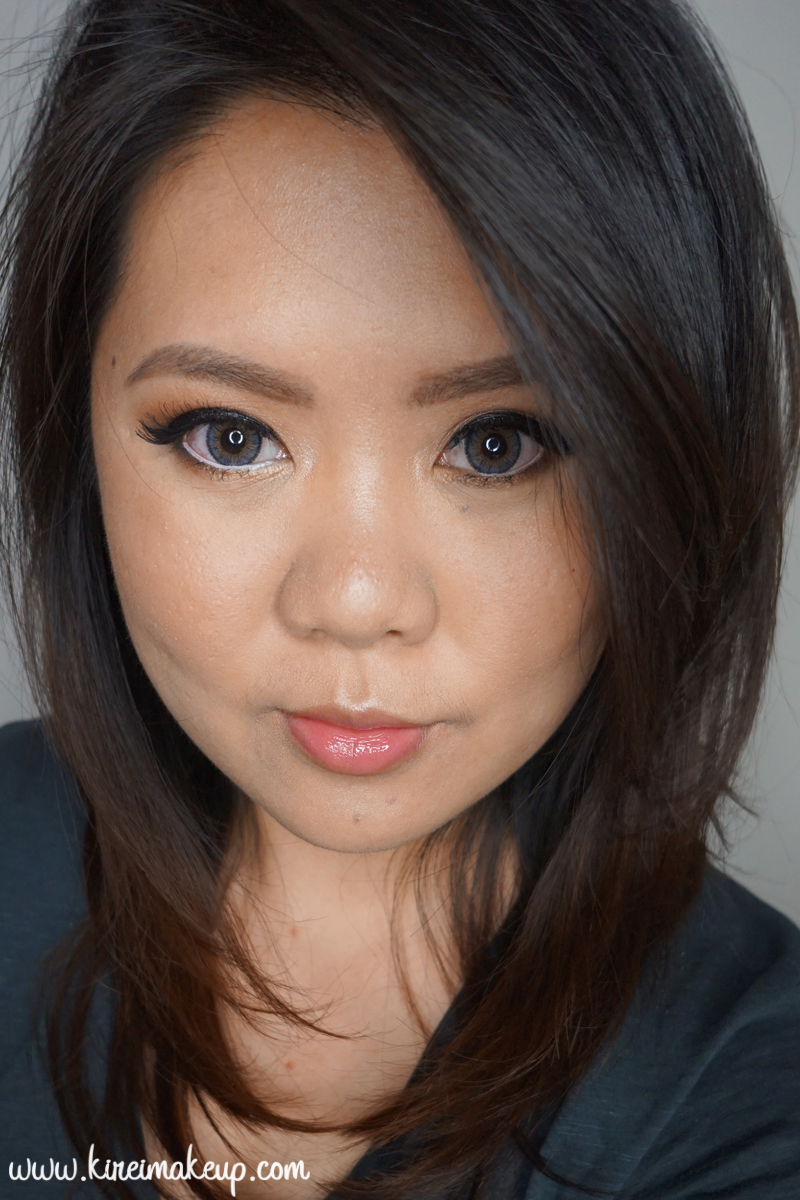
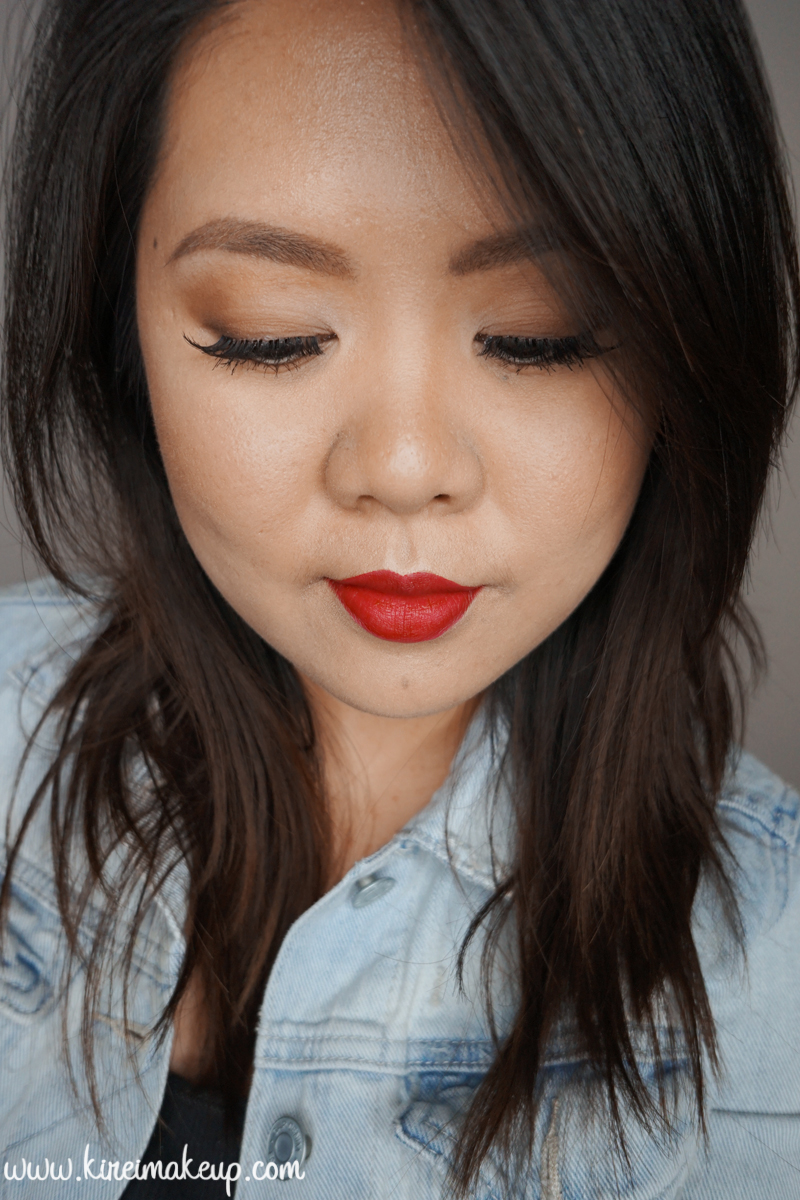
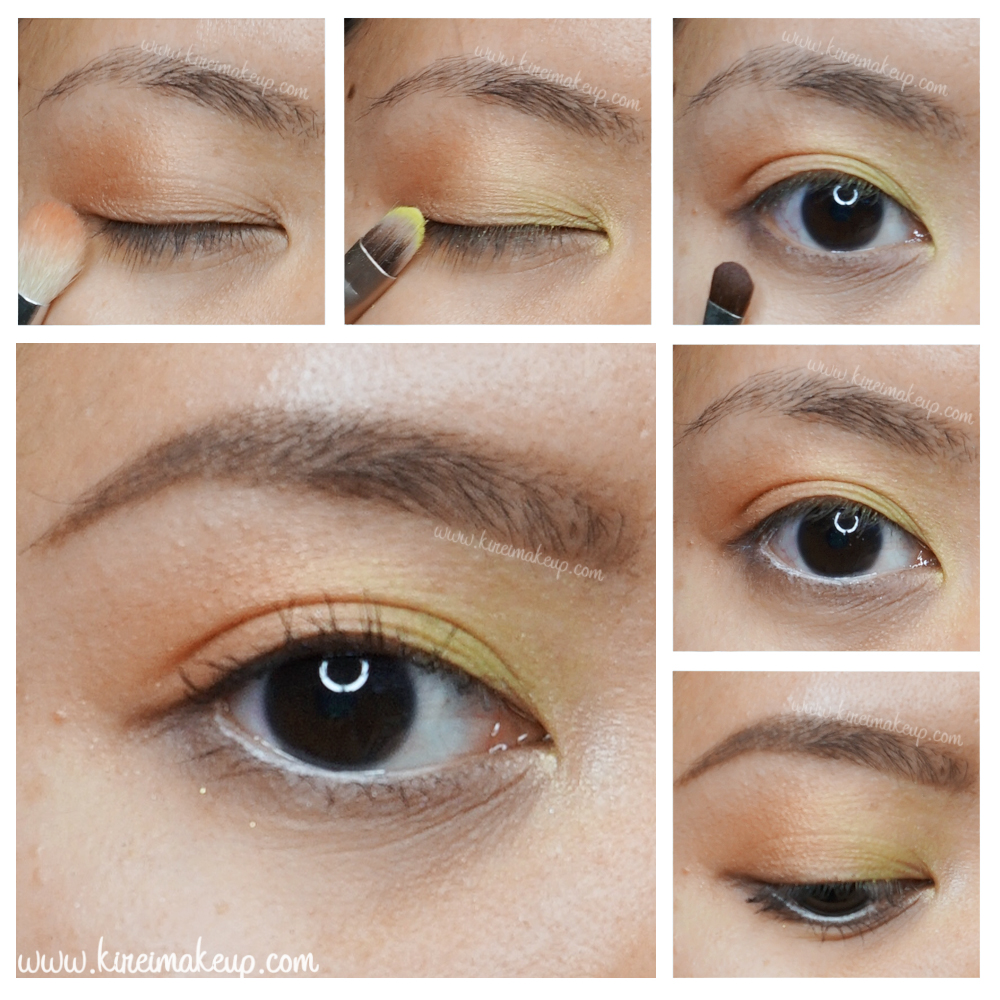
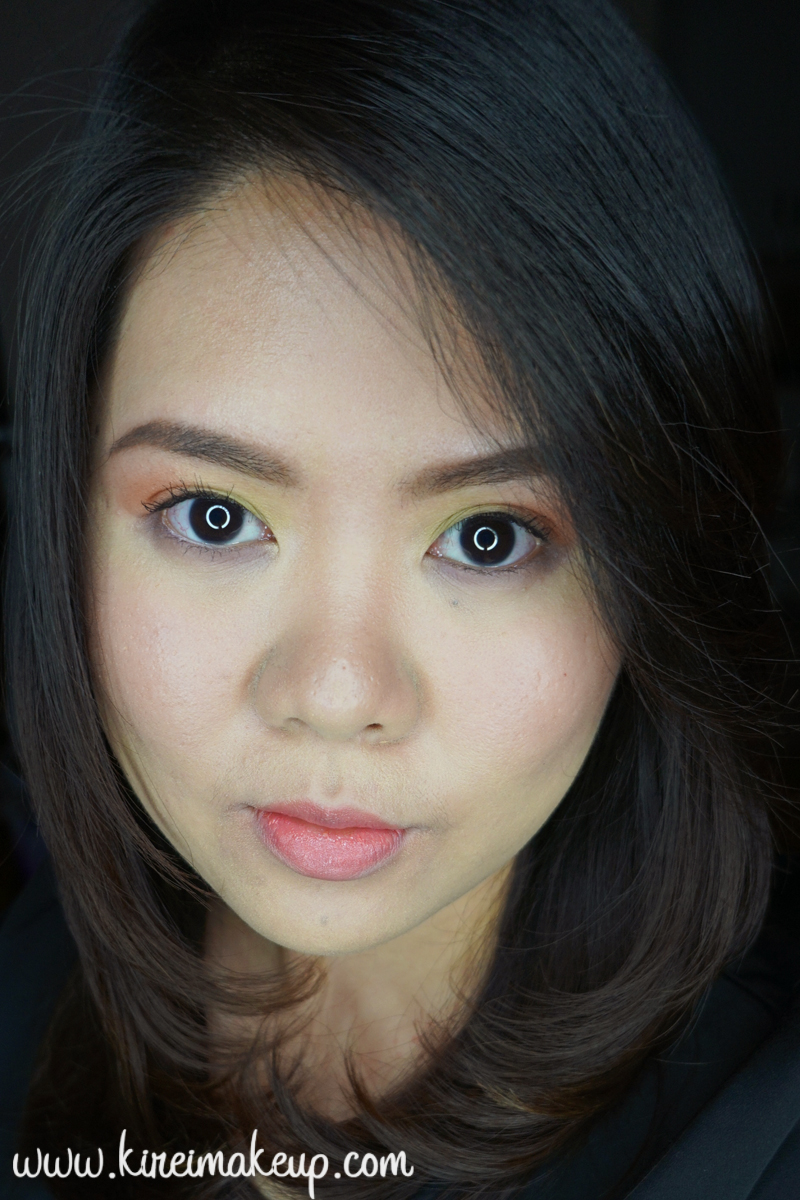
I’ve realized that there’re a lot of people who land in my blog looking for an UD Naked 3 tutorial. So, here’s my Party Makeup look using UD Naked 3. This look is not too smoky, but if you’re looking for a smoky using this palette, you can check out my UD Naked 3 smoky eyes video tutorial, and other UD Naked 3 tutorials. I’ve also done an UD Naked 3 review, so if you’re thinking of buying this palette for yourself or as a gift, do read the review first.
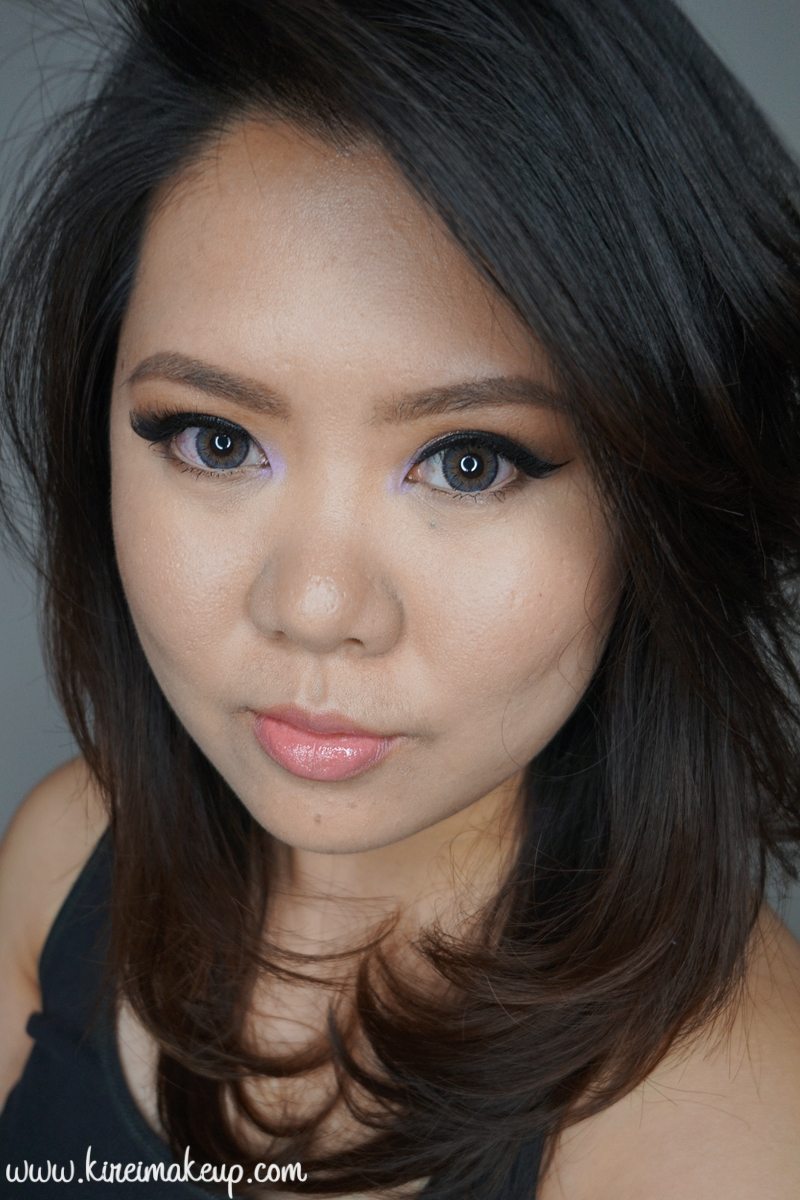
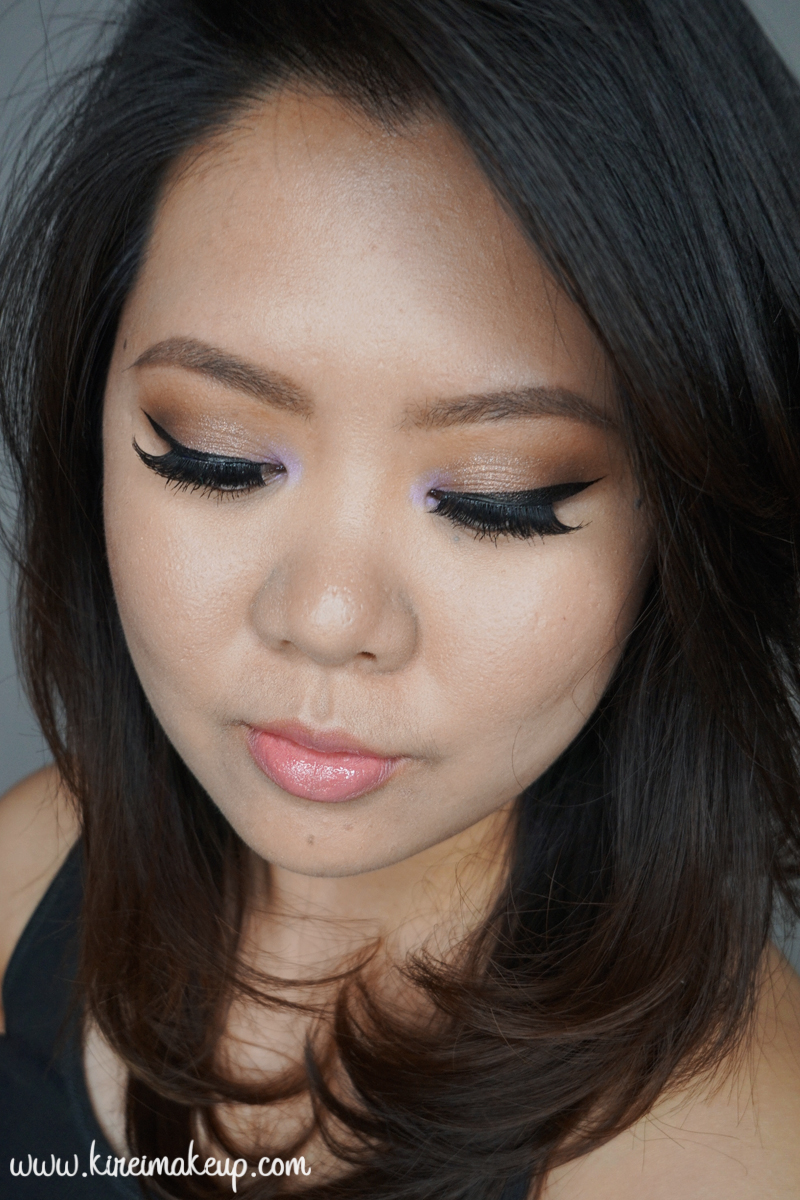
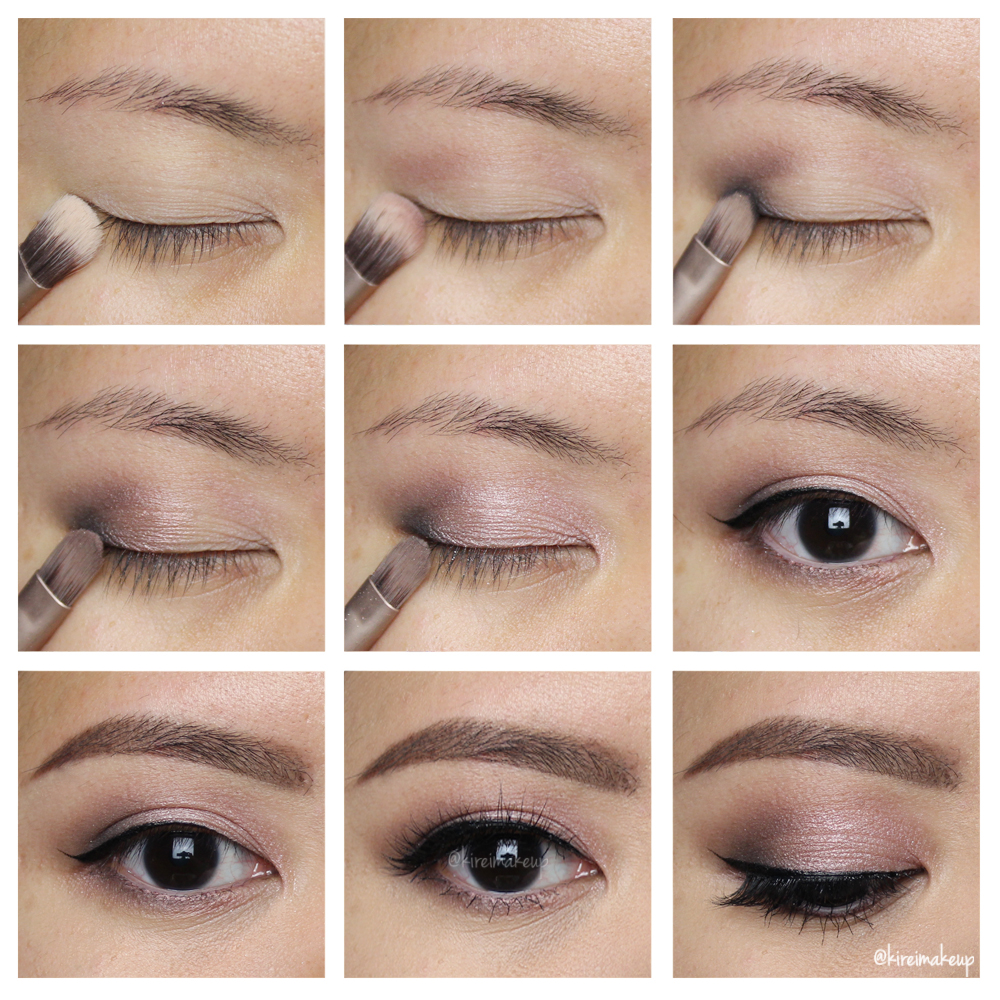
I’m using a new camera for this tutorial, and I’m not sure how this pictorial looks on your screen, I hope you can see the colors as I see it on my screen. It’s a very nice mauve shade, and it looks very feminine and soft.
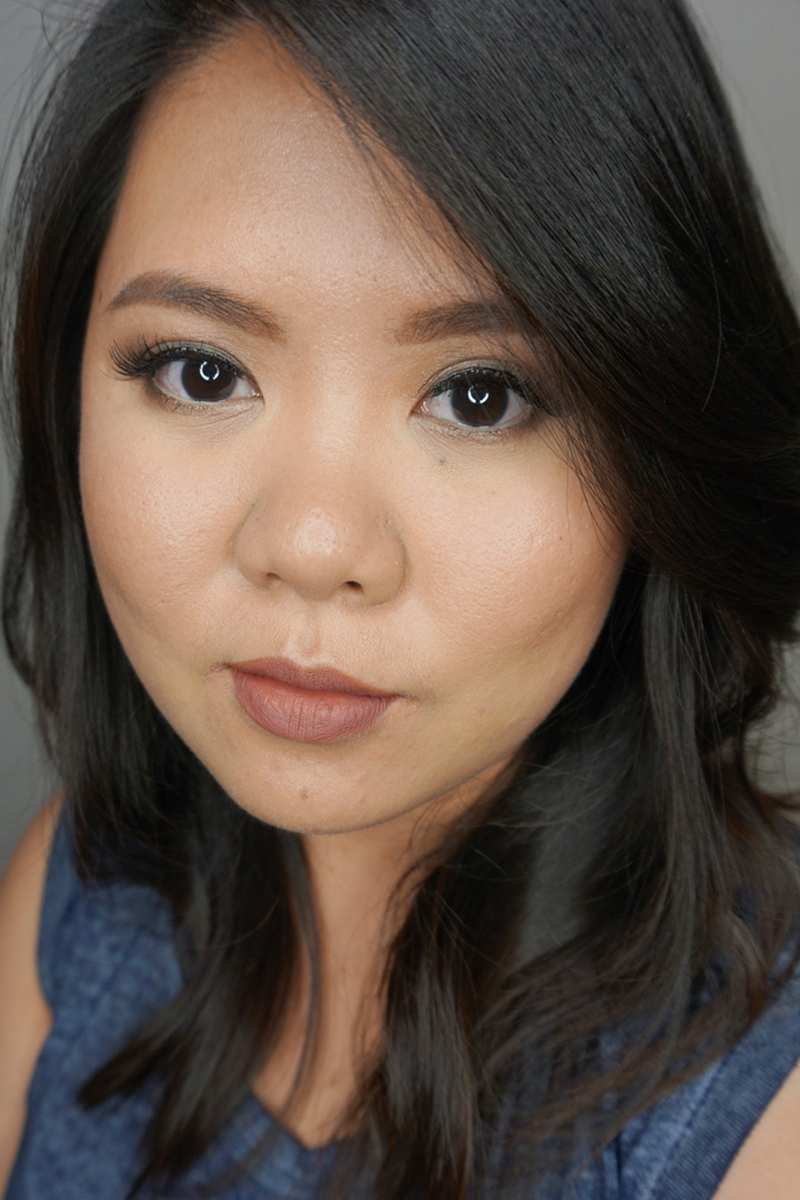
Anyways, for my face, I used a new foundation I recently bought. I think I’m really liking this foundation, it’s the Chanel Perfection Velvet Lumiere. Anyways, will have a line up of reviews coming up soon. I’m trying to push all the makeup tutorials first since it’s almost Christmas and New Year, so reviews will be up in January probably.
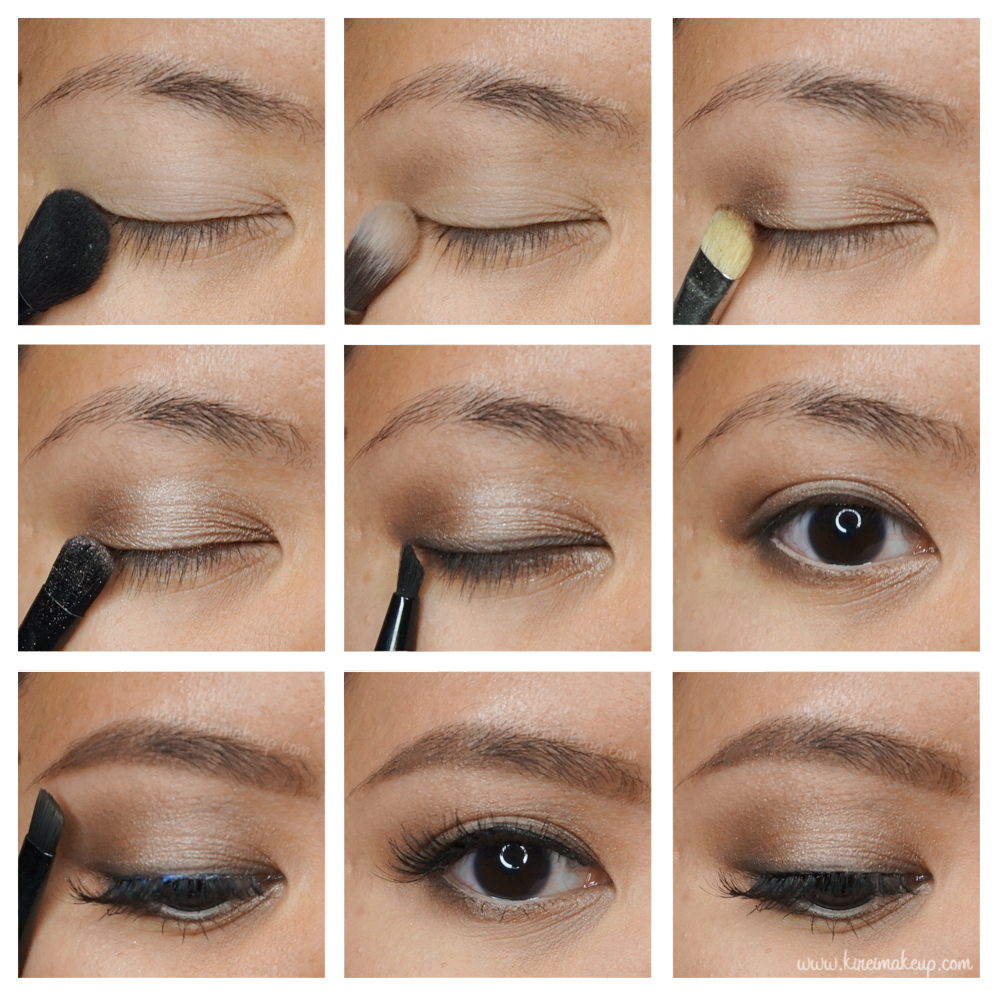
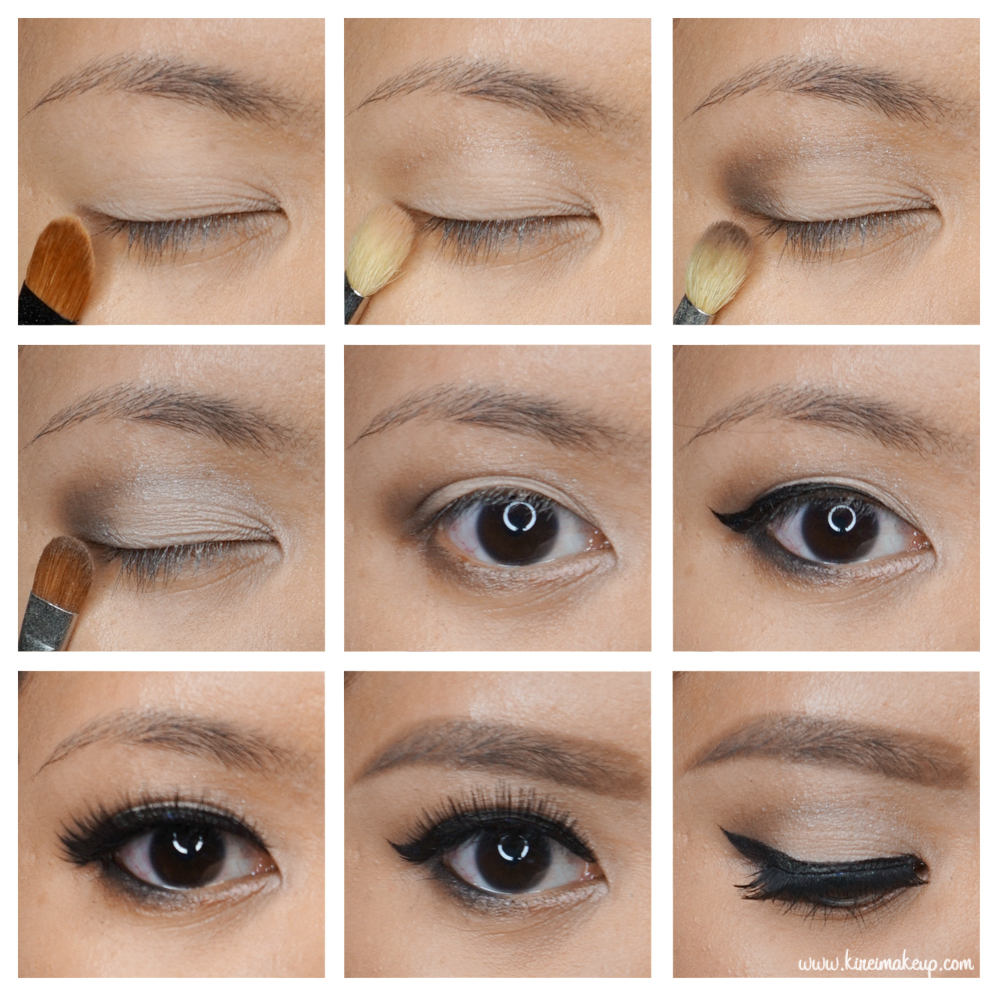
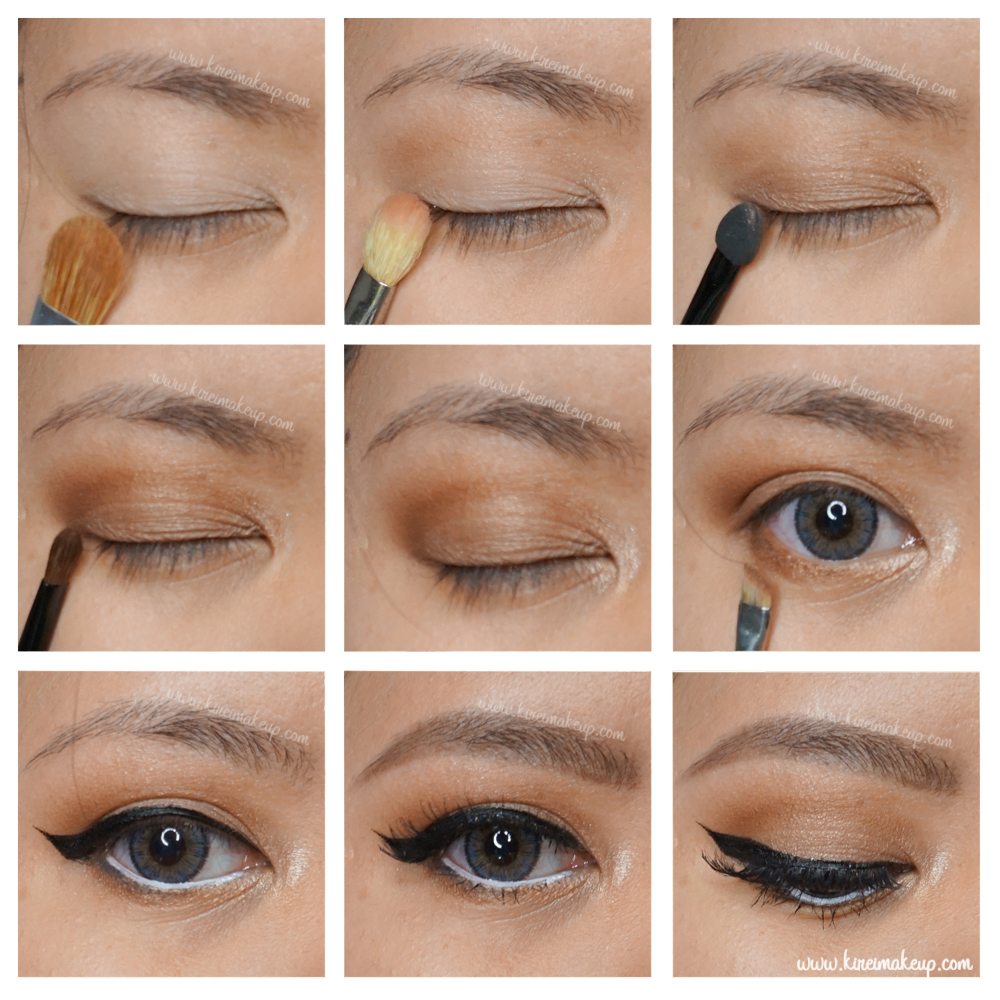
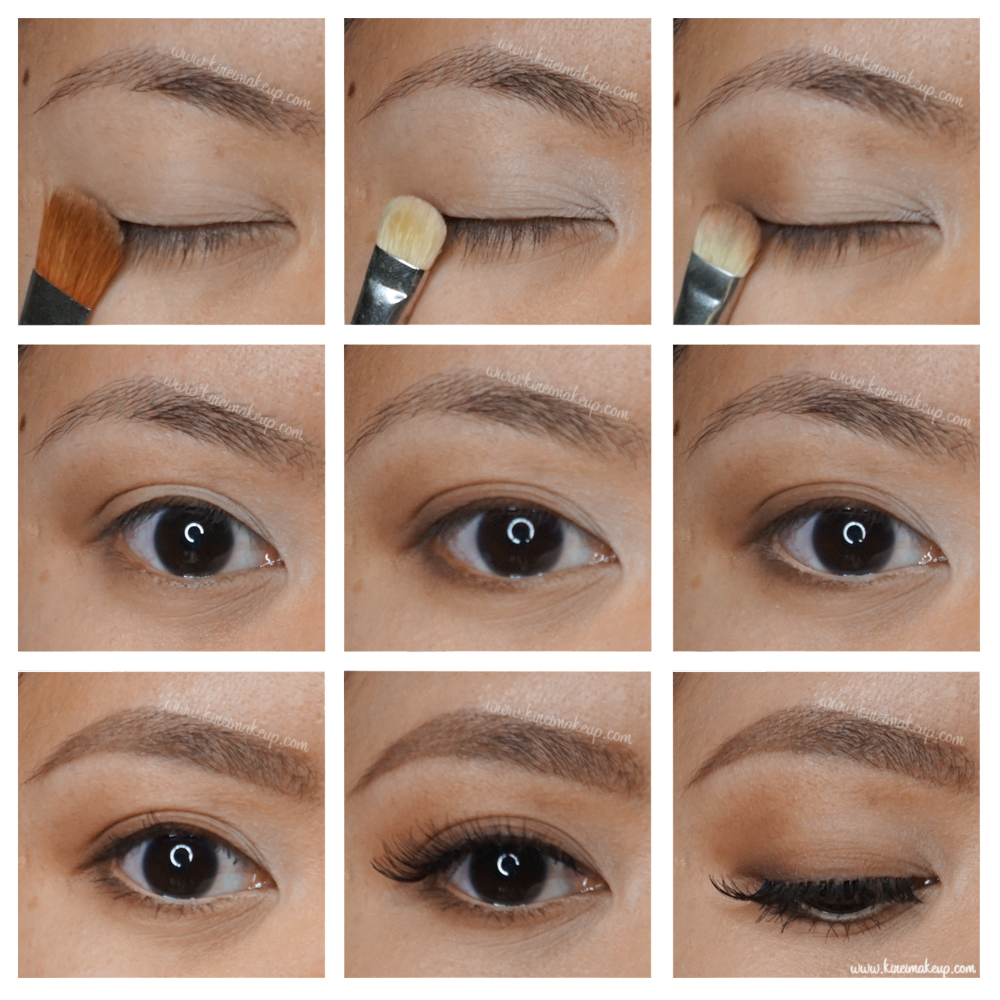
One thing regarding this tutorial is that I only used 1 brush, which is the brush that came with the palette. All I did to keep the brush clean between application is to run it through a black stippling sponge (similar to the Vera Mona Color Switch).
Products used
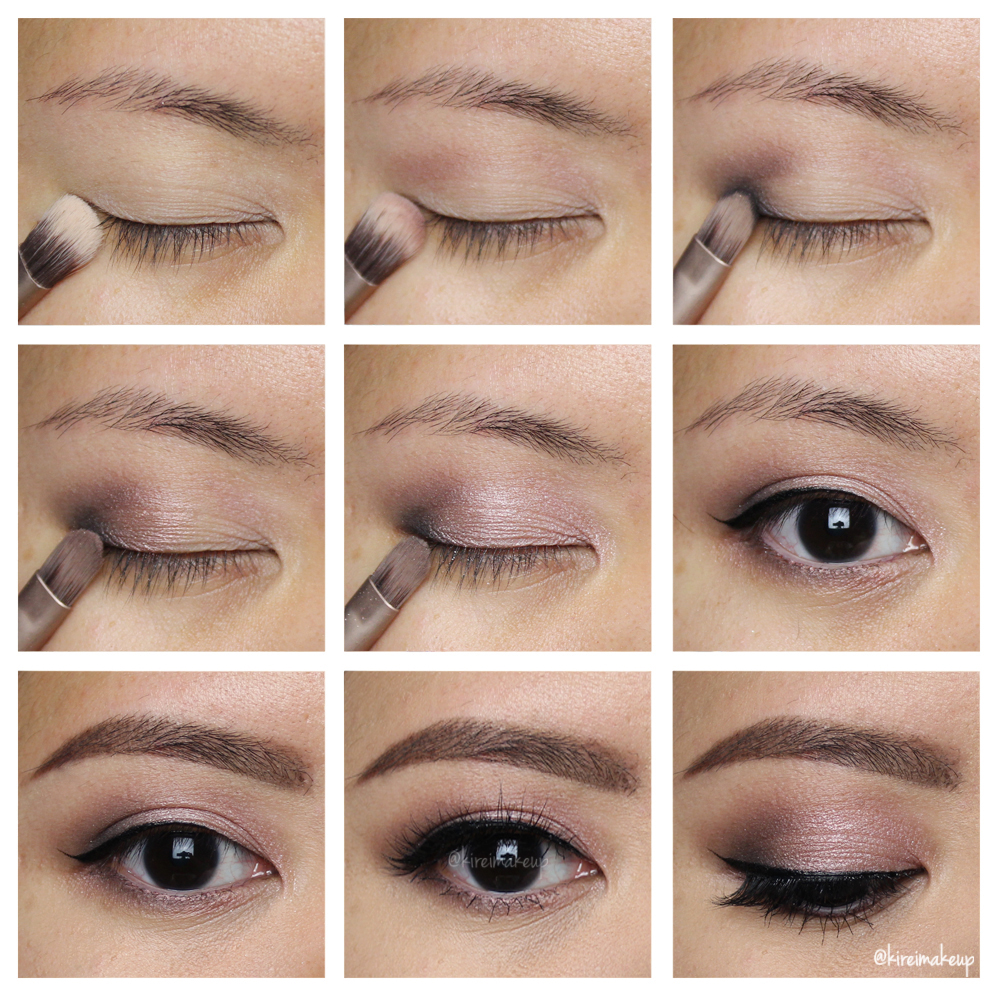
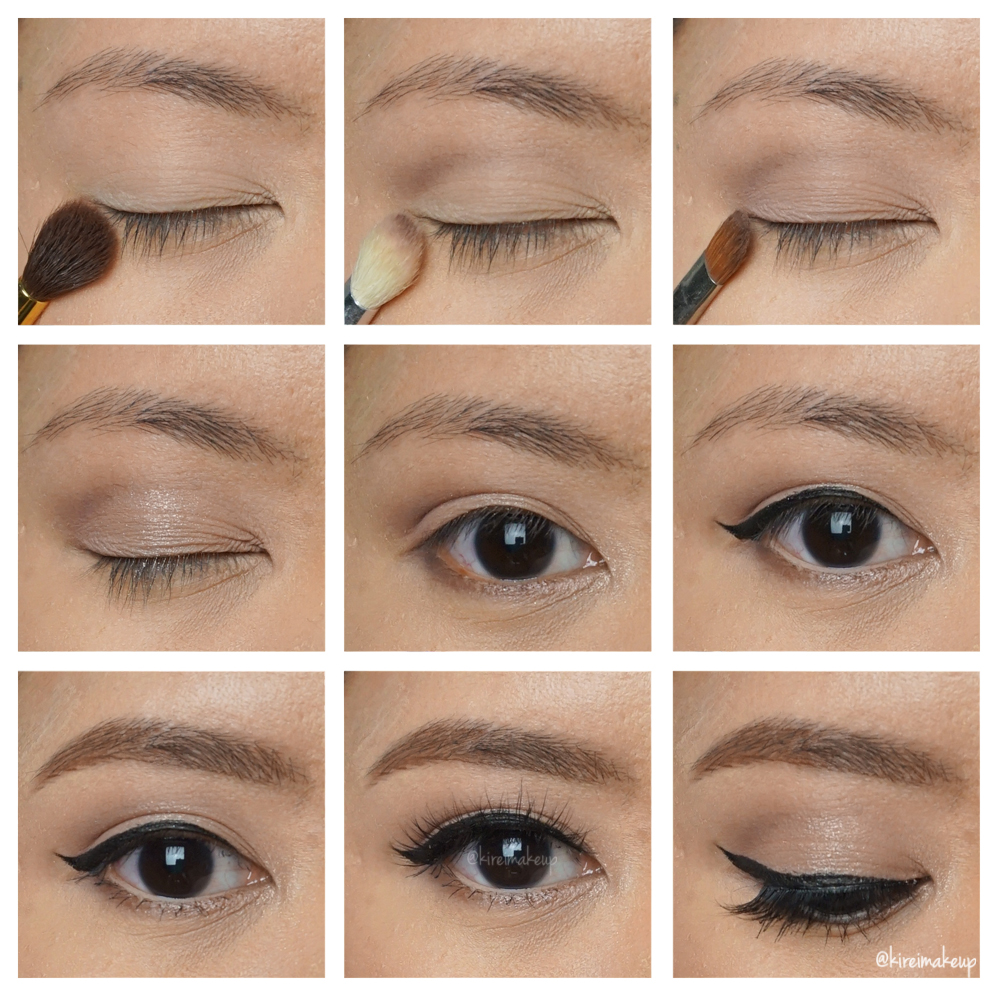
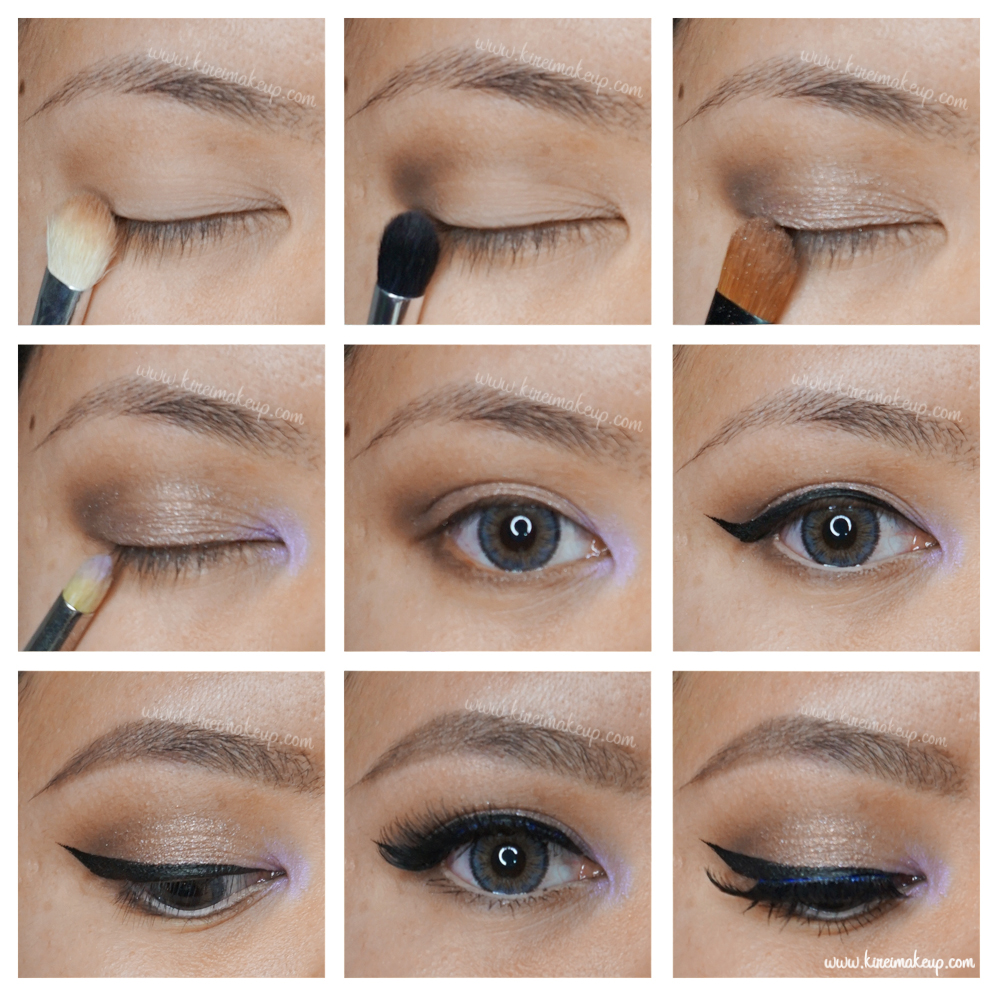
Eyes
- Primer – Urban Decay Primer Potion “Anti-Aging”
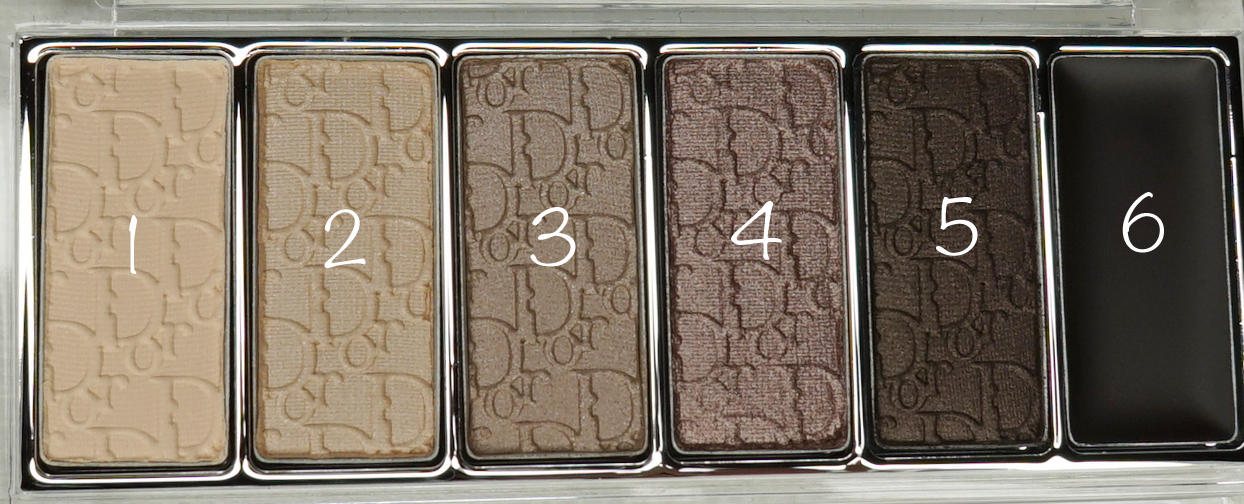
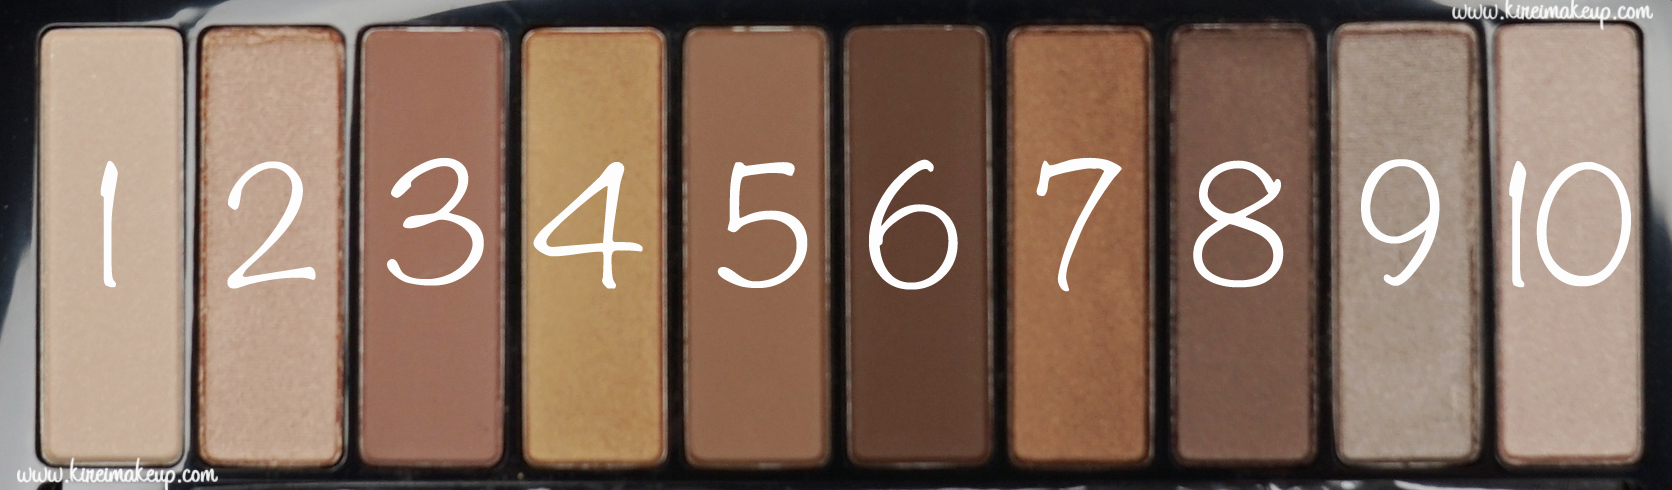
- Base – UD Naked 3 “Strange”
- Crease – UD Naked 3 “Nooner”
- Outer V – UD Naked 3 “Blackheart”
- Middle lid – UD Naked 3 “Liar”
- Inner lid – UD Naked 3 “Burnout” mixed with “Buzz”
- Lower lash line – UD Naked 3 “Liar”; UD Naked 3 “Blackheart” (outer half)
- Waterline – MAC Chromagraphic pencil “NW25/NC30”
- Winged liner – Kat Von D Tattoo liner “Trooper”
- Brows – The Balm Balmsai palette “Woodie”
- Lashes – Esqido Lashes “Oh So Sweet”
Face
- Primer – The BodyShop “Drops of Youth Wonderblur”
- Foundation – Chanel “Perfection Velvet Lumiere #30”
- Concealer – NARS Radiant Cream Concealer “Custard”
- Setting Powder – Laura Mercier “Invisible Loose Powder”
Cheeks
- Blush – Chanel “Blush de Horizon”
- Highlighter – The Balm “Mary-Lou Manizer”
Lips
- Lip pencil – Annabelle lip pencil “Natural Rose”
- Lipstick – Sonia Kashuk lipstick “Nude Pink”


