MAC Viva Glam 1 Look #1

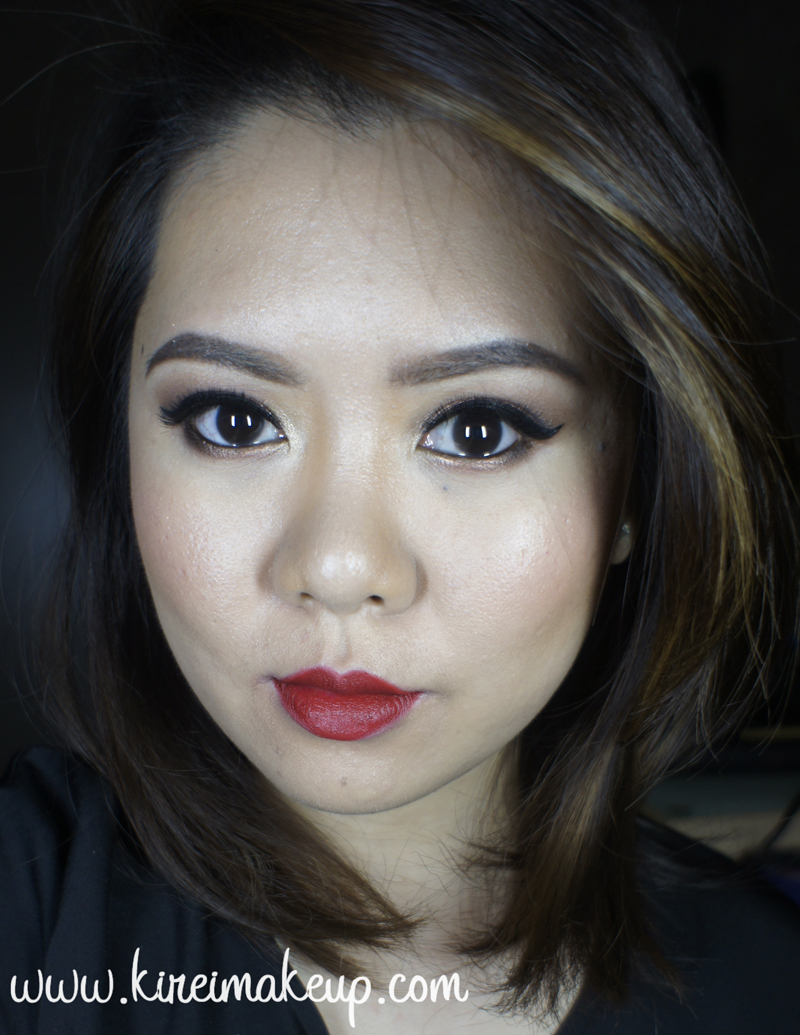
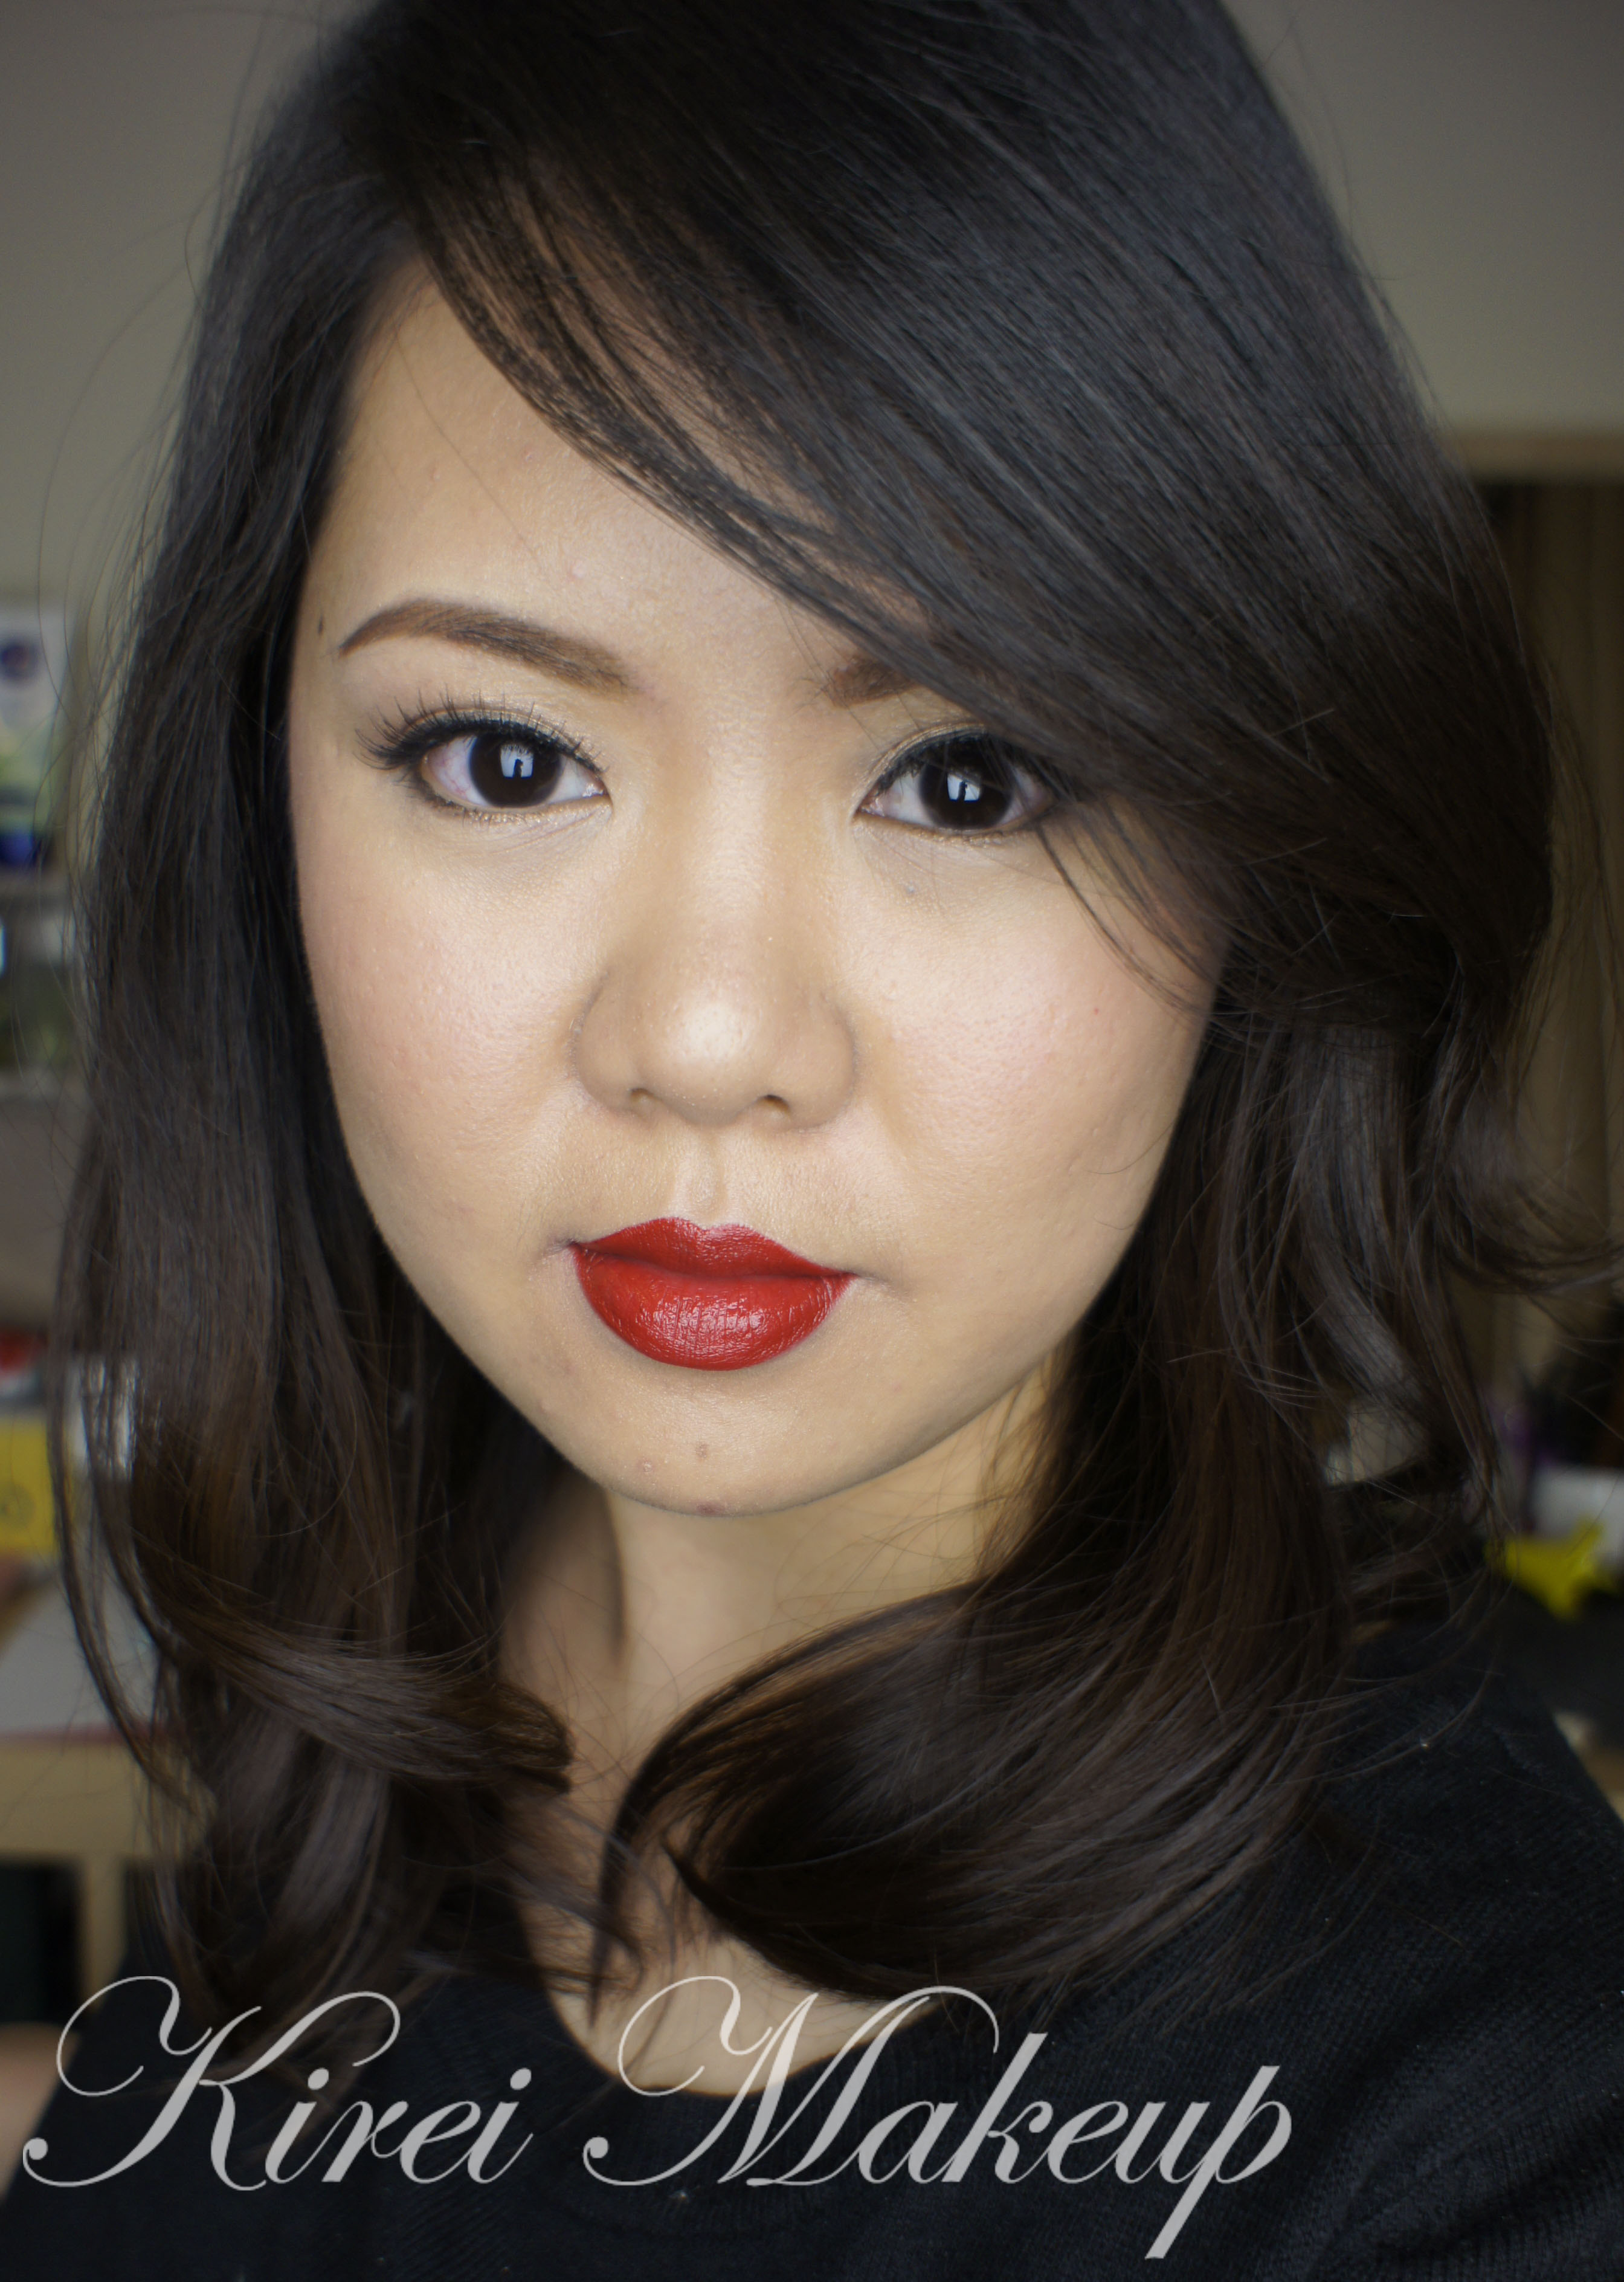
My friend, Elfa, and I went to Tex Saverio Trunk Show last week (photos on instagram). I did Elfa’s makeup, she wanted smoky eyes with red lips, and I actually loved how she looked. So, today I decided to recreate the makeup she wore, but twist it to suit me. I also wanted to use my the Original Viva Glam lipstick (MAC Viva Glam 1), so that look was perfect!

For the eyes, I decided to use my Sleek Makeup iDivine Storm palette since I wanted to do a warmer, coppery smoky eyes. I really seem to like a warmer, redder shades lately. Anyways, if you’re in Southeast Asia and want to purchase Sleek Makeup, you can do so with Luxola. Since this palette doesn’t have the names of each eyeshadow, I decided to number them for this post.

Sleek Makeup iDivine Storm tutorial

image courtesy of Sleek Makeup

Eyes are prepped using Urban Decay Primer Potion.
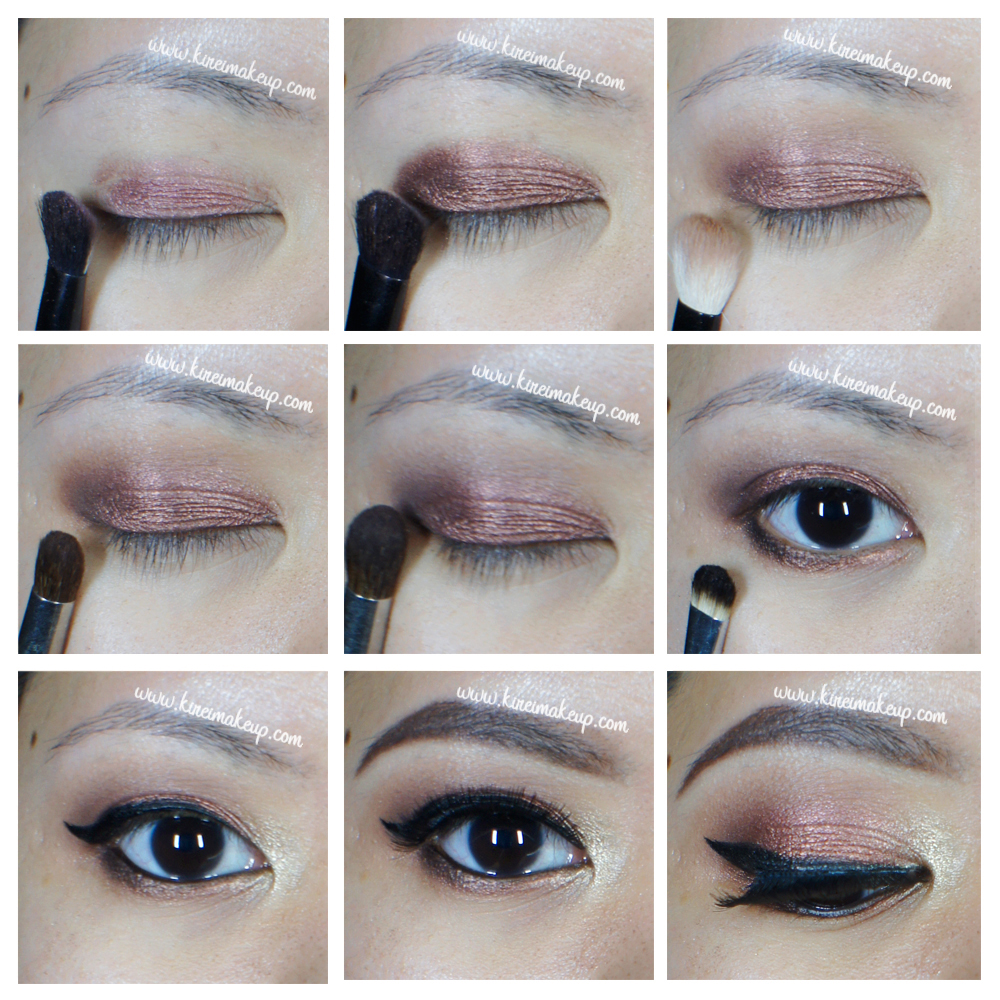
How-to:

1. I applied no. 1 on the center of my eyelid using a flat eyeshadow brush.

2. Using the same flat eyeshadow brush, I applied no. 2 all over the eyelid.

3. Using a fluffy blending brush, I blended out the edge all the way to above the crease using shade no. 3

4. I applied  no. 4 just on the outer V using a small crease brush.

5. Using a clean blending brush, I applied shade no. 5 under the brows.

6. I applied shade no. 2 along the lower lash line, and no. 6 just on the outer half using a small shader brush.

7. I lined my upper lash line using Kanebo Kate Super Sharp eyeliner, and on the waterline I used L’oreal Voluminous Smoldering eyeliner.

8. I applied a golden eyeshadow (above shade no. 3 – I forgot to add it) just on the inner corner of the eyes.

9. I filled my brows using Anastasia Brow Wiz in Medium Ash and Brunette. Also added Gwiyomi false eyelashes no. 18.

Copper smoky eyes

10. I applied Dior Star foundation on my face using CoverFX cream foundation brush.

11. I highlight and contour my face using Motives Fire sculpting palette. (Will do a highlight/contour tutorial using this palette soon).

12. I set my face using Cover FX translucent setting powder.

13. I added extra highlight using MAC Soft and Gentle highlighter powder. Then, I applied Smashbox Halo Blush in In Bloom.

14. On my lips, I applied MAC Viva Glam 1 straight from the tube.

Ru Paul MAC lipstick

Easy Red Lips Holiday Makeup

Hi ya’ll!!!! As the holiday is fast approaching, I want to do at least 1 red lips tutorial before Christmas comes around. This is such easy red lips holiday makeup look! The eyes are very simple, and the lips are in a shade of a beautiful red. Not too bright, not too dark. This is a very nice makeup for brides who are going for the red lips look.

I added an extra touch of false eyelashes just because I want the eyes to look even bigger and more dolled-up. After all, it is a holiday makeup!

if you want to find out how I apply and create long-lasting lips, please check my “How-to apply [red] lipstick” tutorial. On the full-face picture, the lips look a bit bright, but that’s because of the light that I use for this tutorial. The lips are actually slightly darker than the picture. It’s a very nice warm brown-red.

How-to:

1. I applied MAC Patina eyeshadow all over my eyelid using a flat eyeshadow brush.

2. Using another clean flat eyeshadow brush, I applied MAC Woodwinked  on the center of the lid.

3. I applied MAC Patina eyeshadow on the outer half of my lower lid, and MAC Woodwinked on the inner half using an angled eyeliner brush.

4. I created a very small feline flick using a black eyeshadow and an angled eyeliner brush.

5. Using the same eyeshadow and brush as step 4, I lightly lined the outer corner of my lower lash line.

6. I applied MAC Chromagraphic eyeliner pencil in NC30 on the waterline.

7. I applied Anastasia Brow Duo Powder in Brunette on my eyebrows.

8. Next, I curled and applied Clinique High Impact mascara on both top and bottom lashes.

9. Then, I applied Ardell false eyelashes in 109 on the upper lash line.

bronze christmas makeup

10. I applied L’oreal Magique Lumi foundation in W3 all over my face using CoverFX cream foundation brush.

11. Using a small concealer brush, I applied a very light coat of foundation on my lips.

12. Then, I lined and filled my lips using MAC Brick lip liner.

13. I also filled my lips using MAC Dare You lipstick using a rounded lip brush.

*for futher tutorial on how I make the lipstick last, please check my how-to apply [red] lipstick tutorial*

14. Using MUFE HD concealer, I concealed my dark under eyes.

15. I powdered my face using CoverFX translucent powder.

16. I slightly contoured and highlight my face using Smashbox contour/highlight trio palette.

17. I applied NARS Mata Hari blush on my cheeks.

18. My hair was set using Caruso Steam Rollers.

red lips holiday makeup