I’ve done a lot of UD Naked 3 makeup tutorials, and though most of them are smoky eyes, I do have a few non-smoky eyes tutorials. I was looking back on those tutorials, and I’ve decided to revisit this Soft Romantic Makeup post. I actually liked how I did my makeup in that post, but I felt that I wanted to redo it, and added more intensity to the shadows. Which one do you prefer? This tutorial or the original one? Let me know on the comments below!
I’d also like to mention that I’ve changed the way I filled my brows for this tutorial – it’s thicker, and more natural looking. I think I prefer this brow, even though it might look “less polished” than the “carved out” brows (aka concealer on top and bottom of my brows), I do like how it looks more organic. What do you guys think?
I apologize if the photos are slightly too warm, I didn’t realize my camera’s white balance setting was on the “warming filter” option. I tried to neutralize it using photoshop, but this is all I can do for now (besides trying to neutralize the yellow shade, I did not do anything else – no airbrushing whatsoever). I’ll be more careful next time.
*Check out my other UD NAKED 3 TUTORIALS*

How-to:
1. I applied MAC Perky paint pot all over my (mobile) eyelid using my ring finger.
2. Using a small blending brush, I applied UD Naked 3 Darkside on the outer V.
3. Using the blending brush that came with the palette, I applied Nooner on the crease. I used this shade to blend out the edge of Darkside.
4. I applied Trick on the eyelid, using the flat eyeshadow brush that came with the palette.
5. Using a small shader brush, I applied Burnout on the inner corner of the lower lid, and Darkside on the outer half.
6. I, very lightly, applied a teeeensy bit of Blackheart right on the roots of the lower lashes (just the outer half).
7. I lined my waterline using MAC Chromagraphic eyeliner in NW25/NC30. Along the upper lash line, I created a winged liner using L’oreal 24H Lacquer Liner and an angled eyeliner brush.
8. I filled my brows using Anastasia Brow Wiz in Taupe and Brunette.
9. Curled my lashes, and applied Gwiyomi False lashes no. 3.
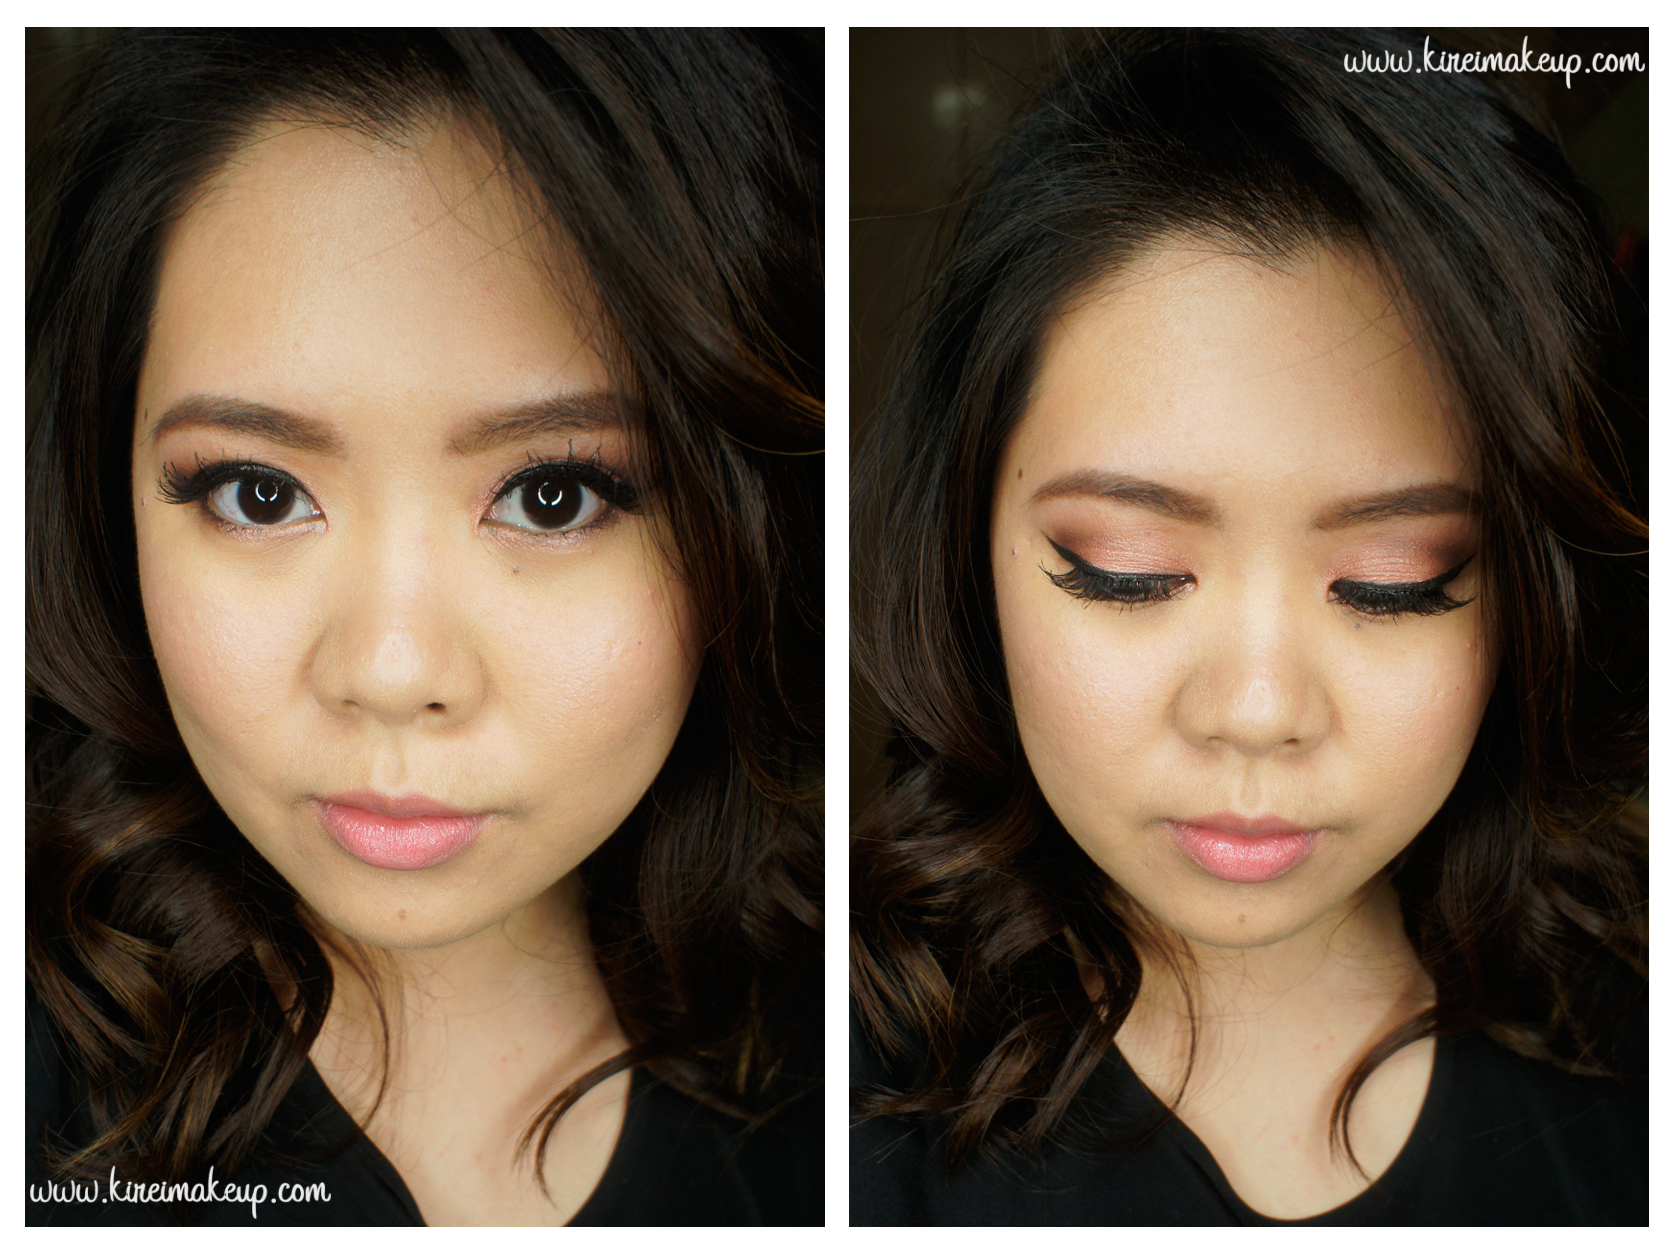
10. I applied Benefit Porefessional primer all over my face.
11. While letting the primer set, I applied Bobbi Brown Peach Corrector underneath my eyes (my dark circles are getting prominent lately!)
11. Then, I applied MUFE HD Foundation in 120 using Real Technique Expert Face brush.
12. I applied MAC Pro Longwear Concealer under my eyes, as well as on the bridge of my nose (just between the brows).
13. I also applied L’oreal Visible Lift blush in Rose Gold on my cheeks.
14. I set my face using NARS Setting Powder.
15. On my lips, I applied MAC Please Me lipstick and a few dabs of clear gloss.
Products used
Eyes – MAC Perky paint pot; Urban Decay Naked 3 palette (eyelid: Trick, outer V/lower lashline: Darkside, inner corner of lower lid: Burnout; roots of lashes: Blackheart); MAC Chromagraphic liner NW25/NC30; L’oreal 24H Lacquer Liner in Blackest Black; Anastasia Beverly Hills Brow Wiz in Taupe and Brunette; Gwiyomi False lashes no. 3
Face – Benefit Porefessional primer; MUFE HD Foundation in 120; Bobbi Brown Peach Corrector; MAC Pro Longwear concealer; NARS Setting Powder.
Cheeks – L’oreal Visible Lift Blush in Rose Gold.
Lips – MAC Please Me lipstick; L’occitane clear lip balm.


