Yaz Red Lipstick & Midnight Blue Liner

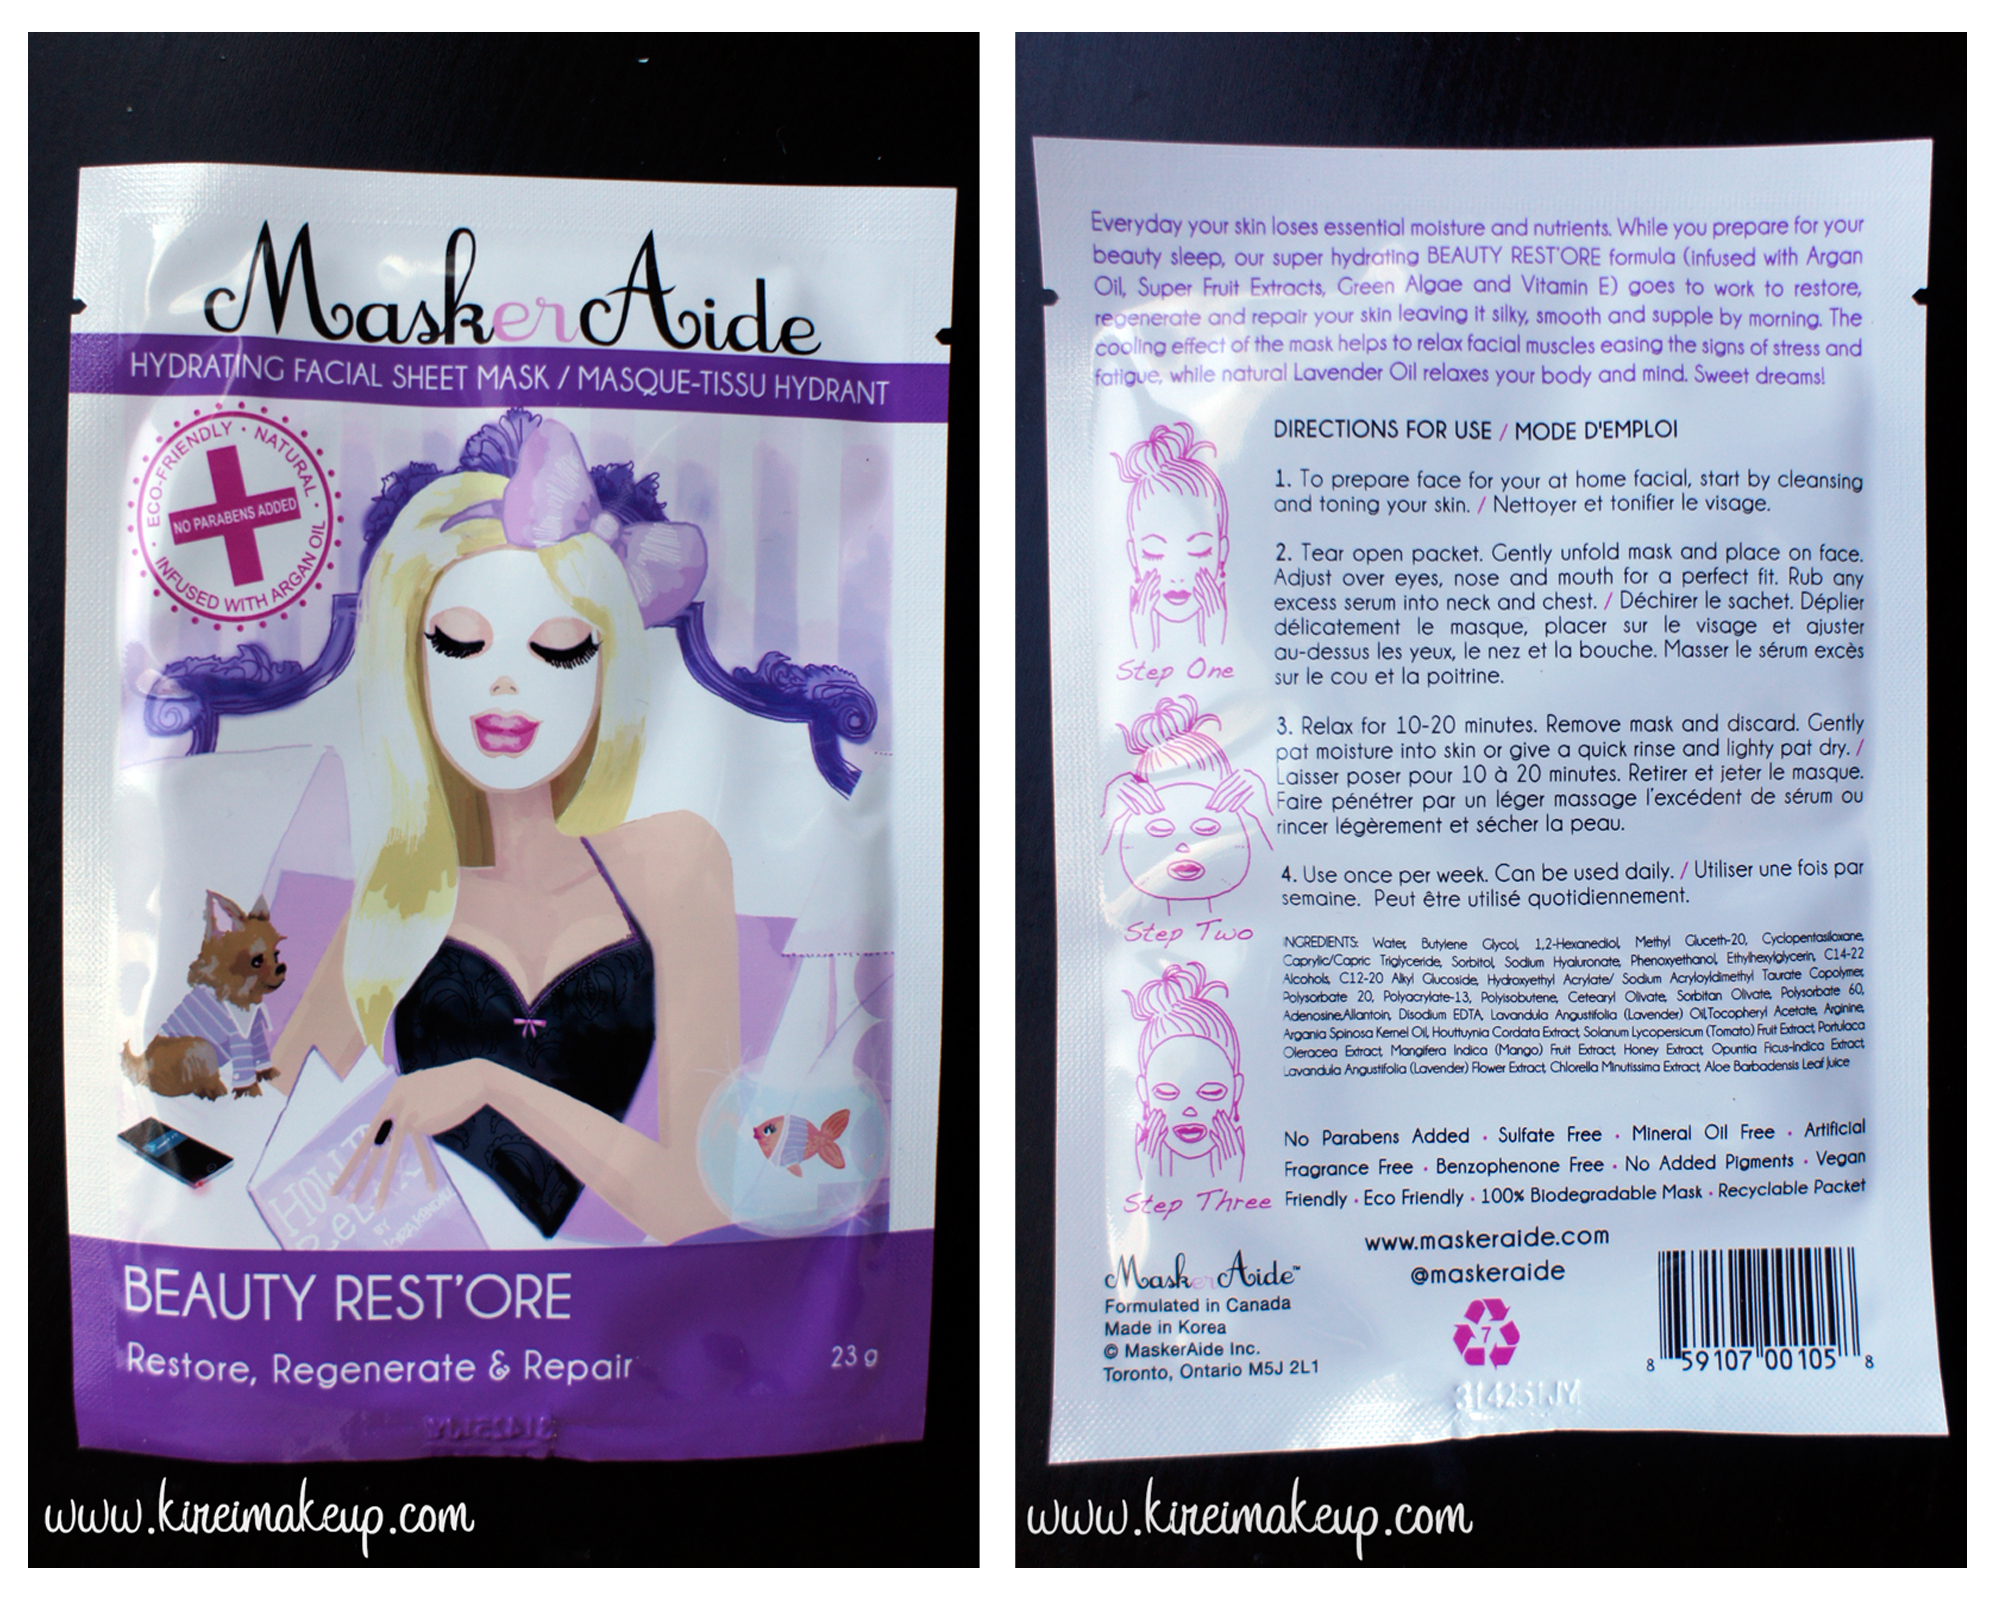
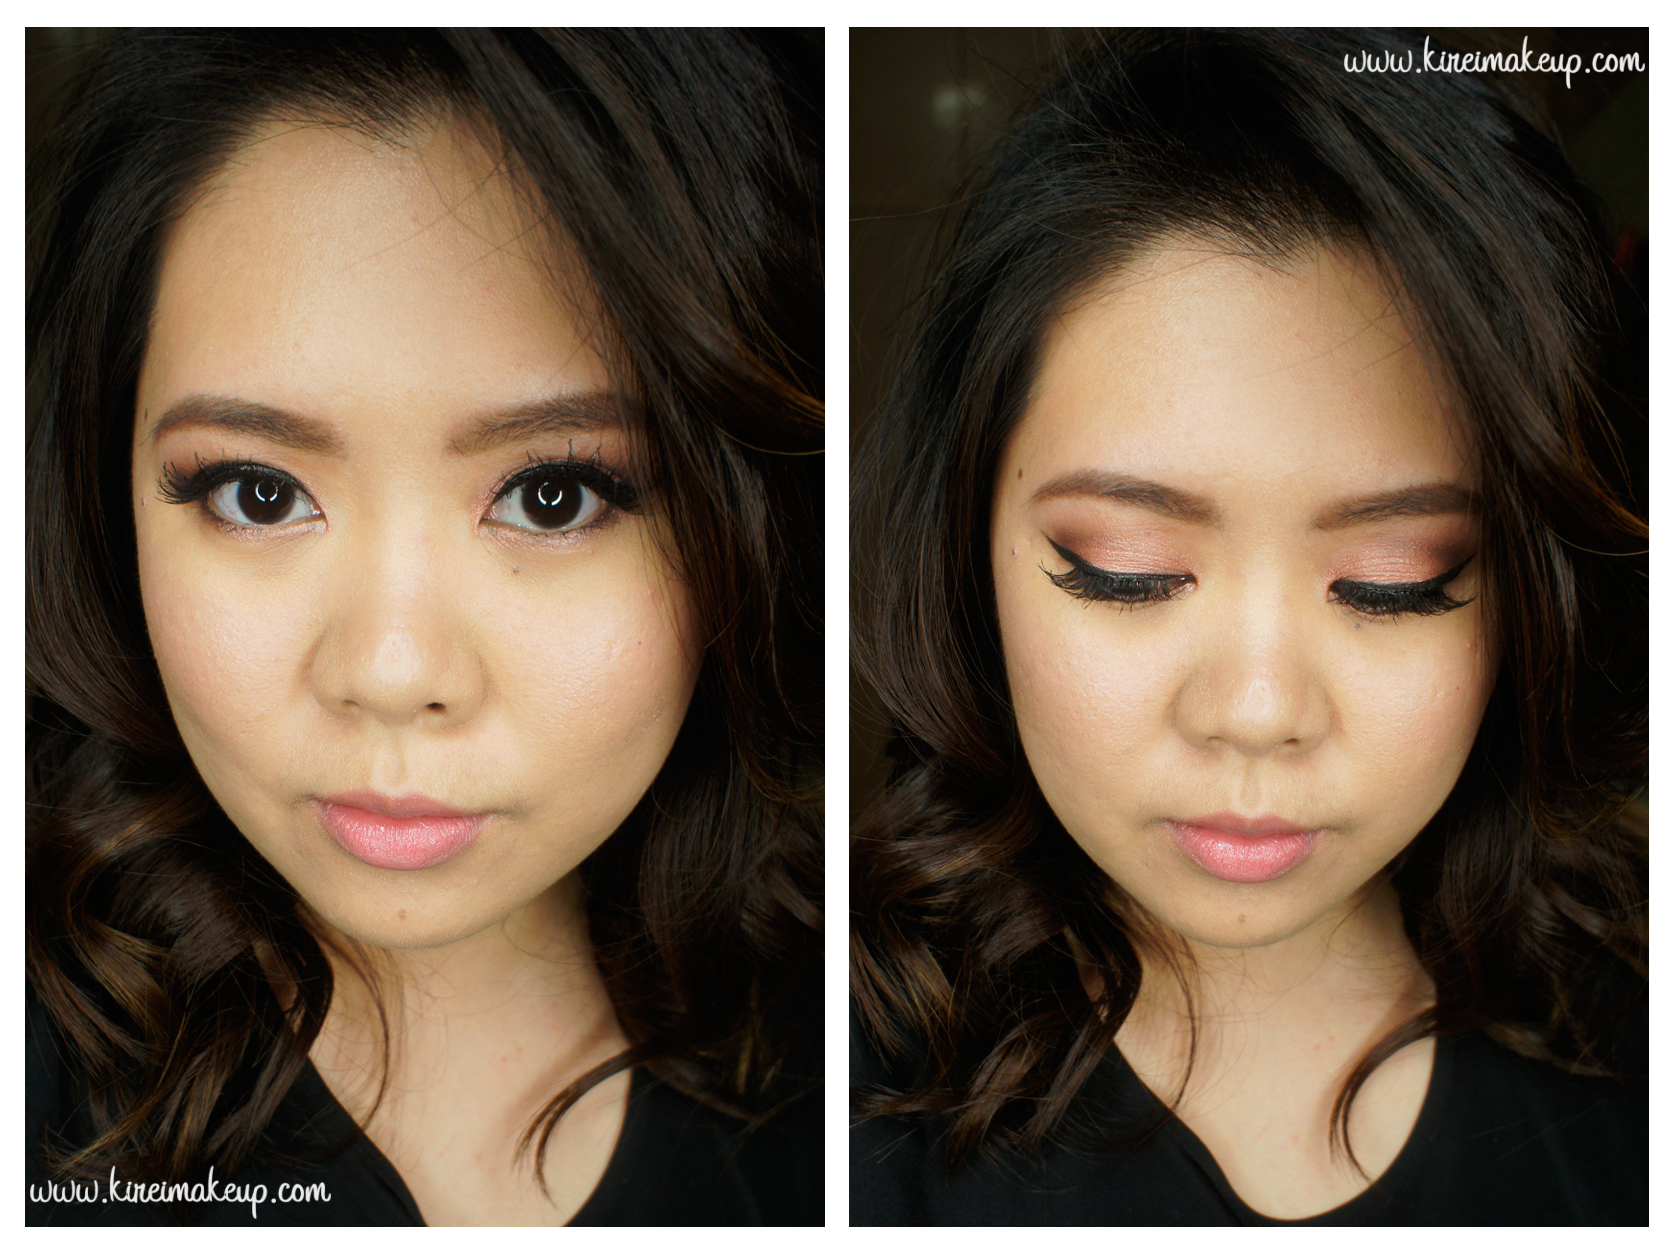
As mentioned in my Yaz Bukey for Shu Uemura post, I purchased Yaz Red lipstick during the event. I wanted to give it a try, so I decided to pair the red lipstick with this navy blue eyeliner. During the making of this tutorial, my eyes were so watery for no reason on the outer corner, and I couldn’t stop it even after wasting so much q-tips. I think my eyes were dry. Anyways, for that reason, you’ll see a bit of a mess on the bottom outer-corner part of my eye in the step-by-step picture.

For the eyeliner, I used the eyeshadow called Midnight from my Smashbox Double Exposure palette. I used the eyeshadow wet to create an intense and cleaner line. Talking about eyeliner, I posted a quick video on my Instagram on how I create my winged liner using liquid liner, so check it out! If you prefer a pictorial, I have 2 posts – Winged Liner tutorial (using Kat Von D Trooper liner) and How-to (gel/cream) winged liner (using brush and cream liner).

I’ve done other tutorials using Smashbox Double Exposure palette – Valentine’s Day makeup and Look #2.

navy blue winged liner

Products used

Eyes

  • Primer – Urban Decay Primer Potion “original”
  • Eyelid/Brow Bone – Smashbox Double Exposure Palette “Veiled” (applied dry)
  • Crease – Smashbox Double Exposure Palette “Espresso” (applied dry)
  • Winged Liner – Smashbox Double Exposure Palette “Midnight” (applied wet)
  • Lower lash line (inner corner) – Smashbox Double Exposure Palette “Blanc” (applied wet)
  • Waterline – MUFE Aqua Liner “0L  Matte Black”
  • Eyebrows – Stila All Day Waterproof Brow Colour
  • Mascara – Cover Girl Lash Blast “Very Black”
  • Falsies – Gwiyomi Boutique #3

Face/Cheeks

  • Primer – Kat Von D face primer
  • Foundation – NARS All Day Luminous Weightless Foundation “Punjab”
  • Concealer – MAC Pro Longwear concealer “NC25”
  • Highlight – Becca  Shimmering Skin Perfector “Moonstone”
  • Setting powder – CoverFX translucent powder “Light”
  • Contour – MAC “Sculpt” powder
  • Blush – Smashbox Halo Blush powder “In Passion”

Lips

  • Lipstick – Yaz Bukey for Shu Uemura “Yaz Red”

shu uemura yaz bukey red lipstick

Beauty Restore Hydrating MaskerAide

Hello readers! It’s been a while, eh? I have gotten over my jet lag, snow storm, and flu. It was quite a tough week to handle since I was feeling super weak! Anyways, have you guys been following my Instagram? If you haven’t please do follow me there to get in touch or to stay updated with my daily antics. If you have, you’re awesome! Anyways, if you are on my Instagram, you’d know that I’ve tried out a new face mask by MaskerAide recently. I’d like to thank Obsessed Canada (division of Nail Polish Canada) for sending me these awesome facial masks for me to try on.

I received 3 MaskerAide facial sheet masks to try on (you can see all 3 on my Instagram account), but I wanted to share with you guys my review on the Beauty Restore Hydrating Facial Sheet Mask by Masker Aide.  I’ll do the other masks review soon since each mask has a different function, so I want to review it separately.

Anyways, let me talk about the mask a bit more!

What is Beauty Restore Hydrating Facial Sheet Mask?

Everyday your skin loses essential moisture and nutrients. While you prepare for your beauty sleep, our super hydrating BEAUTY REST’ORE formula (infused with Argan Oil, Super Fruit Extracts, Green Algae and Vitamin E) goes to work to restore, regenerate and repair your skin leaving it silky, smooth and supple by morning. The cooling effect of the mask helps to relax facial muscles easing the signs of stress and fatigue, while natural Lavender Oil relaxes your body and mind. Sweet dreams!

DIRECTIONS FOR USE

1. To prepare face for your at home facial, start by cleansing and toning your skin.

2. Tear open packet. Gently unfold mask and place on face. Adjust over eyes, nose and mouth for a perfect fit. Rub any excess serum into neck and chest.

3. Relax for 10-20 minutes. Remove mask and discard. Gently pat moisture into skin or give a quick rinse and lightly pat dry.

4. Use once per week. Can be used daily.

Obsessed Canada, 2015

Beauty Restore Hydrating MaskerAide

Ok, so if you don’t know what a facial sheet mask is, it is basically a mask. Usually, a face mask is like one of those gel-like or mud-like product where you slap on your face, let it on for a few minutes or until it dries, and you rinse your face afterwards. That’s like the traditional masks, for example the Glam Glow Mud Mask, one I’ve reviewed before.

A facial sheet mask comes with a sheet of mask. This sheet of mask is soaked in the skincare product that it comes with, in this case, a hydrating serum – Vit. E, Argan oil etc. You leave in on your face for 10-20 minutes and then discard the mask afterwards. There isn’t a need to rinse if you don’t want to. You can use it daily or once a week. Facial sheet masks are pretty much a concentrated version of night cream.

Facial sheet masks are very popular in Asia, especially Korea and Japan. I usually use SK II face masks, it was especially helpful during long flights from CGK-YYZ (or vice versa). It gives my skin the extra moisture I need when the humidity is low.

MaskerAide review

Facial sheet masks are usually used at night after your nightly skincare routine. I’m not sure if you use it before or after your night cream, since I don’t use any. I do use it after my skincare regime (wash, tone, moisturize). After the 20-minute is up, I just rub any excess serum on to my skin and go to bed. For this review, I did it during the day since I need the day light for pictures. I prefer doing the mask after moisturizer since I usually discard the sheet and go to bed, but I think you can do it before your moisturizer too if you want.

Pros

  • Extra moisture for the dry parched skin
  • Effect can be seen immediately (look at before and after pictures below)
  • Skin feels plump, moistened, and look dewy
  • Smells great!
  • Excess serum can be used on neck and decolletage
  • Affordable – CA $6/each (compared to SK II – CA $168/10 masks)

Cons

  • Not for those with oily skin, especially in humid countries (i.e. Indonesia)
  • Face mask was too big for my face – certain areas of my face didn’t get covered properly
  • Excessive serum can get drippy and messy

Facial mask reviewBefore (Left) and After (Right)

Disclaimer: The Beauty Restore Hydrating facial sheet mask by MaskerAide was sent to me by Obsessed Canada. However, my review is based purely out of my own opinion. I do not earn any money nor credits if you click on the Obsessed Canada and Nail Polish Canada links.

Soft Romantic Makeup (Revisited)

I’ve done a lot of UD Naked 3 makeup tutorials, and though most of them are smoky eyes, I do have a few non-smoky eyes tutorials. I was looking back on those tutorials, and I’ve decided to revisit this Soft Romantic Makeup post. I actually liked how I did my makeup in that post, but I felt that I wanted to redo it, and added more intensity to the shadows. Which one do you prefer? This tutorial or the original one? Let me know on the comments below!

I’d also like to mention that I’ve changed the way I filled my brows for this tutorial – it’s thicker, and more natural looking. I think I prefer this brow, even though it might look “less polished” than the “carved out” brows (aka concealer on top and bottom of my brows), I do like how it looks more organic. What do you guys think?

I apologize if the photos are slightly too warm, I didn’t realize my camera’s white balance setting was on the “warming filter” option. I tried to neutralize it using photoshop, but this is all I can do for now (besides trying to neutralize the yellow shade, I did not do anything else – no airbrushing whatsoever). I’ll be more careful next time.

*Check out my other UD NAKED 3 TUTORIALS*

soft smokey eyes tutorial

How-to:

1. I applied MAC Perky paint pot all over my (mobile) eyelid using my ring finger.

2. Using a small blending brush, I applied UD Naked 3 Darkside on the outer V.

3. Using the blending brush that came with the palette, I applied Nooner on the crease. I used this shade to blend out the edge of Darkside.

4. I applied Trick on the eyelid, using the flat eyeshadow brush that came with the palette.

5. Using a small shader brush, I applied Burnout on the inner corner of the lower lid, and Darkside on the outer half.

6. I, very lightly, applied a teeeensy bit of Blackheart right on the roots of the lower lashes (just the outer half).

7. I lined my waterline using MAC Chromagraphic eyeliner in NW25/NC30. Along the upper lash line, I created a winged liner using L’oreal 24H Lacquer Liner and an angled eyeliner brush.

8. I filled my brows using Anastasia Brow Wiz in Taupe and Brunette.

9. Curled my lashes, and applied Gwiyomi False lashes no. 3.

ud naked 3 soft smoky tutorial

10. I applied Benefit Porefessional primer all over my face.

11. While letting the primer set, I applied Bobbi Brown Peach Corrector underneath my eyes (my dark circles are getting prominent lately!)

11. Then, I applied MUFE HD Foundation in 120 using Real Technique Expert Face brush.

12. I applied MAC Pro Longwear Concealer under my eyes, as well as on the bridge of my nose (just between the brows).

13. I also applied L’oreal Visible Lift blush in Rose Gold on my cheeks.

14. I set my face using NARS Setting Powder.

15. On my lips, I applied MAC Please Me lipstick and a few dabs of clear gloss.


Products used

Eyes – MAC Perky paint pot; Urban Decay Naked 3 palette (eyelid: Trick, outer V/lower lashline: Darkside, inner corner of lower lid: Burnout; roots of lashes: Blackheart); MAC Chromagraphic liner NW25/NC30; L’oreal 24H Lacquer Liner in Blackest Black; Anastasia Beverly Hills Brow Wiz in Taupe and Brunette; Gwiyomi False lashes no. 3

Face – Benefit Porefessional primer; MUFE HD Foundation in 120; Bobbi Brown Peach Corrector; MAC Pro Longwear concealer; NARS Setting Powder.

Cheeks – L’oreal Visible Lift Blush in Rose Gold.

Lips – MAC Please Me lipstick; L’occitane clear lip balm.