50s Inspired Makeup

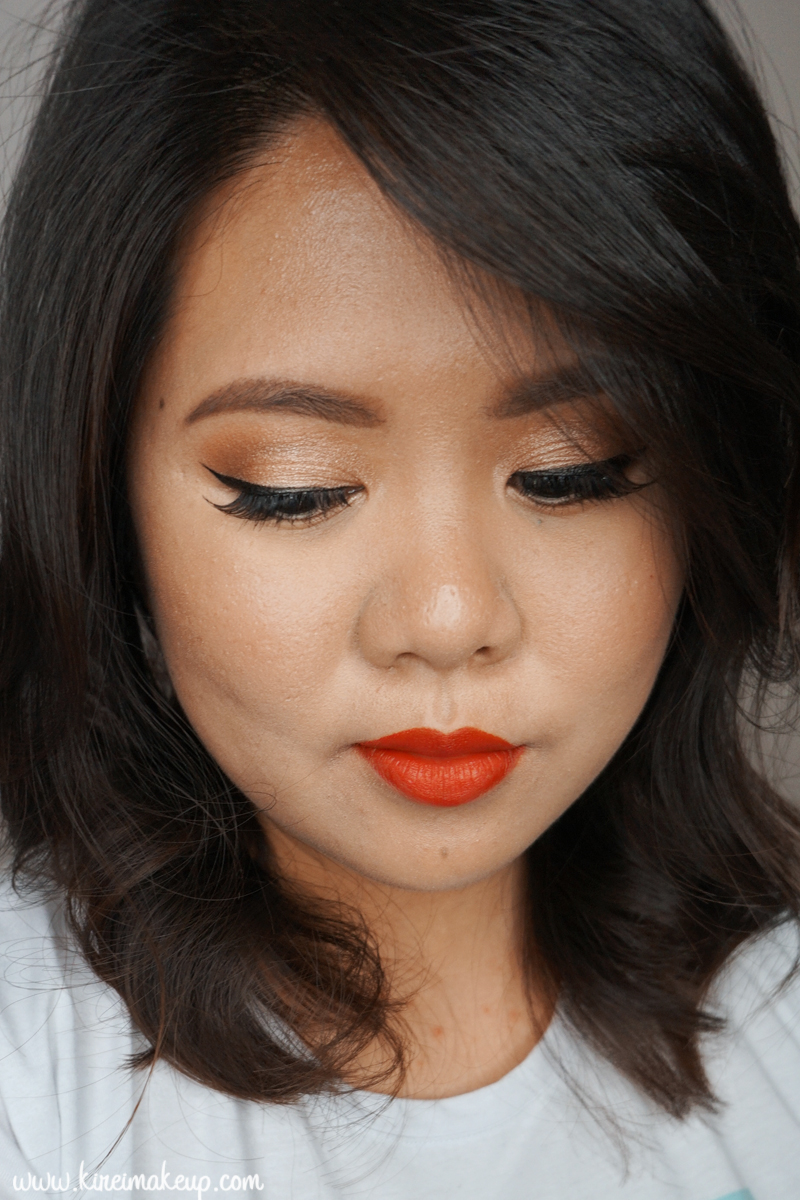
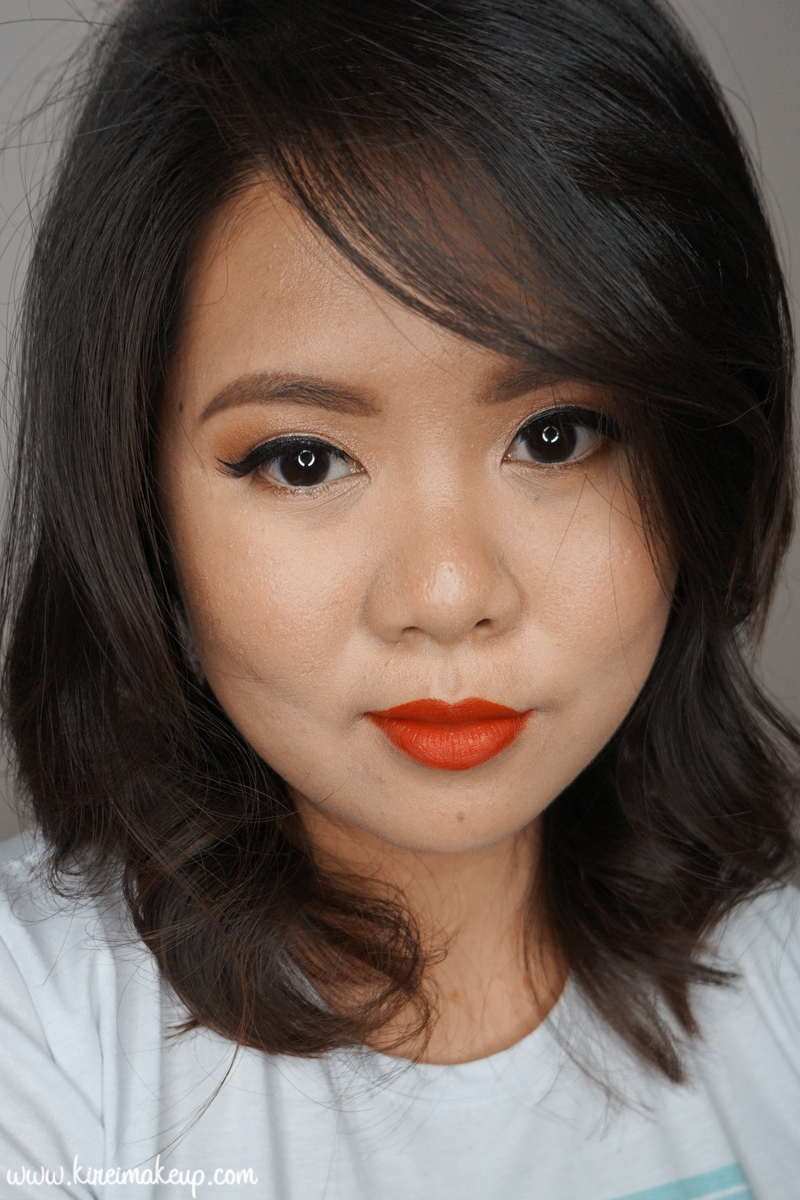
This 50s inspired makeup is a modern take of the old Hollywood glam. It’s still pretty glamorous due to the falsies and eyeshadows, which make it suitable for wedding guests, and even brides! You can draw a thicker winged eyeliner if you have bigger eyes, but I kept mine pretty thin.

I wanted the focus to still be on the lips, since I think this Shu Uemura Diva Red lipstick is the perfect red lipstick for summer. It has an orange undertone, and it will look great especially on East Asian skintones.

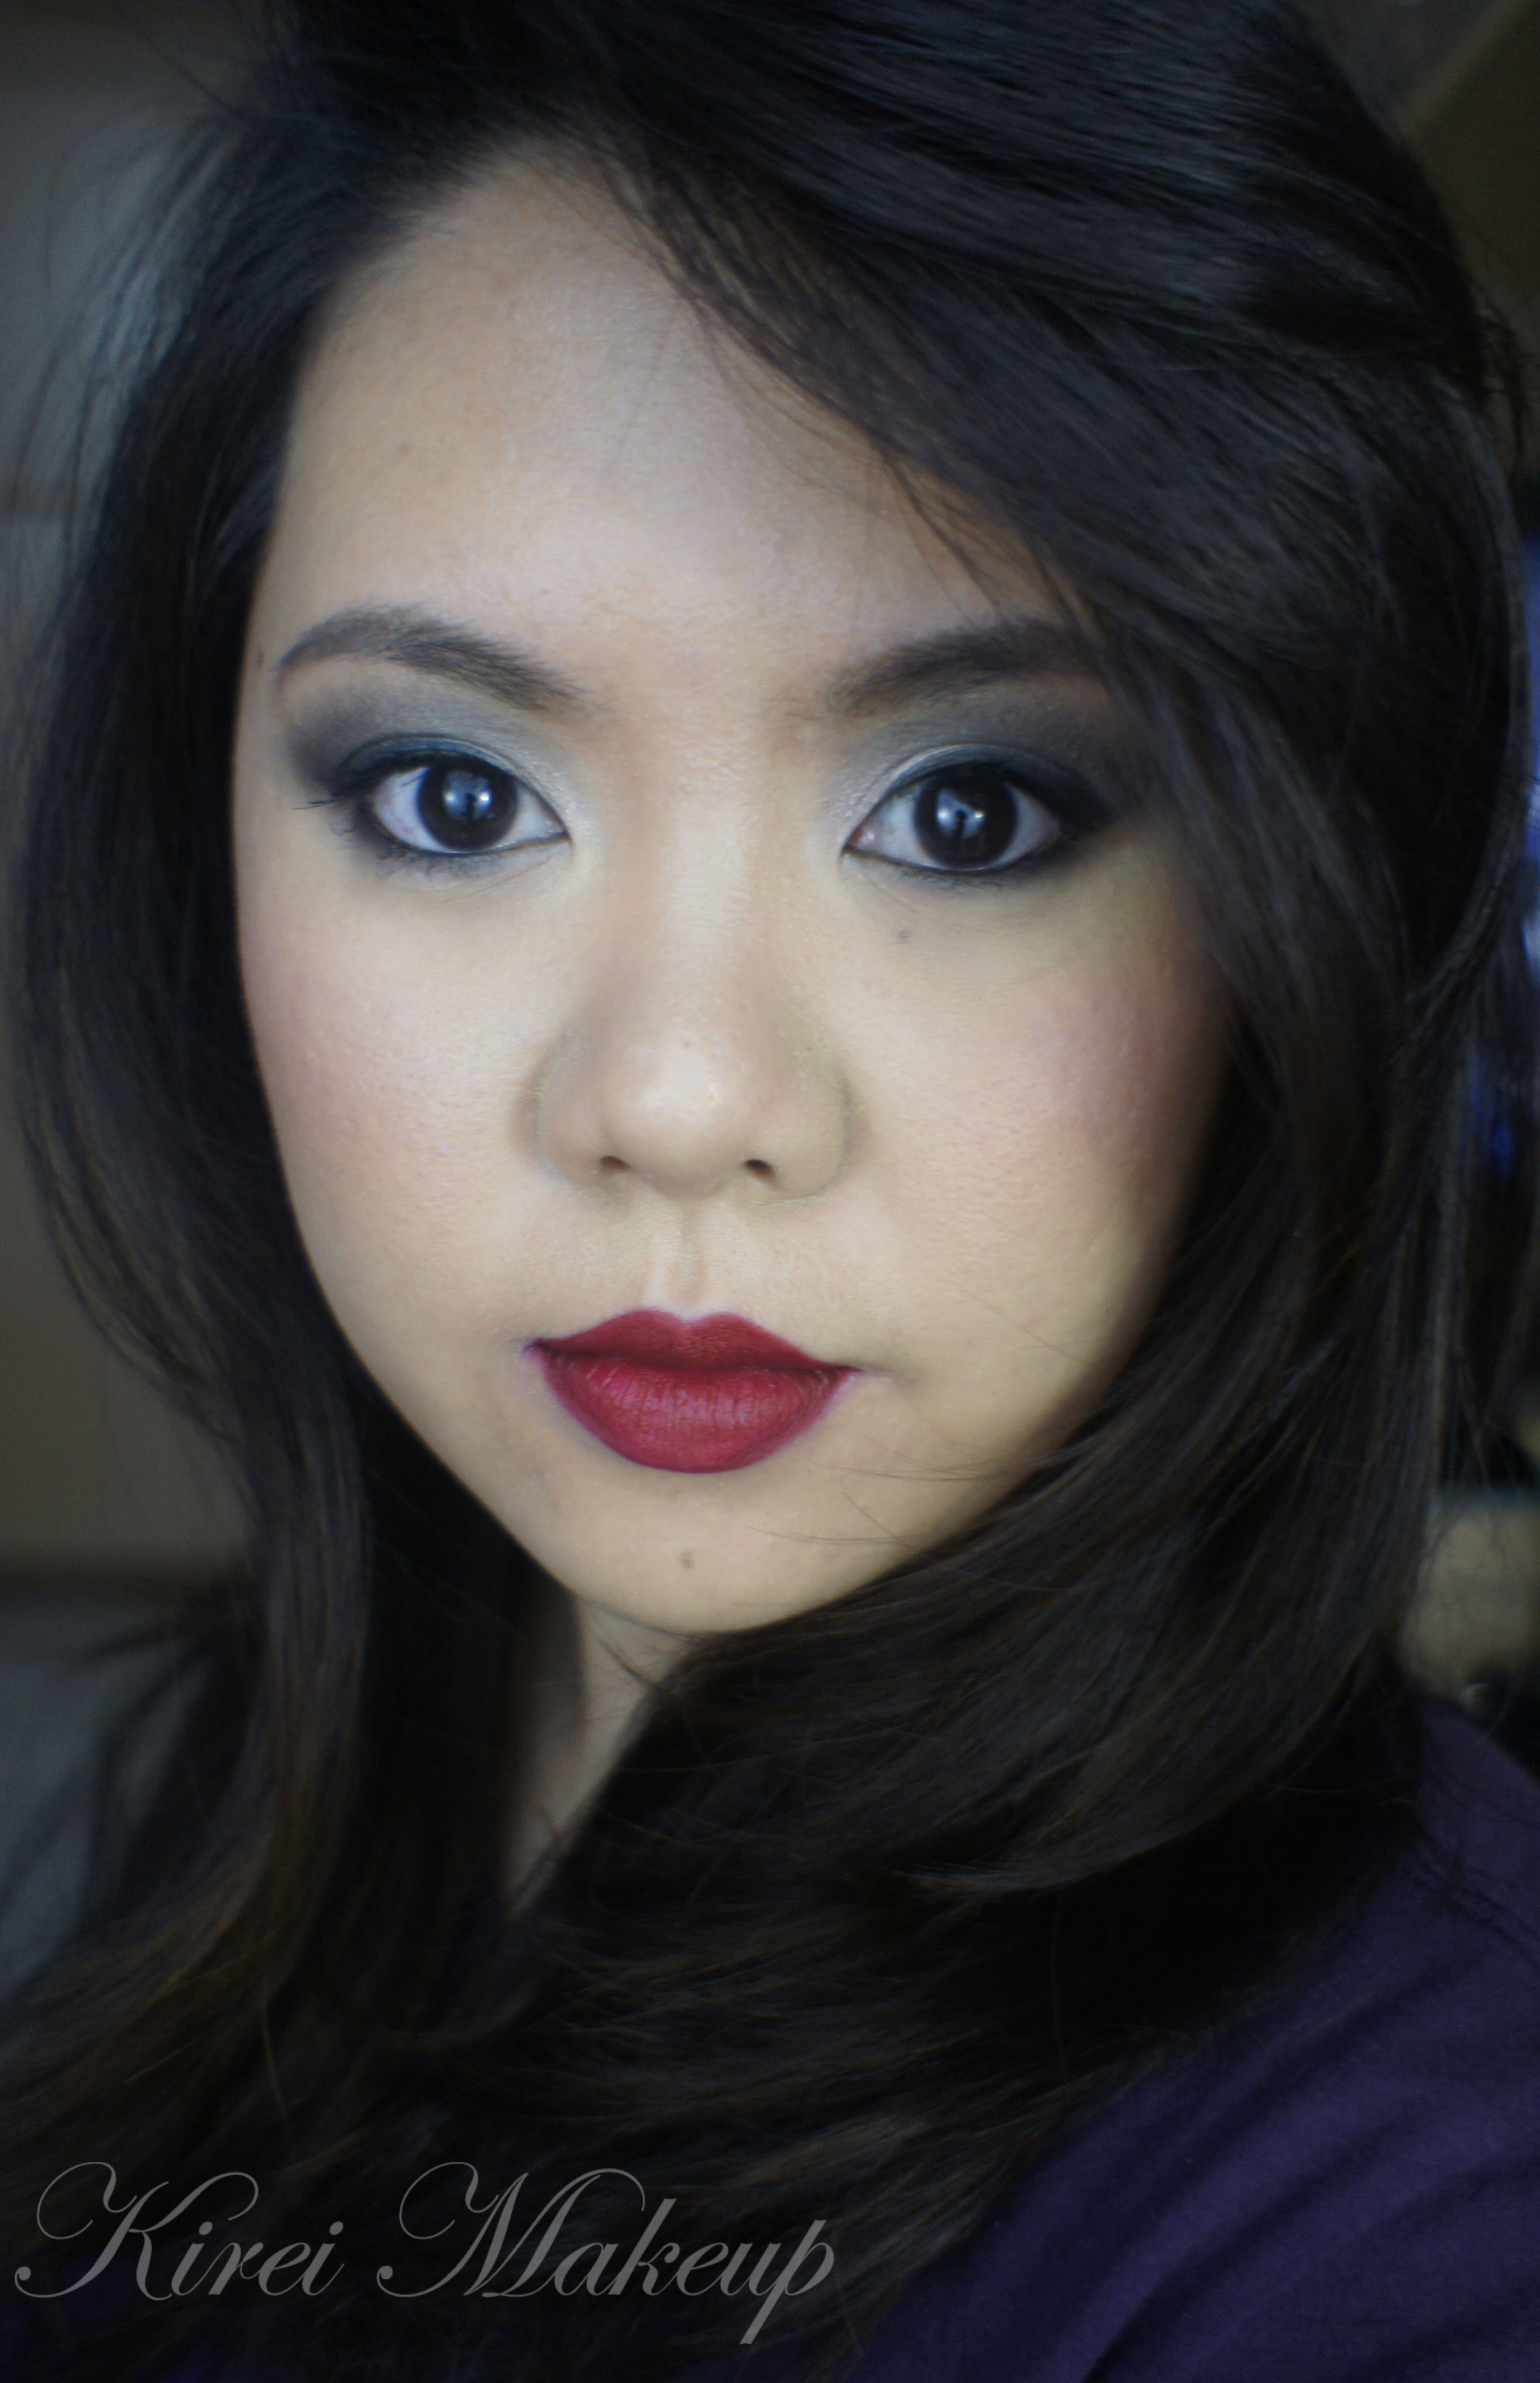
I’ve done a more neutral eyes if you prefer non-winged liner look. Please take a look at my Kat Von D Shade + Light eye contour tutorial for a more neutral non-liner eyes.

natural eyes

Products used

Eyes

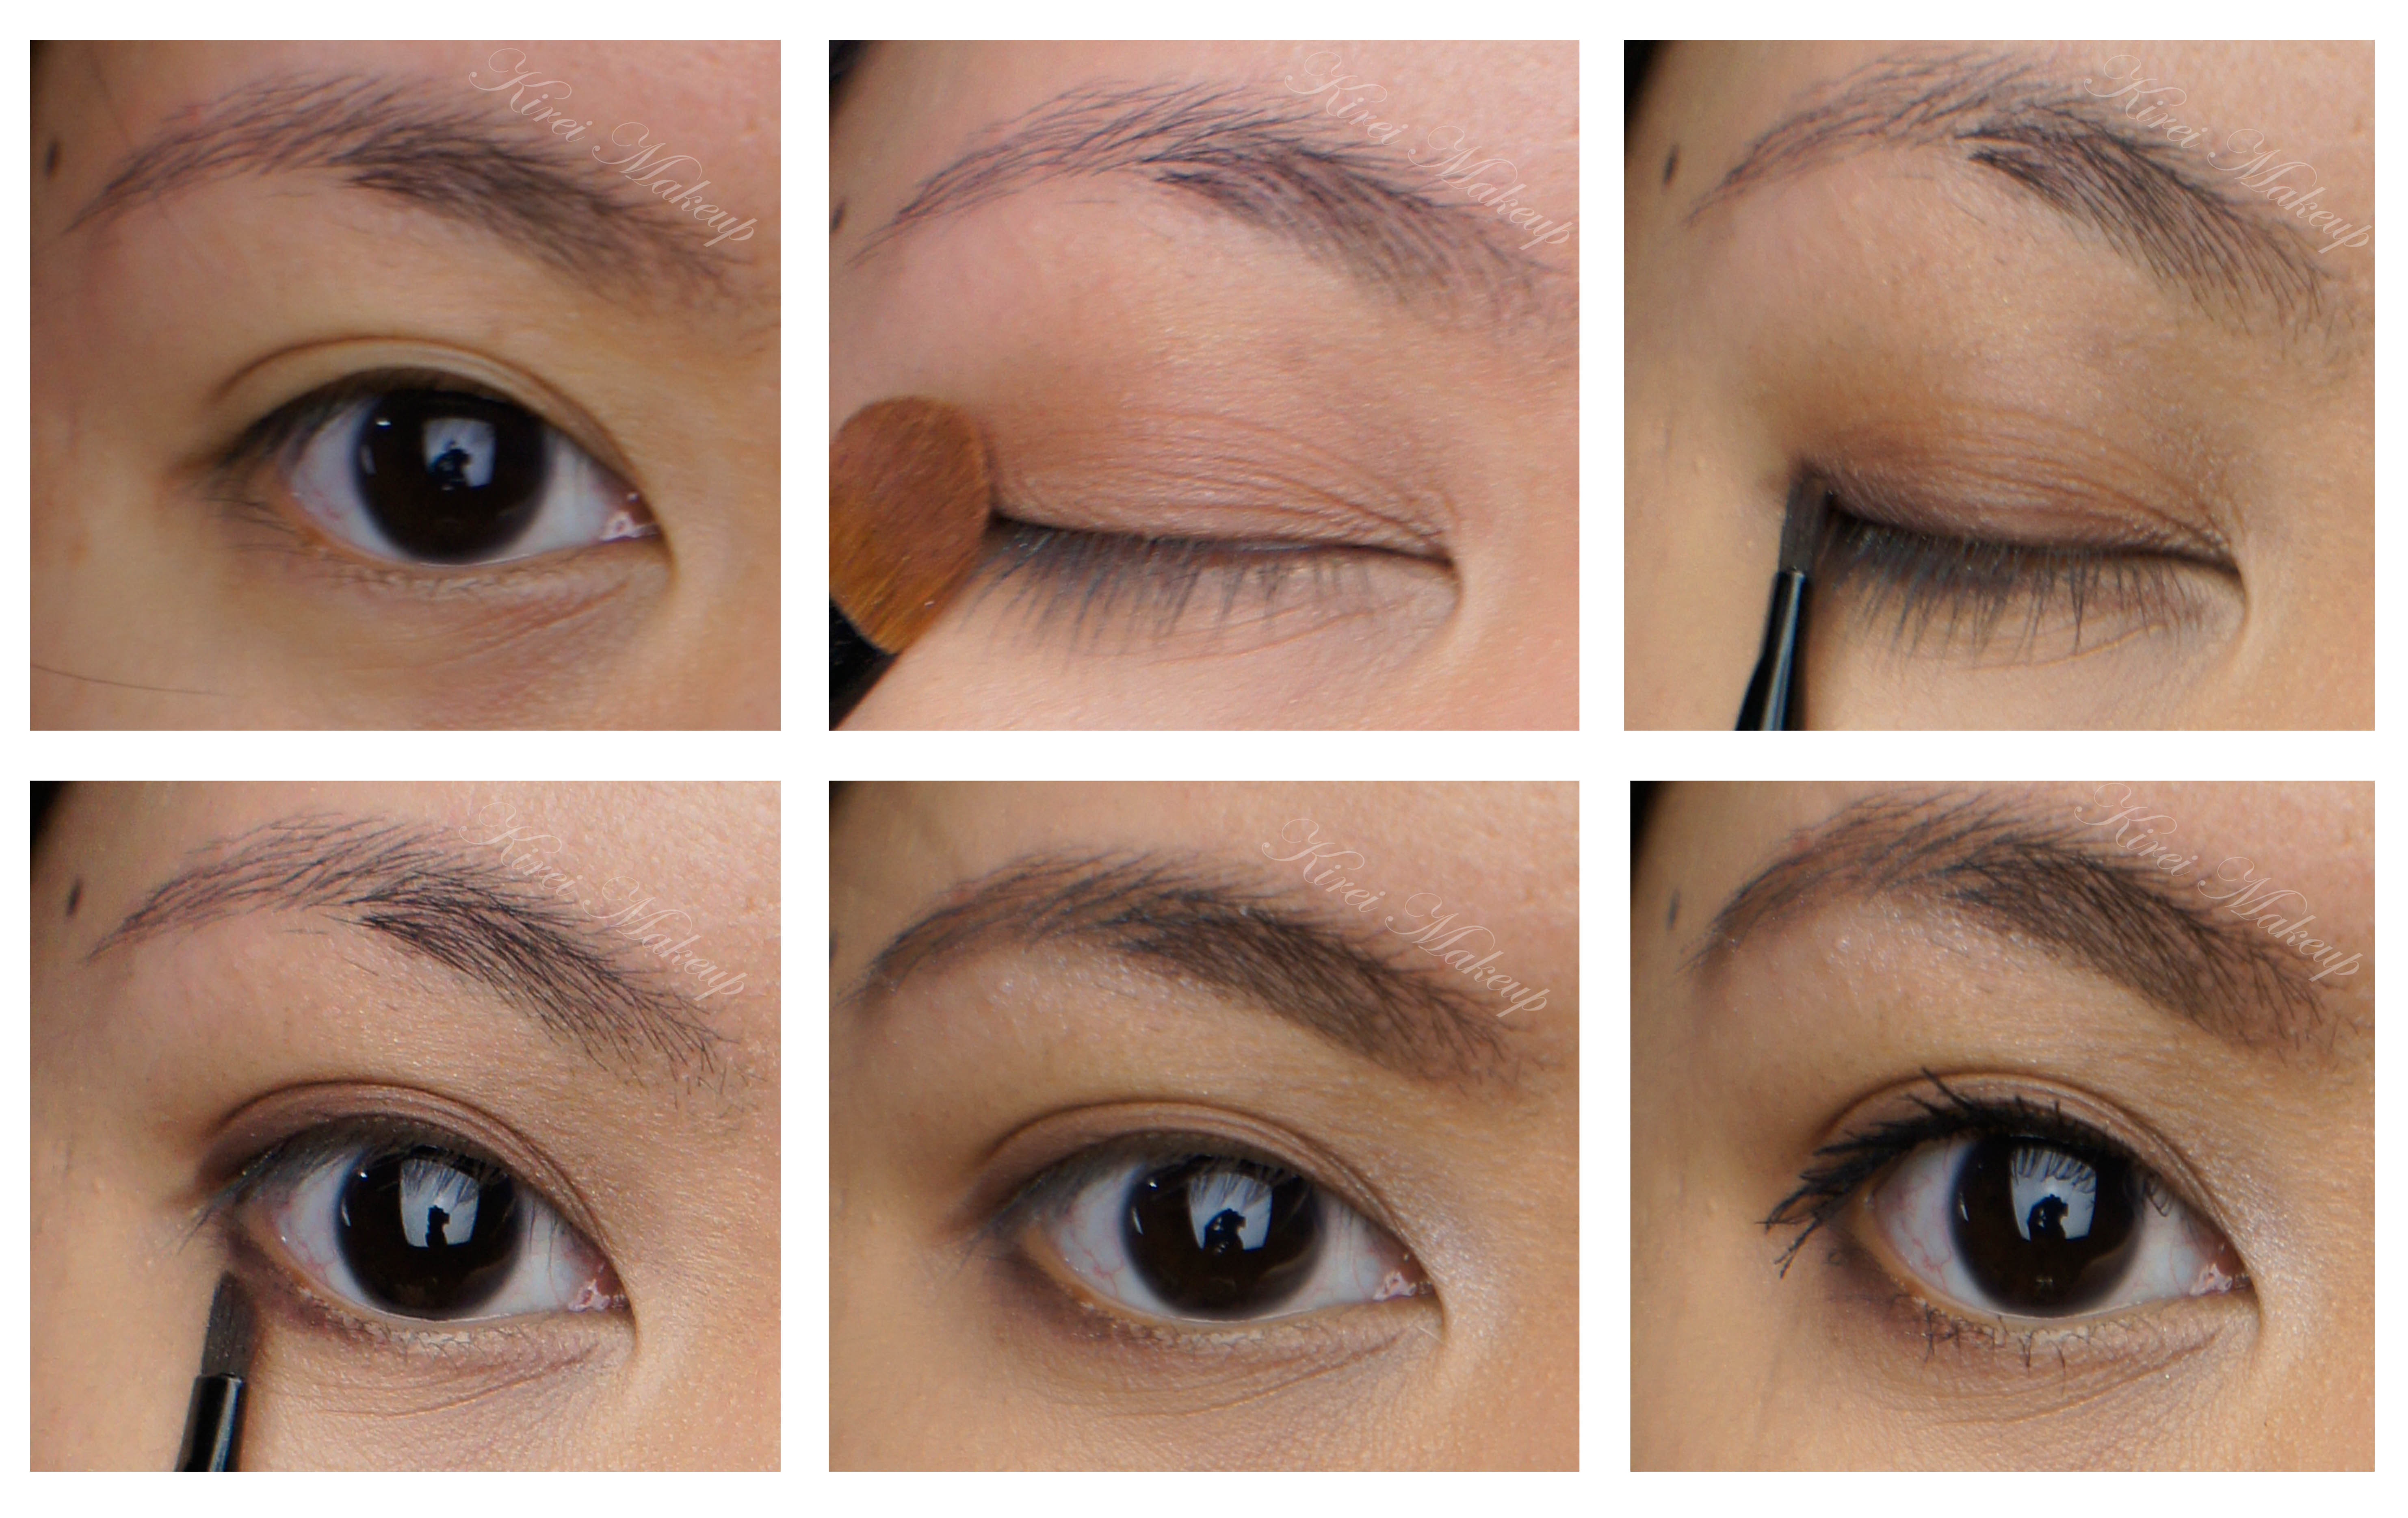
  • Primer – Urban Decay Primer Potion “Original”
  • Eyelid – Make Up For Ever Aqua Cream no. 13 “Warm Beige”
  • Transition – Makeup Geek Cosmetics “Peach Smoothie”
  • Crease/lower lid – L’oreal “La Palette Nude no. 6”
  • Winged liner – Kat Von D Tattoo Ink Eyeliner “Trooper”
  • Waterline – MAC Chromagraphic eyeliner “NC25”
  • Mascara – Maybelline Great Lash mascara
  • Falsies – Ardell false lashes #120 “Demi”
  • Eyebrows – Anastasia Beverly Hills Brow Wiz “Taupe” + “Medium Brown”

50s inspired makeup tutorial

Face

  • Foundation – MAC Pro Longwear Waterproof foundation “NC25”
  • Corrector – Bobbi Brown Corrector “Peach”
  • Concealer – MAC Pro Longwear Concealer “NC25”
  • Powder – MAC Mineralized Skinfinish “Medium Plus”

Cheeks

Lips

50s inspired makeup tutorial

Smoky Eyes and Red Lips

Since I’ve been doing quite a few bright colored tutorials, I wanted to do a dark look…I love smoky eyes and red lips, and even though usually I don’t wear both at the same time, I did it anyways..hahaha..Lately this combination of smoky eyes and red lips are making a comeback. What used to be a faux pas, seems to be the new trend. Smoky eyes and red lips were the look in 1920s (think Betty Bop, Flapper dancers etc). However, I obviously made it to suit my own style and liking!

I wanted to find my own red lips hue, so I’ve to mix it myself. If you like the color of the lips, continue reading for the tutorial! 🙂

How-to:

1. I applied the lighter shade (silverish brown) from NARS Dogon duo eyeshadow using a flat eyeshadow brush all over my eyelid.

2. Using a blending brush, I applied the darker side (bluish charcoal) from NARS Dogon duo eyeshadow on the crease and outer V.

3. I lined my waterline and tightline using L’oreal Voluminous Smoldering eyeliner.

4. Using MAC Blacktied, I applied winged liner using an angled eyeliner brush along the upper lash line.

5. I also applied the darker shade from NARS Dogon duo eyeshadow along the lower lashline.

6. I curled my lashes and applied Dior Overcurl mascara on both top and bottom lashes.

7. I applied MAC Naked Lunch on the center of the lid and the inner corner of the eyes to brighten up my eyes.

8. I filled in my brows using a mixture of MAC Omega and MAC Brun.

asian smoky eyes

9. I applied Giorgio Armani Silk foundation all over my face using my fingers.

10. I also applied MAC Pro concealer palette in Medium (NC 30) under the eyes, side of the nose, any blemishes and lightly over the lips.

11. For the lips, I applied a thin layer of Revlon Colorstay Ultimate Suede in Backstage on the lips using a lip brush.

12. Then, I applied a layer of OCC Lip Tar in Vintage on top of the Revlon Backstage lipstick.

13. I used a piece of Klenex, put it against my lips and blot away the excess lipstick.

14. Using a clean piece of Klenex, I put it against my lips lightly and applied translucent powder on top of the Klenex using a clean blush brush.

15. For the contour, I applied MAC Shadowy on the temples, hollows of the cheeks and sides of the nose.

16. For the cheeks, I applied MAC Fleur Power to complete the look.

smoky eyes and red lips

<a href=”http://www.bloglovin.com/blog/708627/?claim=npanjk37yxk”>Follow my blog with Bloglovin</a>

Vintage Red

My love for OCC lip tars grows stronger every day! I’ve never been the “lipstick” kinda gal but I have a certain fondness for anything red lips. So, I’ve another version of the red lips look using OCC lip tars in Stalker. In this tutorial, I’m using OCC lip tars in Vintage. Stalker is blue red, while Vintage is burgundy red.

I bought mine from Sephora Eaton Center in Toronto. It comes in a small pouch with a small lip brush (I’ll do swatches and all that jazz on my next post).

For the look, the eyes are kept to a bare minimum and I skipped the winged liner. The face is dewy with a little contour. I love how the look turned out. The look is wearable for party or a night-out, or even bridal makeup!

Make sure to re-check the blush after you complete the lips. Since the lip color is quite strong, you might need to add more blush so your face don’t look wash-out.

How-to:

1. I applied L’oreal Magic Lumi foundation with my fingers. I applied it on the center of my face, blending it outwards.

2. I applied Bobbi Brown Corrector in Peach under my eyes, tapping it using my ring finger.

3. I applied L’oreal Magic Touche Concealer on my blemishes and under my eyes.

4. I powdered my T-zone with Cinema Secret loose powder and a tapered face brush.

Brown eyeshadow

5. For the eyes, I applied the light brown eyeshadow from L’oreal Paris Good Luck Charm quad eyeshadow with a flat eyeshadow brush, and blended the crease using a clean blending brush.

6. I applied the dark brown eyeshadow from L’oreal Paris Good Luck Charm along my upper lash line and lower lash line using an angled brush.

7. I used a clean blending brush and applied the highlighter color from L’oreal Paris Good Luck Charm quad under the brow.

8. Using whatever is left on the brush, I applied the highlighter color on the inner corner of my eyelid.

9. I curled my lashes and applied L’oreal Telescopic Shocking Extension mascara on both upper and lower lashes.

10.  I filled my brows using an angled brush and a mix of MAC Omega + MAC Brun.

OCC Lip Tars Vintage

11. Using a face fan brush, I applied Smashbox Fusion Soft Lights in Baked Stardust on the cheekbones.

12. Using the same fan brush, I applied MAC  Sculpting Powder in Shadowy on the hollows of the cheeks.

13. Using a blush brush, I applied a mixture of MAC Cubic and MAC Fleur Powder on the cheeks.

14. Using the lip brush that comes with the OCC Lip Tar, I applied OCC Vintage lip tar on my lips.

  • I applied a thin layer at first on the center of the lips.
  • Using whatever is on the brush, I traced the outline of my lips to make sure I like the shape.
  • I applied another thin layer to complete the look.