Finally, I managed to upload this Urban Decay Electric Palette review! Since my week starts on Monday, this is still counted as being posted on this week! I tried to upload it earlier today, but my internet at home wasn’t working. Anyways, let’s get back to this review, shall we?!
From Urban Decay website
“Chaos-inducing color—in ten VELVETY shades. Inspired by Chaos (a brilliant matte blue from The Vice Palette), we created the ultimate fix for color addicts—packed with ten of the brightest, most amazing shades you’ve ever laid eyes on, plus a double-ended brush. In addition to Chaos (yes, it’s back!), this palette marks the return of Revolt (a silver standout from our Anarchy Face Case). All the other shades are NEW!
From ultra-smooth mattes to highly dimensional shimmers, each VELVETY shade delivers insane color payout. Why do a Pressed Pigment Palette? Using pressed pigments was the only way we could create heavily saturated brights with the intense pigment load we craved. Traditional pressed pigment formulas just wouldn’t cut it. To achieve shades like these, we had to develop an entirely new formula!
We carefully crafted the formula on every shade to make sure each one would apply with a soft and creamy texture and deliver serious color payout. Each shade features our Pigment Infusion System™, the proprietary blend of ingredients that gives each shade its velvety texture, rich color, serious staying power and blendability.
The case is as cool as the shades inside. Emblazoned with “ELECTRIC,” this slim, sleek palette features a vivid, dimensional, multilayered smoke-screen print reminiscent of the shades inside. And the mirror is huge!
Electric Pressed Pigment Palette also includes a cruelty-free, double-ended pressed pigment brush (an all-black brush with bright purple synthetic brush fibers). On one end: a compact precision brush that’s perfect for applying color with amazing control. On the other end: a small pigment brush.
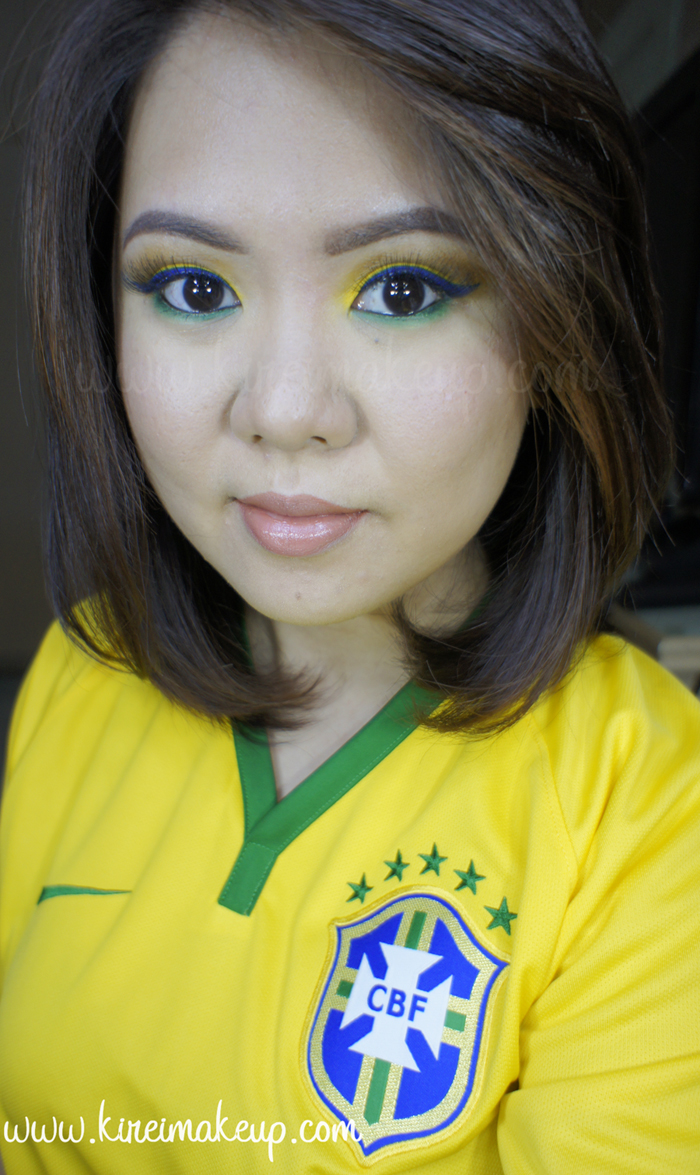
(WARNING: Slowburn, Savage, Jilted and Urban contain a colorant that is not approved for the eye area in the US, Canada and Brazil.)“
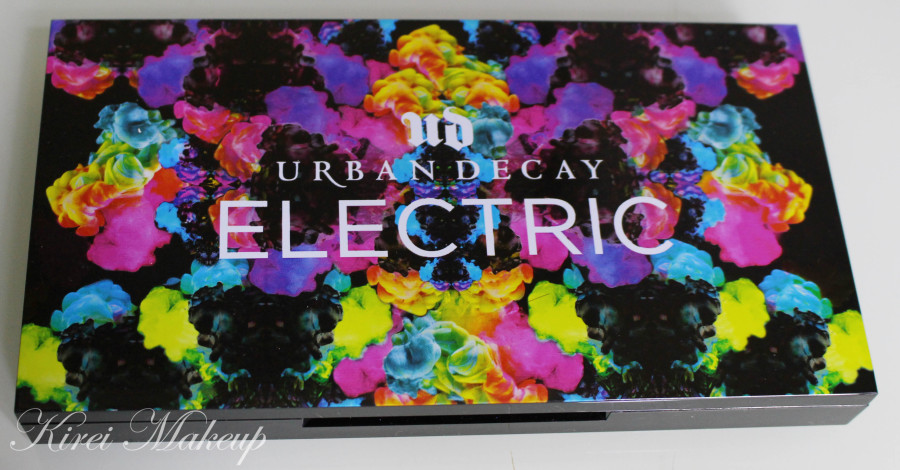
Packaging
I absolutely hate the packaging. I love the cover, and its beautiful artwork, however I hate the bulkiness of it. This is one of the bigger, heavier palette in my kit. Not to mention, this one doesn’t have a latch/clasp when the palette is closed. I can’t actually place one of my little kitchen mat to protect the eyeshadows when I travel – the magnet is not strong enough to hold the palette together when I placed the mat in between.
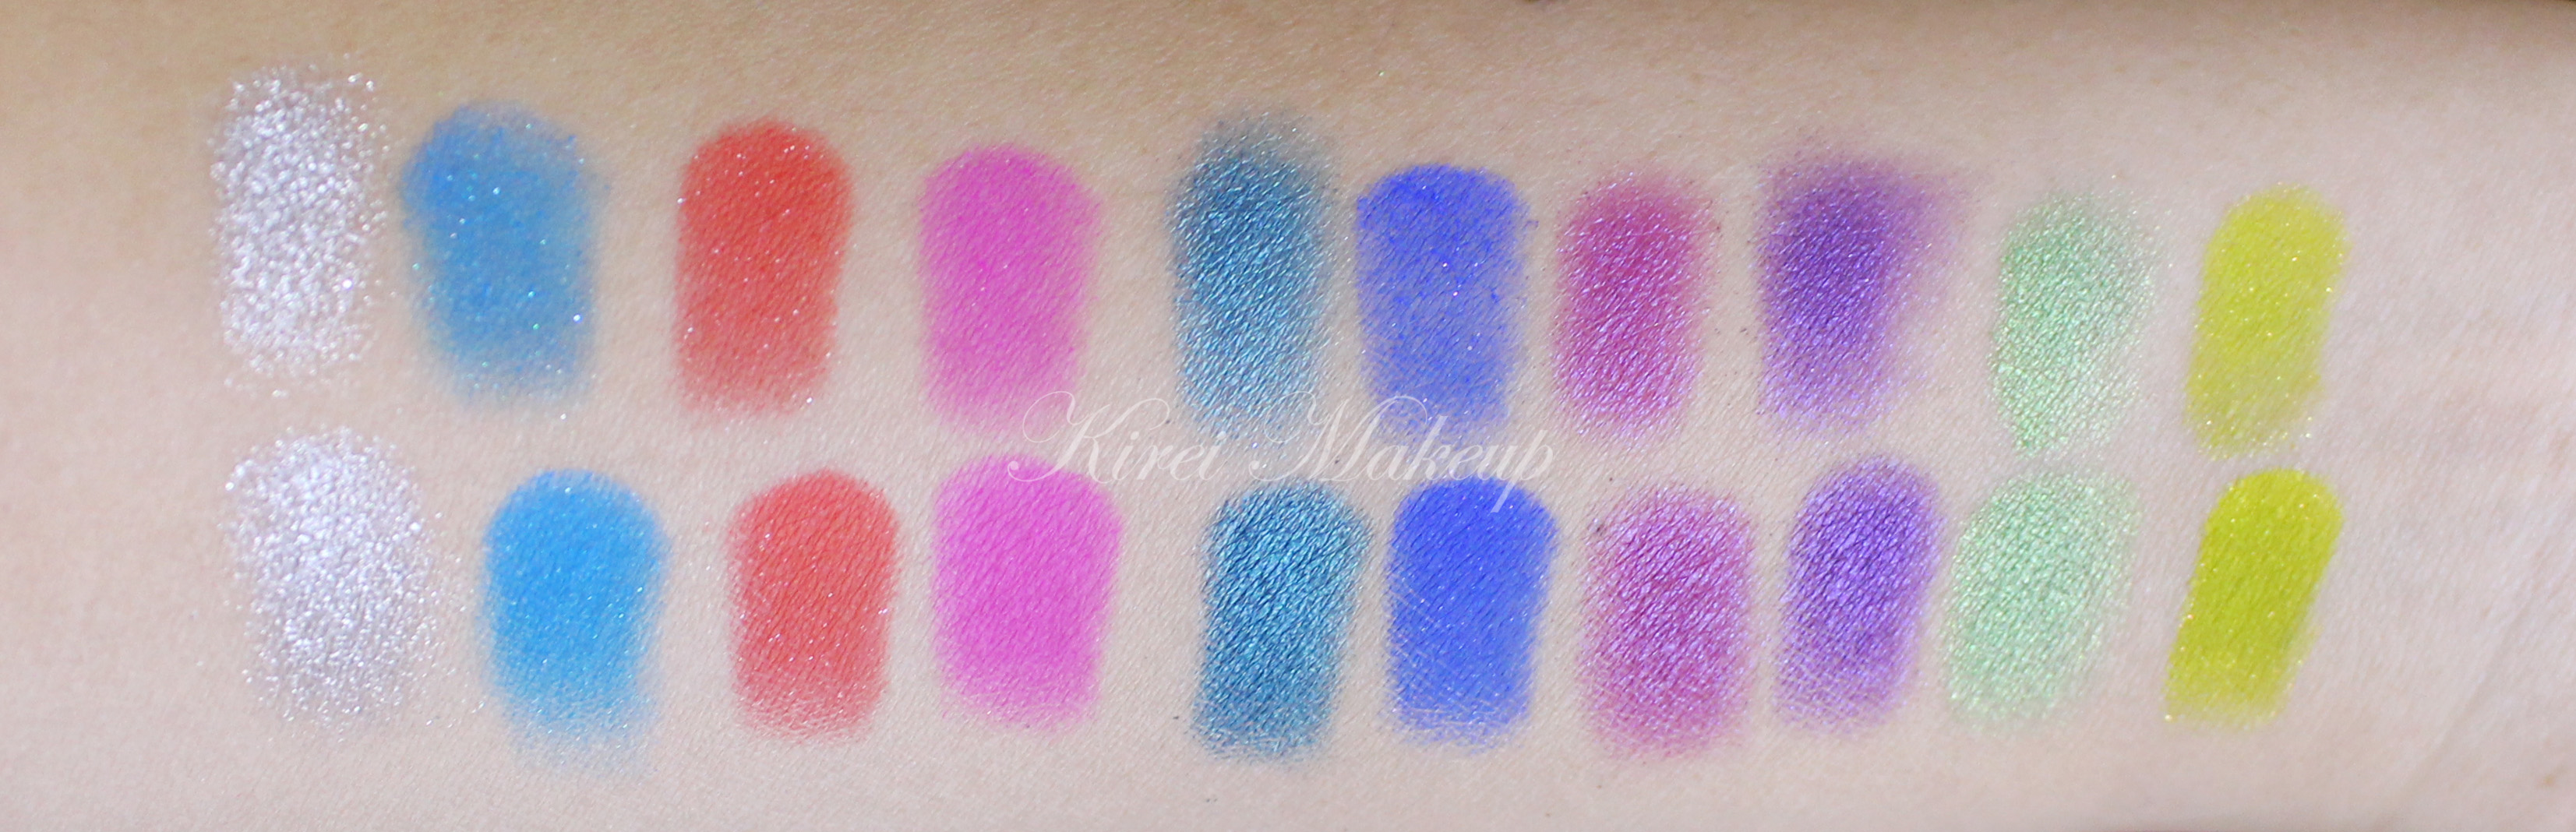
Longevity/Blendability/Pigmentation
Worn with Urban Decay primer or NYX Milk Jumbo pencil, the shades last for around 8-hour with very minimal creasing. Colors stay well on the lid with primer on. I’ve never tried it with no primer, so I can’t say anything about that.
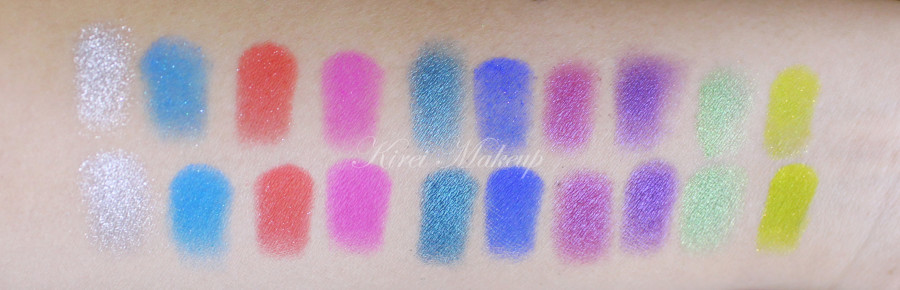
All of the eyeshadows blend very well, very smooth, and I have no problem whatsoever. They are so pigmented, that even with no primer, you can still get the true colors on your eyelids. However, I find that the matte shades are slightly thinner than the shimmers. The matte shades need a real good packing if you don’t use primer underneath (check out my swatches below to see what I mean).
Also, just FYI, a few of my blending brushes (my MAC 217s) are now permanently stained with Savage and Slowburn. I’ve washed them several times with a Beauty Blender solid soap, no luck in getting rid of those stain. Oh well, just know that you’ve been warned!
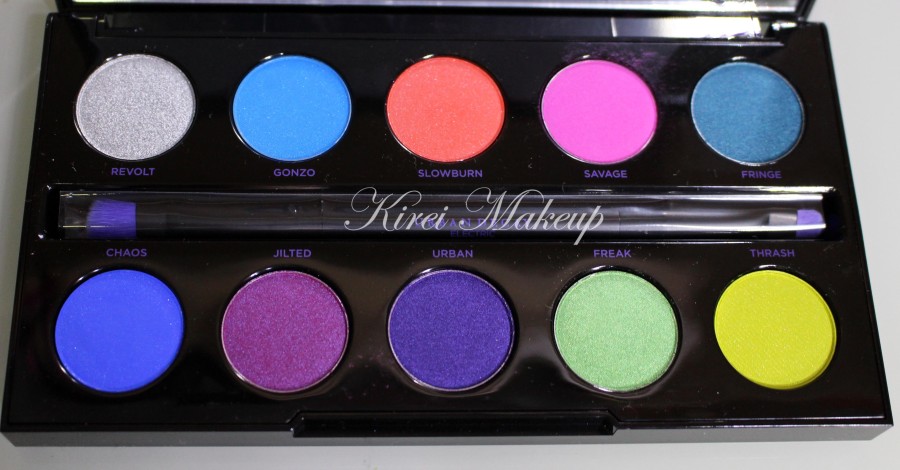
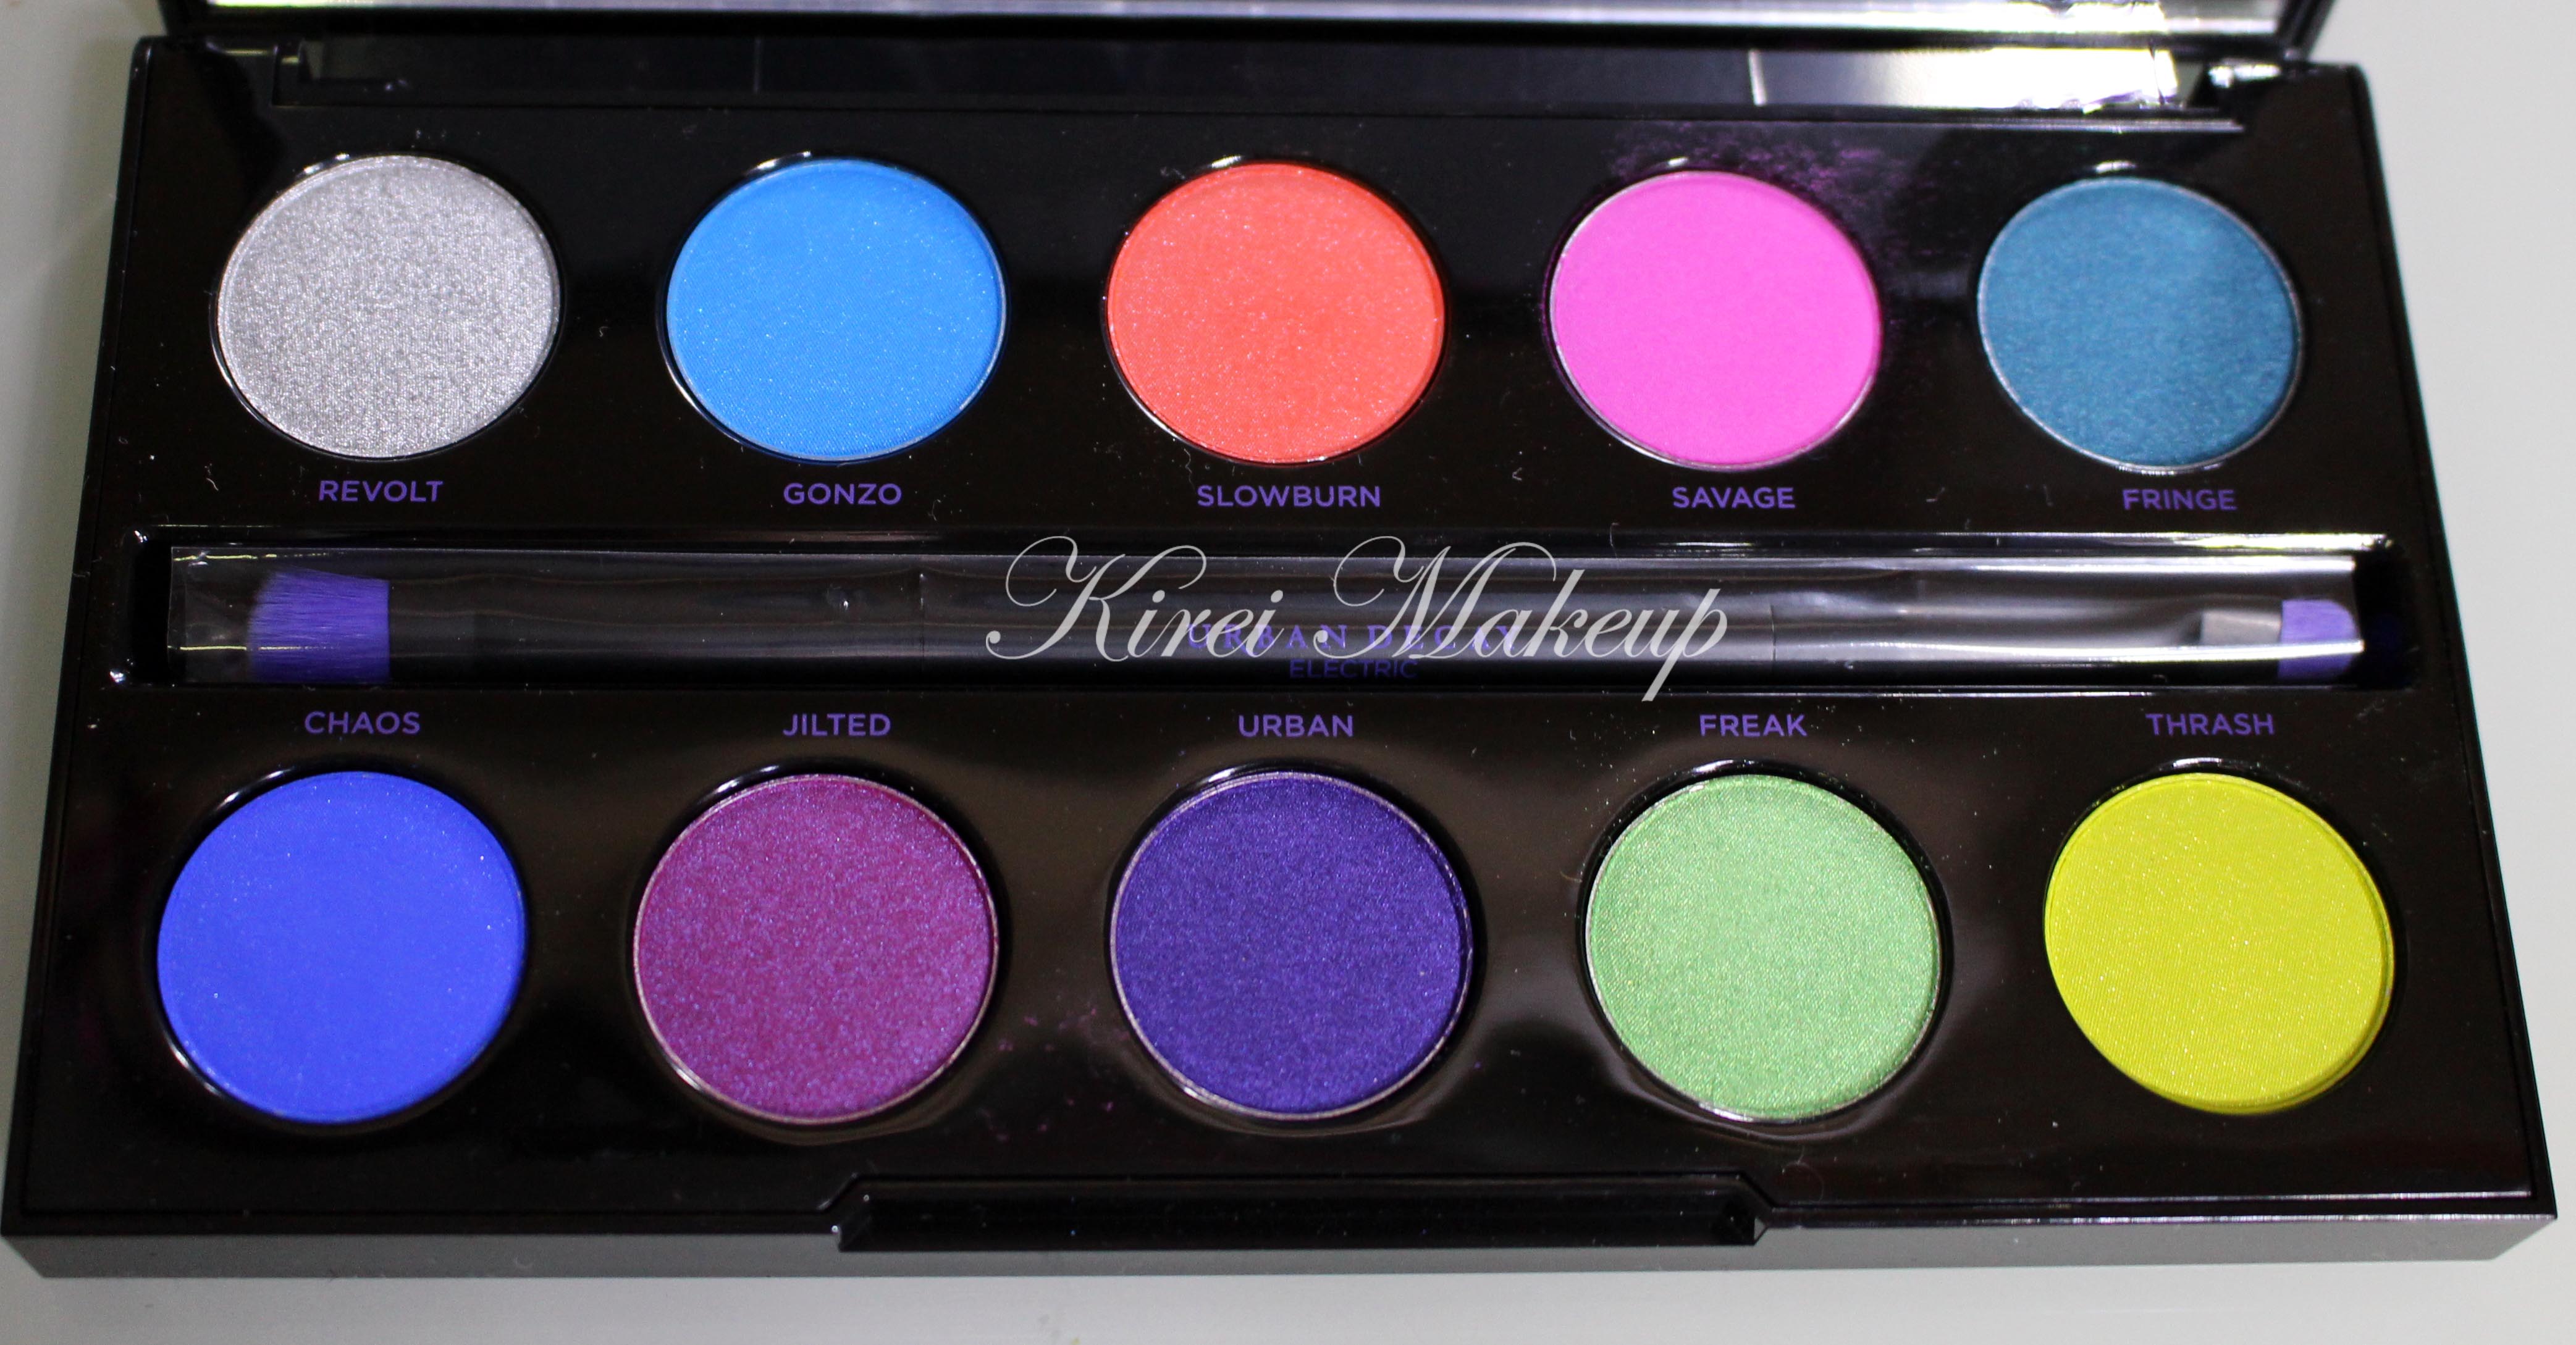
Shades & Finish
Top row (L-R)
- Revolt – bright metallic silver shimmer w/silver glitter.
- Gonzo – bright turquoise matte w/ floating tonal pearl.
- Slowburn – bright red-orange matte w/floating pearl.
- Savage – bright hot pink matte.
- Fringe – bright metallic teal.
Bottom Row (L-R)
- Chaos – bright blue matte w/floating tonal pearl.
- Jilted – bright metallic fuchsia w/blue shift.
- Urban – bright metallic purple.
- Freak – bright green w/gold shift.
- Thrash – bright lime green matte w/floating gold pearl.
(All shades/finish info is taken from Urban Decay, 2014)
Price
USD$49 for 10 shades (0.04oz)
Pros
- Great pigmentation
- Smooth and easily blendable
- Bright, bold, fun colors
- Can be used as hair-chalking pigment
- Long lasting
- Colors stay true (what you see is what you get)
- You get a good mix of matte and shimmer
- Price is pretty good compared to other UD eyeshadows
Cons
- 4 out of the 10 shades cannot be used on the eyes
- Packaging is not optimal for travel
- A little bit pricy compared to other brand
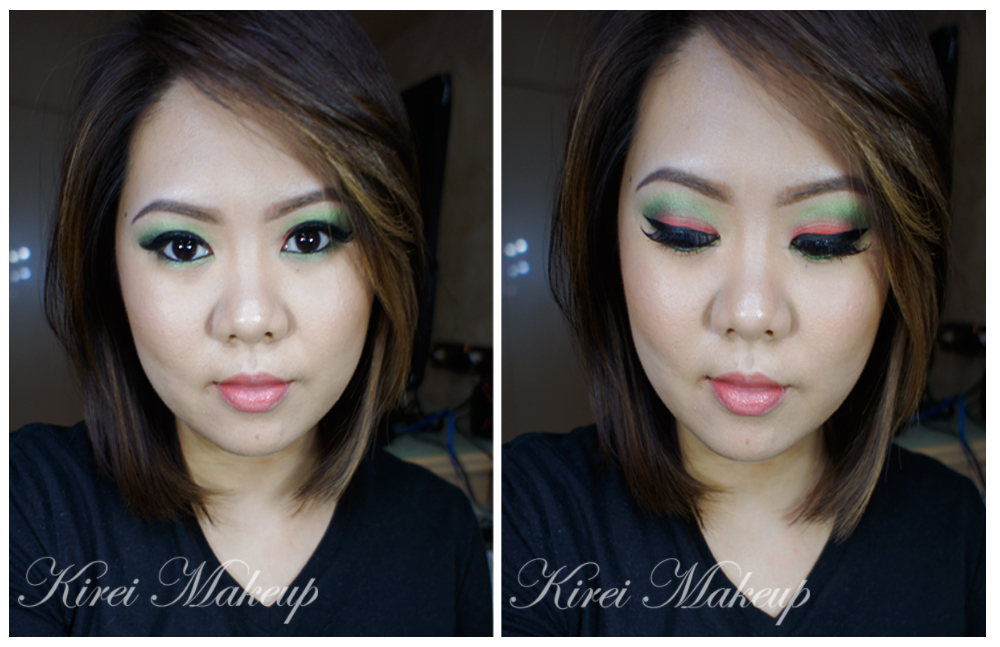
So, I know everyone has been raving about this UD Electric Palette, even I was raving about it before the palette was released. When I finally bought it couple weeks a go when I was in Toronto, I thought it was an over-hype. I saw the colors, and I thought to myself that there’s a lot of other companies that make similar palettes to this, for example, the Sleek Makeup iDivine Snapshot palette, which honestly cost a lot less than the UD Electric palette. You can definitely find similar shades in other brands, like MAC, Sleek Makeup, NYX etc.
If you can’t get this palette, don’t worry too much about it. You can definitely find similar shades by other brands. If you are a fan of Urban Decay’s products, then by all means get this palette, esp. if you love bright, bold colors.
My personal opinion is that this is a great palette (plus it’s cruelty-free) to have if you have the extra cash. Not necessarily needed, but nice to own. Since 4 out of the 10 shades on the palette aren’t recommended for eyelid application, really and truly, if you are worried, I say don’t bother getting it. Go to MAC, and you’ll find eyeshadows that are very similar in shade with this.