Kat Von D Monarch Palette Tutorial #2

I kept forgetting how amazing this palette is, so I decided to remind myself and created this Monarch palette tutorial. Like I said on my first tutorial using this palette, the eyeshadows are unbelievably smooth and so easily blended. Love it! I promise I’ll do swatches and review for this palette. If you have the chance to grab it, you should really consider it.

Anyways, I’m quite busy this week, as well as the whole September due to work. I think I’ll try to post twice a week, hopefully more. If you do follow me on Instagram, I’ll do micro-blogging from there. Also, don’t forget to comment here or on my twitter/instagram on what you’d like to see more. I know I still have to do a few requests, and I’ll try to get on it ASAP. What a busy month!

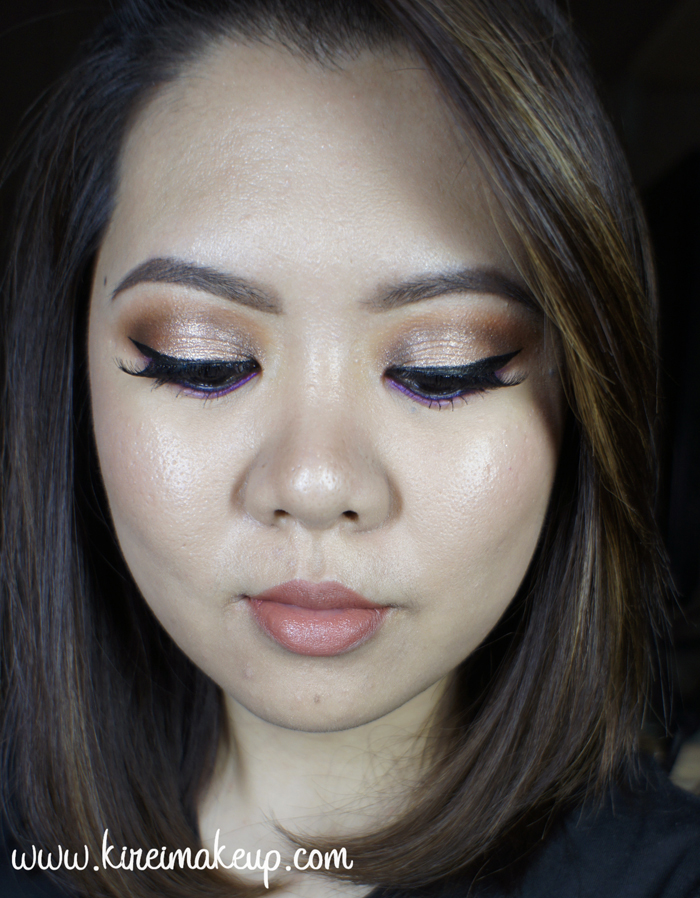
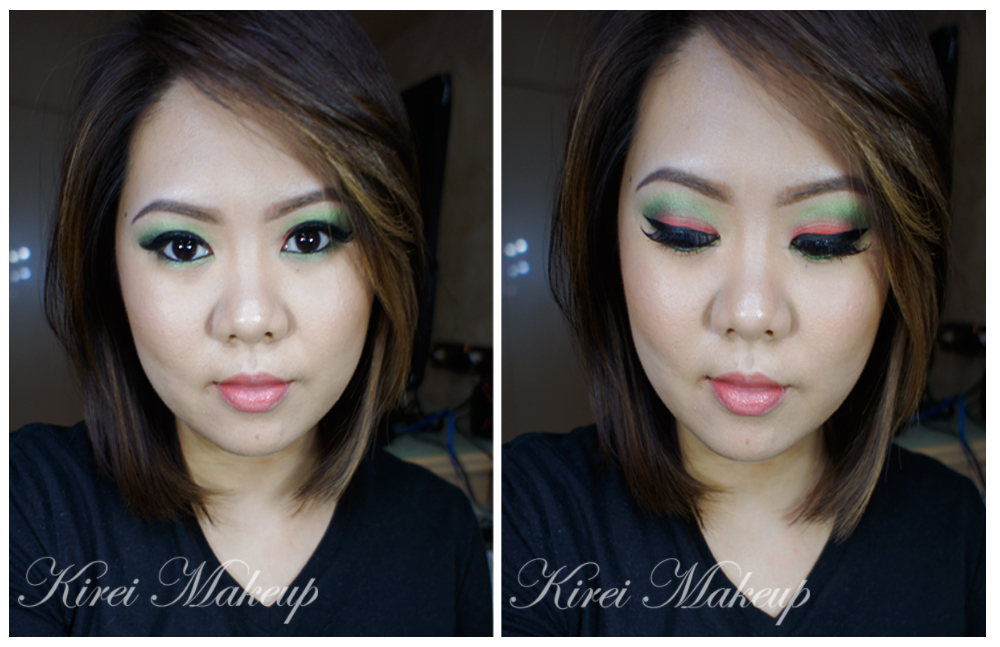
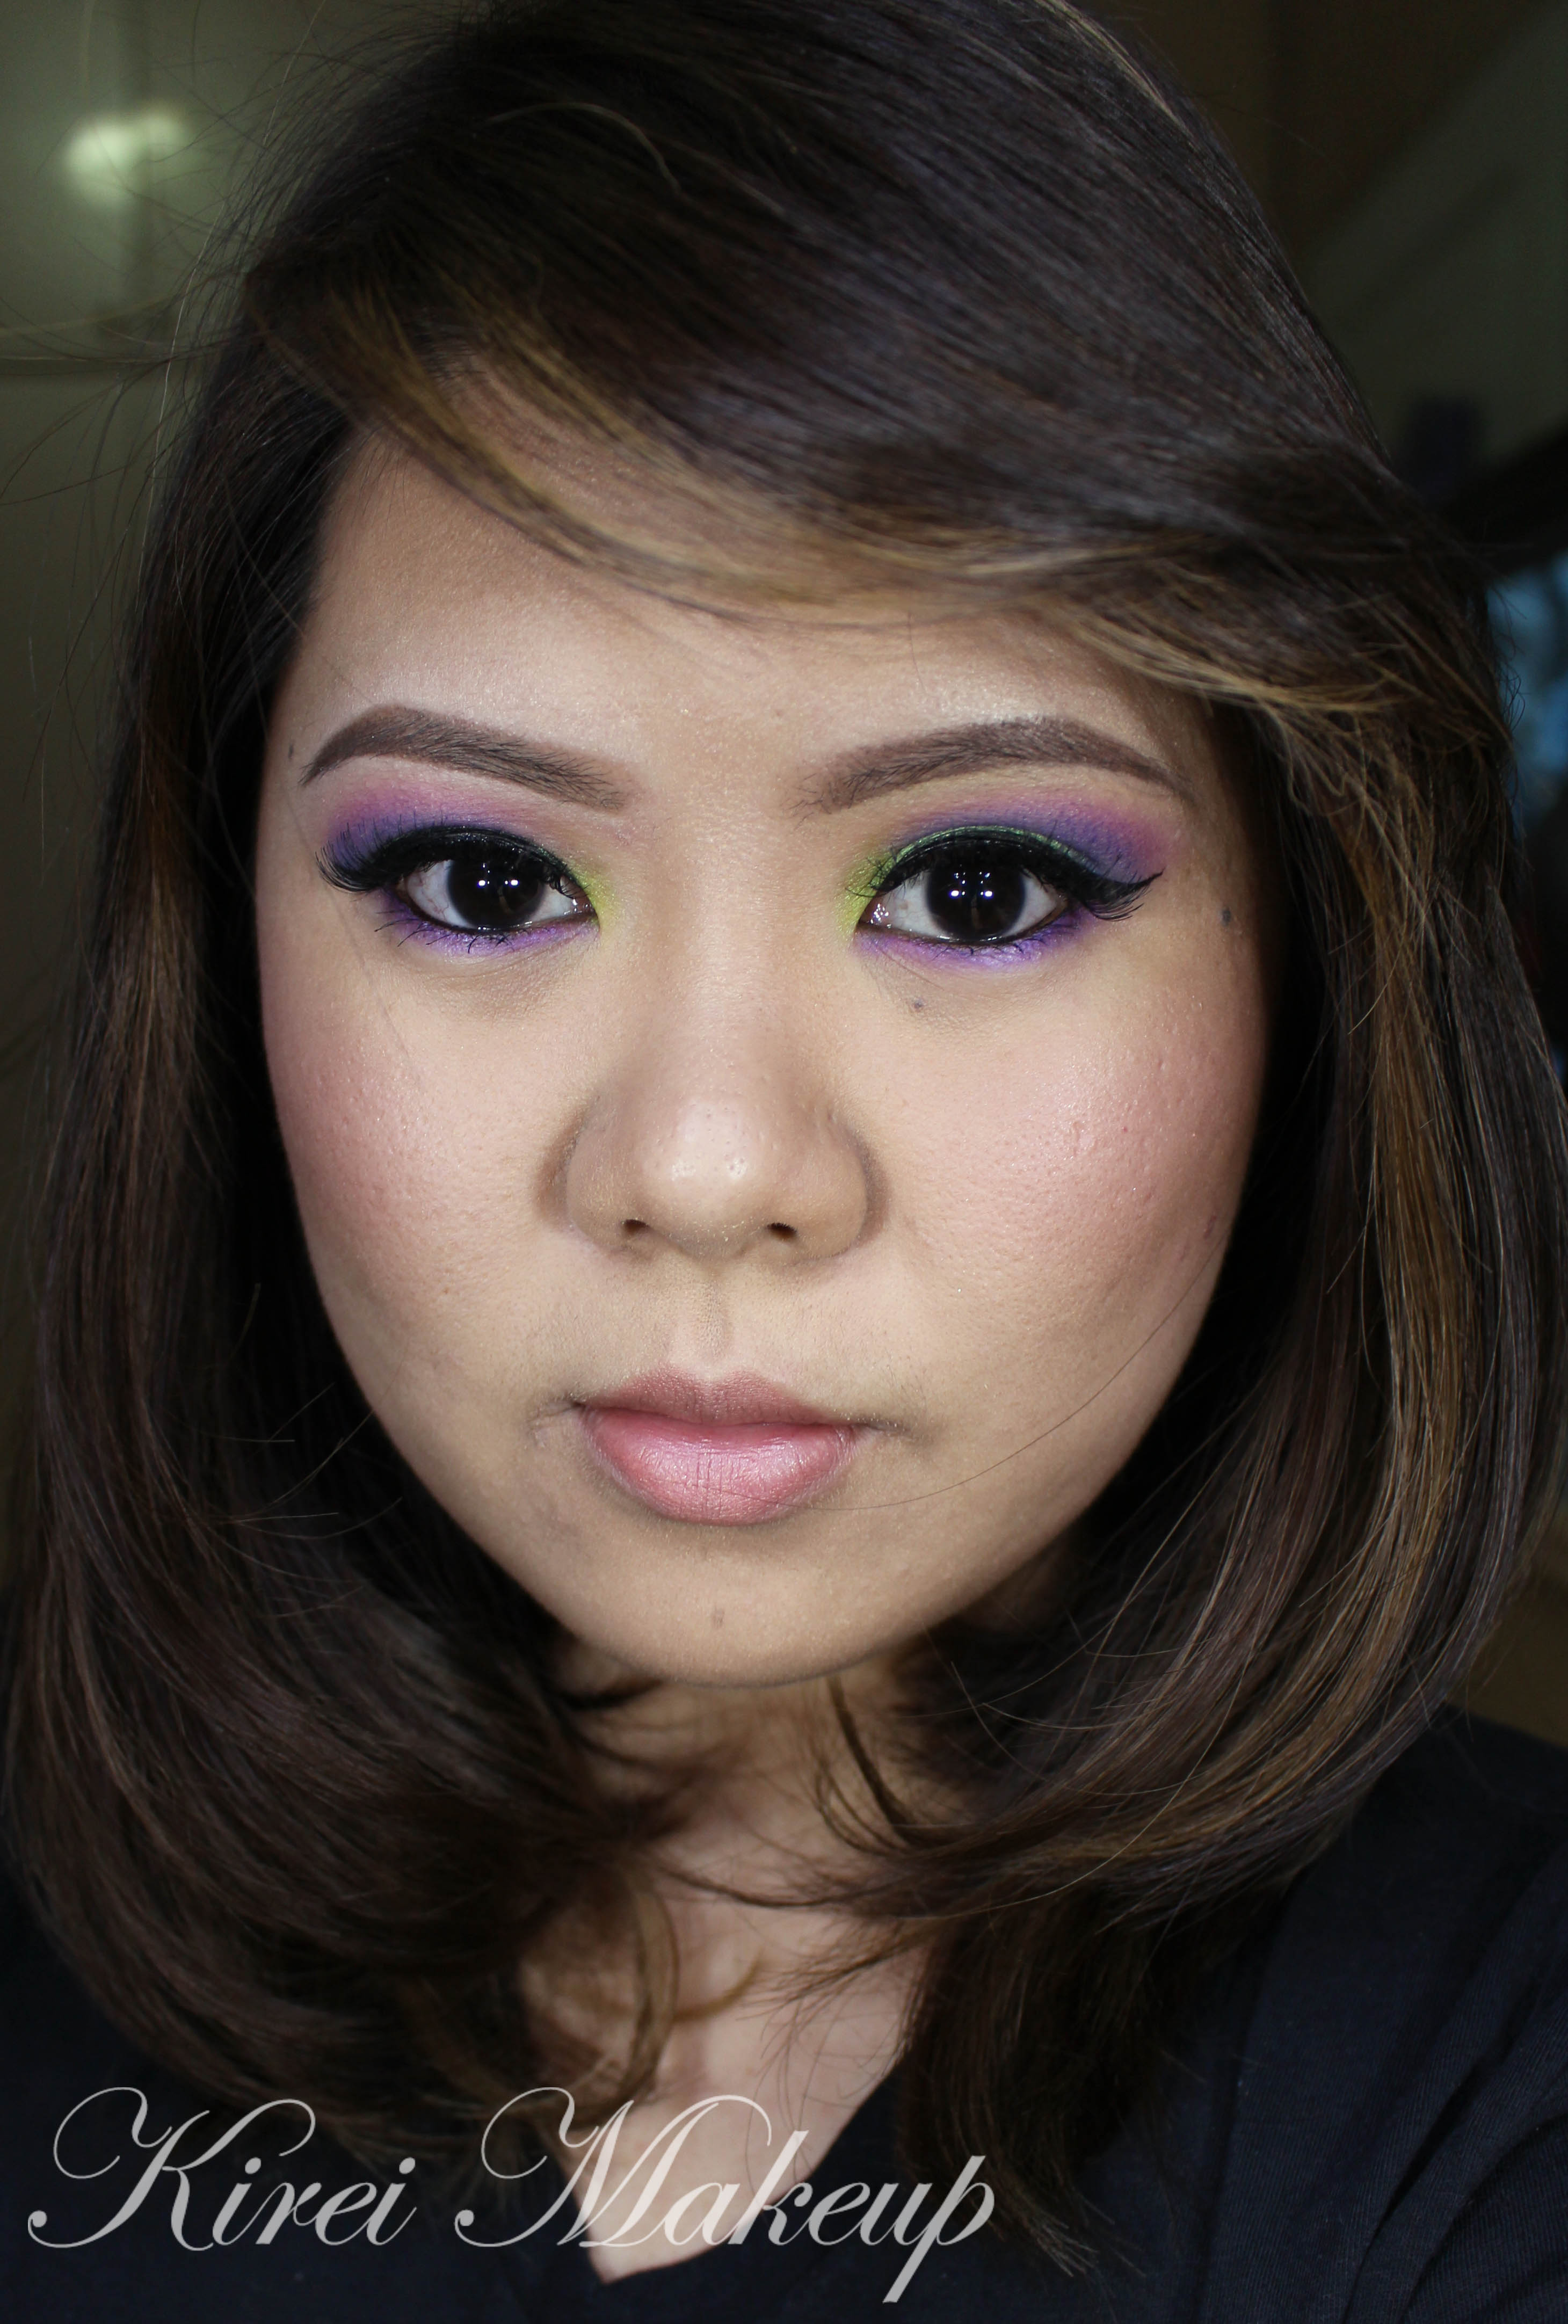
Ok, let’s get the tutorial started! I just want to mention that for some reason my camera picks up Wrath really orange this time round. Not sure why, I did reverted back to my glamcor lights, so that might be the cause. Trust me, it doesn’t look that orange in real life. It’s a very pretty warm reddish-brown, almost like a brick color.

warm brown smoky eyes

I prepped my eyelids using Urban Decay Primer Potion.
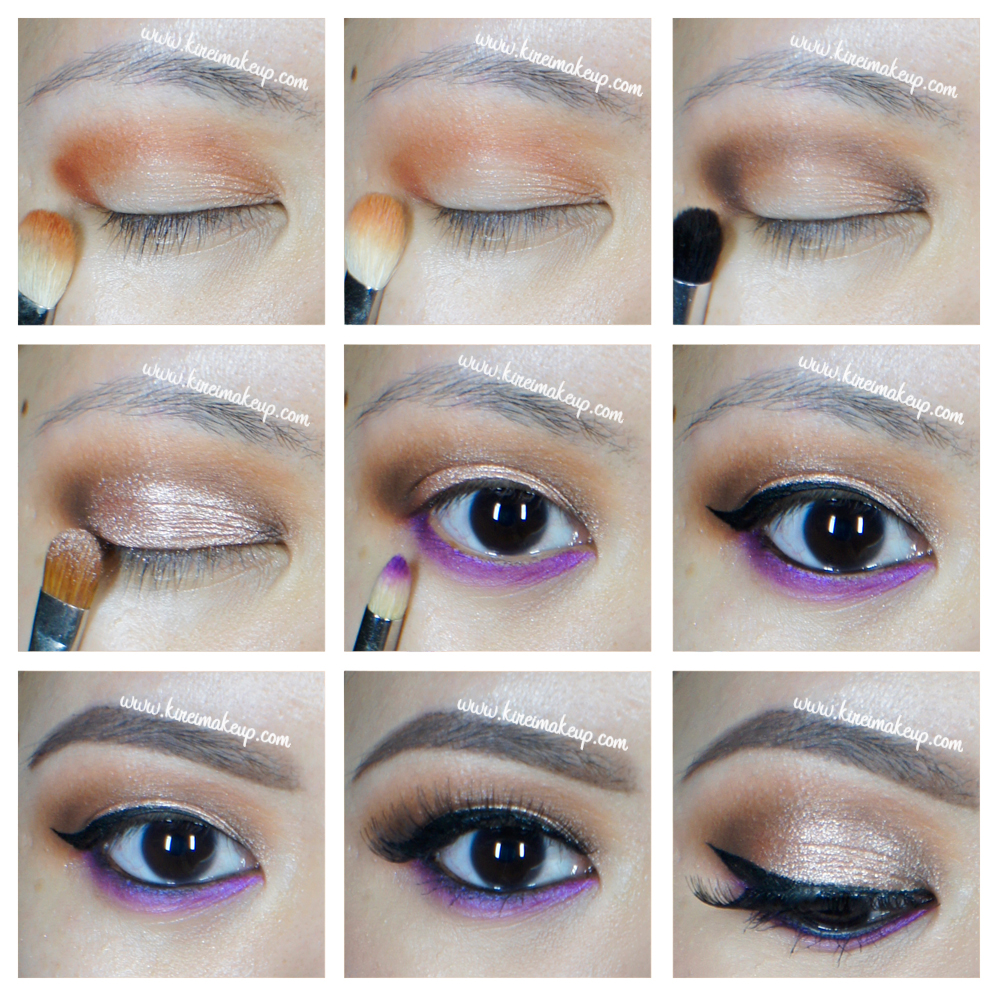
How-to:

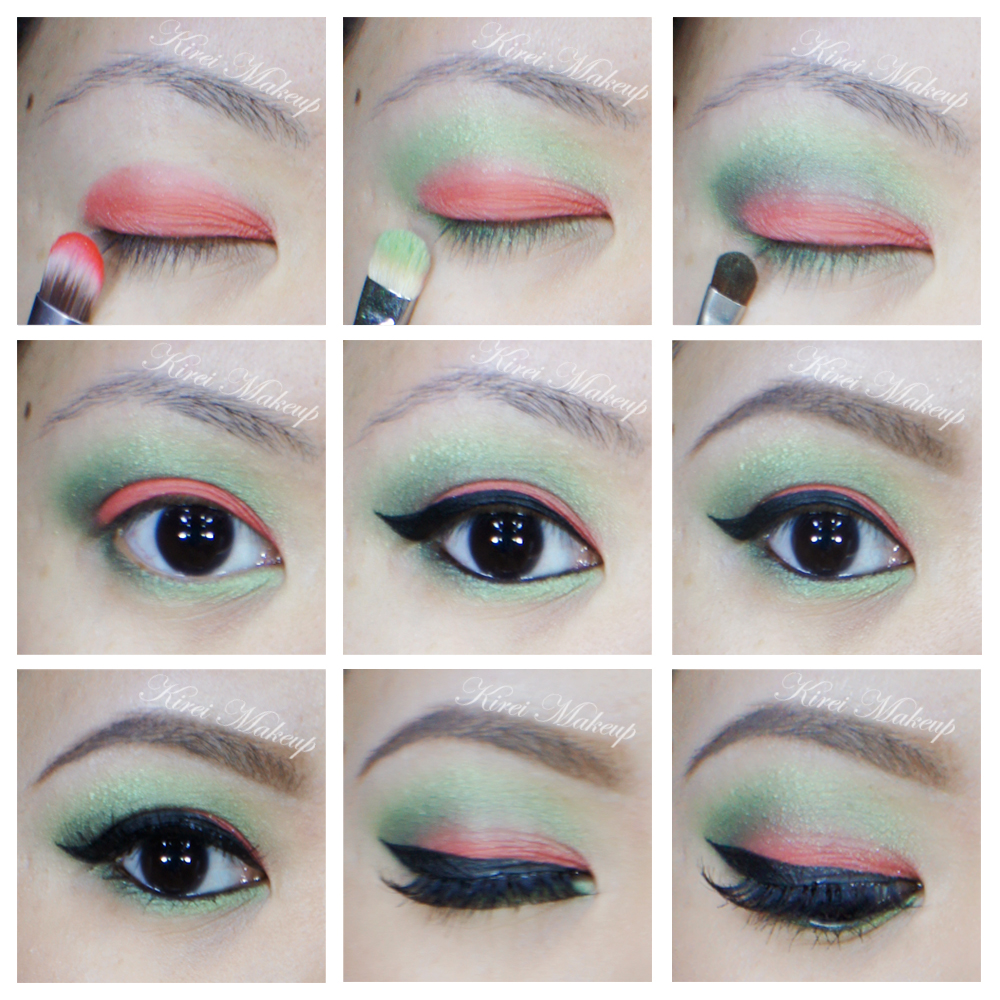
1. Using a fluffy blending brush, I applied Wrath on the outer V and just above the crease.

2. Using a clean blending brush, I blended out the crease.

3. I applied Shadow Box on the outer V, inner V, and crease of my eyelid using a bullet crease brush.

4. Using a flat eyeshadow brush, I applied MAC Tan loose pigment on the center of my eyelid.

5. I applied Urban Decay Jilted eyeshadow (from the electric palette) along my lower lash line using an angled eyeliner brush, then I applied Urban on top of it using a pencil brush.

6. I lined my waterline using L’oreal Voluminous Smoldering eyeliner.

7. I also created a winged liner using Kanebo Kate Super Sharp eyeliner.

8. I filled my brows using Anastasia Brow Wiz in Medium Ash.

9. I applied MUFE Aqua Smoky lash mascara on top and bottom lashes. Also applied Lavie Lash falsies in Snowdrop.

kat von d monarch palette makeup look

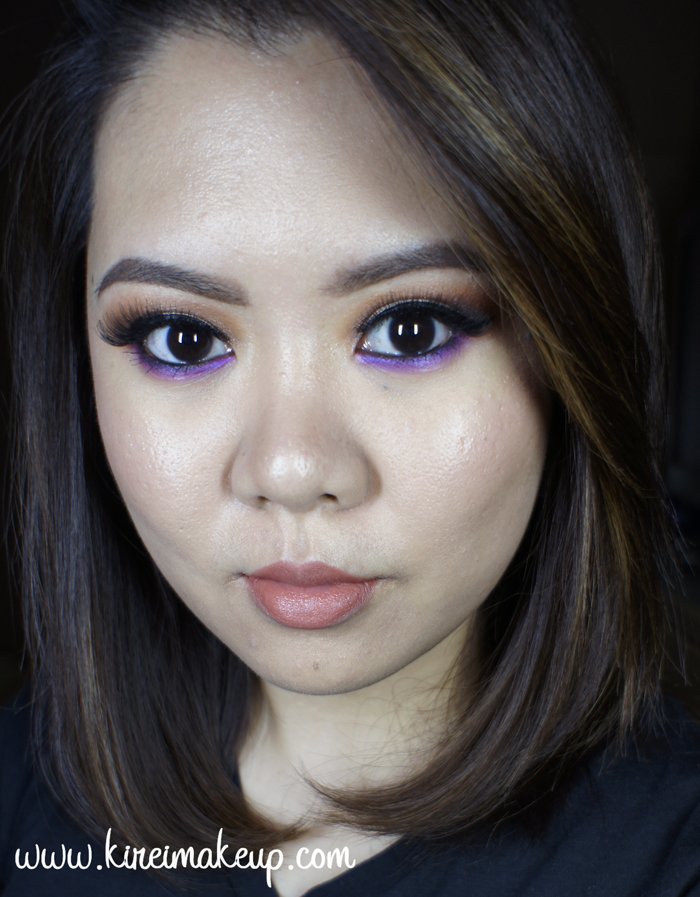
10. On my face, I applied Diorskin Star foundation using a foundation brush.

11. I also applied MUFE HD concealer under my eyes.

12. I wanted an extra glow on my skin, so I applied Smashbox Halo Highlighting wand. I applied this highlighter on the high points of my face – cheekbones, bridge of the nose, cupid’s bow, chin, forehead.

13. I lightly dust Cover FX translucent powder to set everything.

14. I applied contour very lightly on my face using Smashbox Contour Kit (they’re selling it again for a limited quantity on their website!).

15. On my lips, I applied MAC Spice lip liner all over, and then applied Clinique Heaping Hazelnut chubby lip stick.

mac tan makeup tutorial

Urban Decay Electric Makeup Look #2

Another look using Urban Decay Electric palette! I will do a review and swatch the shades this week, promise! I was just playing with the colors for today’s look, and decided to post this tutorial up. I was expecting the orange shade, Slow Burn, to be a little bit lighter. However, it turned up to be quite dark, and has a lot more red in it. I think this color combo – green and orange, is a little bit different than I expected, but looks good nevertheless. I just love how easy it is to blend the shadows.

As always, scroll all the way to the bottom to skip the how-to, and get on the product list.ud electric makeup looks


How-to:

1. I prepped my eyelids using Urban Decay Primer Potion in Eden.

2. I applied Urban Decay Slow Burn all over my entire eyelid using a flat eyeshadow brush.

3. Using a shade brush, I applied Urban Decay Freak on my crease.

4. Using a small shader brush, I applied Lancome Strut on the outer V, blending the color in between the edge of Slowburn and Freak.

5. I applied Urban Decay Freak on the lower lid, and Lancome Strut on the outer half of the lower lid. I used an angled eyebrow brush for this.

6. I created a winged liner using Kanebo Kate Super Sharp eyeliner. On the waterline, I applied L’oreal Voluminous Smoldering eyeliner.

7. I filled my brows using Anastasia Brow Wiz in Medium Ash.

8. I curled my lashes, and applied L’oreal Carbon Black Mascara.

9. I also applied Ardell Demi Wispies falsies.

ud electric makeup looks

10. On my face, I applied CoverFX cream foundation in G40 (base), G20 (highlight), and N110 (contour).

11. On the cheeks, I applied Benefit Hervana blush.

12. I applied Clinique Mega Melon chubby lip tint.


Products used

Eyes – Urban Decay Electric palette (eyelid: Slowburn, crease and lower lid: Freak); Lancome Strut color design eyeshadow (outer V); Kanebo Kate Super Sharp eyeliner; L’oreal Voluminous Smoldering eyeliner; L’oreal Carbon Black mascara; Ardell Demi Wispies; Anastasia Beverly Hills Brow Wiz in Medium Ash.

Face – CoverFX cream foundation (G40: base, G20: highlight, N110: contour)

Cheeks – Benefit Hervana Blush.

Lips – Clinique Mega Melon chubby lip pencil.

Fun and Colorful Makeup using Urban Decay Electric

Hello, Jakarta! I’m home!!! How is everyone doing? Finally I’m able to post a new tutorial! Today’s tutorial is a fun, colorful, bright look using the new Urban Decay Electric palette! I bought this palette when I was in Toronto just last week, and I couldn’t wait to give it a try. Anyways, I’ll try to do a review of this palette next week.

Anyhooow, I just recently changed my camera to the Canon SL1, so I’m still trying to adjust the setting of the camera, and not to mention the way I take my selfie. So, if I do look awkward in the portrait photo, I do apologize. Not to mention, I’m not too happy with my haircut (my fringe especially), and have yet to go to my hairstylist here to get it fixed! If you are interested in the whole hair story please check my Instagram!

urban decay electric palette tutorial

How-to:

1. I prepped my lids using NYX Milk Jumbo Eyeshadow pencil. Then, using the brush that came with the palette, I applied  Chaos on the outer V and the crease.

2. Using a blending brush, I applied Savage just slightly above Chaos.

3. Using a flat eyeshadow brush, I applied Freak on the eyelid, and Thrash on the inner corner of the lid.

4. On the lower lid, I applied Urban using a the small shader brush that came with the palette.

5. I lined my waterline using L’oreal Voluminous Smoldering Eyeliner.

6. On the upper lash line, I applied a winged eyeliner using Kanebo Kate Super Sharp eyeliner.

7. I curled my lashes, and applied a sample mascara from Estee Lauder on both my upper and lower lashes.

8. I also applied Ardell Demi Wispies lashes.

9. I filled my brows using Anastasia Brow Wiz in Medium Ash.
urban decay electric palette

10. On my face, I applied Hourglass Immaculate foundation (not a big fan of this one..may be i shouldn’t have gotten the one for oily skin..lol)

11. I also applied a concealer from Motives Ice palette  below and above my eyebrows.

12. I lightly contoured my face using Motives Ice palette as well.

13. I applied MAC Dainty on my cheeks.

14. On my lips, I applied Revlon Flashing Lights colorstay ultimate suede lipstick.


Products used

Eyes – NYX Milk Jumbo Eyeshadow pencil; Urban Decay Electric palette (Outer V/crease – Chaos, above crease – Savage, lid – Freak, inner corner – Thrash, lower lid – Urban) ; Kanebo Kate Super Sharp eyeliner; L’oreal Voluminous Smoldering eyeliner; Ardell Demi Wispies false eyelashes; Anastasia Brow Wiz in Medium Ash.

Face – Hourglass Immaculate foundation; Motives Ice palette; MAC Dainty.

Lips – Revlon Flashing Lights lipstick.