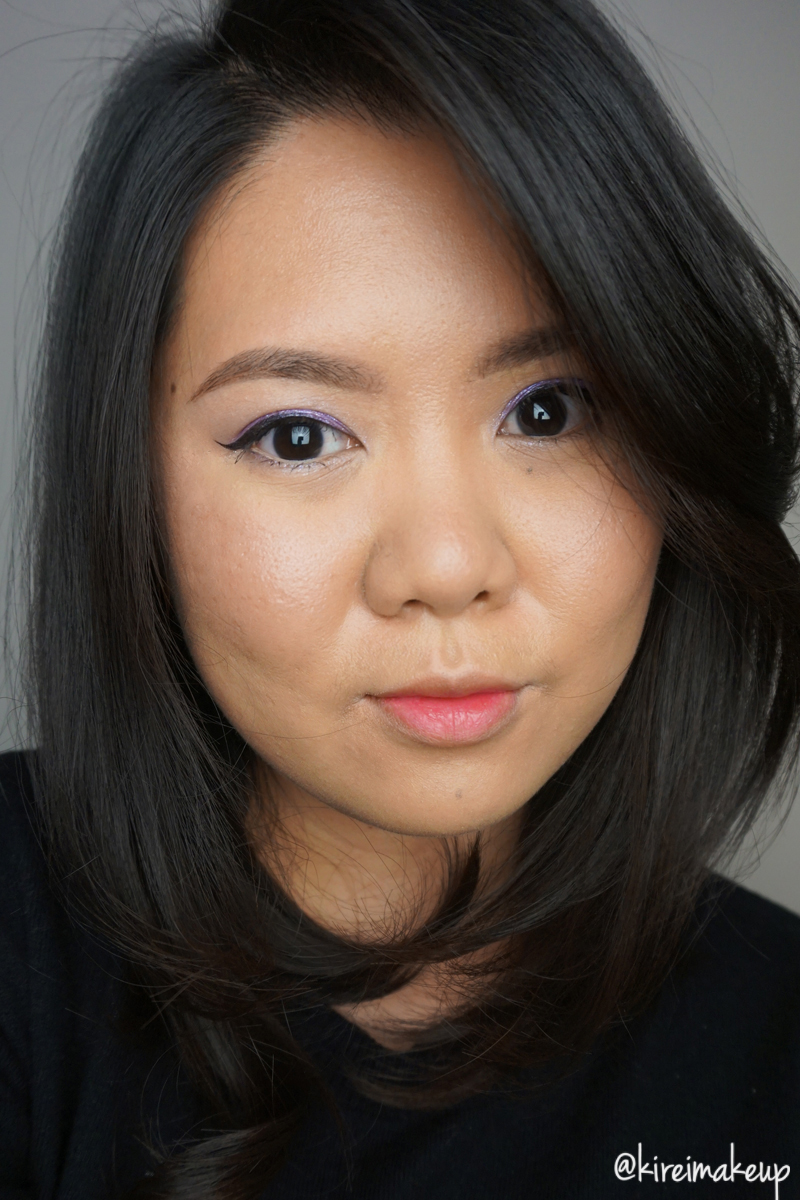
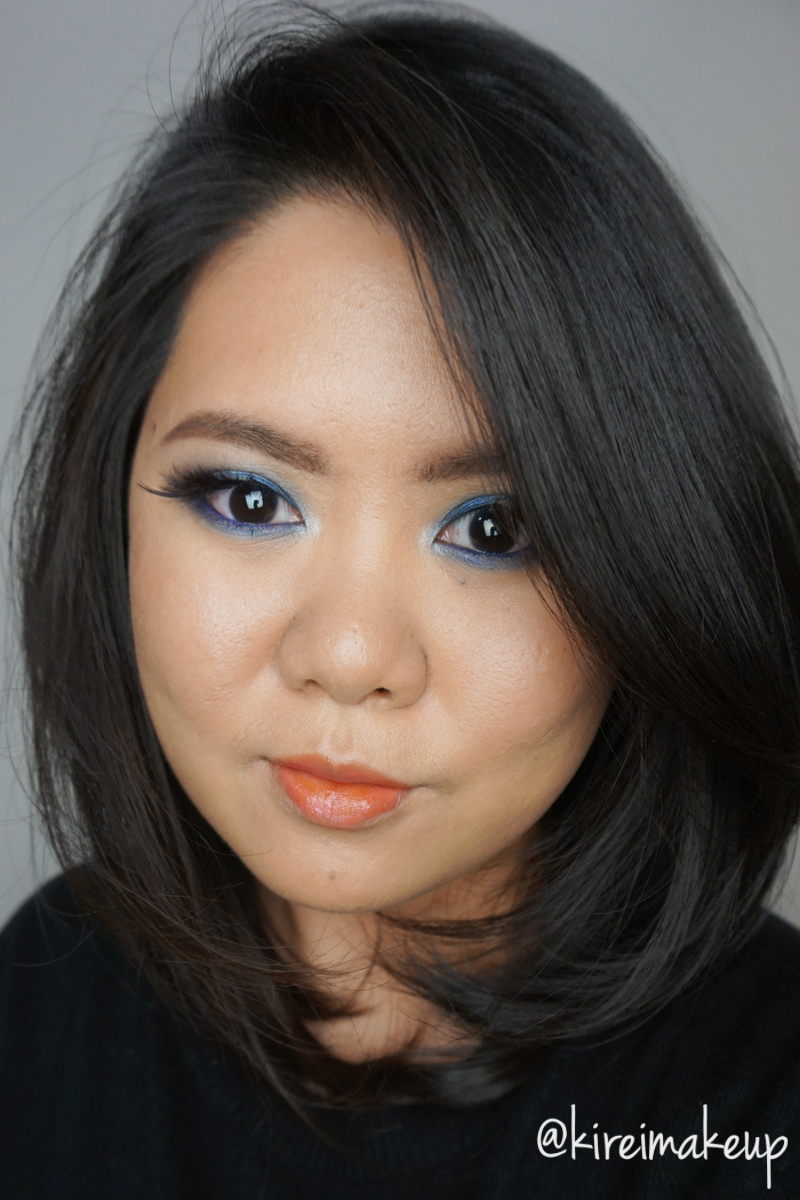
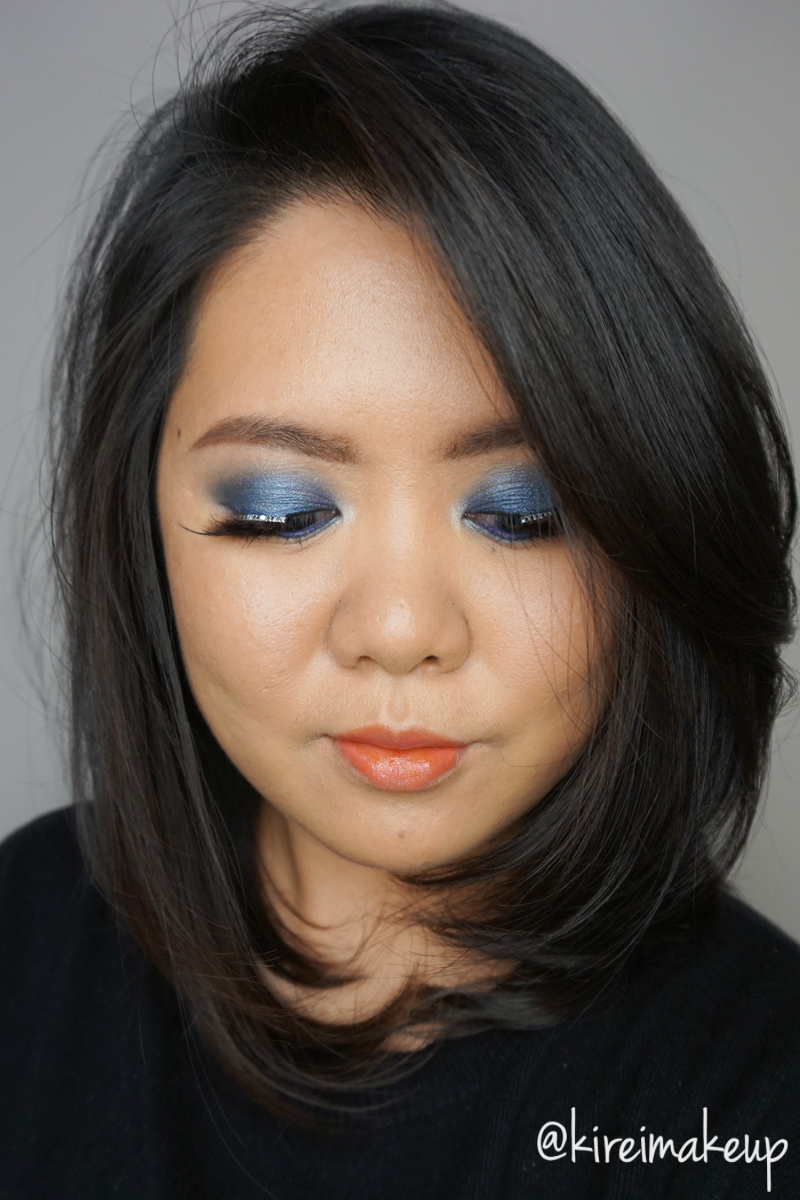
As you know, I recently received a few great products from THEFACESHOP Canada. If you have not checked out my post using these products, please check out my Lavender Glitter Party Makeup tutorial! It’s easy, fun, and definitely eye catching!
Have you tried any THEFACESHOP products? If you have, what’s your favorite product from this brand? If you haven’t, which product would you like to try? Leave your answer below on the comment section.
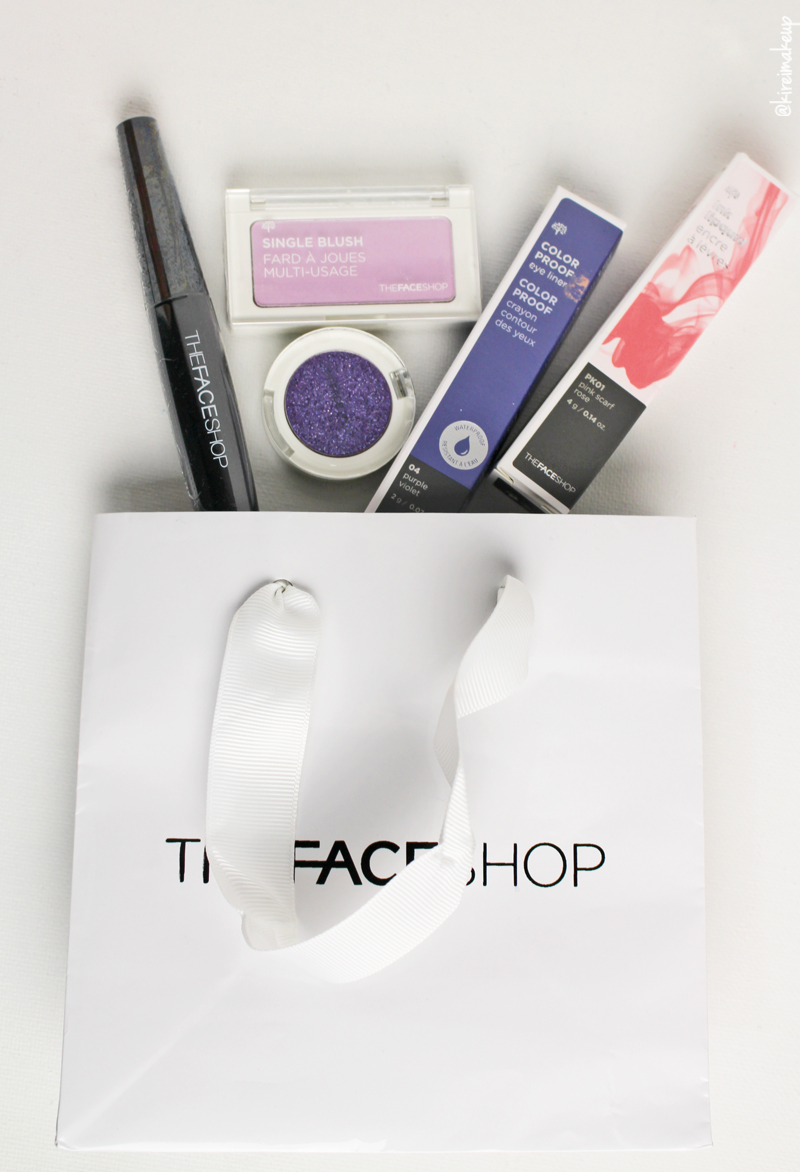
So, as part of the Canadian Beauty Bloggers network, I was selected to give THEFACESHOP Canada products a try. Big shout out to Canadian Beauty Bloggers, as well as THEFACESHOP Canada! I received these 5 products in the mail (L-R) – Freshian Big Mascara, Candy Violet blush, Lavender Glitter eyeshadow, Purple Violet Color Proof eyeliner, and Pink Scarf Rose Ink Lipquid. Keep on reading below to find out the swatches, as well as my review on these products!
 THEFACESHOP Canada
Let’s start with THEFACESHOP Canada Freshian Big Mascara (01 Curling). The Freshian Big mascara is described as “Mascara that provides natural eyelash looks. Curling & volume effects are well seen!”. There’s actually a Volume version of this mascara, the one that I received is the Curling effect. I actually quite like the wand on this mascara, it’s thin and I can get the bristles right in between my lashes. The formula is not too runny, and it does not dry out too quick either.
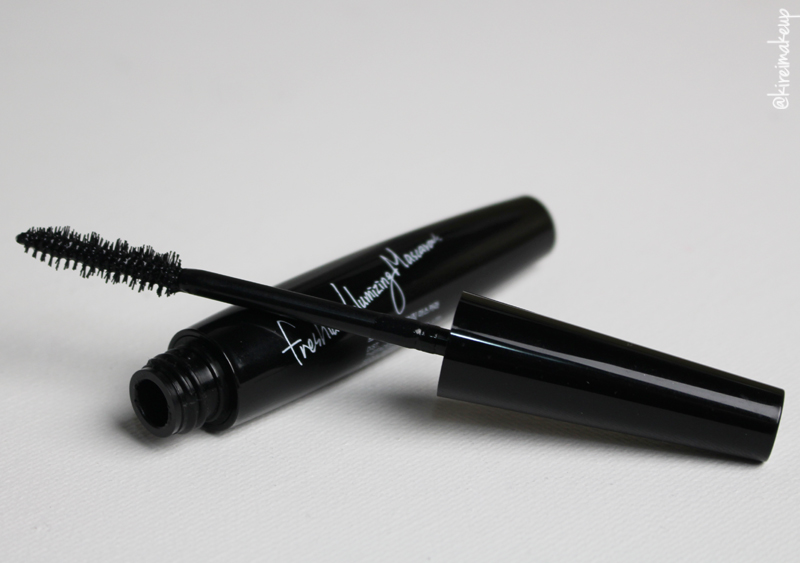
THEFACESHOP Canada Freshian Big Mascara (01 Curling)
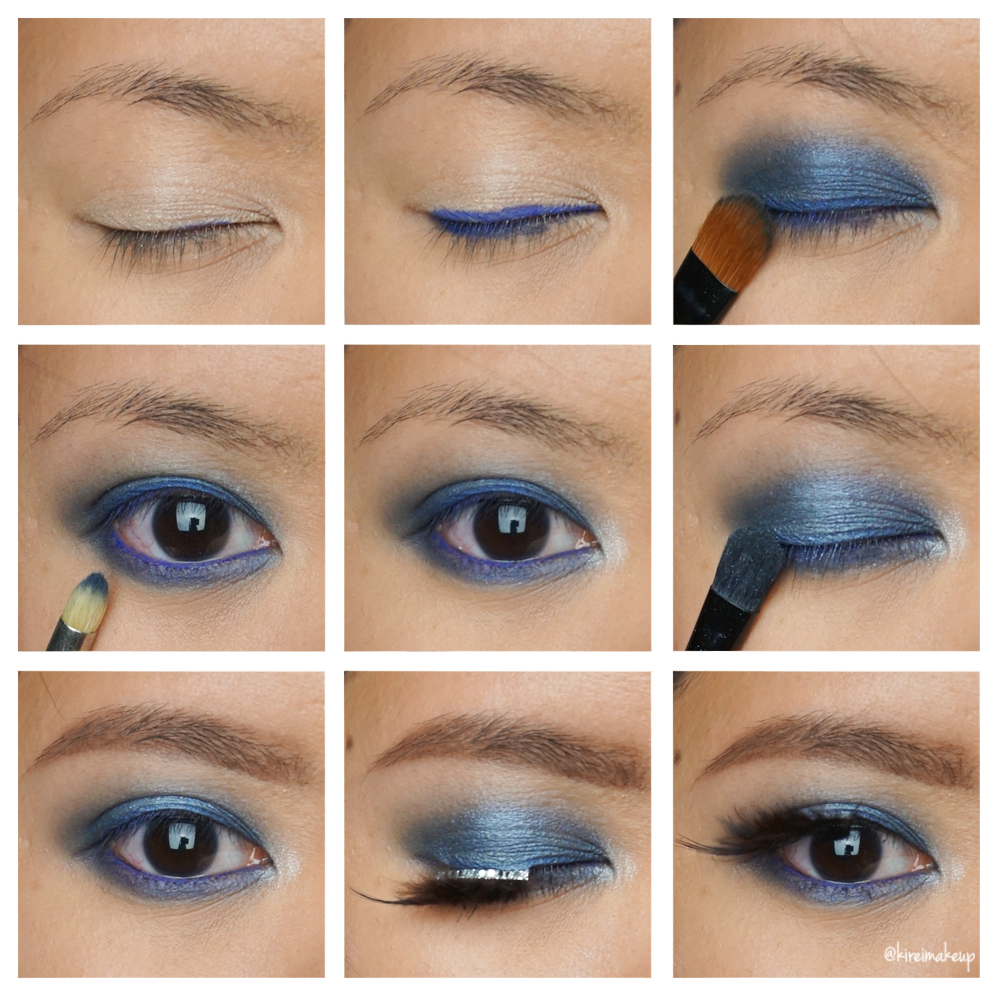
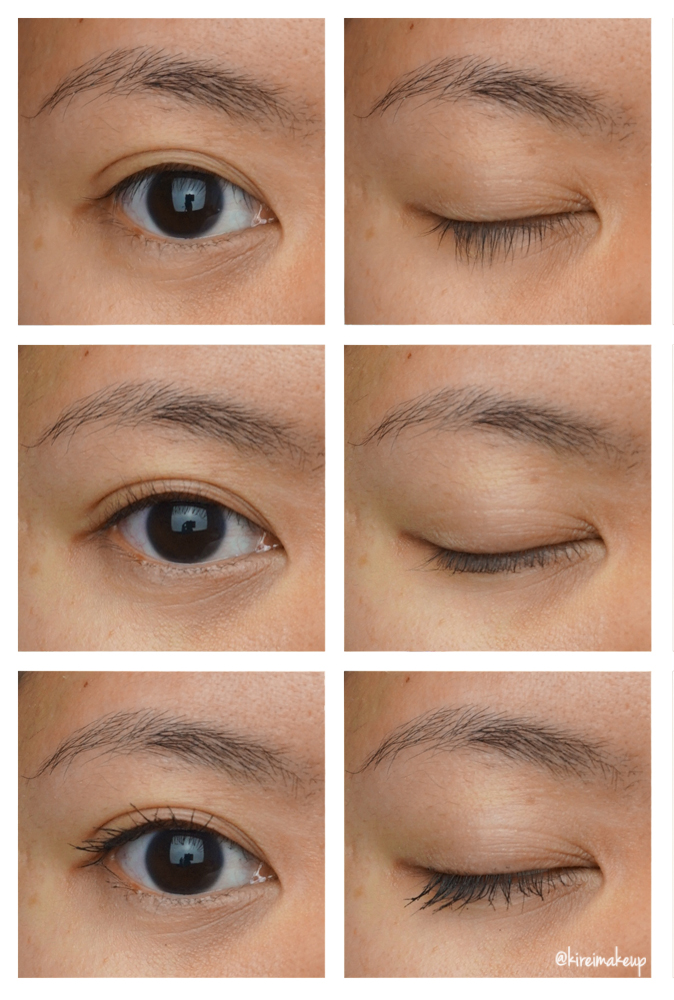
In the “before” picture below (top row), you can see that my lashes are stick-straight and long. I have to curl my lashes before I apply the mascara (middle row). As you can see in the “after” picture (bottom row), my lashes lost some of its curls but gain extra length. The mascara itself does not cause my lashes to clump, it separates the lashes pretty well. The reason why this mascara does not keep the curls of my lashes is because it does not dry quick enough. If you’re looking for a curling mascara, you should look for one that is waterproof since waterproof mascara dries out faster when you apply it, which then would help to lock the curls in place. This mascara is NOT waterproof, and so it does not hold the curls very well. It is still better than other non-waterproof mascara though in terms of holding the curls.
THEFACESHOP Canada also sent me a Candy Violet blush! Prior to this, I did not own a violet blush. This was my first time using a purple-toned blush. I know it looks quite pink in the picture, but it is actually a light purple if compared to other pink/rosy blushes. It is a very pale cool tone blush, so I wasn’t quite sure how this would show up on my skin.
The blush, since it’s purple, is really great to brighten your skin. As you know, purple/violet works as a brightening corrector. So, this blush does a good job to brighten up your skin. It has a little bit of shimmer, and it works well as a highlighter. The downside to this blush is the fact that it’s too light for my skin. I can’t really use this as a blush on its own, so I use it as a highlighter or a brightener on top of my other blush. I also can use this blush to change the “warmness” of my other blushes. For example, if I think my other blush is too warm-toned, I can apply this blush first then the warmer blush on top to make it more cool-toned or neutral.
 THEFACESHOP Candy Violet single blush
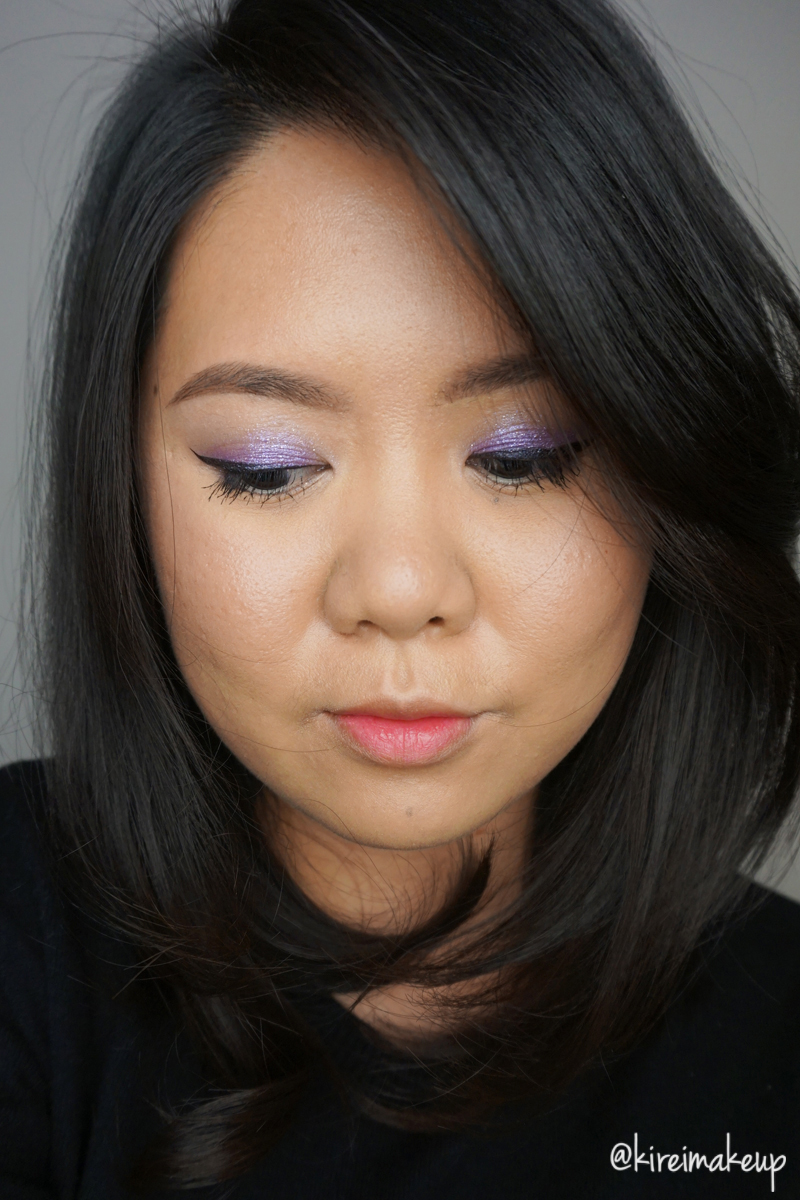
One of my favorite products from this package is this stunning sparkly purple eyeshadow! THEFACESHOP Lavender Glitter eyeshadow is described as “Highly pigmented Single Shadow Glitter gives a uniform and ultra shiny finish. Its silky, easy-to-adjust texture applies easily and adheres without smudging, for long-lasting hold.”
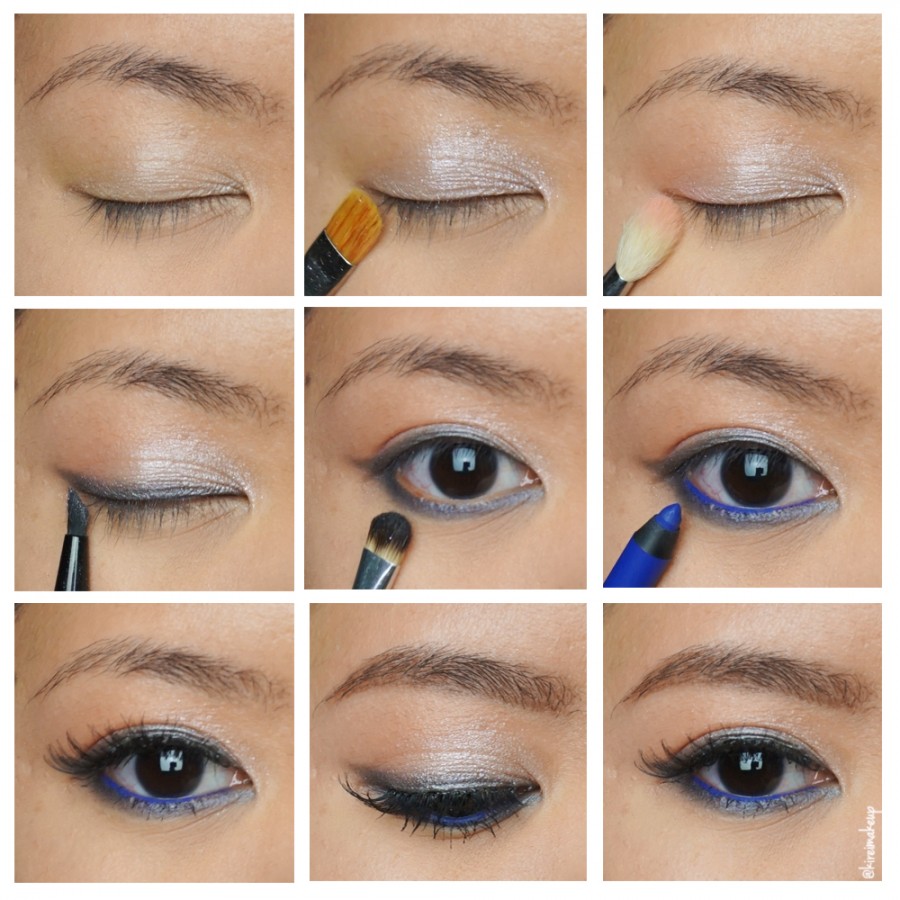
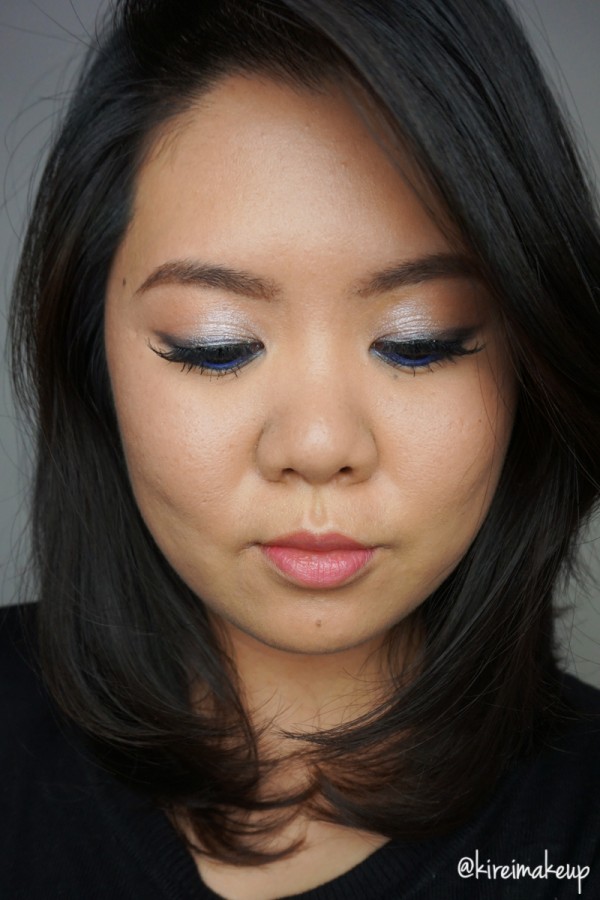
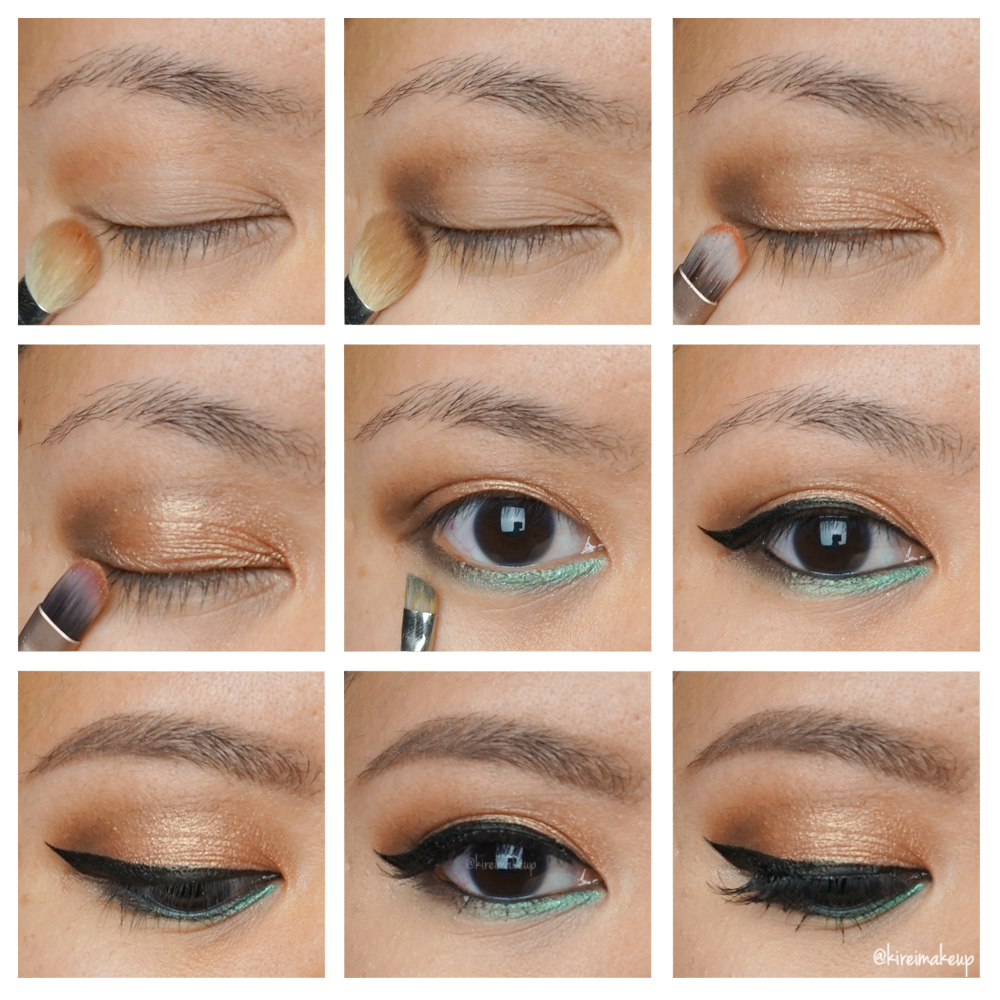
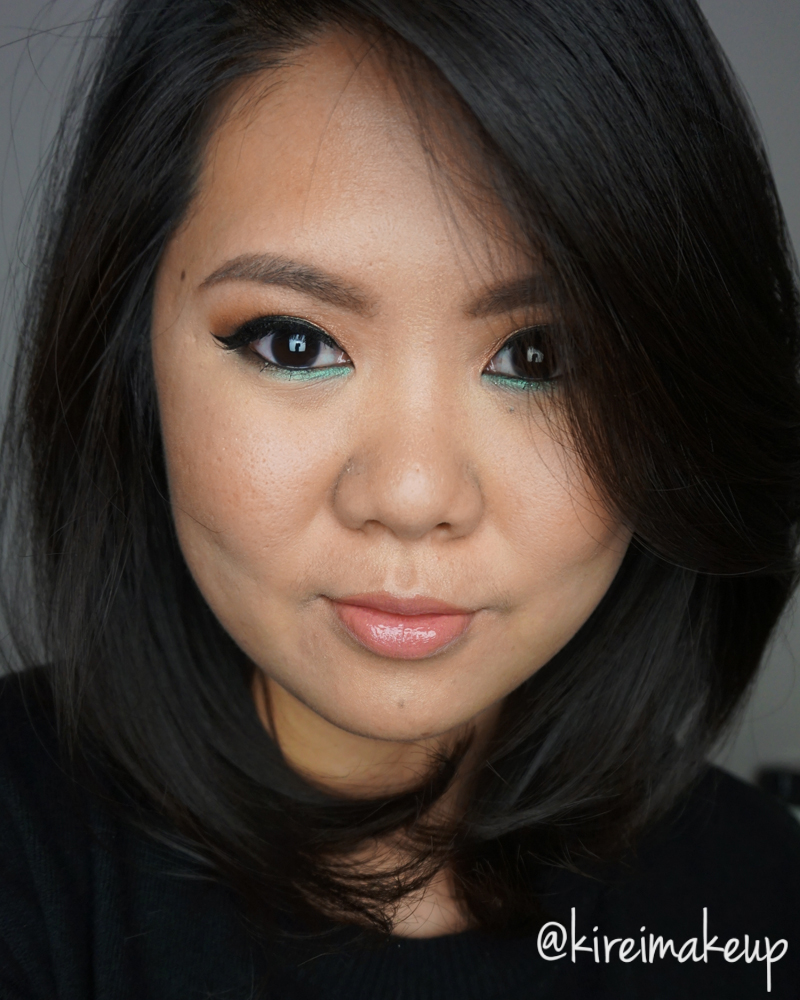
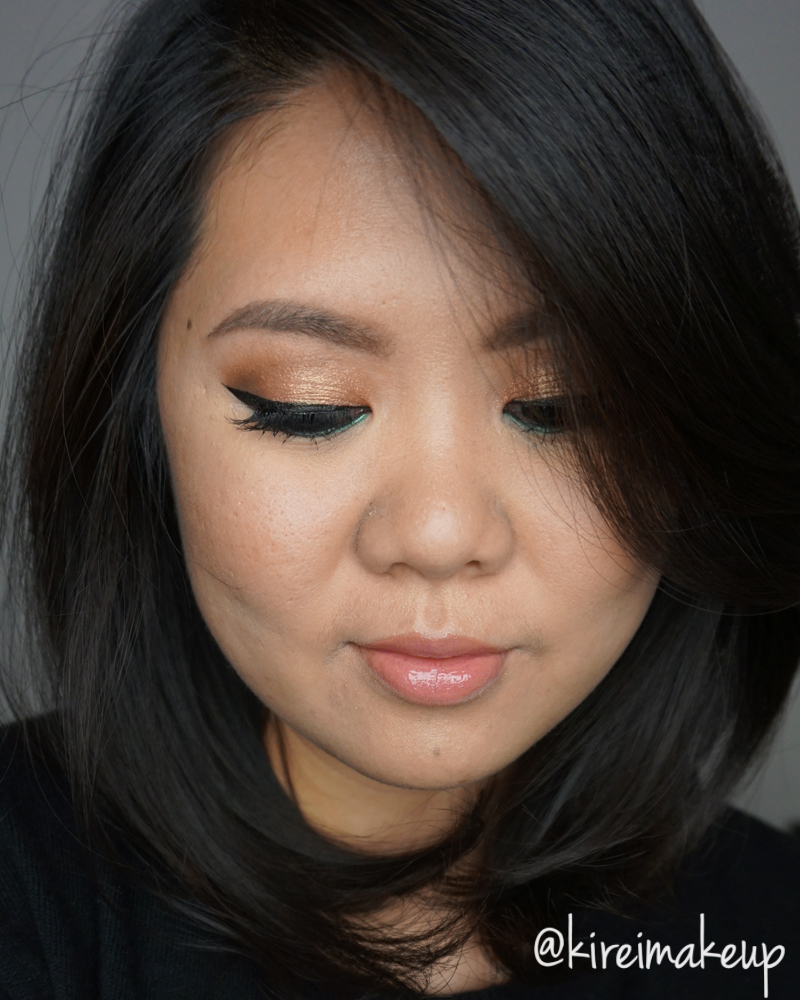
Oh, this gorgeous eyeshadow is amazing! Just enough glitters and there was no fallout at all! Glitter eyeshadows are notorious for their fallout, where the glitters will be everywhere EXCEPT in your eyelids where you want it to be! Not this eyeshadow! The glitters in the eyeshadow stay on the eyelids. You can also apply this eyeshadow with a wet brush, and it’ll make the shade even more purple and sparklier. Don’t believe me? Check out my Lavender Glitter Party makeup tutorial to see the eyeshadow in action.
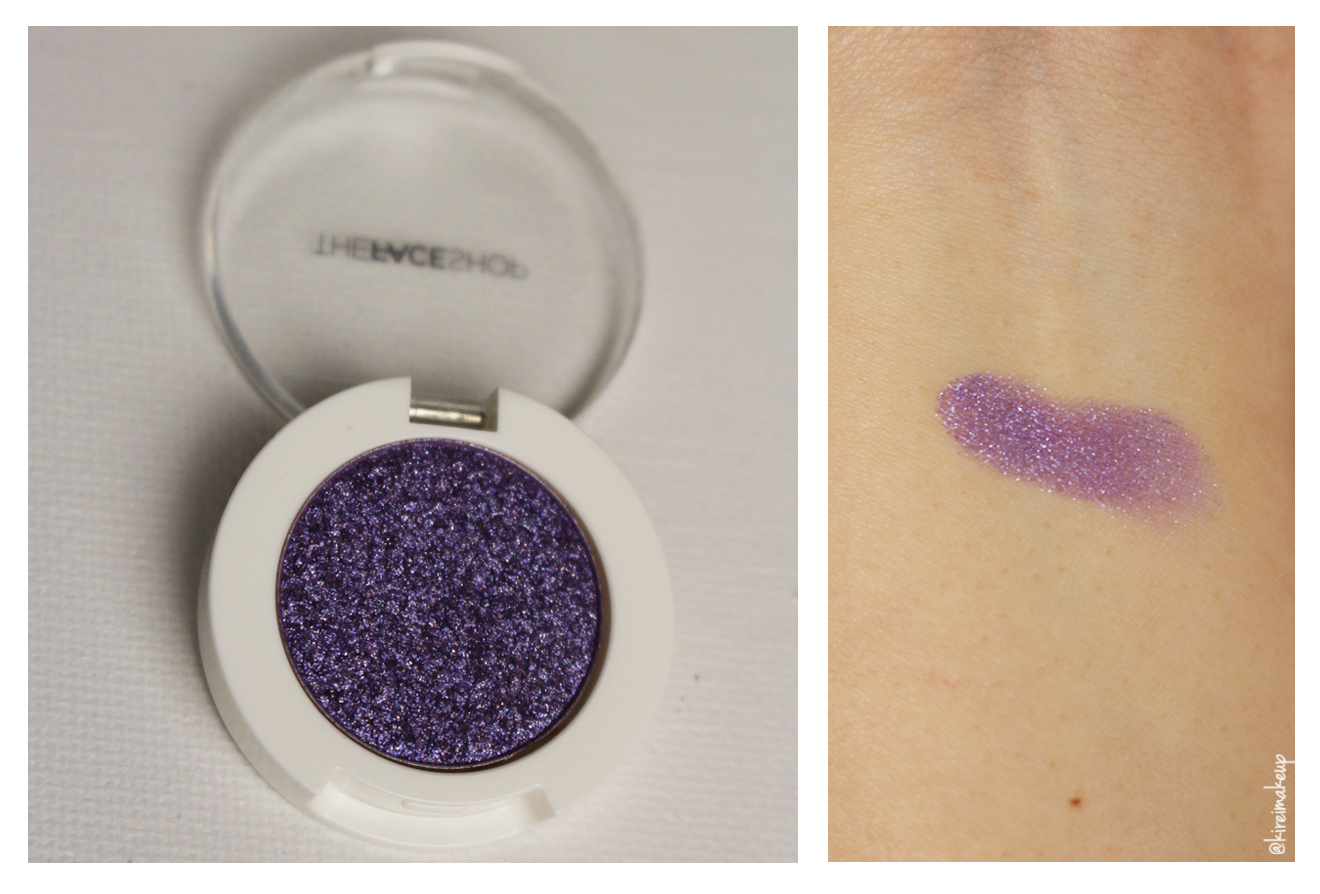 THEFACESHOP Lavender Glitter eyeshadow
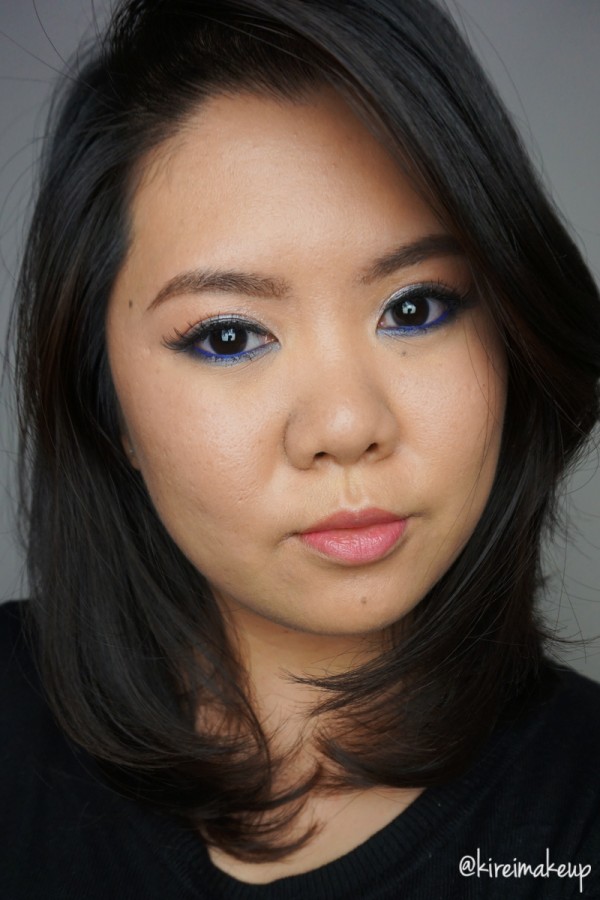
My other favorite product from THEFACESHOP Canada PR Package is this Purple Violet Color Proof eyeliner. I wish the eyeliner is slightly more purple, but as you can see from my swatch, it’s actually pretty dark in color. On my tutorial, you can see that it looks almost black. However, I don’t really mind it. It almost looks like a soft black eyeliner, which will be a great alternative for those who prefer a non-black eyeliner. Sometimes a black eyeliner can look too harsh on those with fair-light skin tones. The hint of violet in this eyeliner will bring out the colors on your eyes. Purple is universally flattering on everyone and every eye colors!
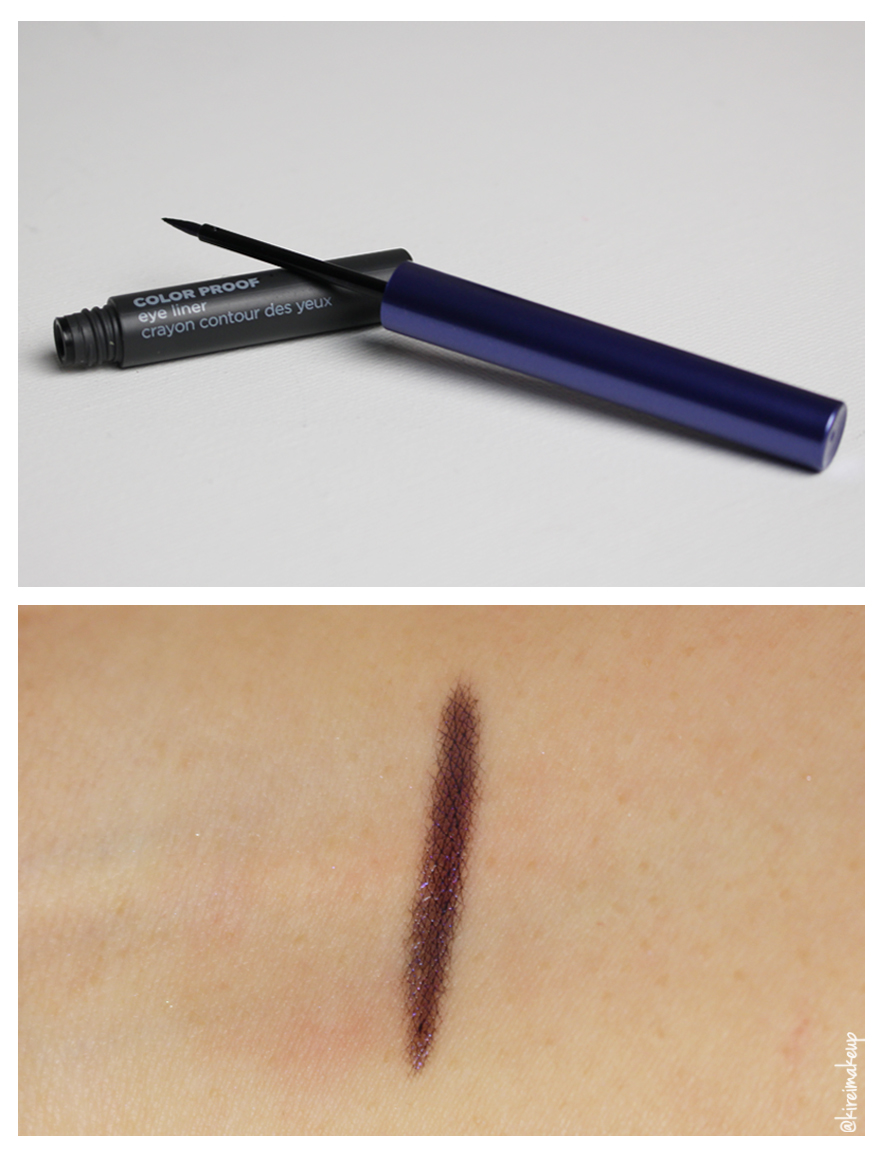 THEFACESHOP Color Proof Purple Violet eyeliner
The last product in my package is THEFACESHOP Pink Scarf Rose Ink lipquid. It’s a liquid lipstick, hence the name lipquid. It is described as ” [An] all-in-one lipstick, gloss, and tint comes in 12 shades and provides hydration and hold for up to 12 hours! The specially shaped applicator helps both define lip contours and fill in the lips. Using the chisel tip, you can define and color your lips with great precision.”
This lipquid is similar to a lip stain. It stains your lips with a pretty color, and you can layer it to make the color more intense. Since it is a stain, it lasts pretty long even after eating and drinking. When I did the swatch for this lipquid, my hand was stained for the whole day.
I love this lipquid, it’s not sticky or drying like other brands, and it’s also moisturizing. This shade Pink Rose Scarf is a beautiful shade of rosy pink, which is very flattering on everyone. One tip on using this lipquid is to apply it in layers. When you apply it in layers, apply it sparingly to control the intensity of the stain. On my previous tutorial, I applied a sheer layer on my lips, then I added more layers just in the center of my lips to create a gradient effect.
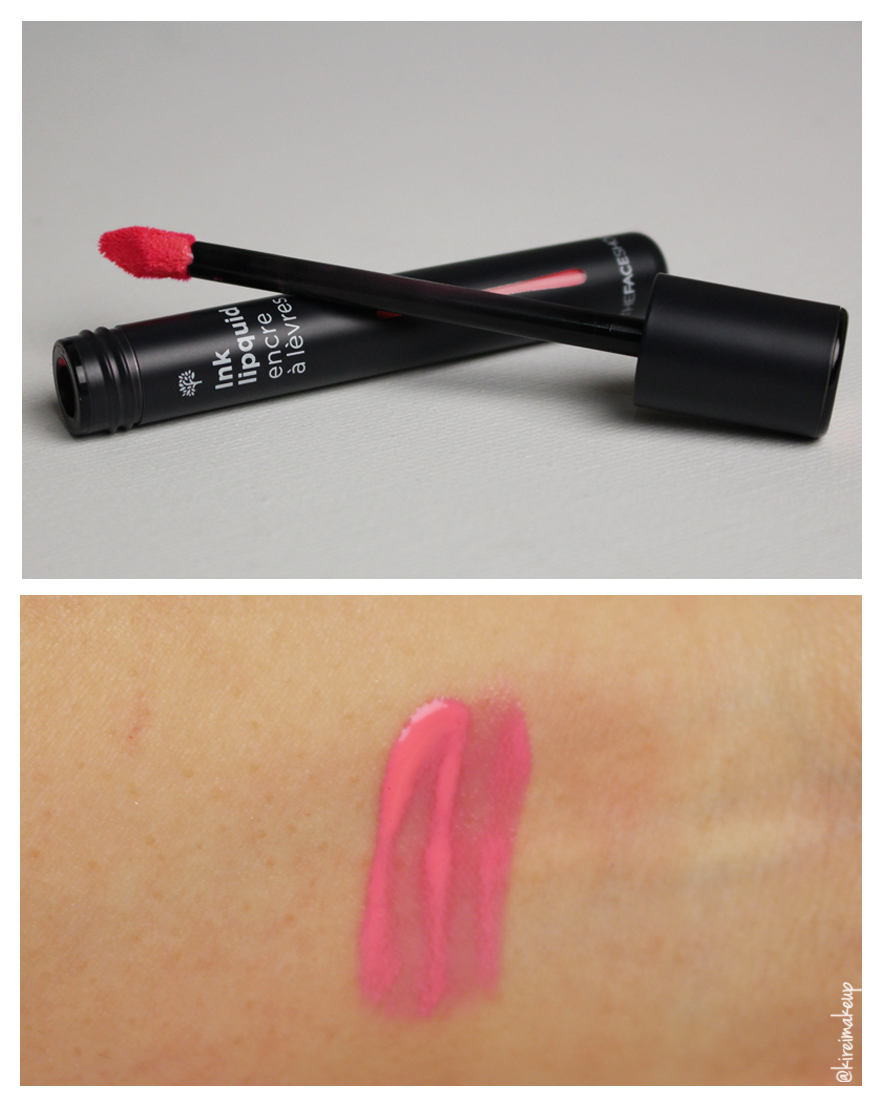 THEFACESHOP Ink Lipquid Pink Scarf Rose