Notice: In-depth tutorial, lots of information. Feel free to ask questions!
I have mentioned last week regarding Cover FX cream foundations, and I did said that I was going to do a tutorial on contouring. So, today, my post is about how to contour and highlight with cream foundation. I, personally, don’t use this technique much on a daily basis for my own makeup (except for tutorials, obviously). Usually, I do this sort of makeup for brides, and their bridal parties. I don’t do this type of contouring/highlight on photoshoots, films, and fashion show since they, more often than not, ask for a no-makeup makeup, so this type of highlight/contouring is too much.
What does highlighting and contouring do to your face?
- Highlight – brings light to your face, emphasize the areas that you want to stand out more.
- Contour – remove light, creating shadow and the illusion of depth.
Cream foundations allow for a more natural finish, and easier to blend. I feel that using cream product is more forgiving if you can blend it properly. However, if you prefer to do a powder contouring, I’ve done it in the Subtle Contouring/Highlighting/Blush post. If you like using a crayon concealer, check my L’oreal Super Blendable Craon Concealer highlight/contour tutorial.
Keep in mind for the contouring color, I chose a neutral shade (Cover FX N110). If you can’t find this foundation, you can use a cool-tone brown shade (i.e. a greyish brown). Try to avoid a reddish brown since it can get too warm on your face (esp. if you’re fair or light-skin), making it look more like a bronzer or tan, and your face can end up looking too orange-y.
I don’t usually use bronzer as contour as most of the bronzers in the market has too much shimmer, which can bring too much light on the face (counterproductive to contouring). However, if you do want to use bronzer as contour, I recommend a matte, cool-toned brown bronzer such as Benefit Hoola, Rimmel Natural Bronzer, Tarte Matte Waterproof Bronzer.
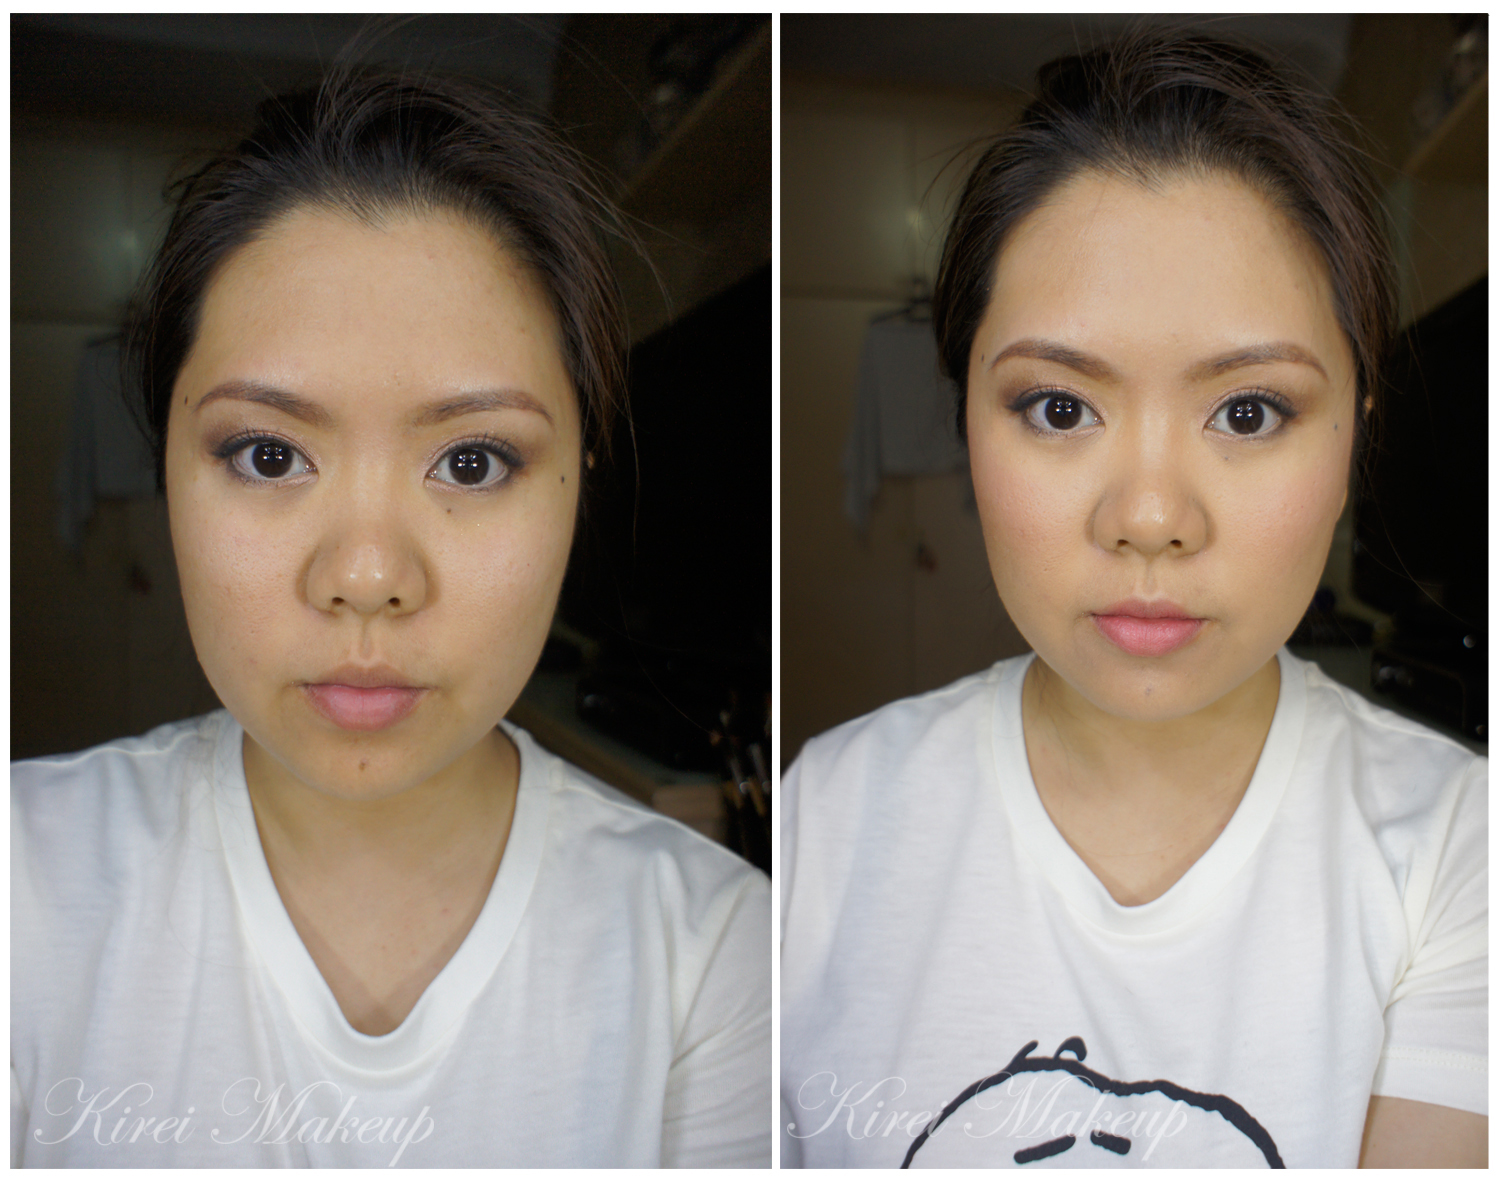
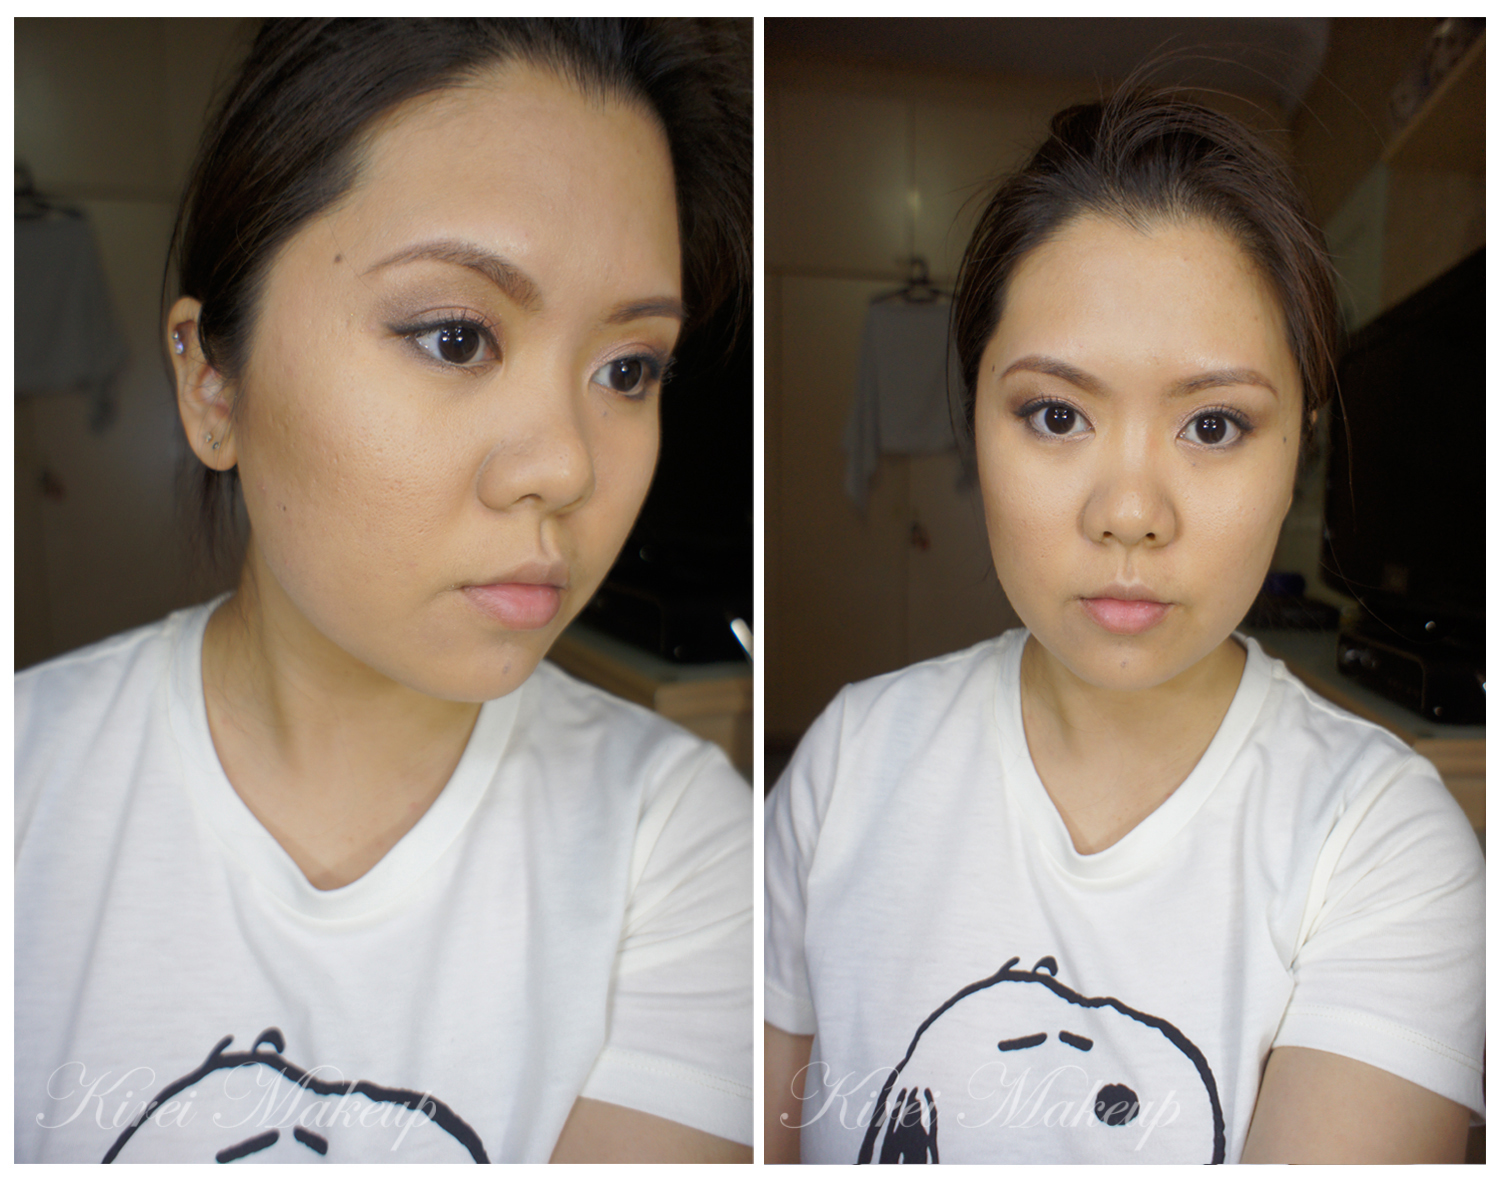
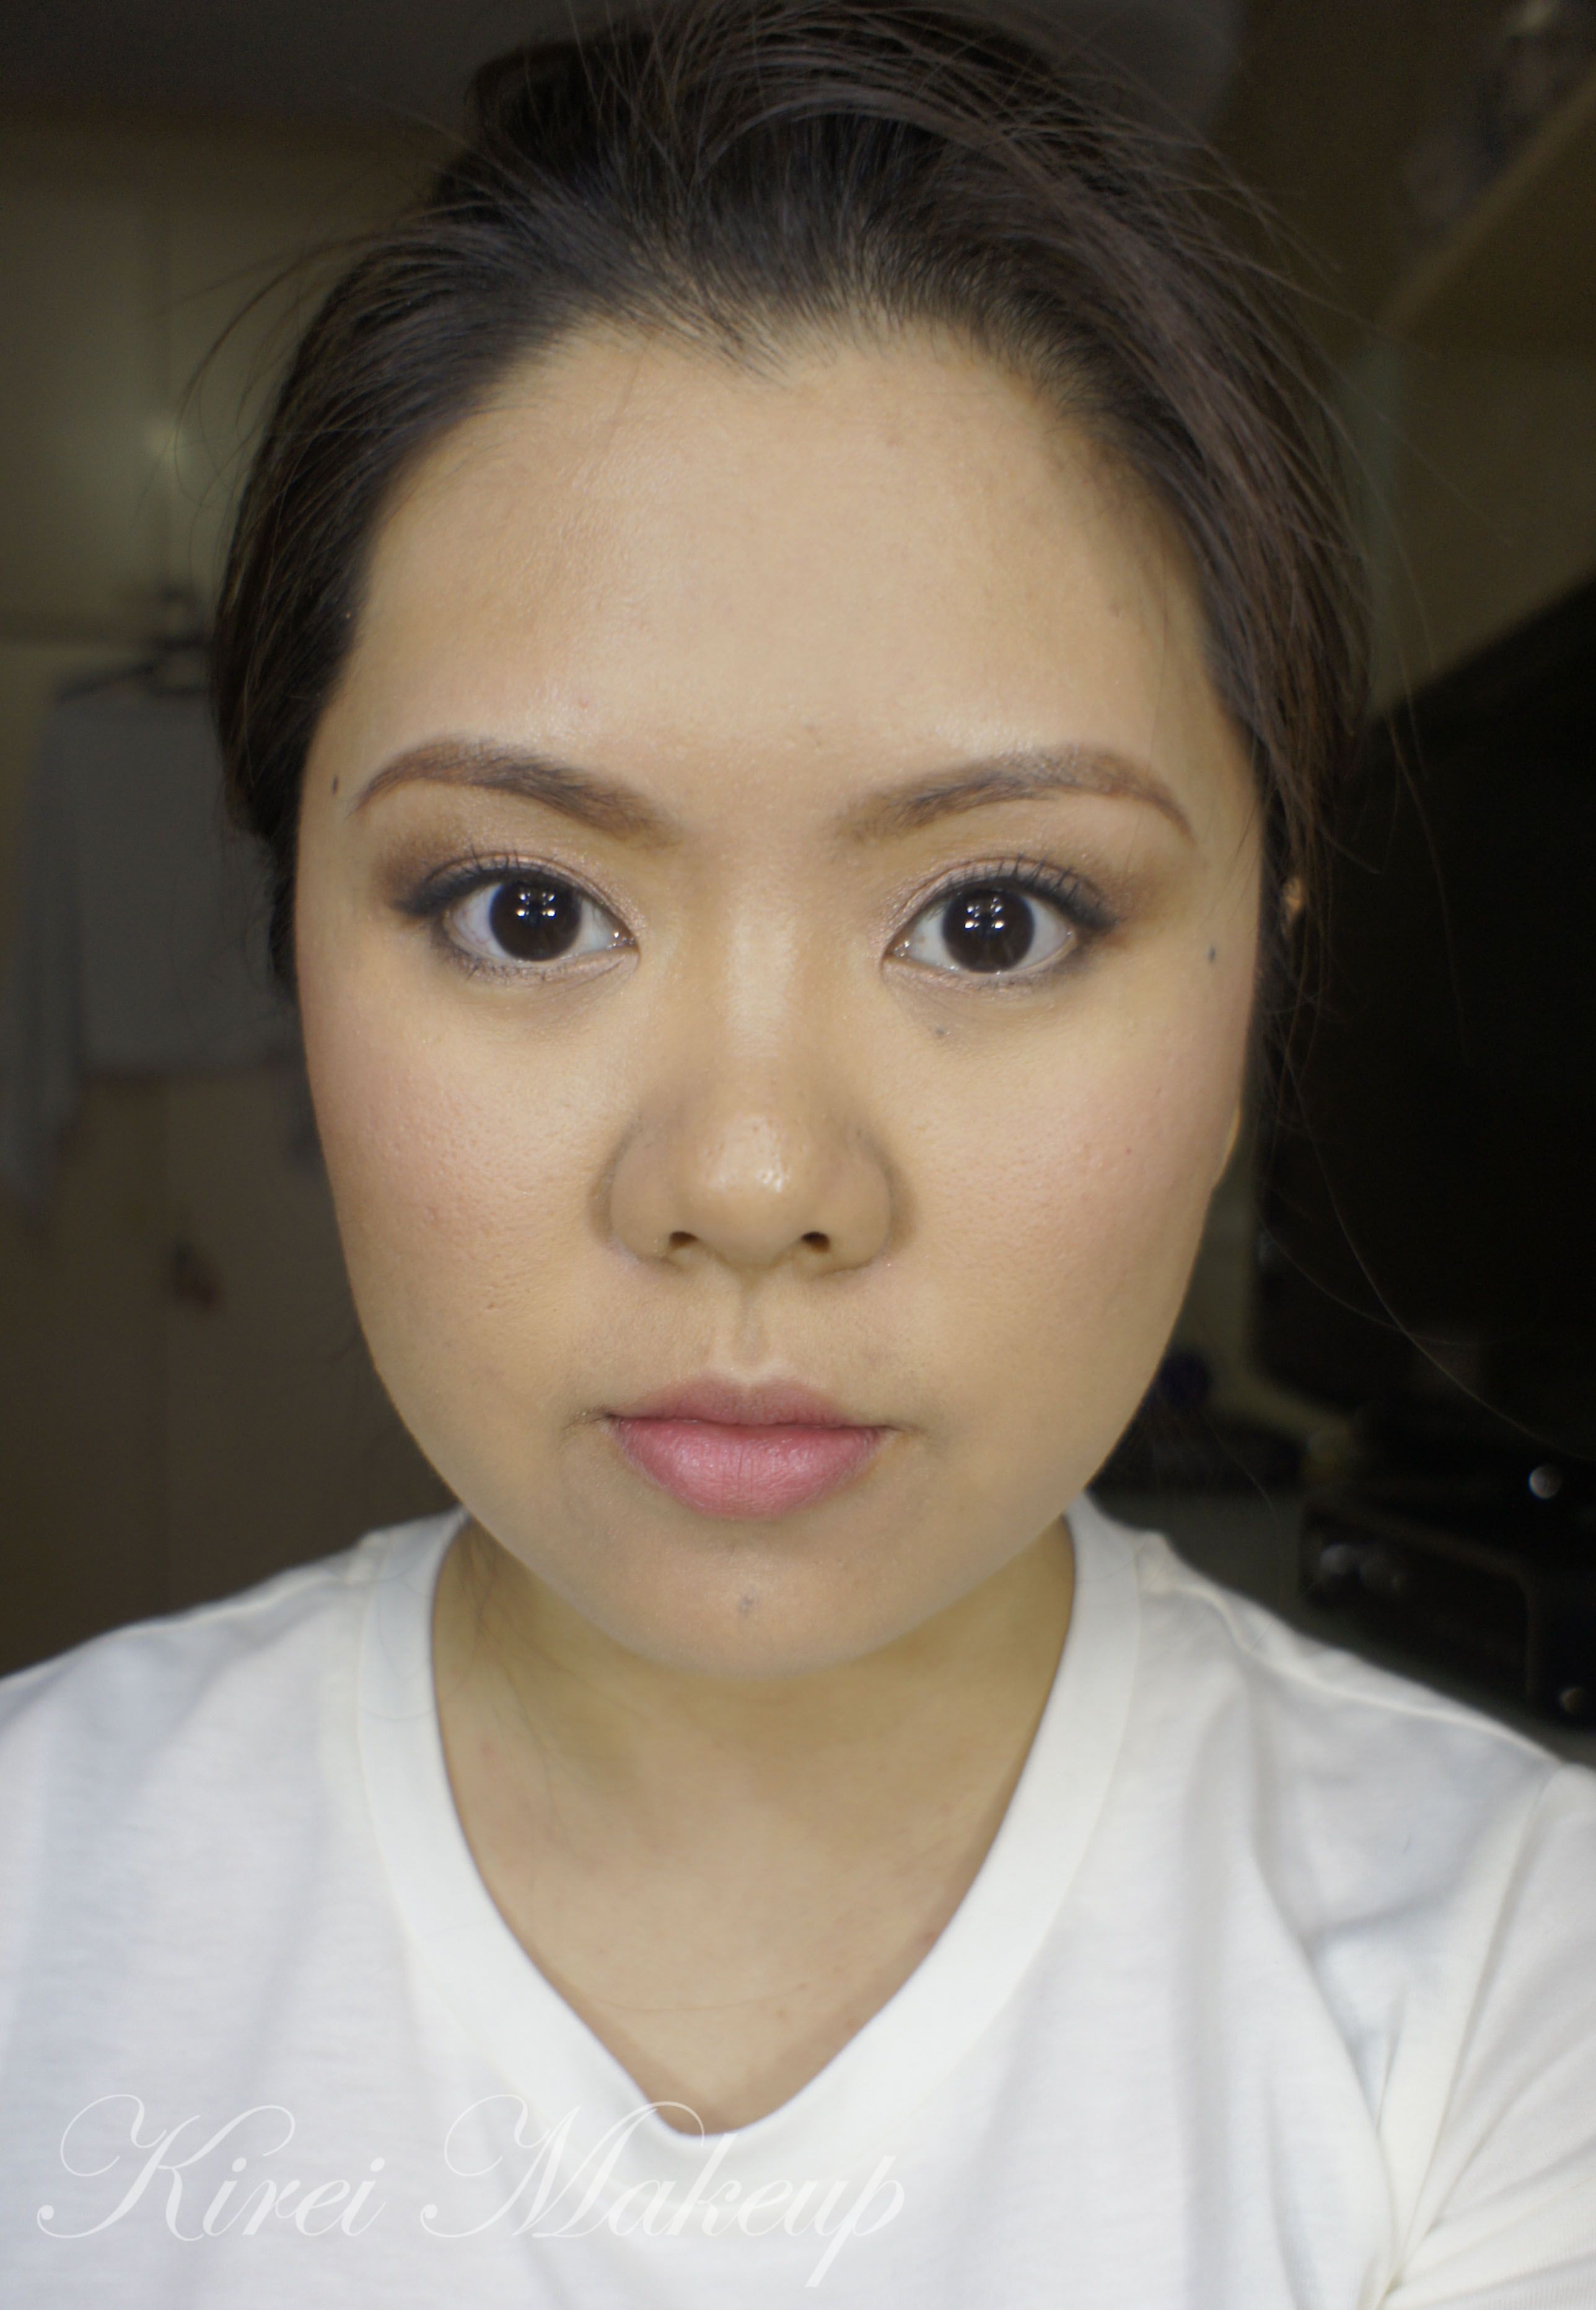
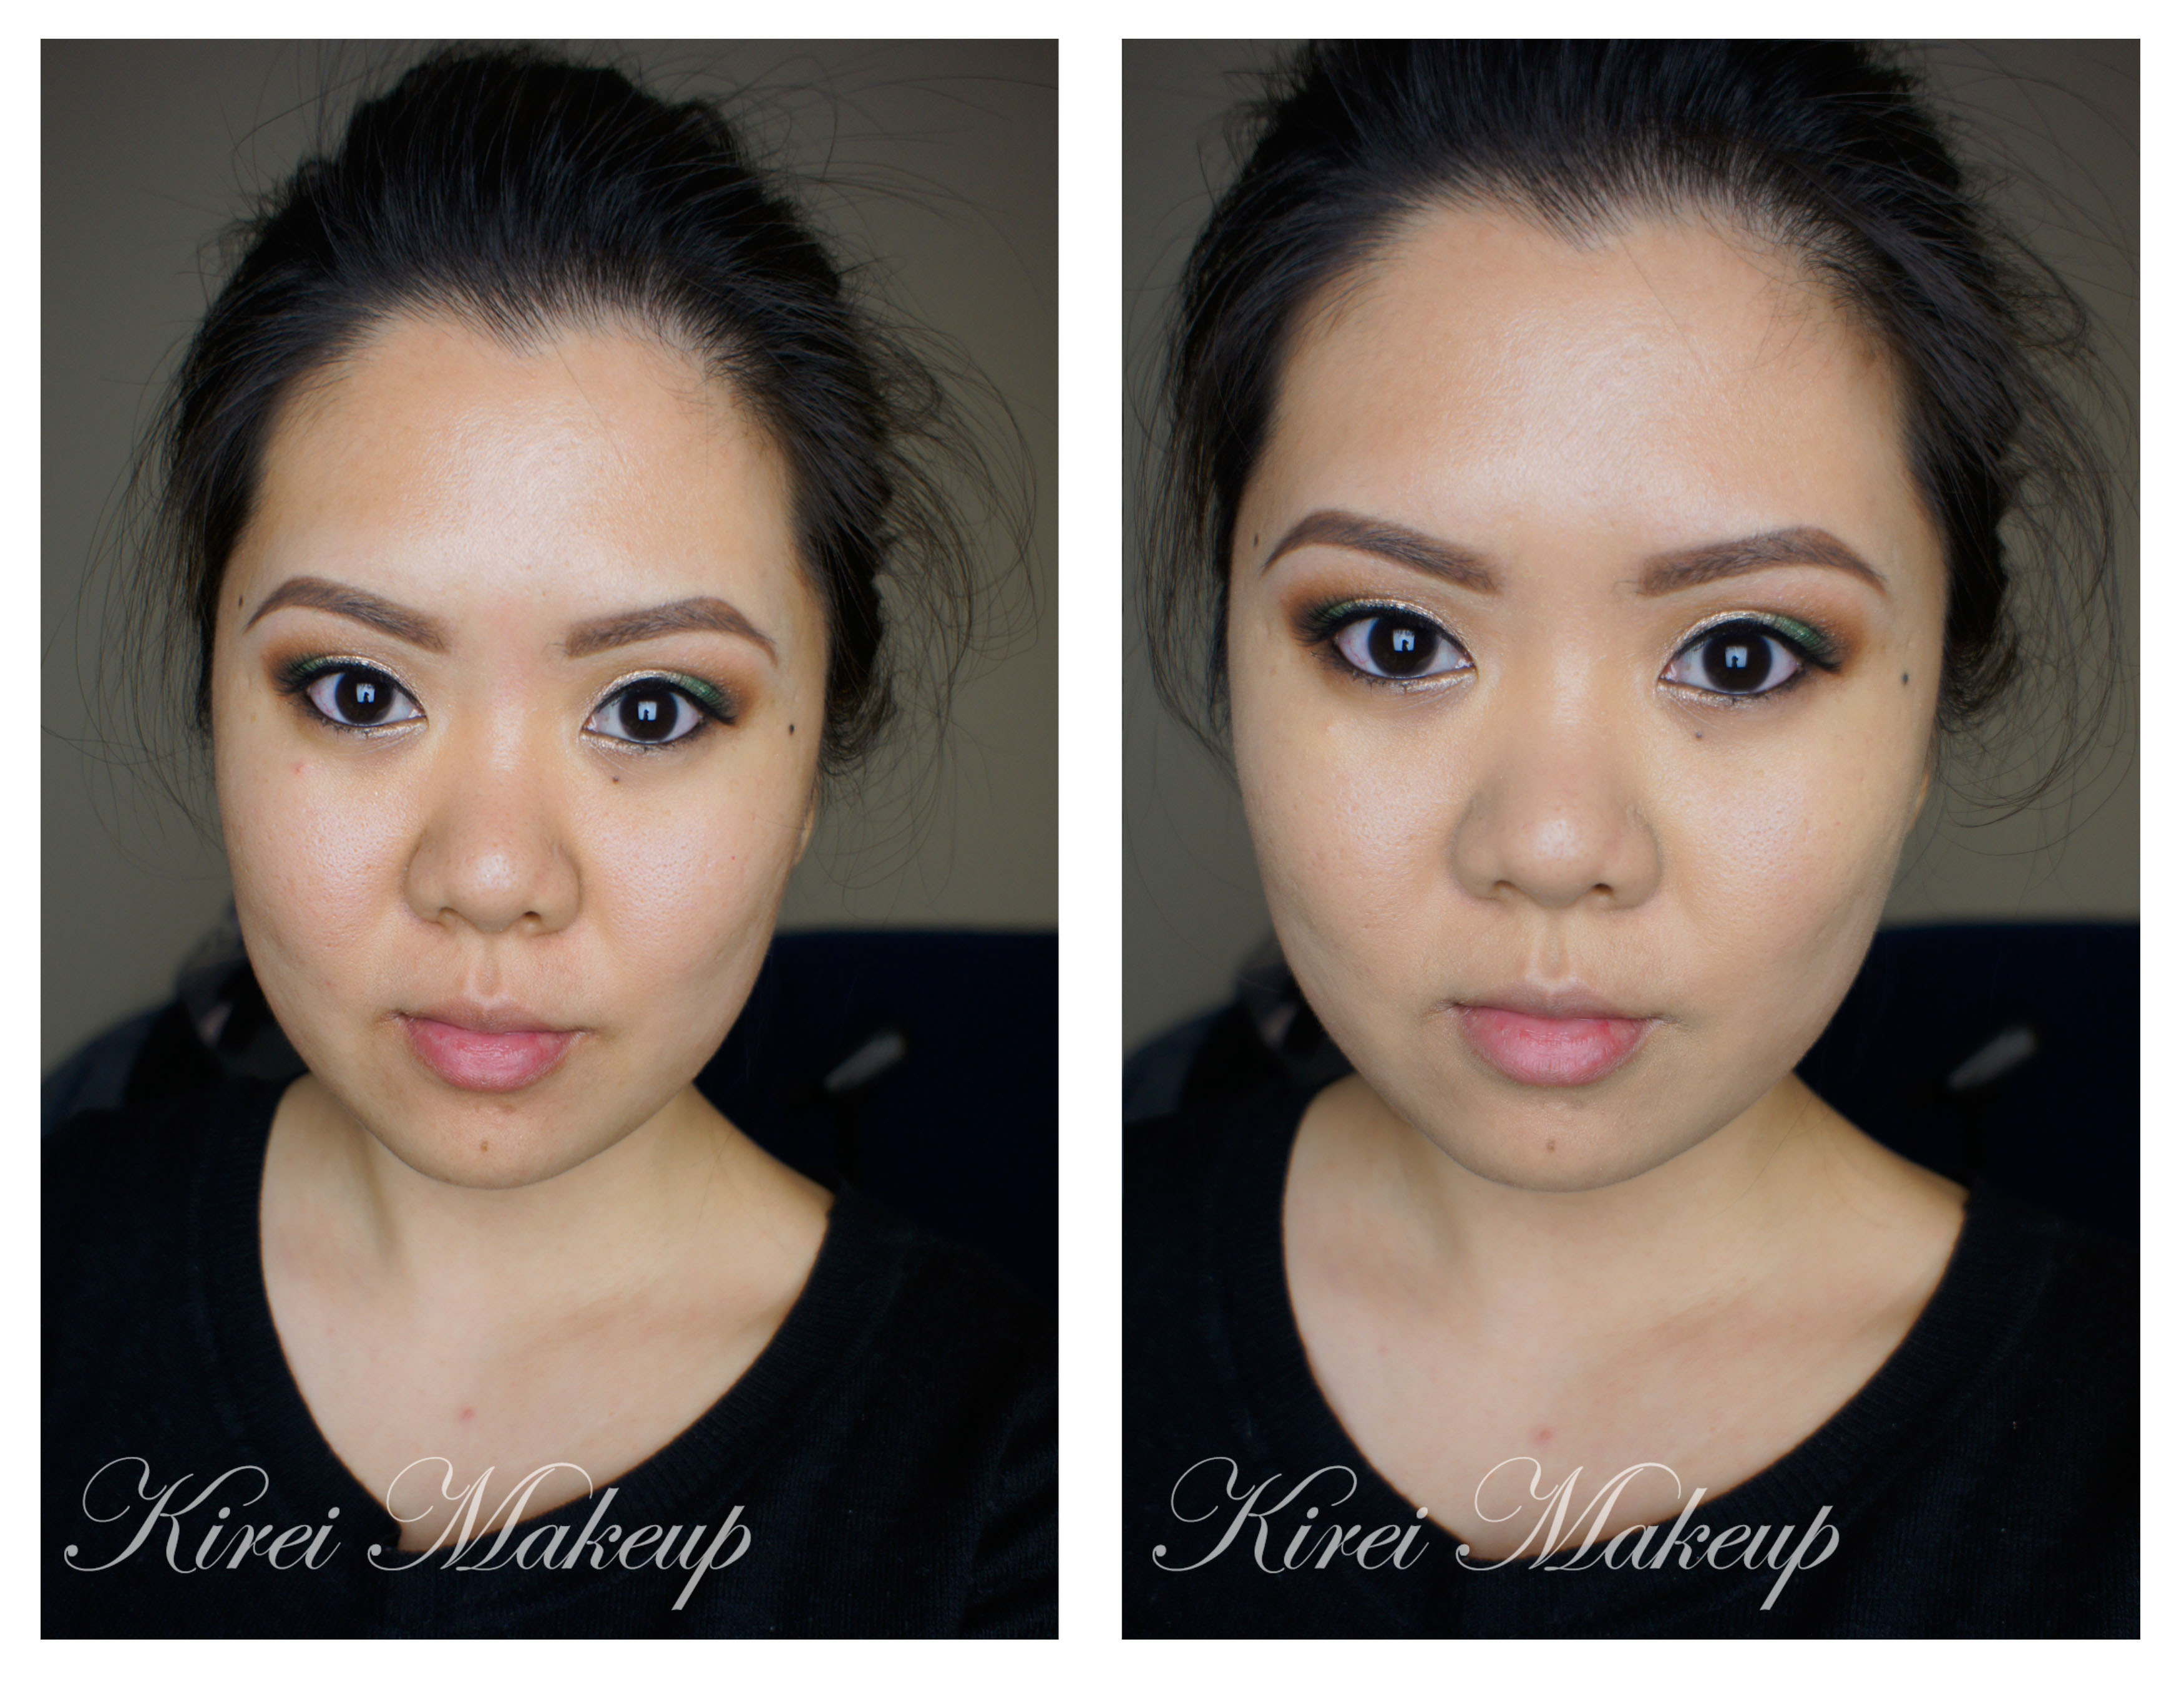
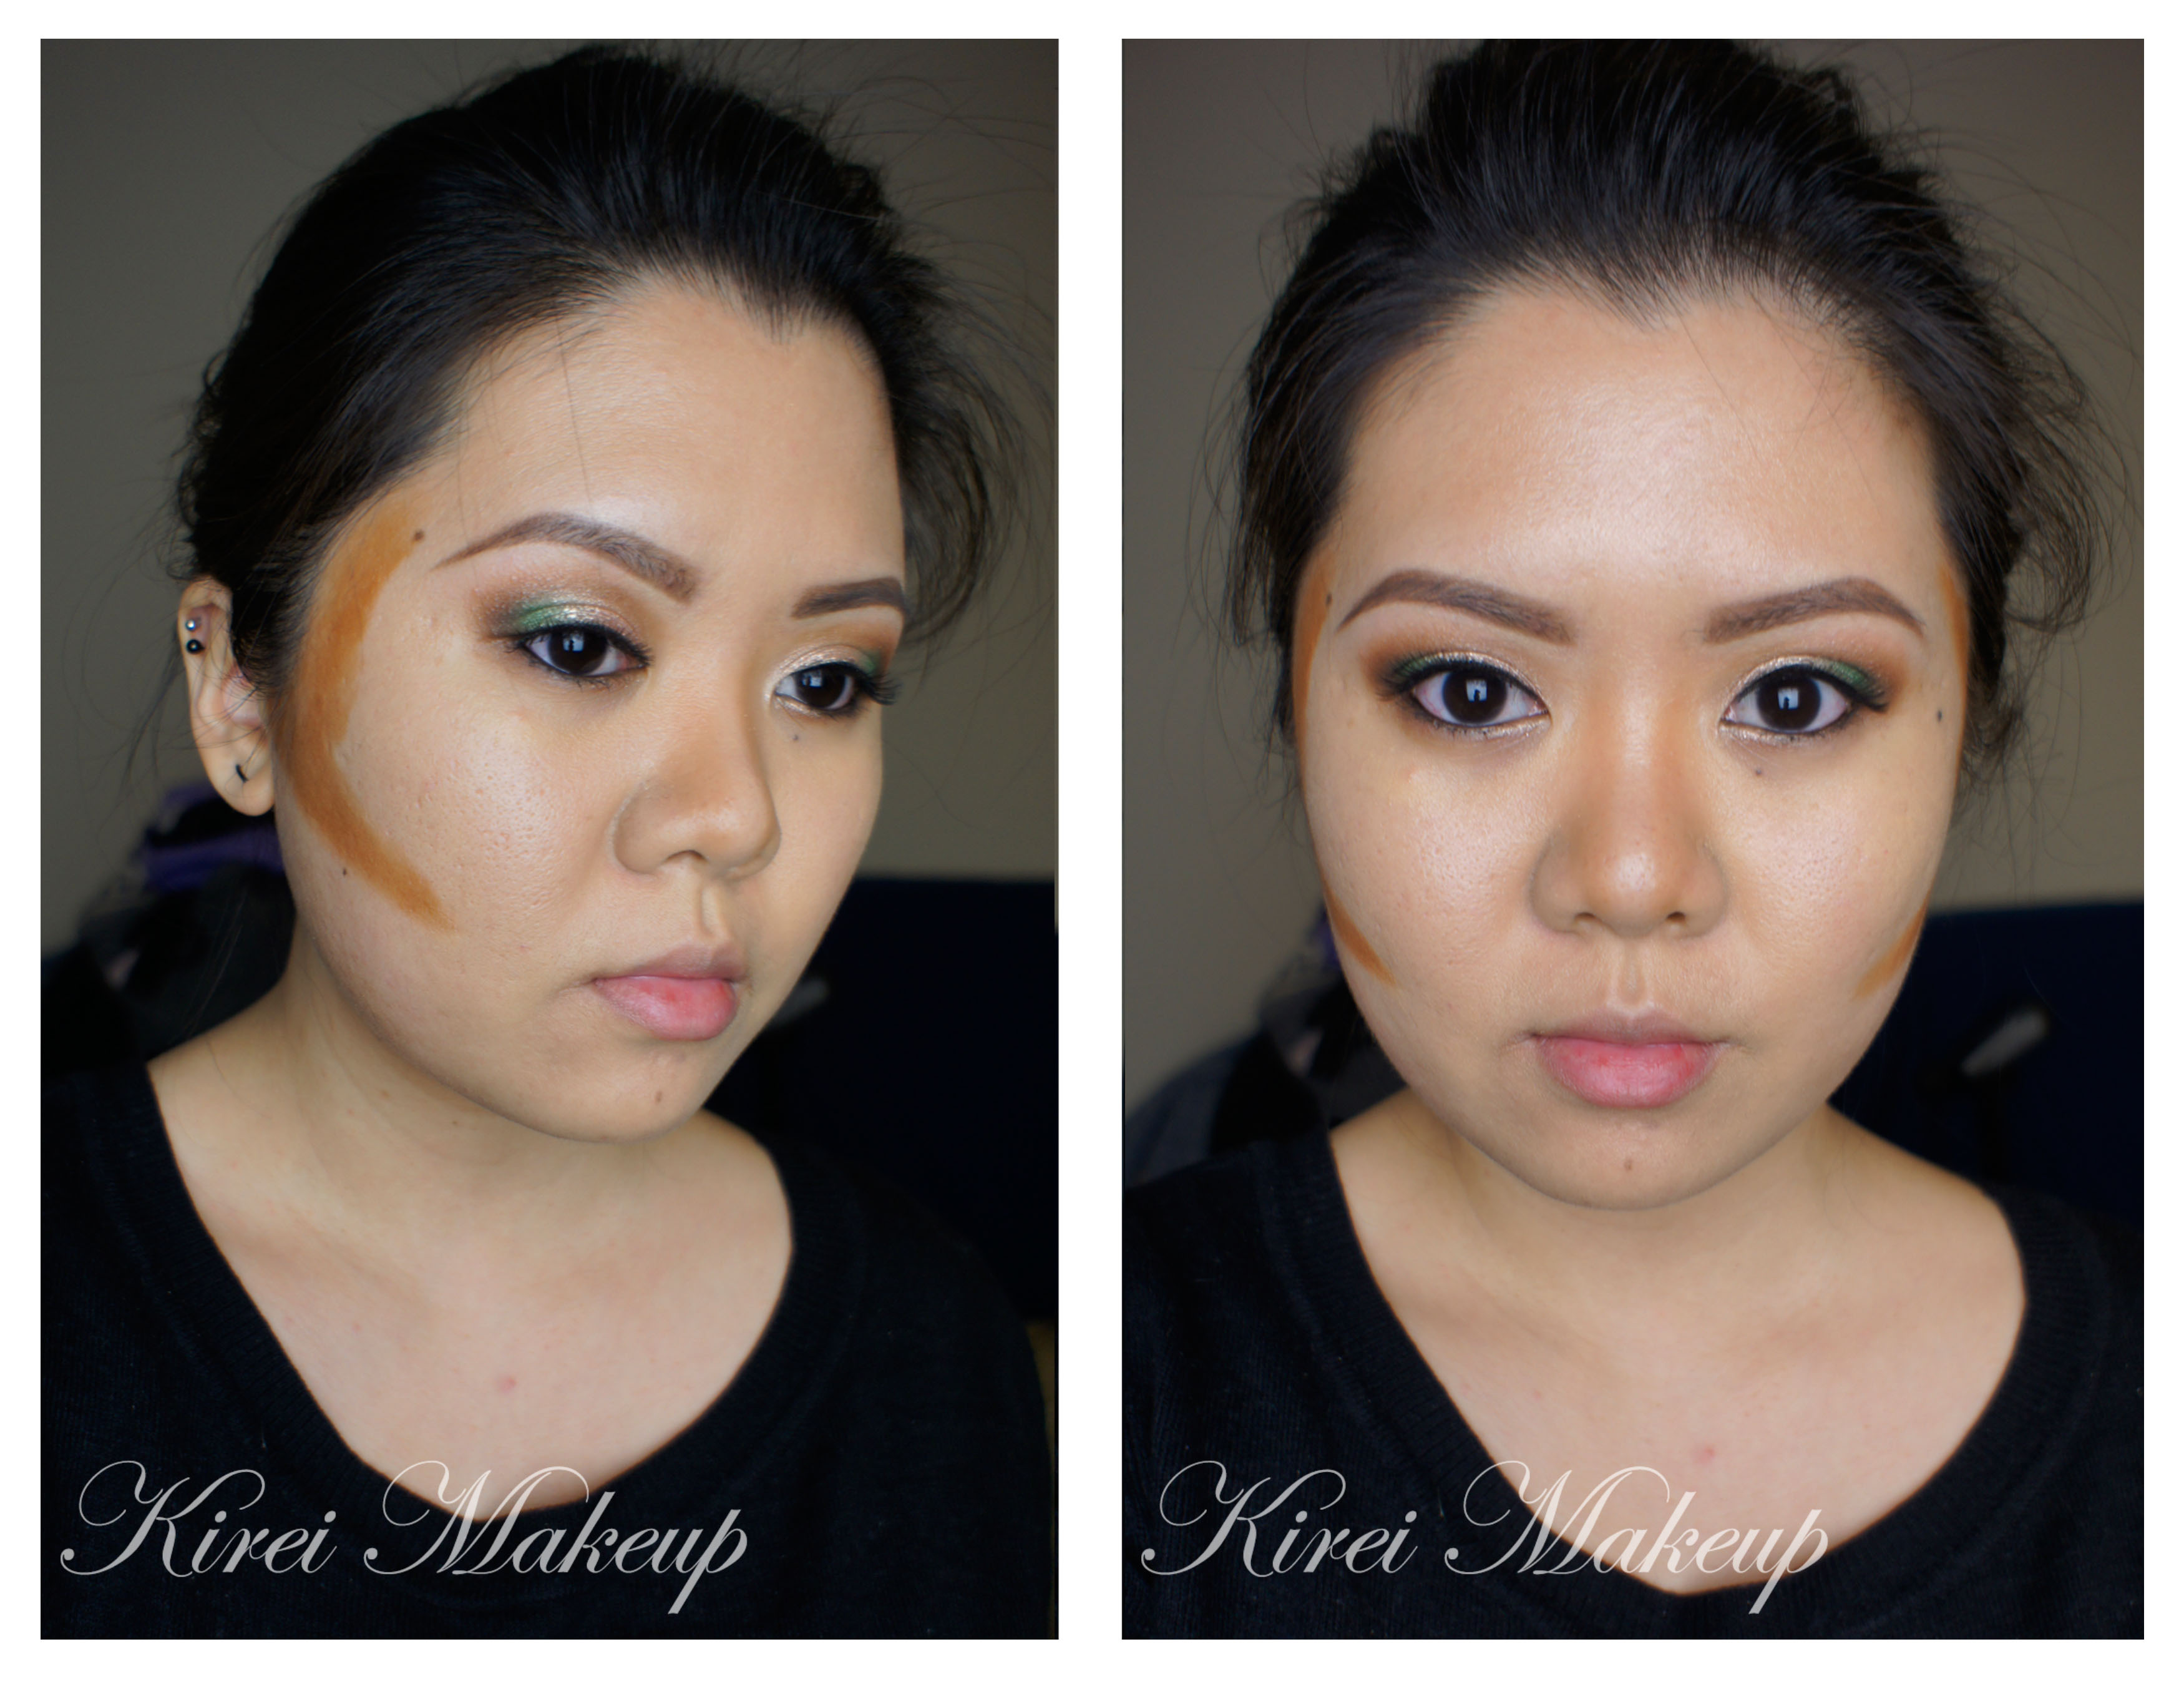
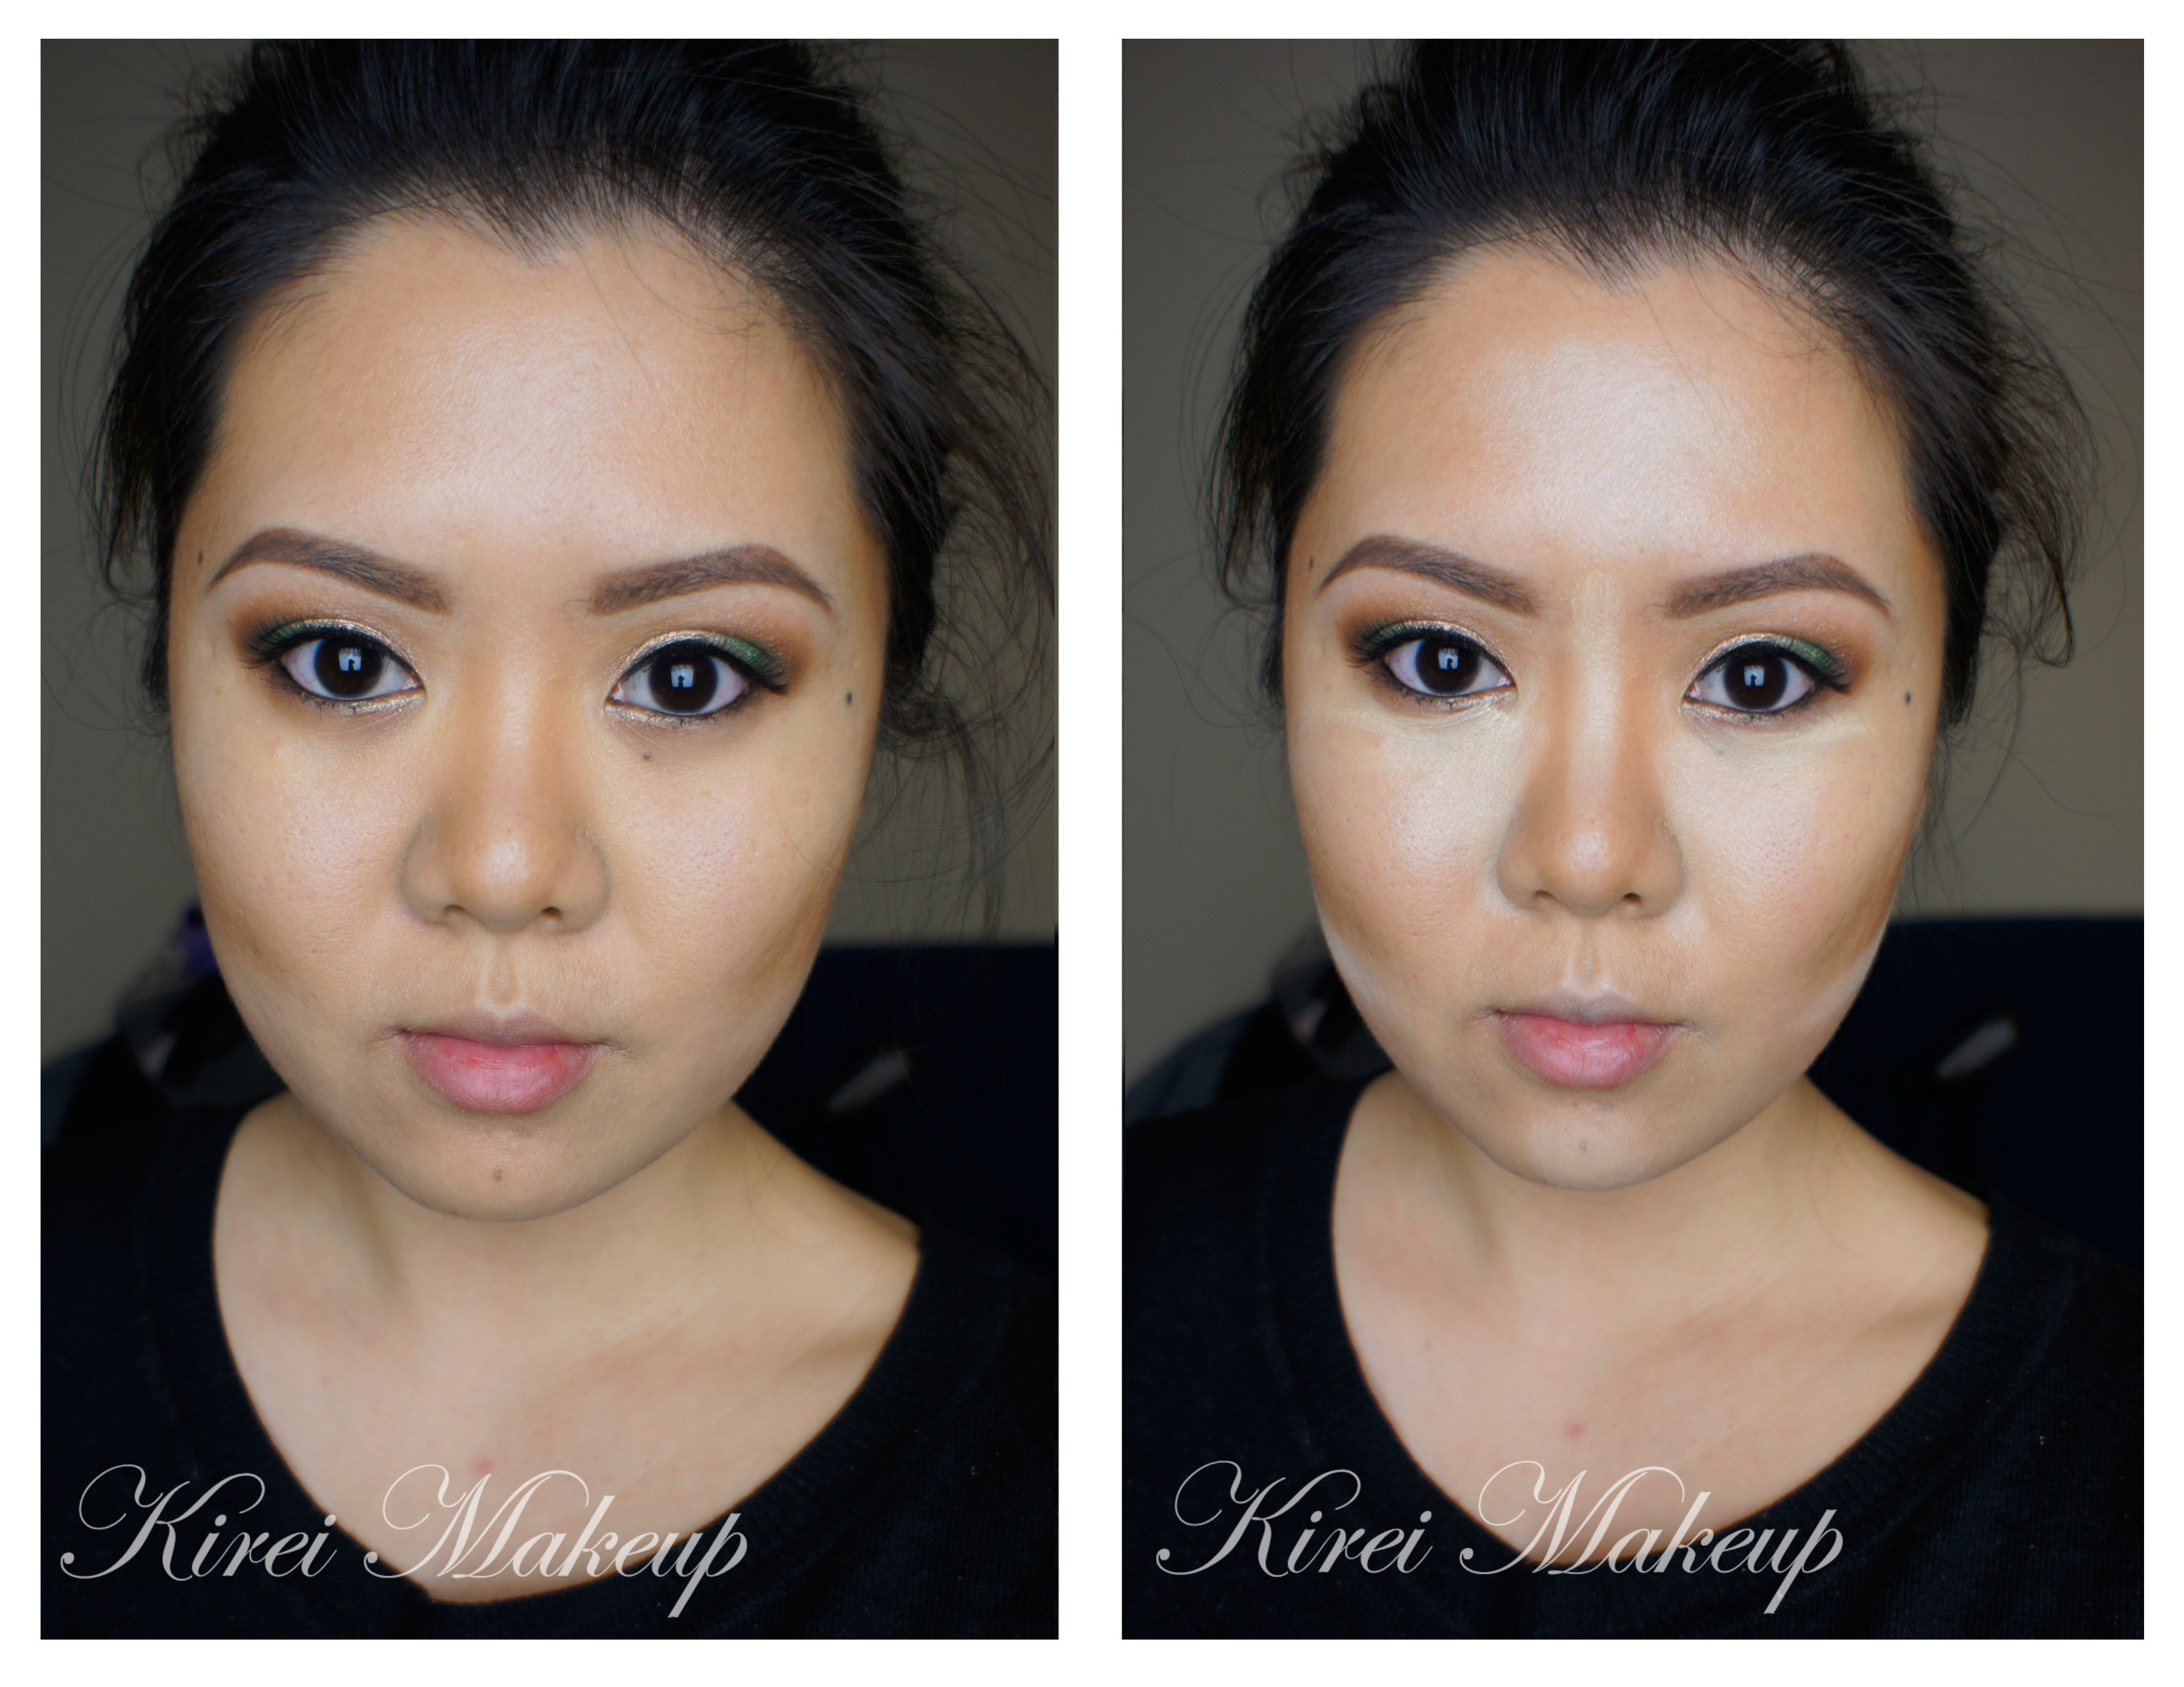
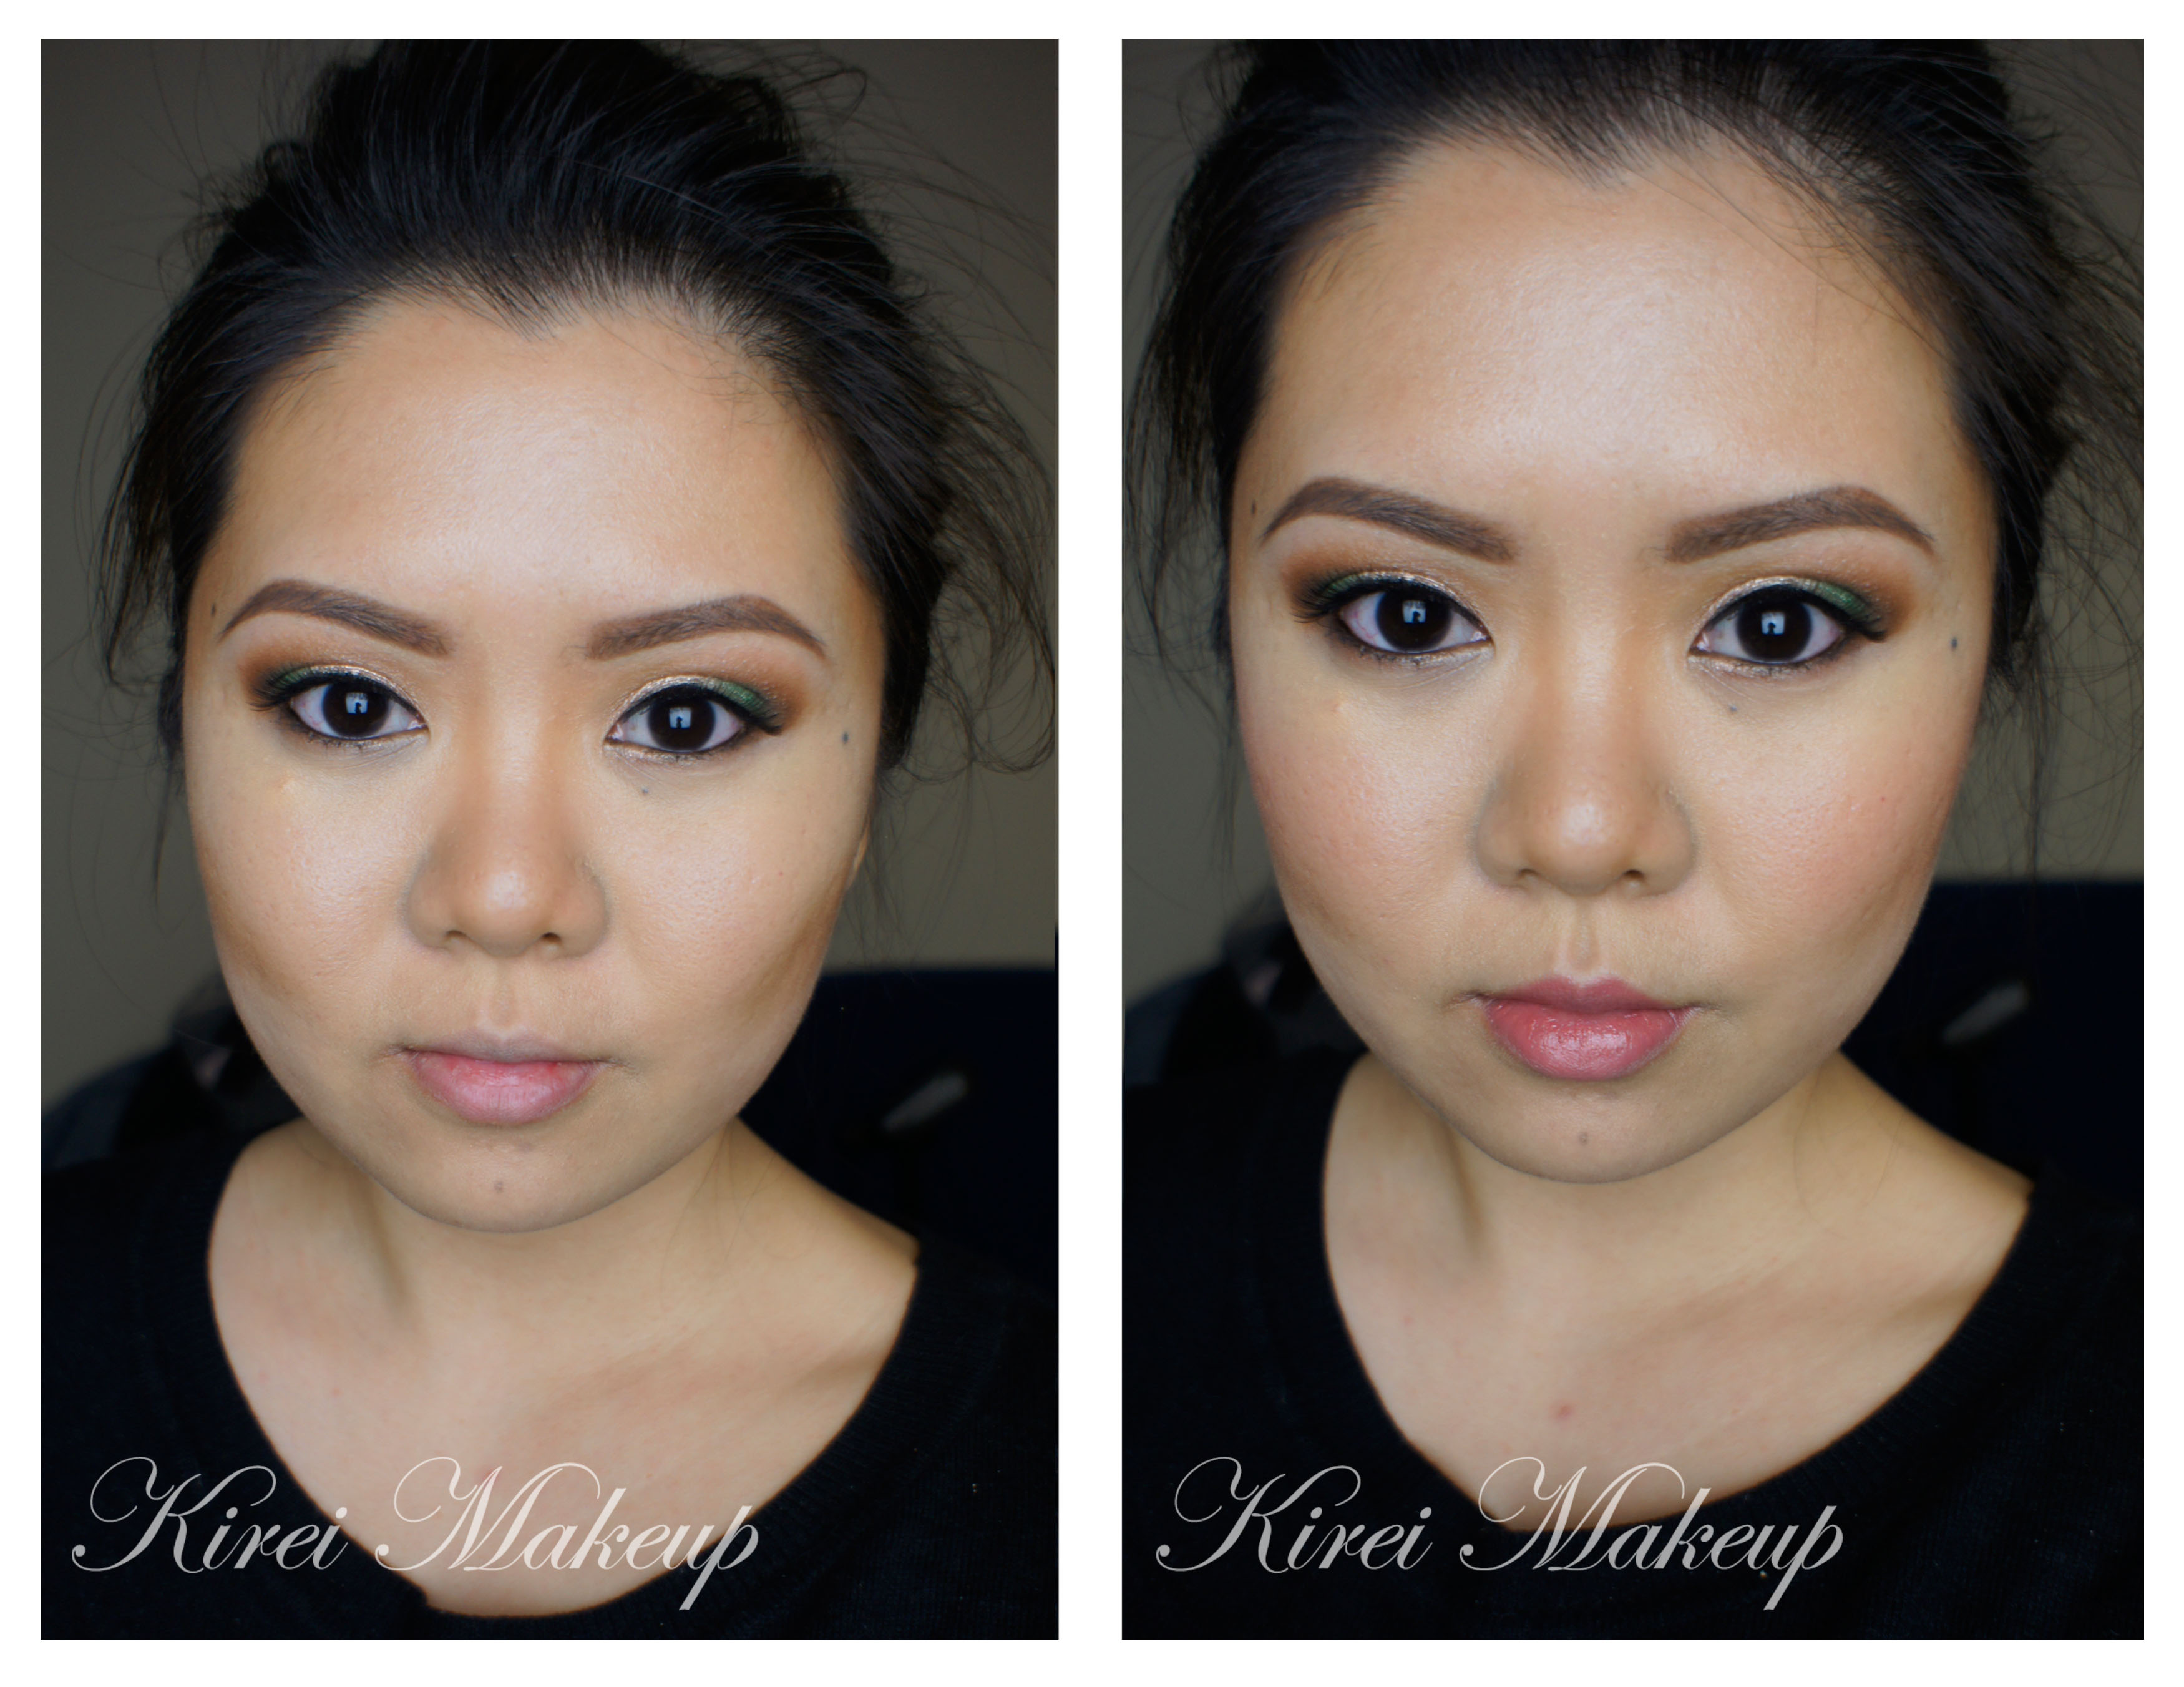
Below on the left side, I have nothing on my face except for MUFE HD Elixir. On the right side, I have full on makeup. As you can see, the contouring and highlighting created some definition on my face (i.e. nose and cheeks).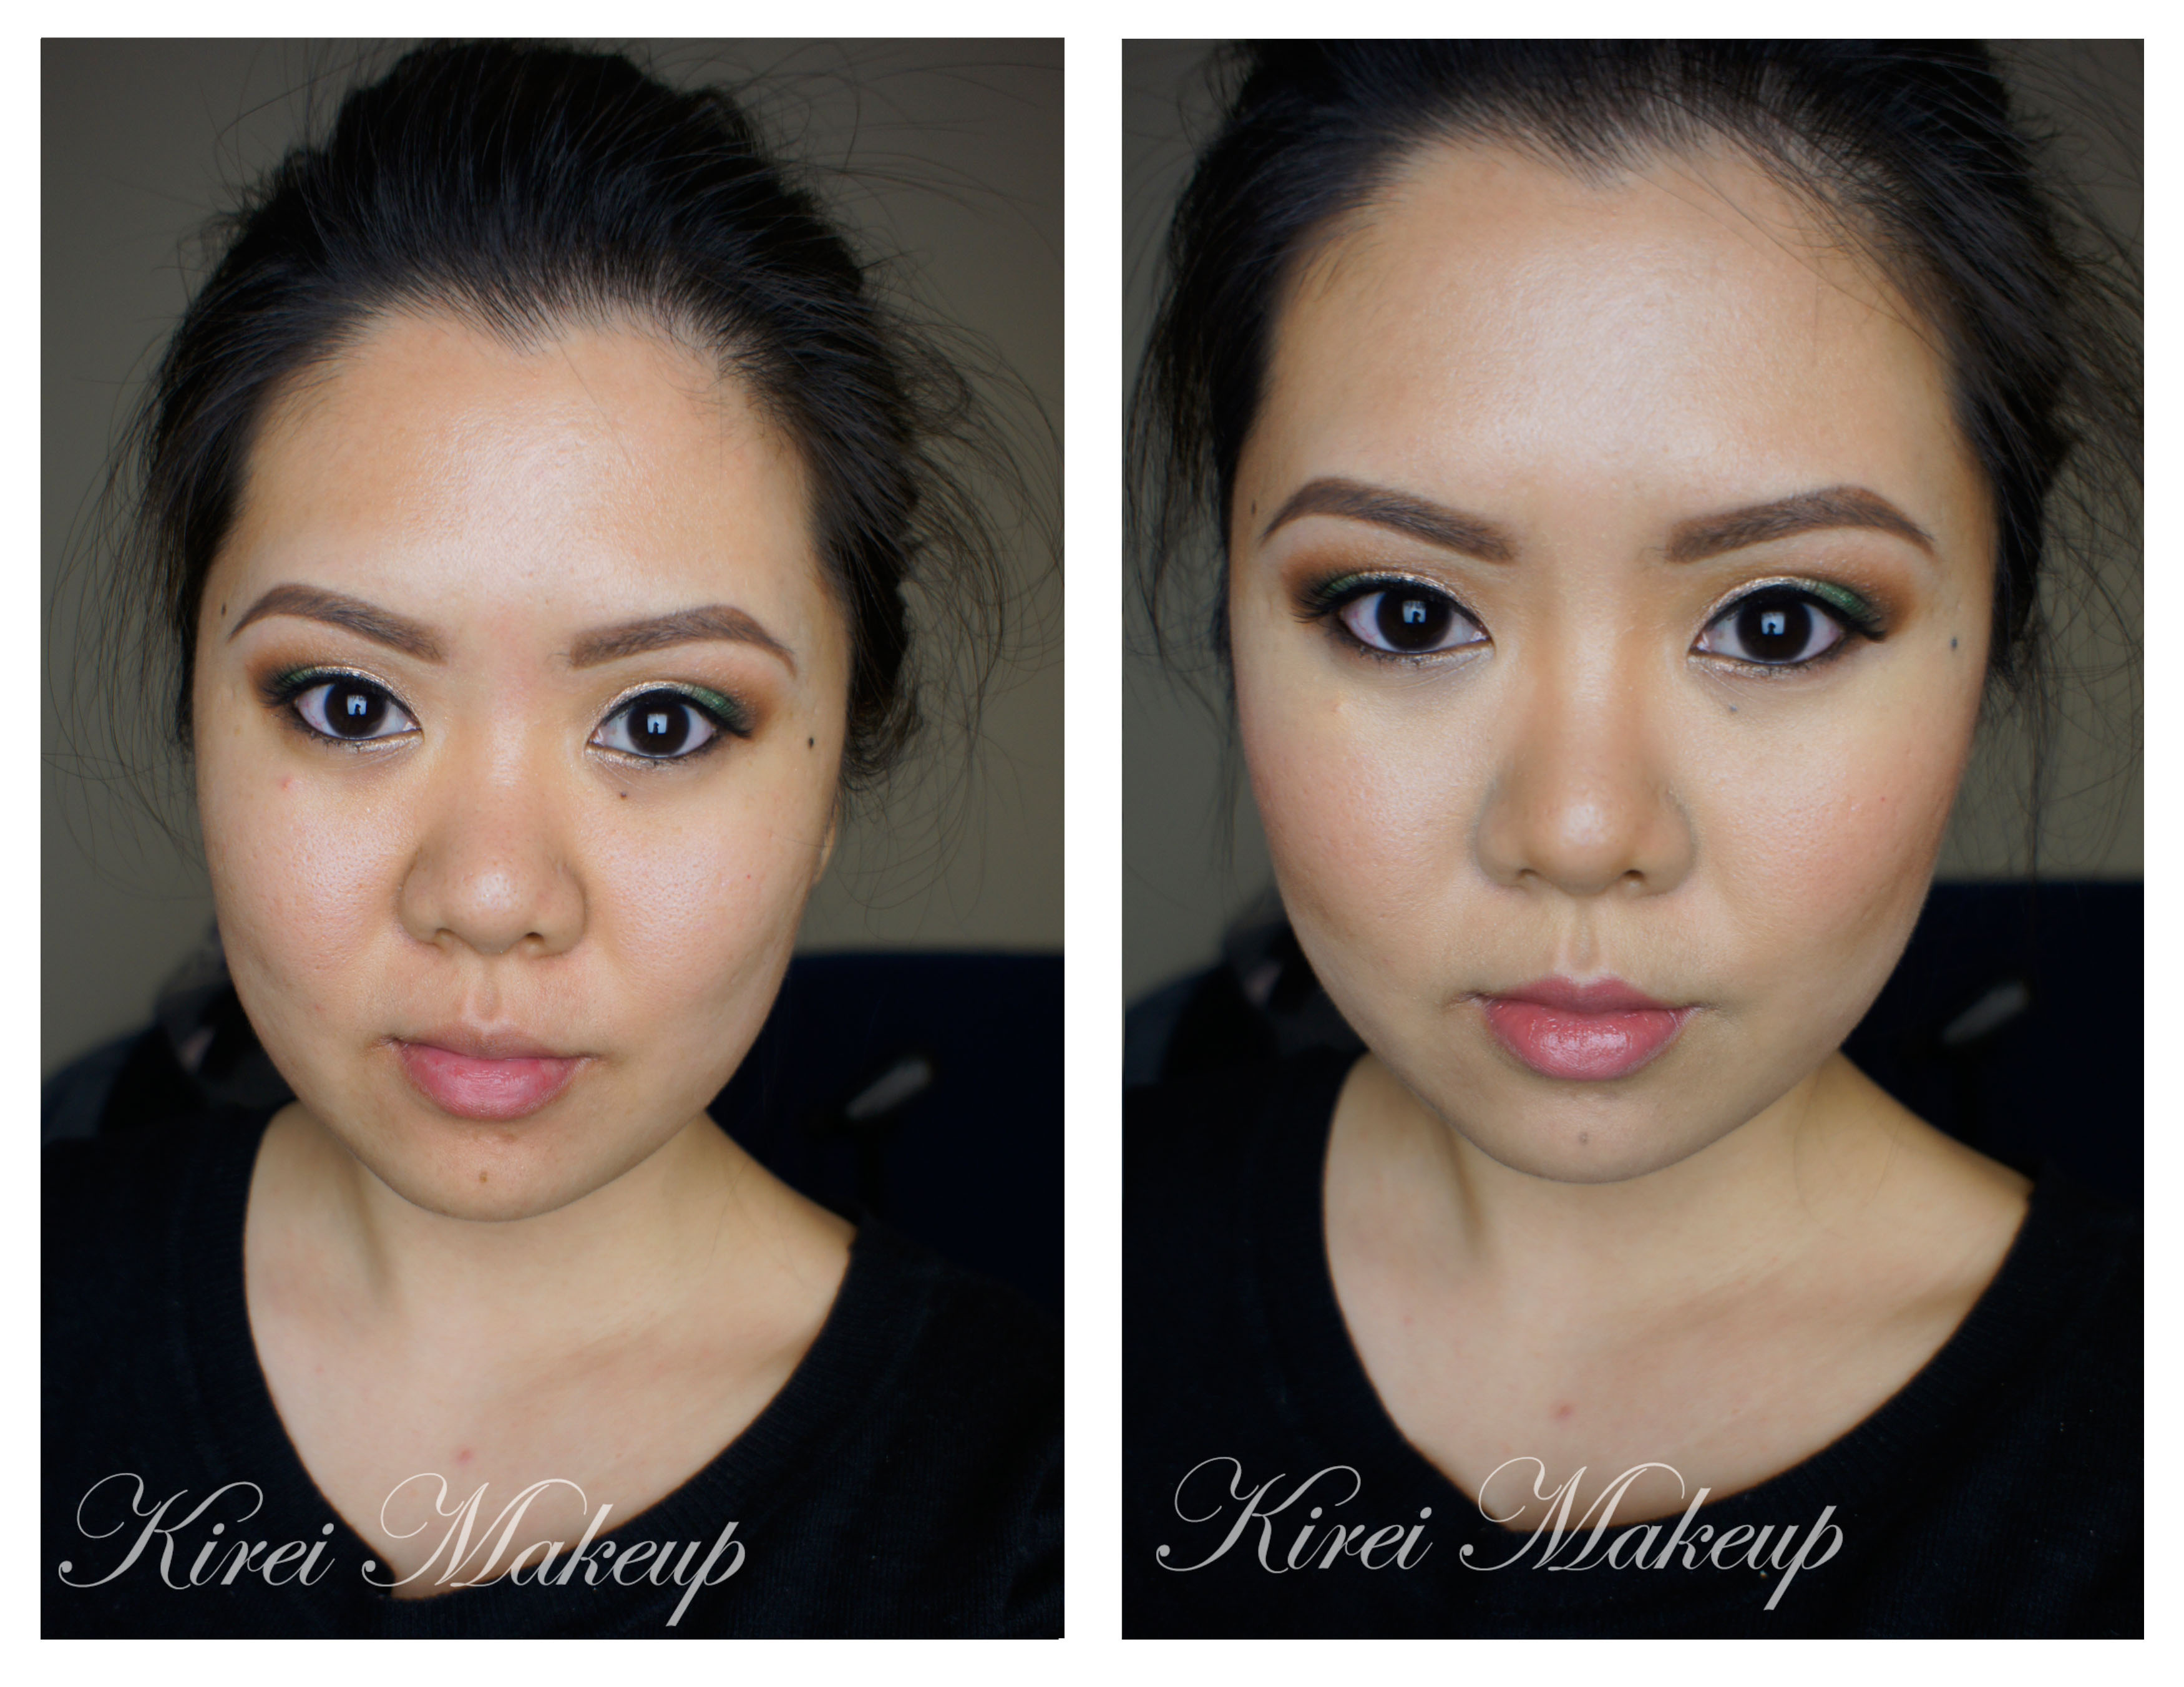
Products used:
- Cover FX G40 cream foundation as base.
- Cover FX G20 cream foundation as highlight.
- Cover FX N110 cream foundation as contour.
- Maybelline Master Glaze in Make a Mauve as blush.
Brushes used:
- Base – Cover FX Cream Foundation brush.
- Contouring – Sigma Precision Angled brush, Sigma Precision Round brush.
- Highlight – Sigma Precision Round brush, Foundation brush.
- Blush – Sephora Pro Airbrush Blush brush.
For Sigma Synthetic Kit brushes, please check my review on my Sigma Brushes review.
How-to:
1. I applied MUFE HD Elixir all over my face as a primer.
2. Then, I applied Cover FX G40 cream foundation all over my face using Cover FX Cream Foundation brush.
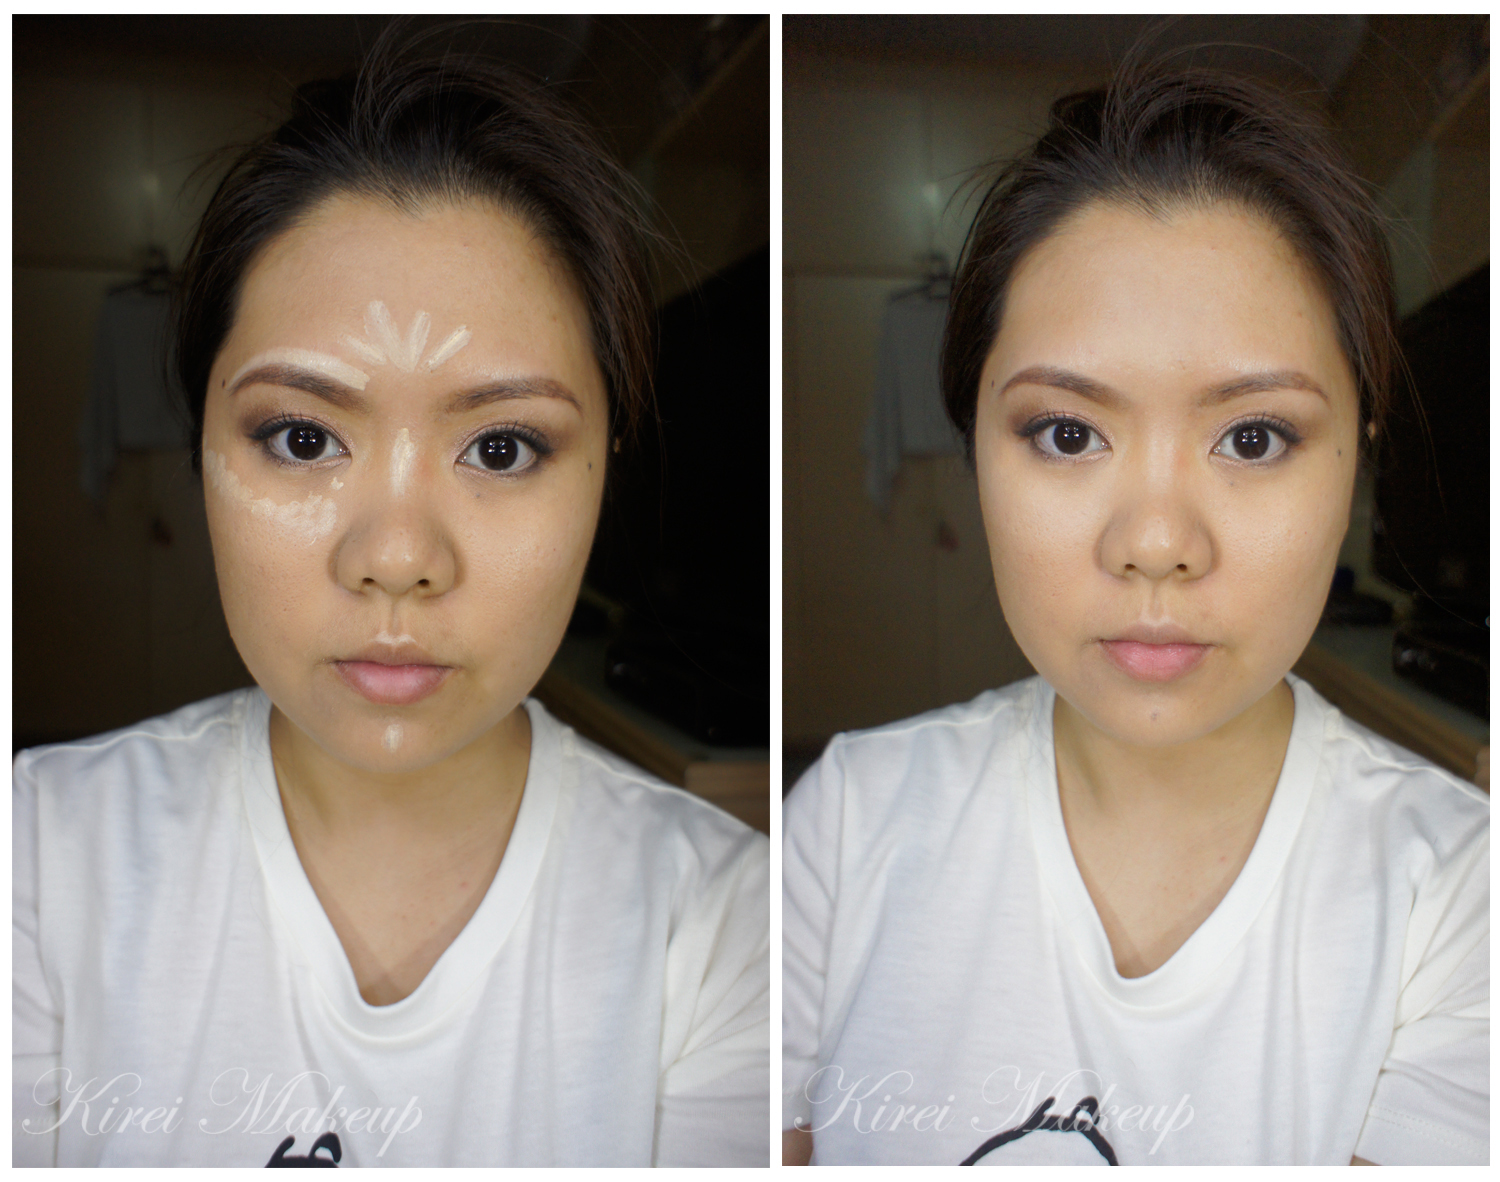
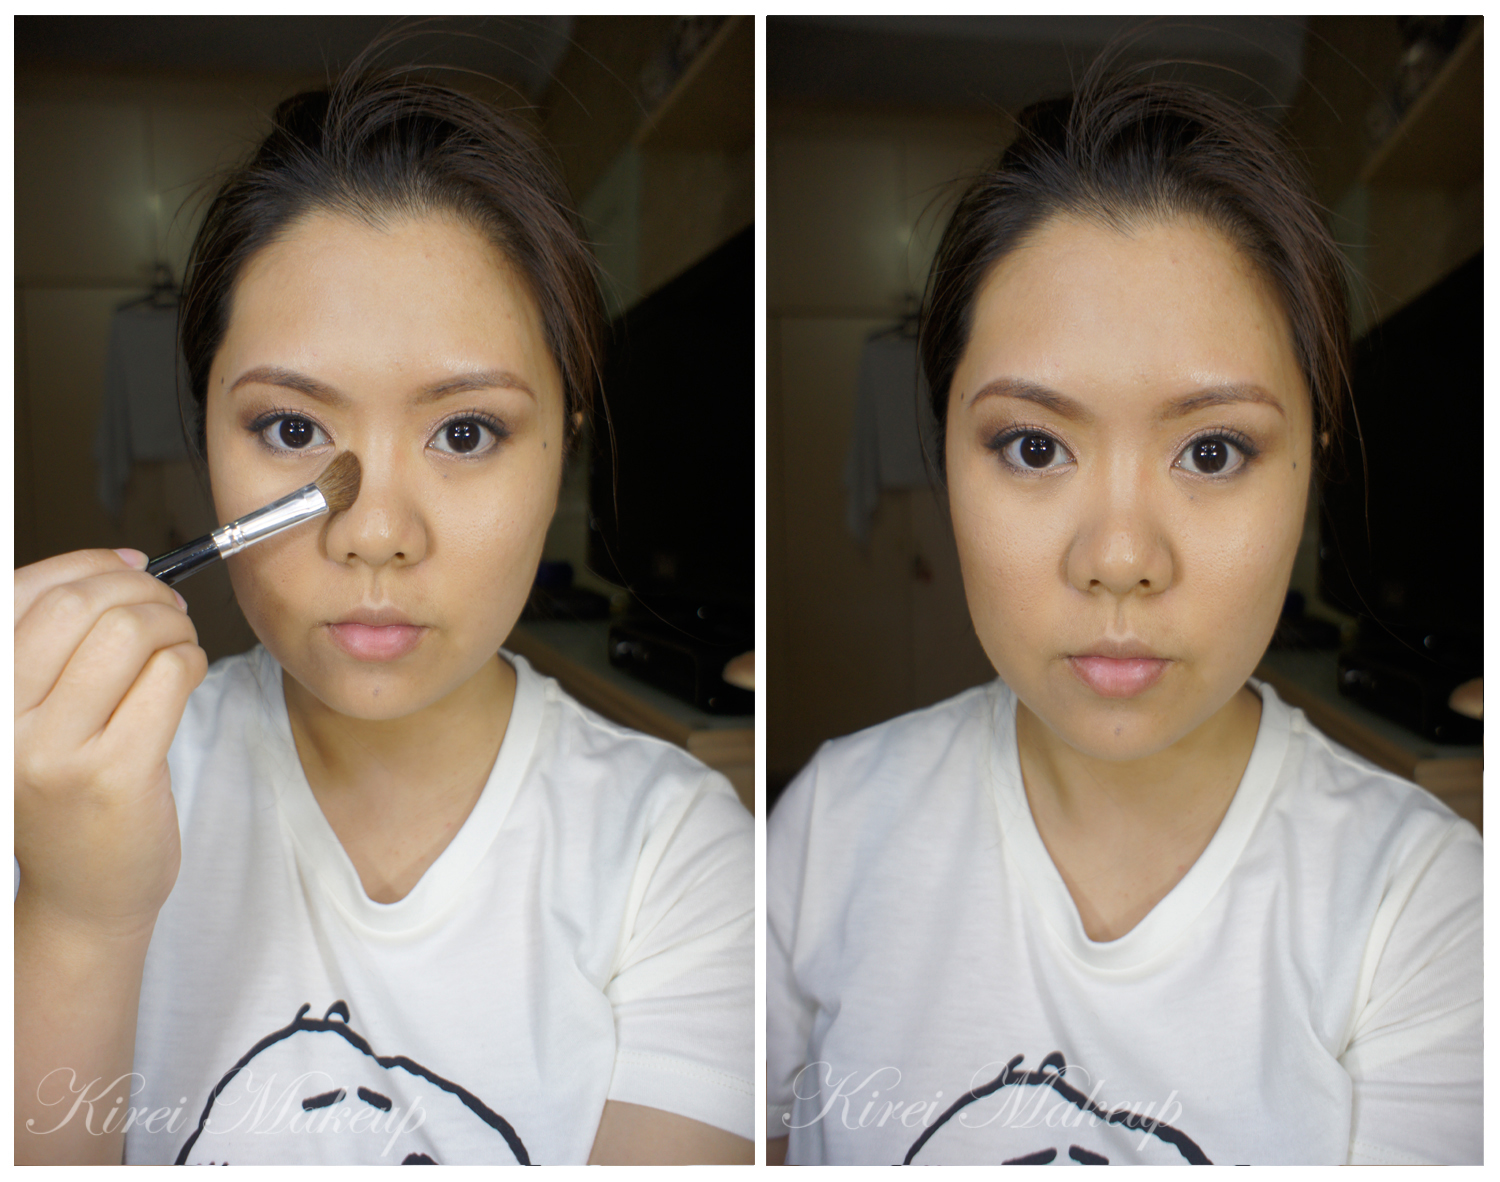
3. I applied Cover FX N110 Cream Foundation on the side of my nose using Sigma Precision Angled Brush.
- I usually started out by contouring my nose. As you can see, I have a button nose – flat on the bridge, with no definition.
- I don’t start at the top (near my eyebrows) because I don’t want 2 straight lines going down my nose. I want to create a very natural illusion of depth, since I have a flat nose.
4. I blended down the contour on the sides of my nose using Sigma Precision Round Brush.
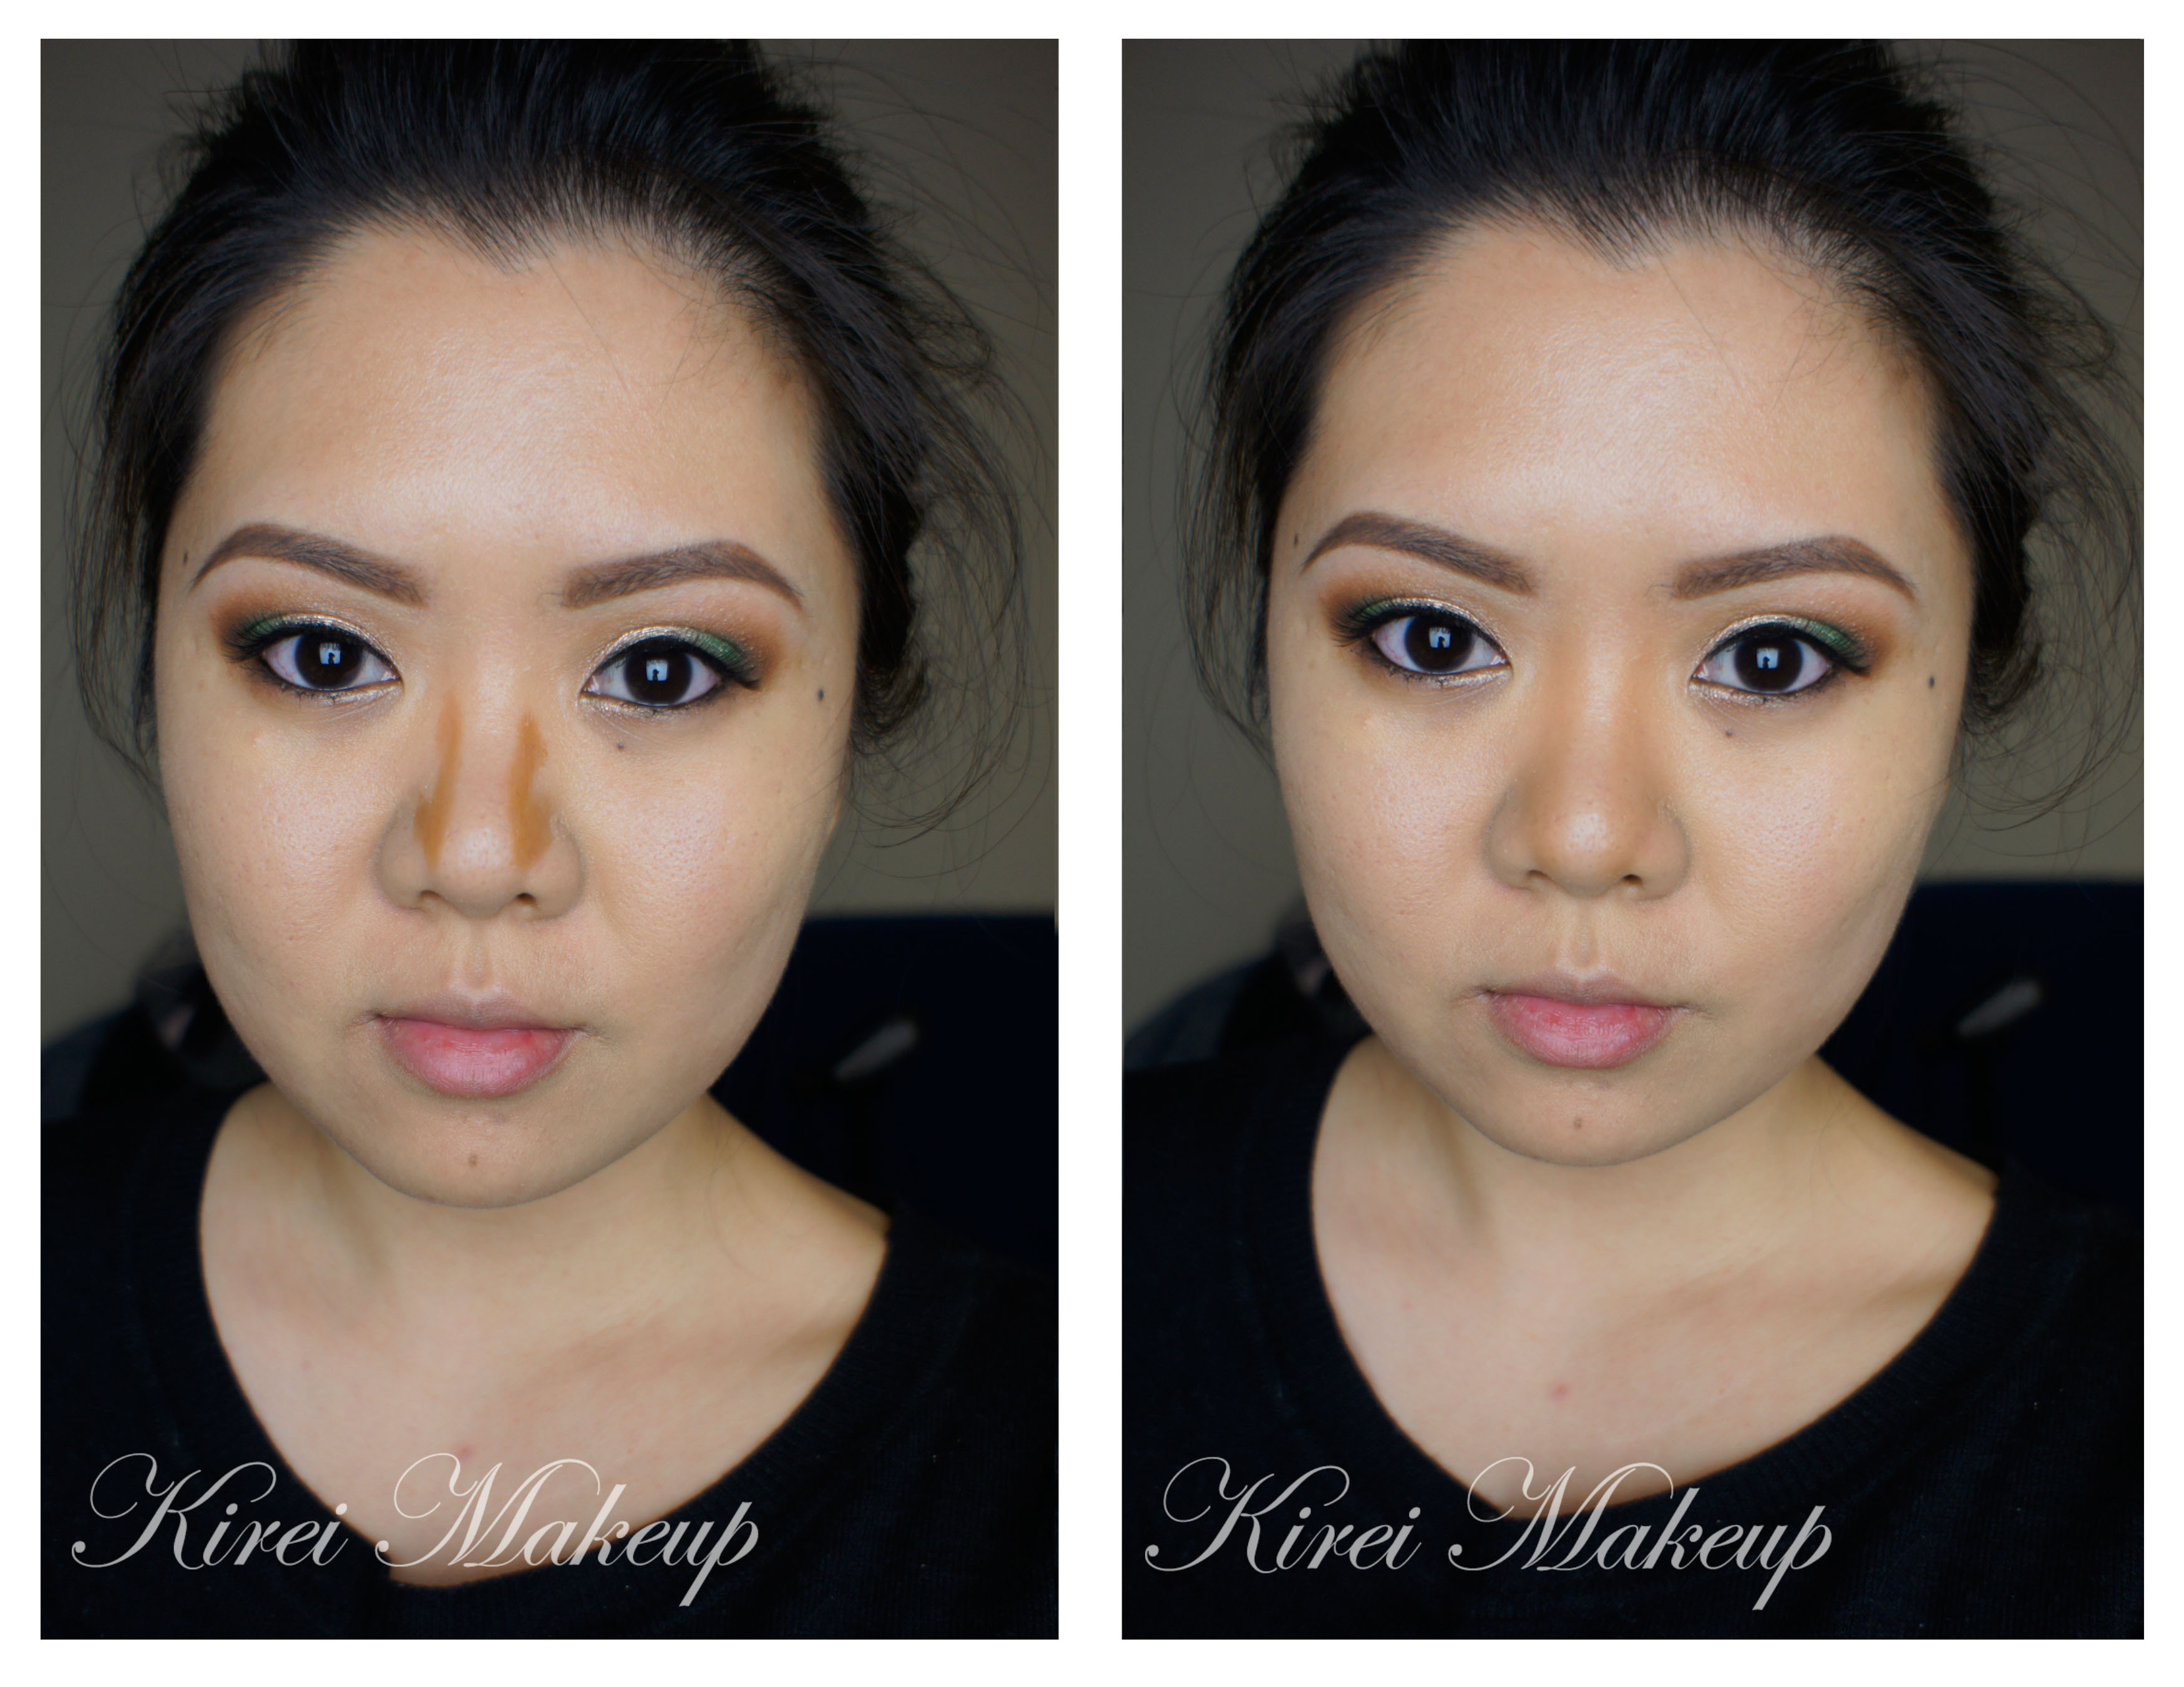
5. Using Sigma Precision Angled Brush, I applied Cover FX N110 cream foundation on the hollows of the cheeks and on the side of my face.
- You can also applied the foundation on your temple and forehead if you want. I skipped this since I don’t have much area on my forehead (in the picture it looks big, but trust me, I don’t have much space on my forehead).
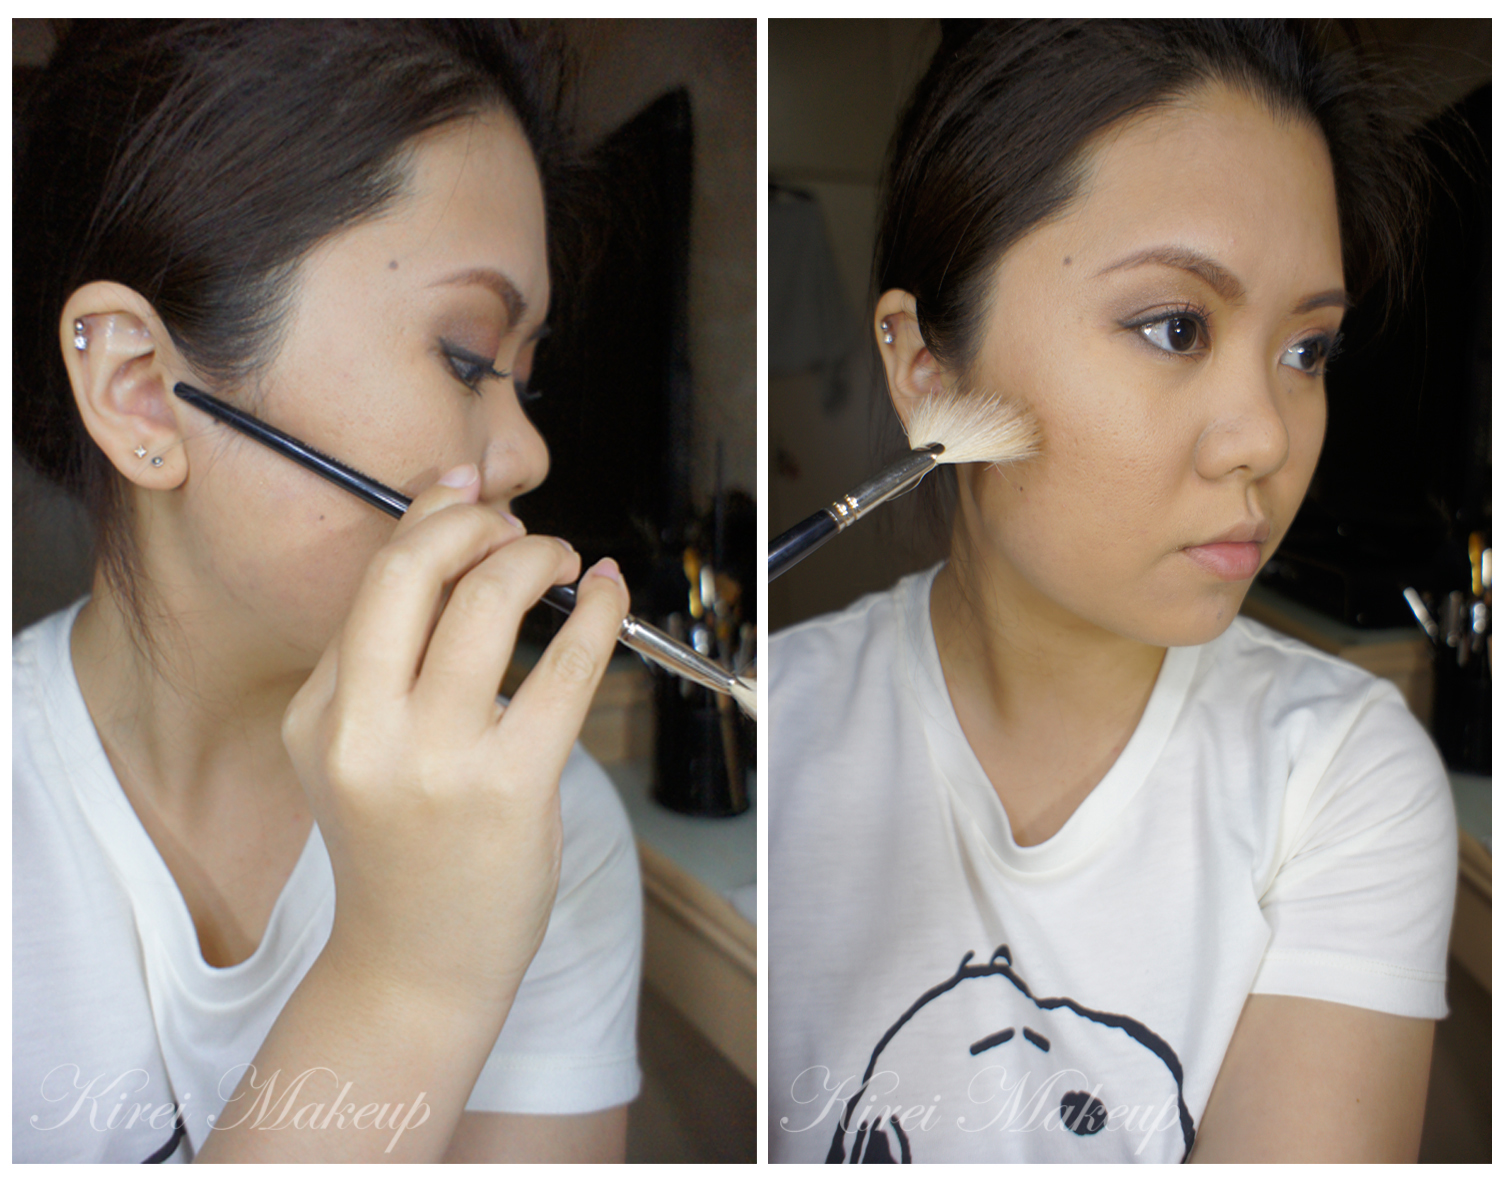
6. I created an imaginary line from the top of my ear to the corner of my mouth, and drew it using the cream foundation. Using whatever was left on the brush, I applied the foundation on the side of my face.
- When I smiled, I have this natural smile lines below my cheeks (’cause you know, I have chipmunk cheeks). I just used the lines as a guideline.
7. I pushed the cream foundation into my face using Cover FX Cream Foundation brush.
- I pushed the foundation into my skin to blend it instead of using a brush and swirling it around my face. If you use a brush in a circular motion to blend it, you might disperse the product all over your face causing it to get dragged too low or too high on the face. I like to push the products into my face so the area is concentrated right on the hollow of my cheeks. This is just my preference, obviously.
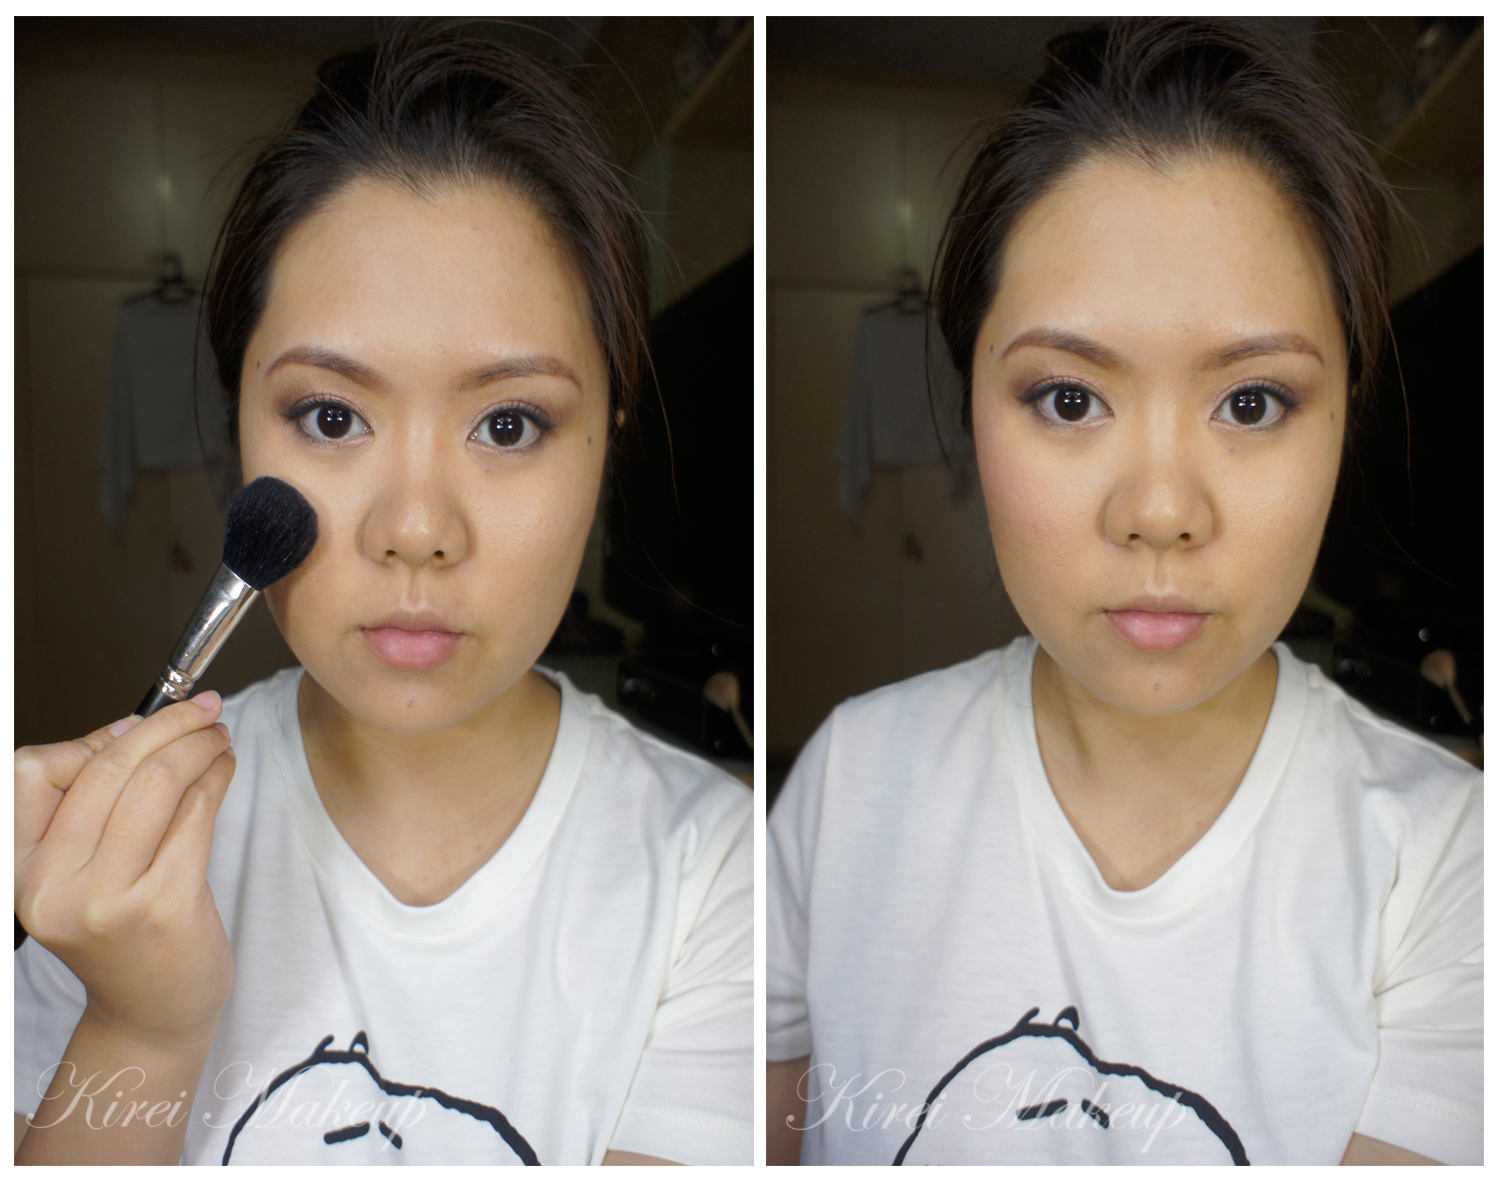
8. I applied Cover FX G20 Cream Foundation using Sigma Precision Round Brush as highlight.
- I applied it on the bridge of my nose, forehead, under my eyes, on cupid’s bow, chin, and below the contour of my cheeks.
- You can also applied it under and above the brows, but I’ve done it when I did my eyebrows, so I skipped it at this moment. If you want to find out how, please check my How-to Fill Eyebrows post.
9. Using a clean foundation brush, I blended out the highlight.
10. I applied Maybelline Master Glaze in Make a Mauve on my cheeks using Sephora Pro Airbrush Blush Brush #54.
11. Set everything with powder if needed. I set my face using Cover FX loose translucent powder and powder brush.
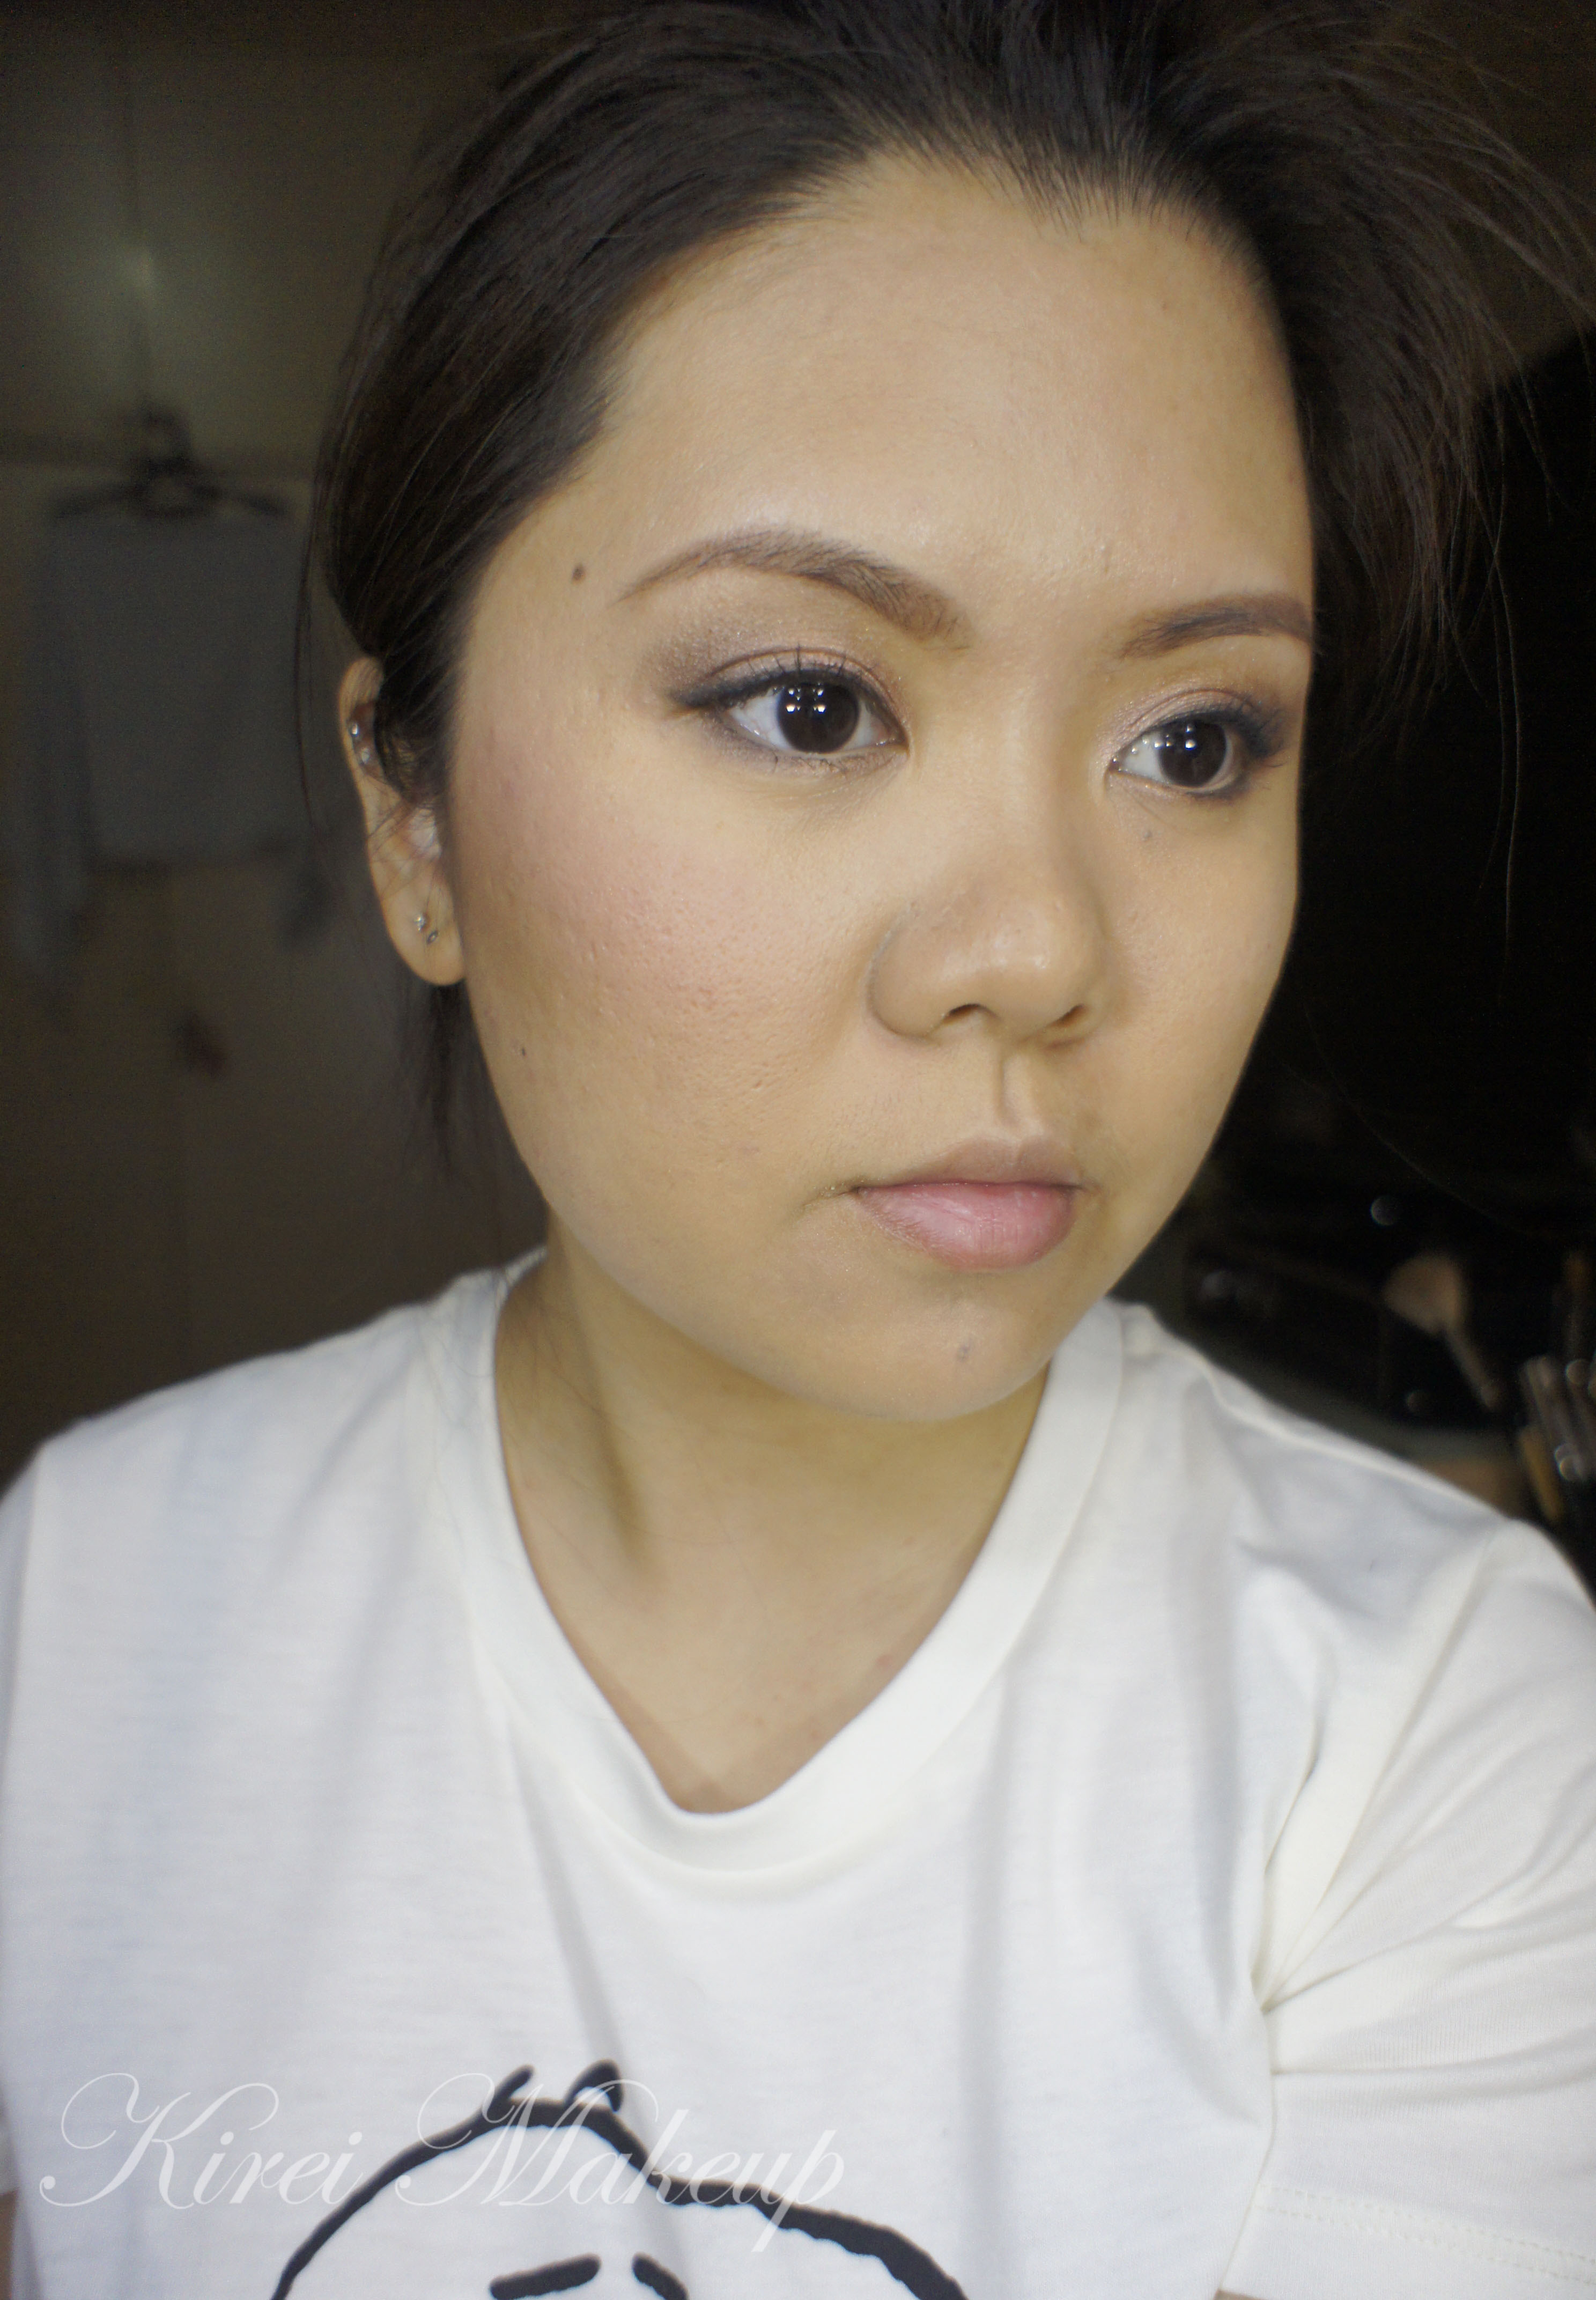
12. On my lips, I applied Clinique Chubby Stick in Bountiful Blush.
One of my instructors in makeup school back then used to say remember BACON when creating highlight/blush/contour sequence. Highlight (fatty part) at the top of the cheeks, blush (meat part) on the cheeks, and contour (crispy part) on the hollows of the cheeks. So remember, BACON!
For the eye makeup, I’ll post the tutorial in couple days! 🙂
Disclaimer: some of the links provided above (i.e. Sigma Beauty) is an affiliated link. I will earn profit should you click on the link and buy products from Sigma Beauty. The monetary compensation from the link is used towards the maintenance of this website.