Hello everyone! So sorry for the empty blog last week. I’m not sure if you guys know, but I’m in Canada right now! I can’t wait to go to IMATS again this year *spoiler alert* hahahaha…Anyways, since I’m in Canada, I decided to grab this nail polish from Wal-Mart, and it only cost me CA$7.46 (before tax) at the time.
This is a limited edition product, so grab it while you can! I’m not sure how many shades are available, since these nail polishes were in quite a mess when I was there. I grabbed Spring Break, because who can resist the cute Mint color on the other end?!
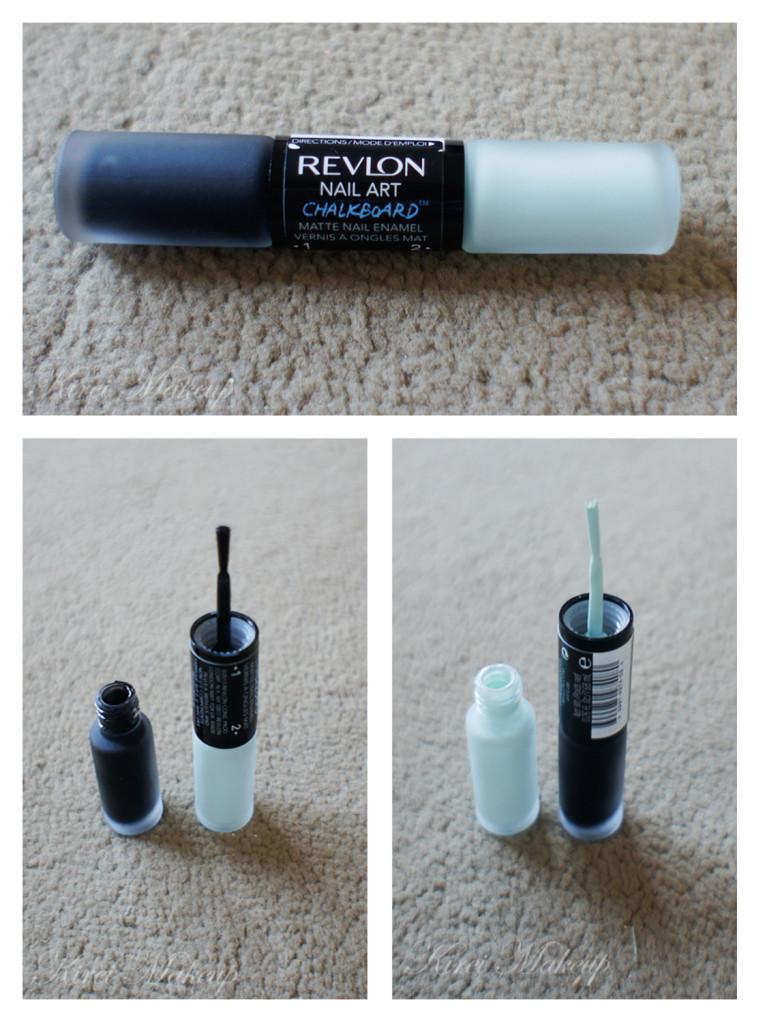 As you can see, the nail polish comes with 2 ends – black and mint. Both colors have a matte finish to mimick a chalkboard. The black polish has the usual normal nail brush. It’s wide with a rounded tip, which made it very easy to apply the polish to my nails. The consistency of the nail polish is just perfect. It’s very similar to OPI polishes, and it’s very opaque. I did 2 coats on the picture below.
For the mint end, the brush is somehow not sticking together like a normal nail art polish brush is. The bristles were separated in half, so I think I bought a bad batch. Not sure if may be someone had tried to use it in the store, since the bottle wasn’t sealed or anything. Anyways, that was annoying, but oh well. I should’ve checked before I grabbed it.
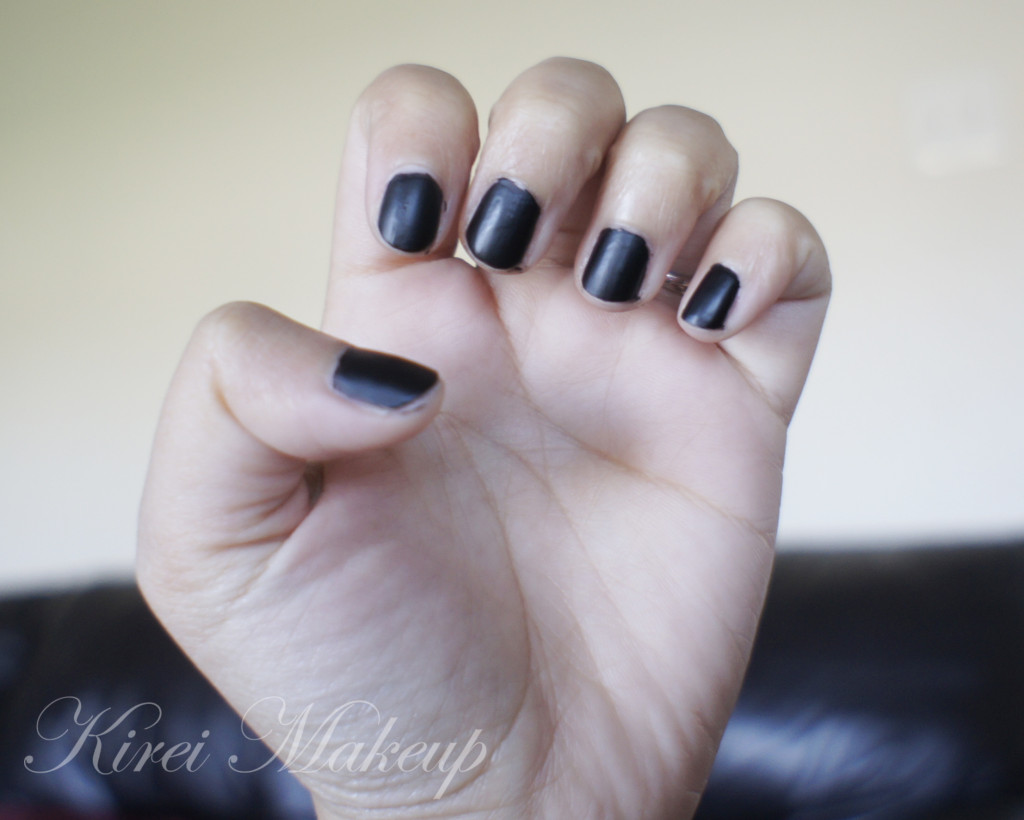
So, I’m not a big nail art fan since I’m not that good with my hands in creating design or drawing, so please, don’t judge my “artwork” below..hahahaha :P…Anyways, I wrote “xoxo” on my thumb, then a failed “hashtag” sign on my index, an “exclamation mark” on the middle finger, a “question mark” on the ring finger and a somewhat skewed “heart” on my pinky.
I like the black end, and I also like the mint end. I think I’ll like it more as a nail polish, instead of a nail art. Perhaps, if I’m better at designing my nail art, I’d probably will love this product. I can’t even do my right hand since I can’t maneuver the brush properly using my left hand.