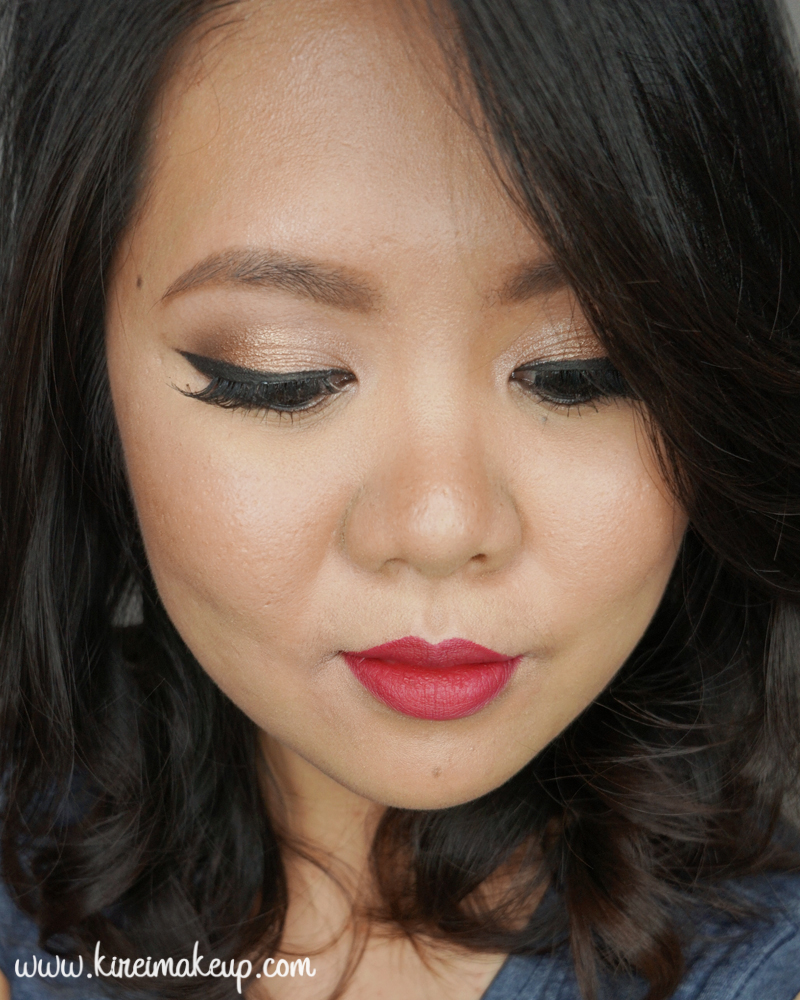
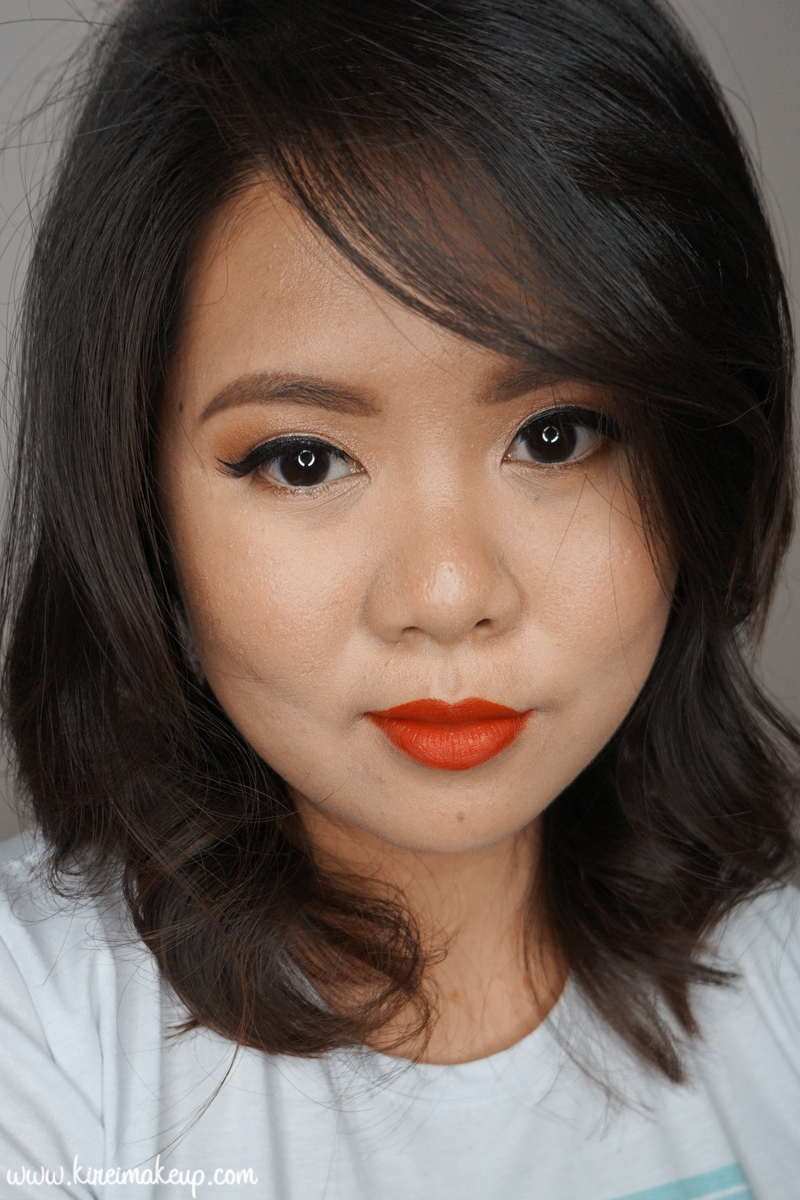
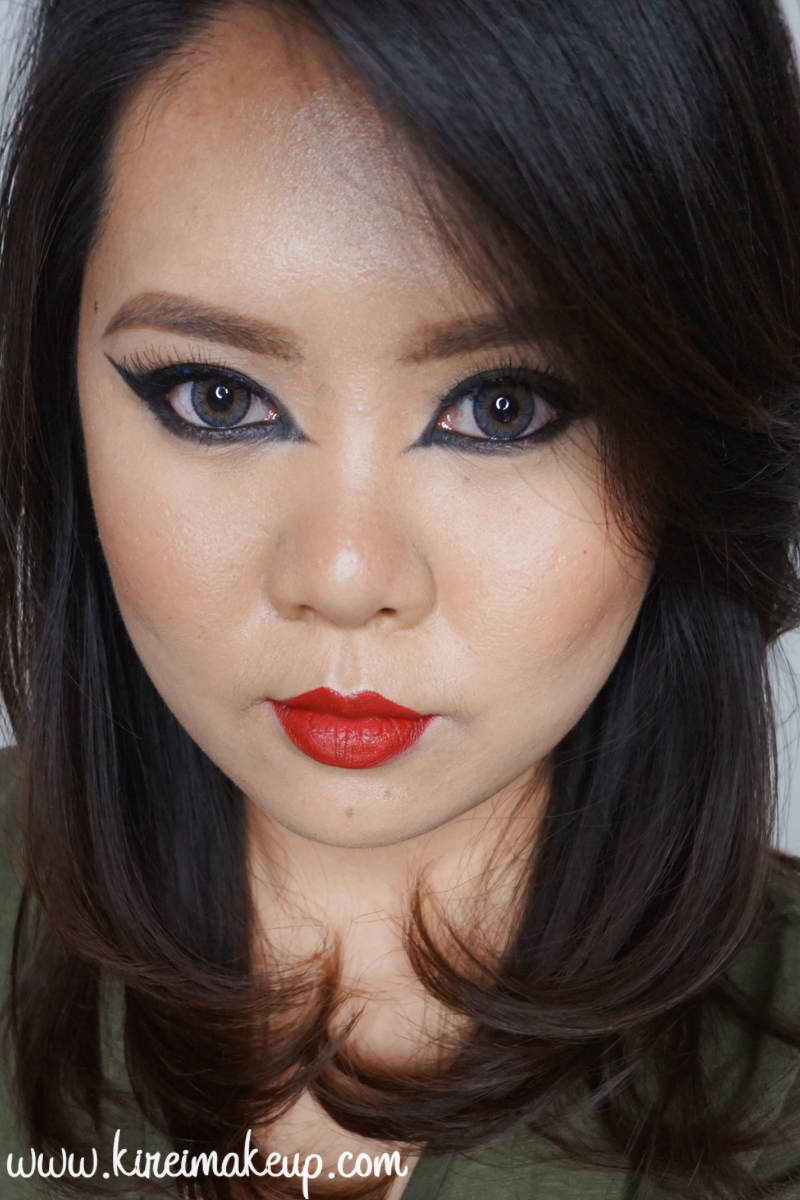
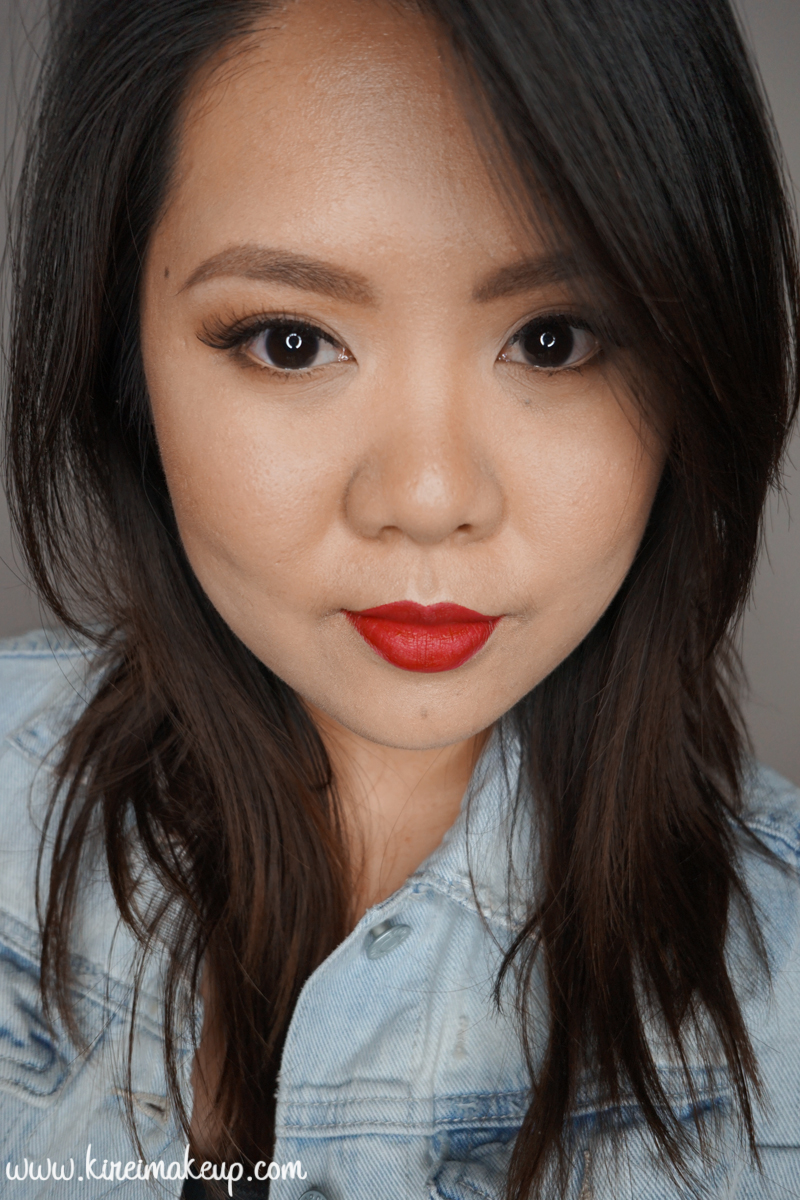
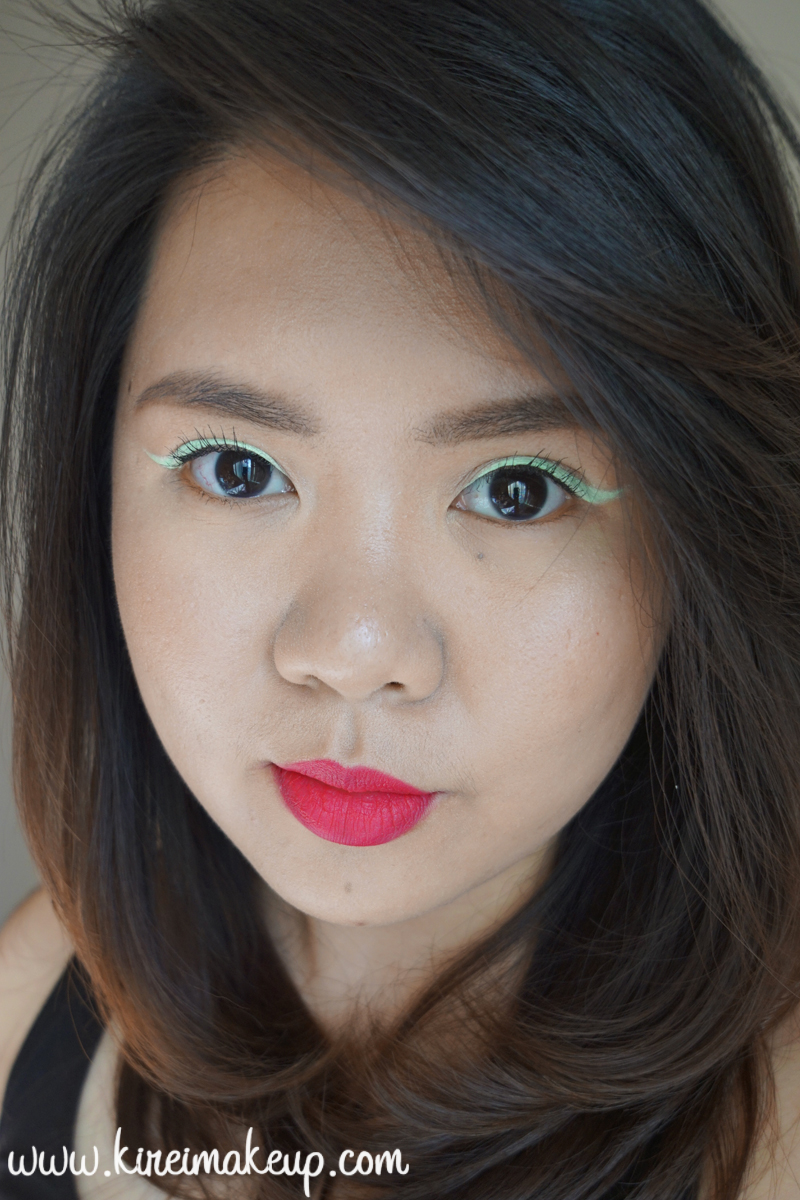
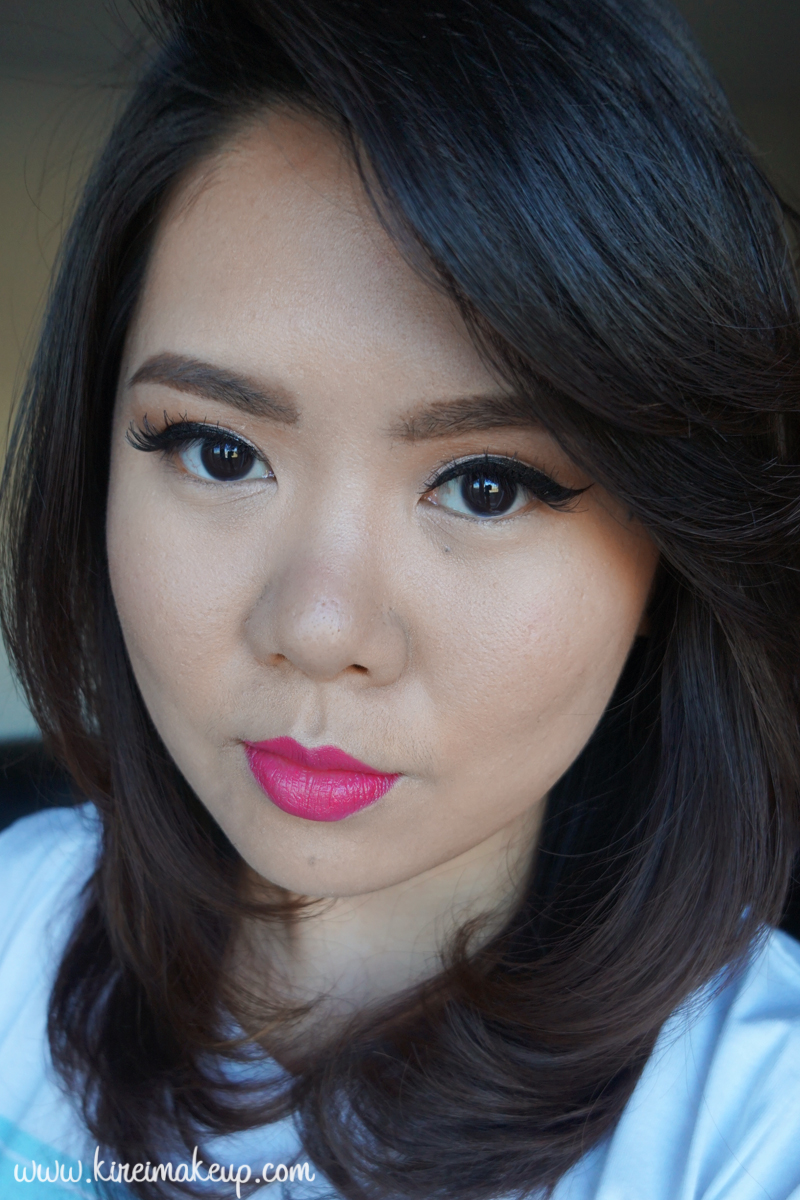
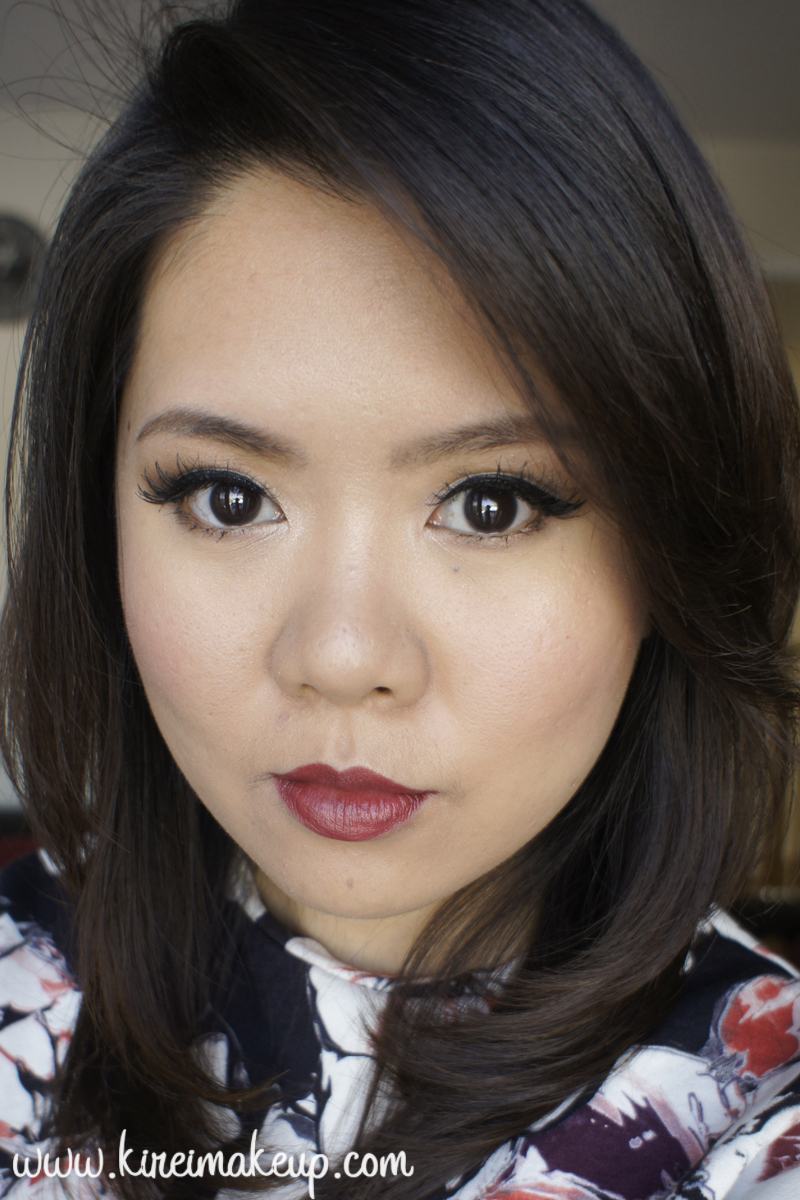
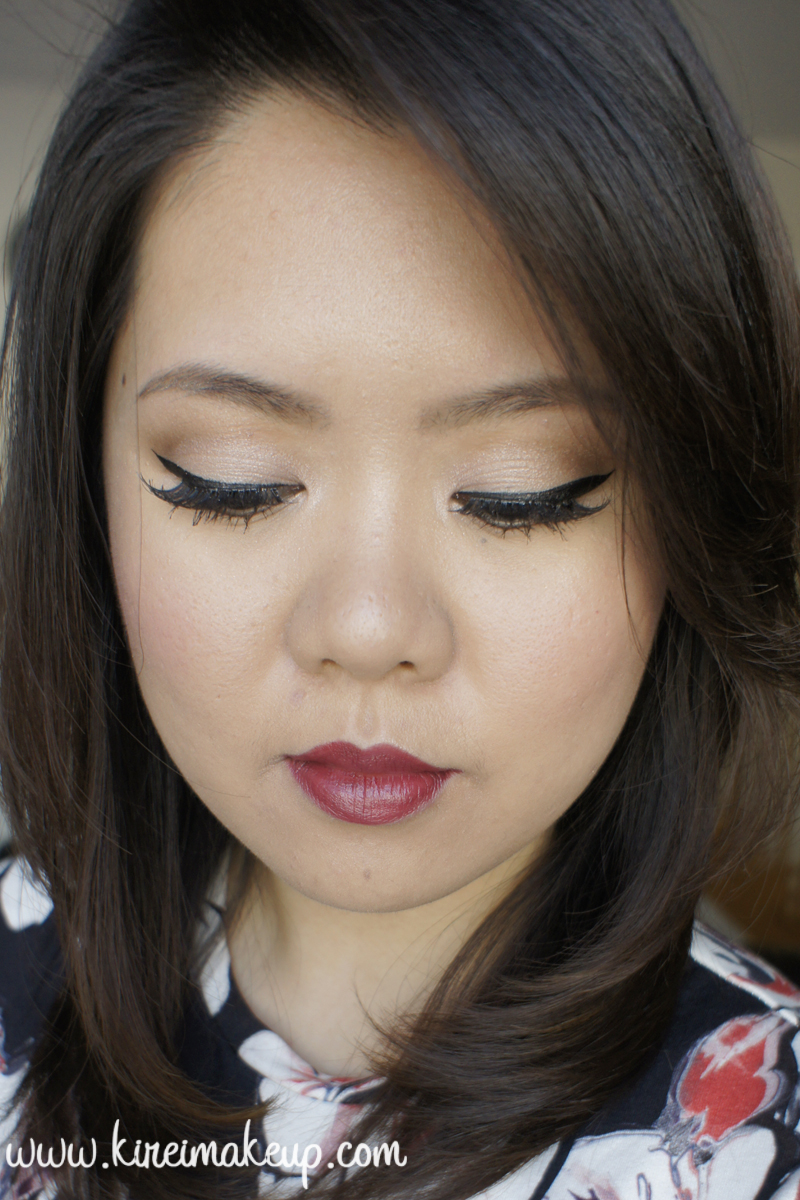
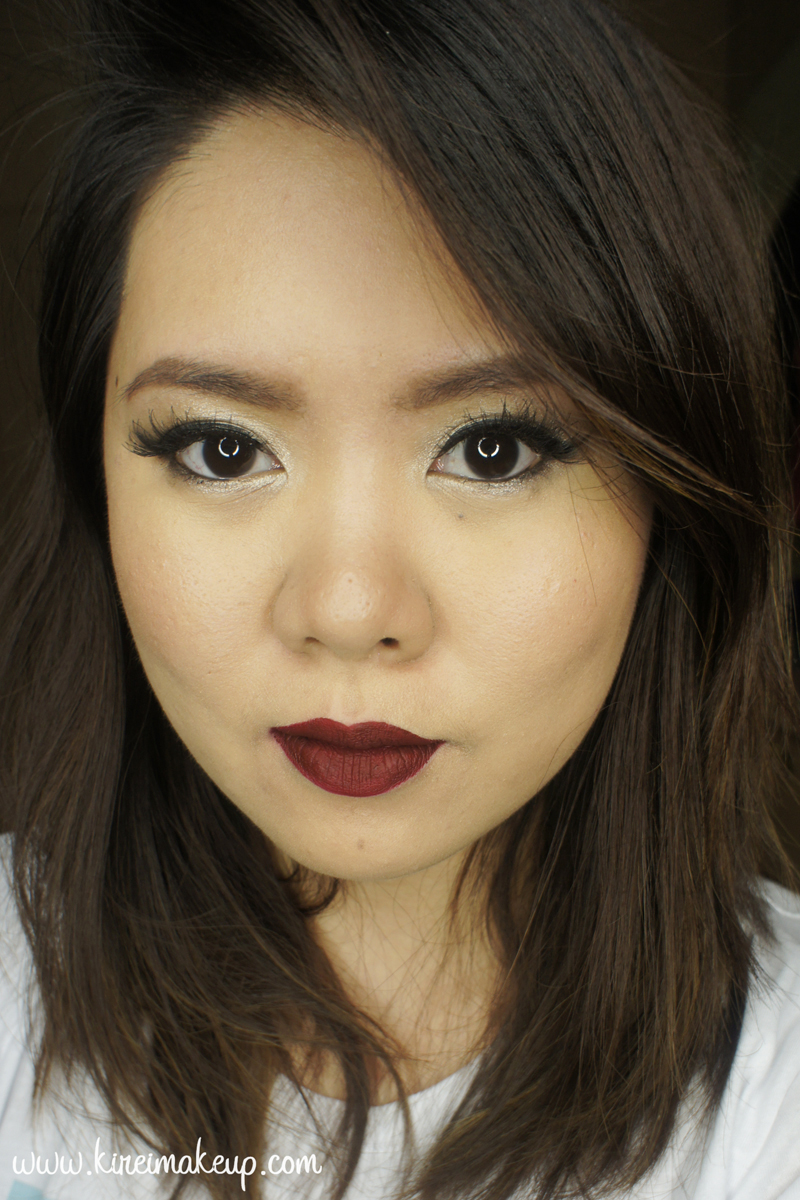
I have a new favorite lip color! MAC D for Danger lipstick is a gorgeous berry shade with a matte finish. I love it! I have been looking for a berry lip color for a while now, but usually it’s too purple, so I’m very excited when I found this shade. D for Danger is a permanent lipstick shade at MAC. I recently found it when I was browsing their Retro Matte collection.
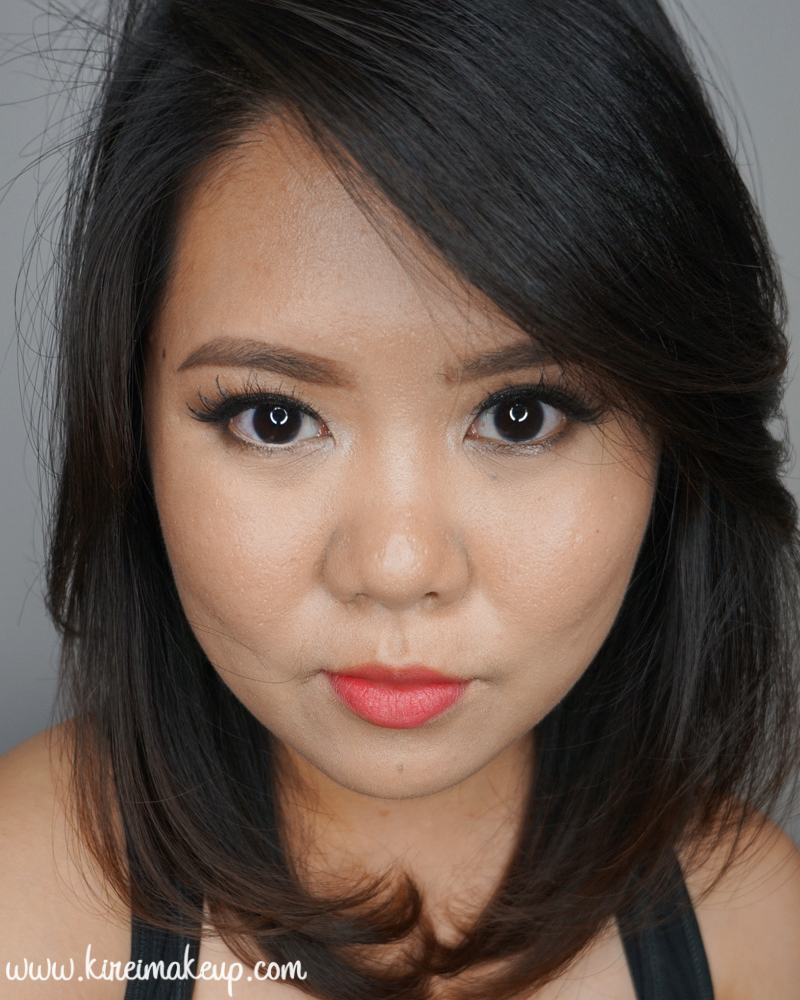
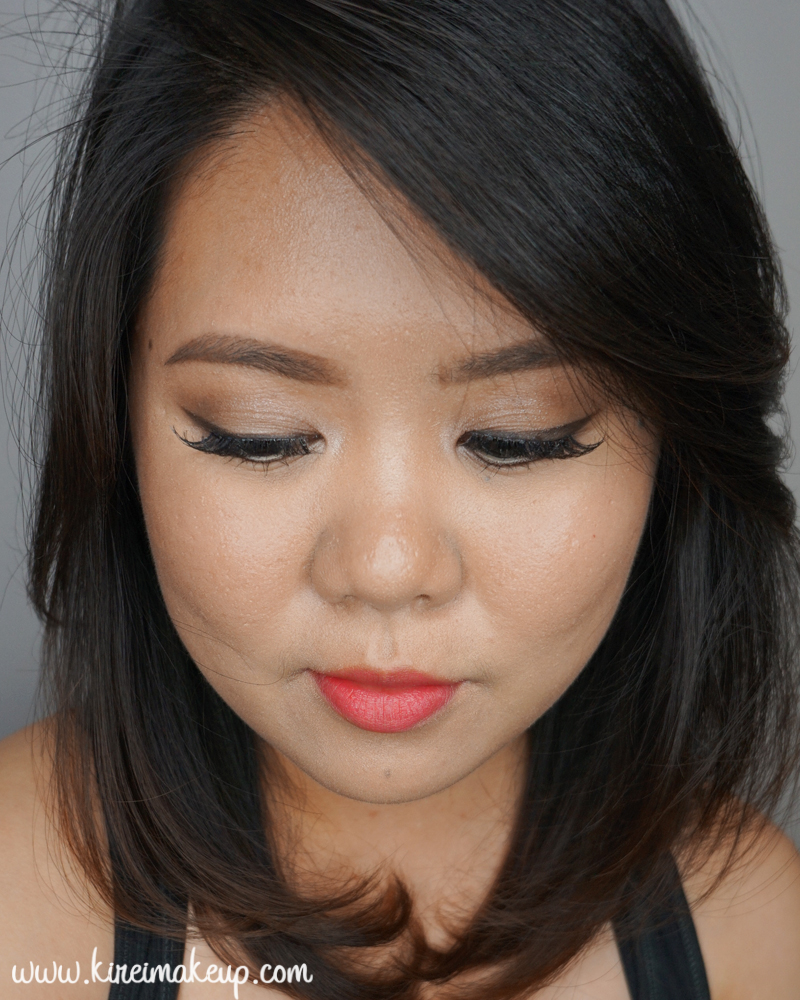
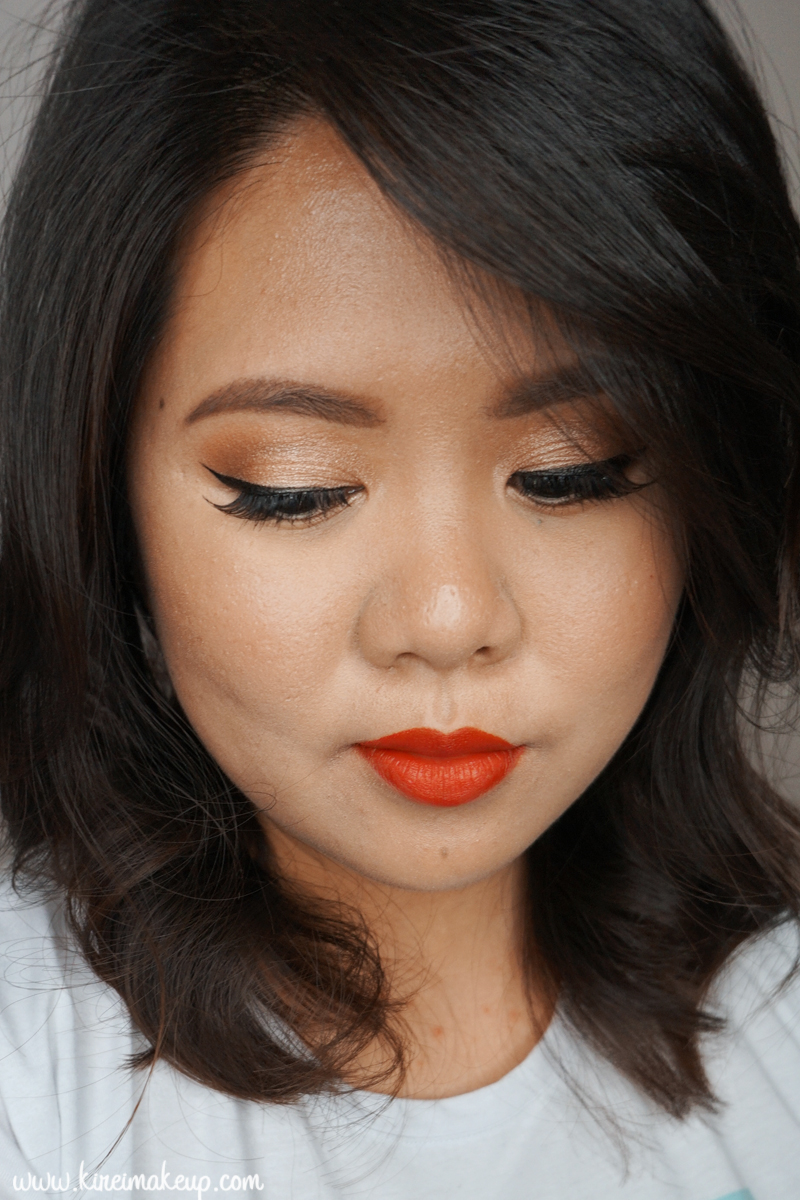
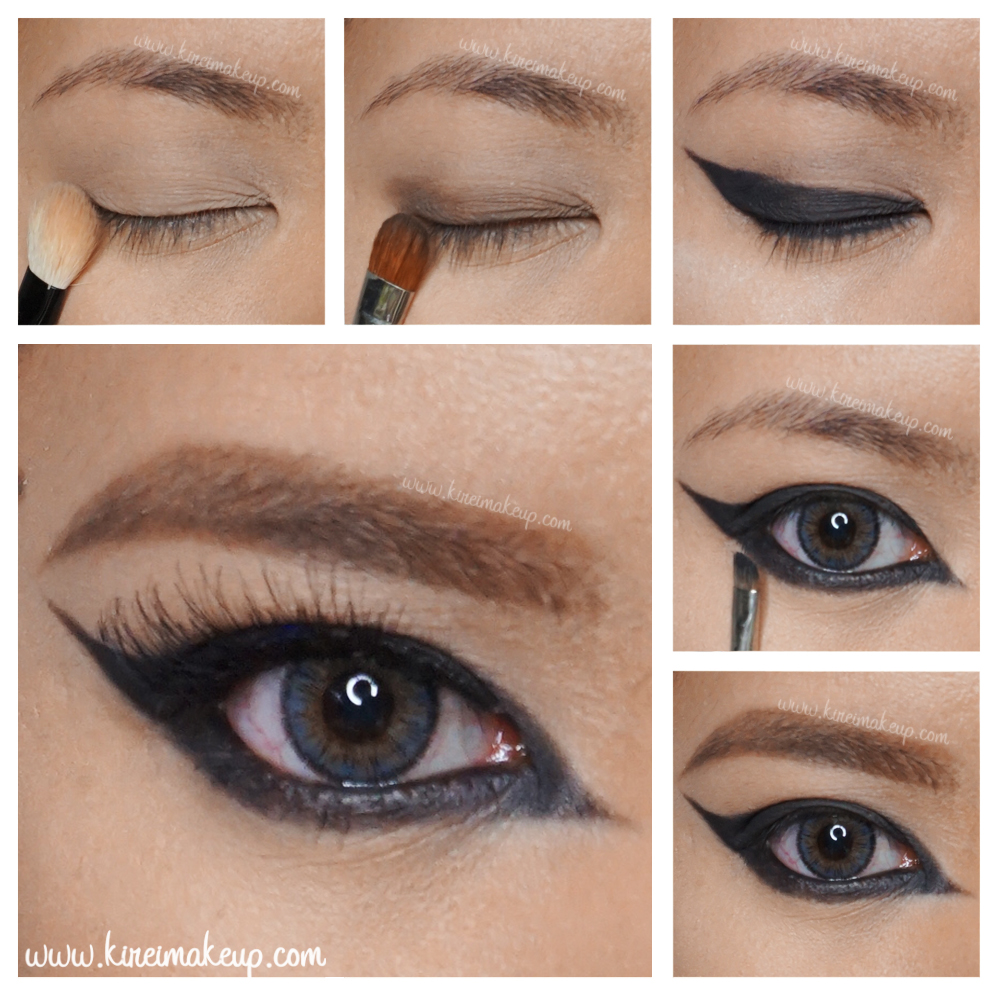
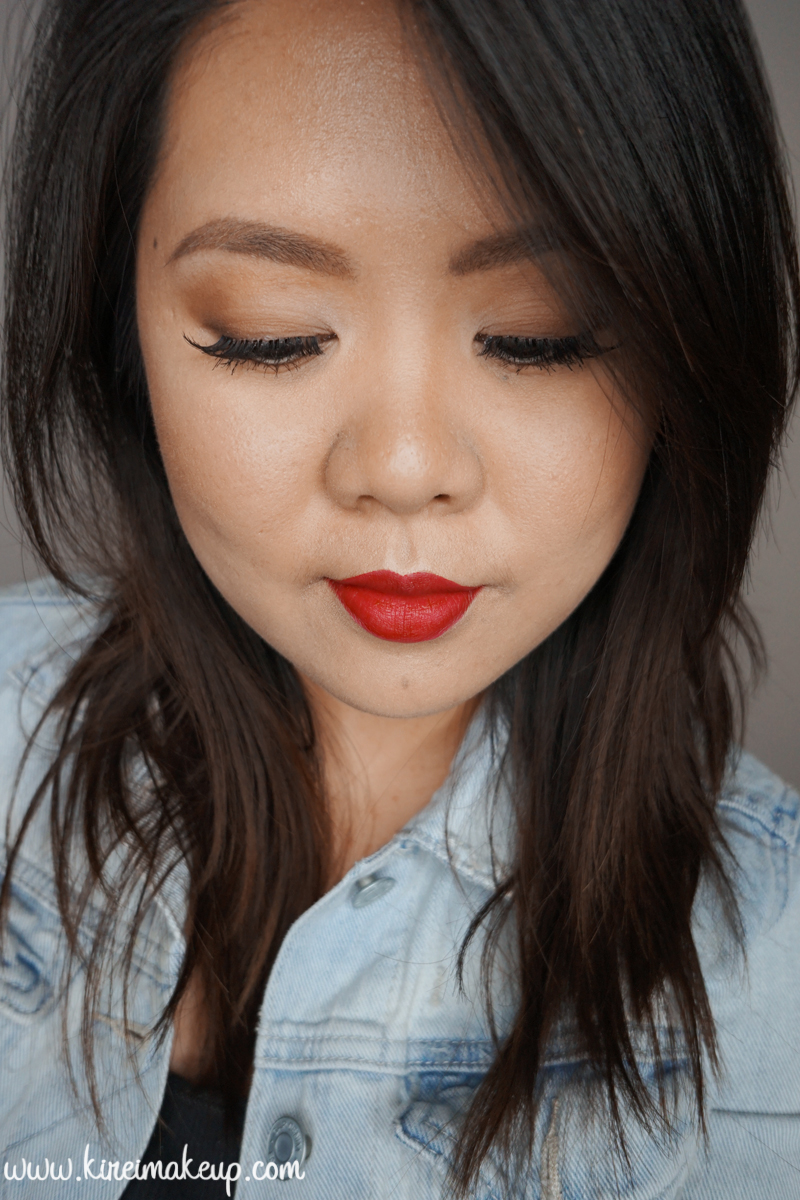
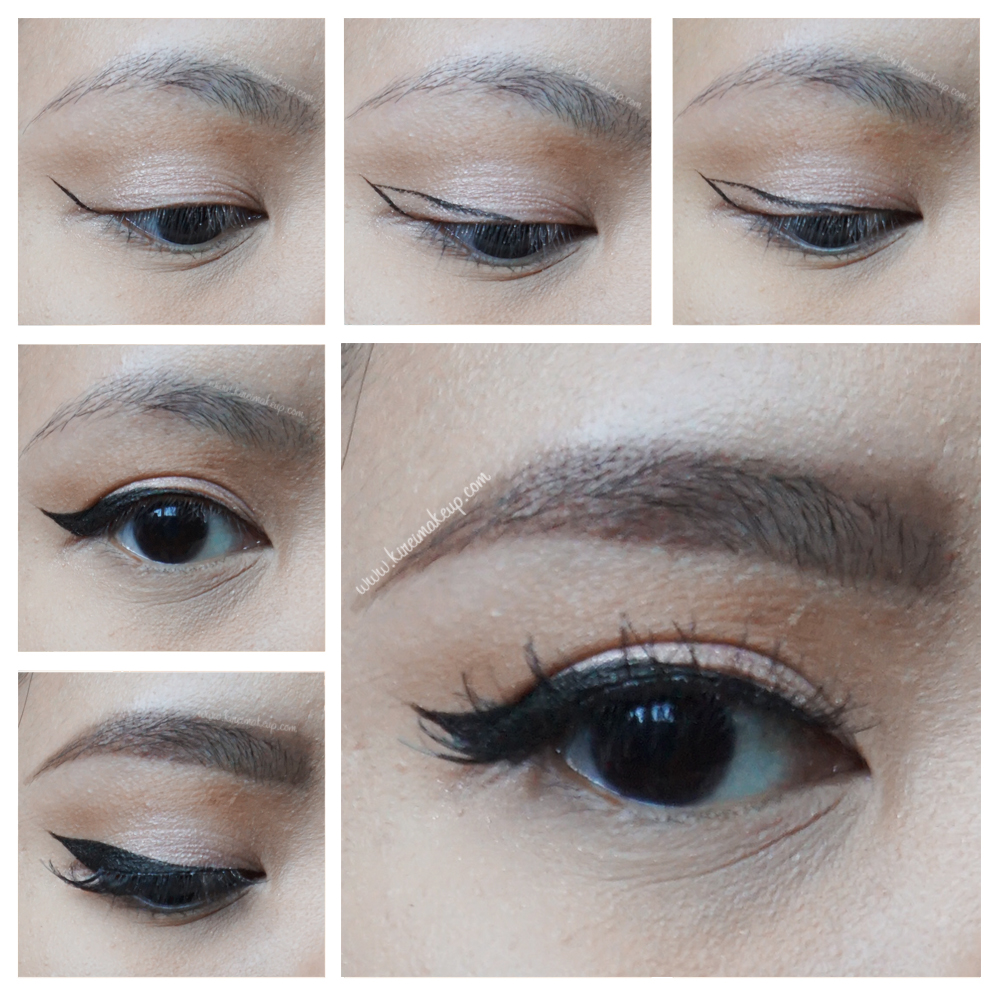
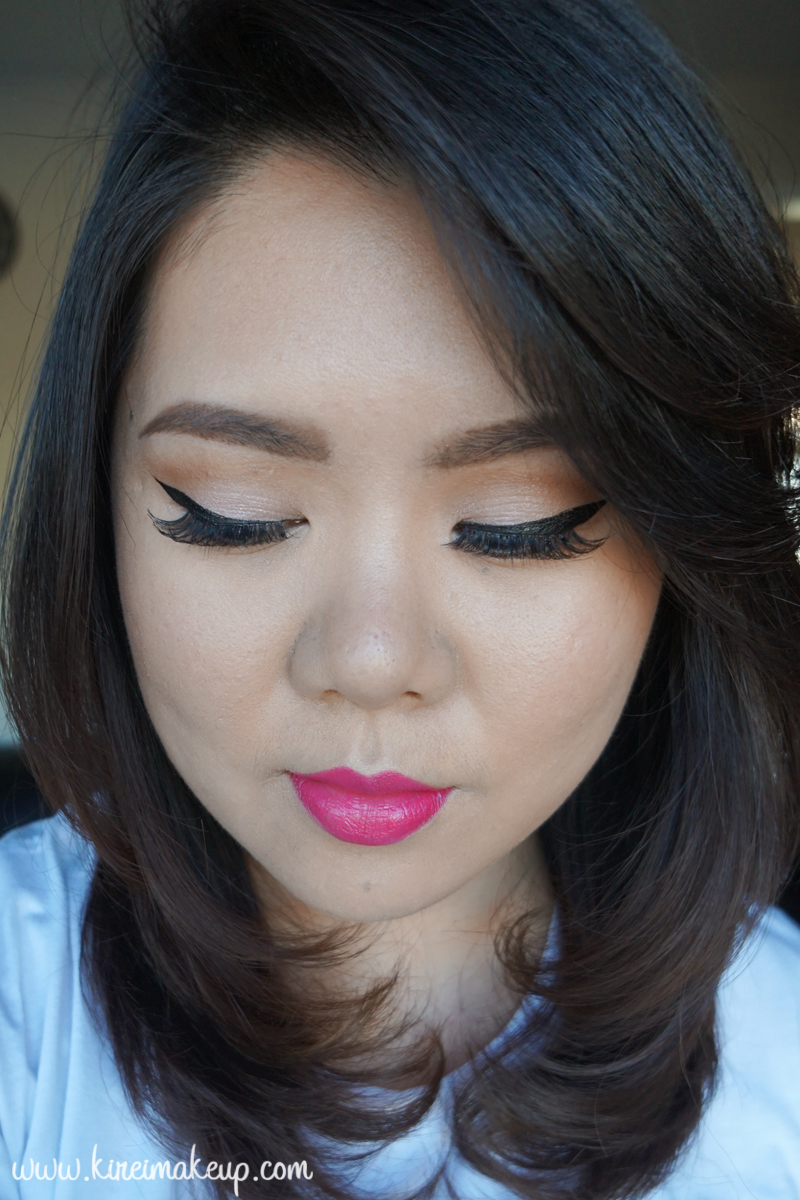
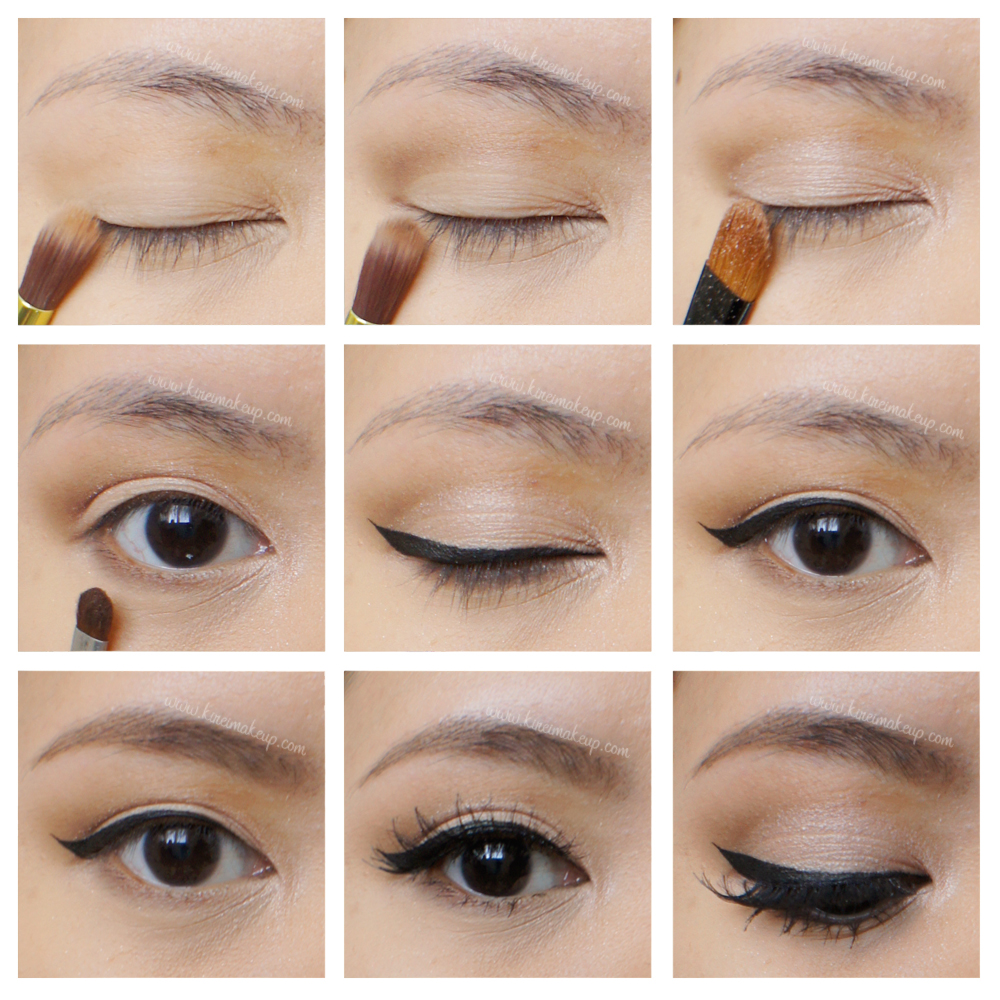
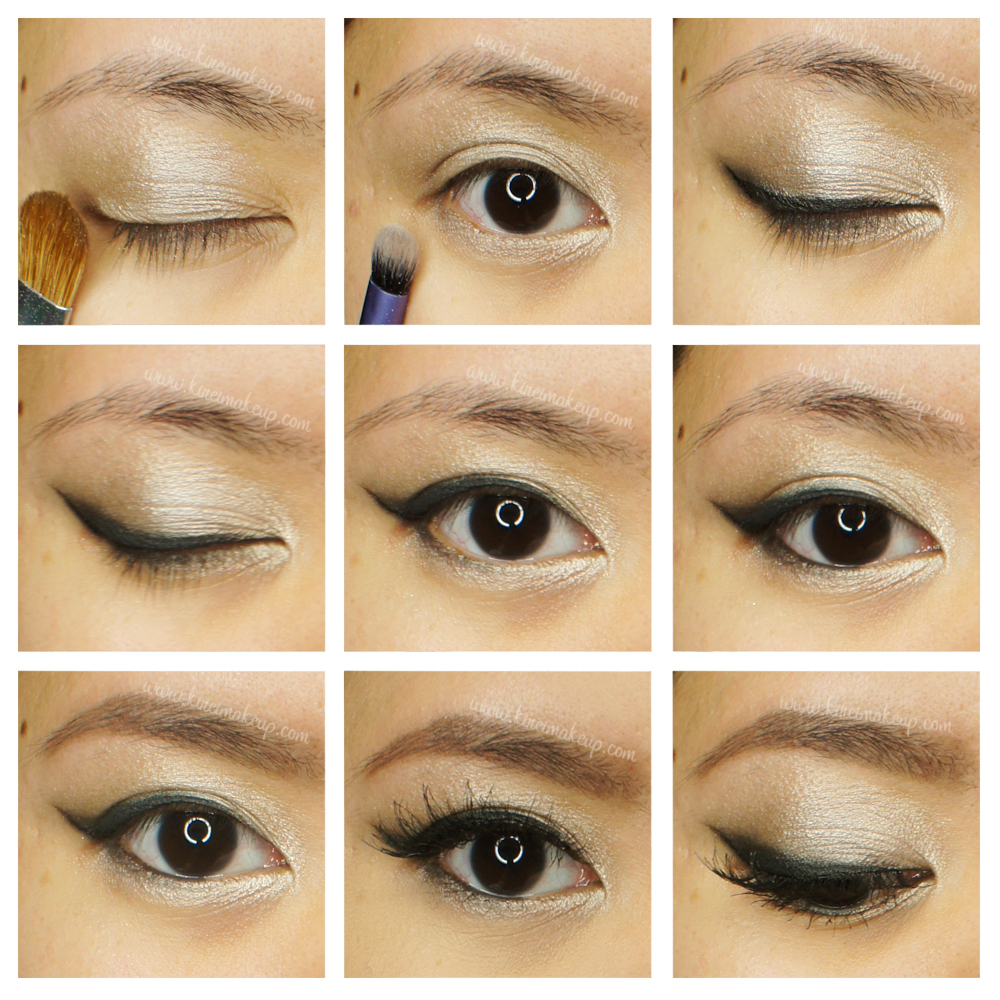
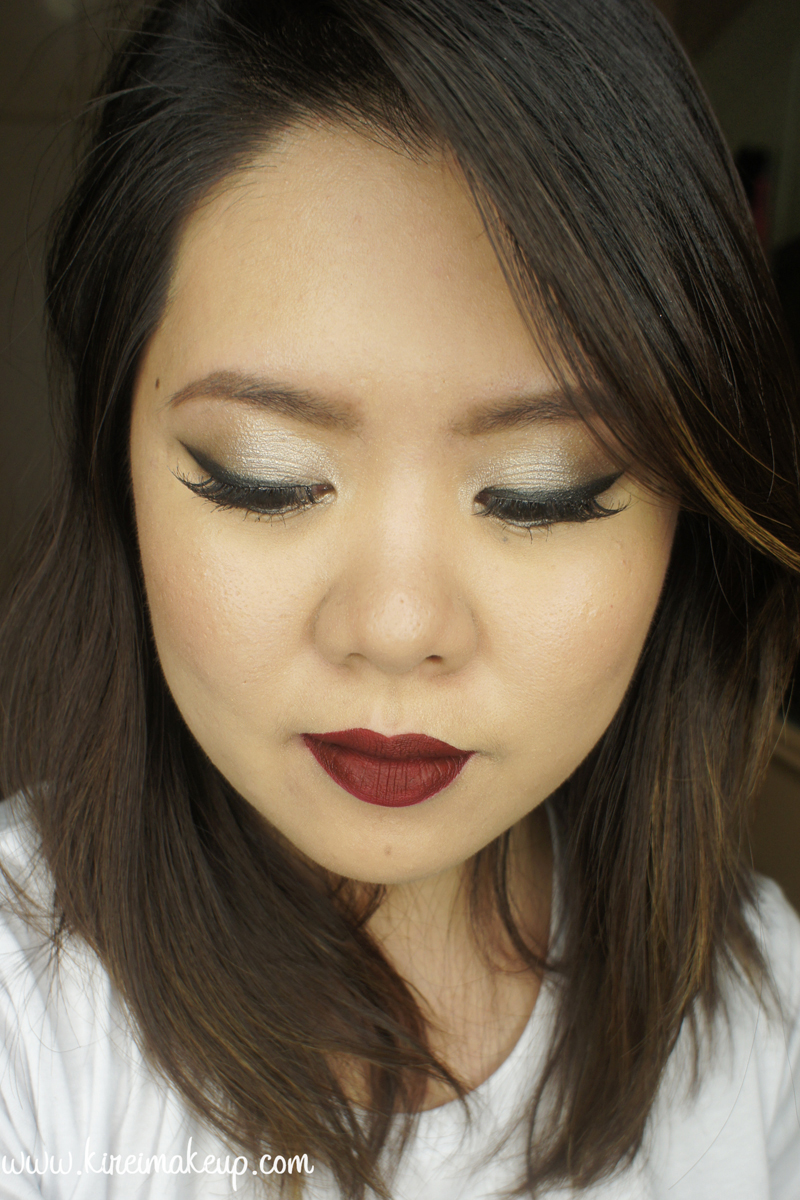
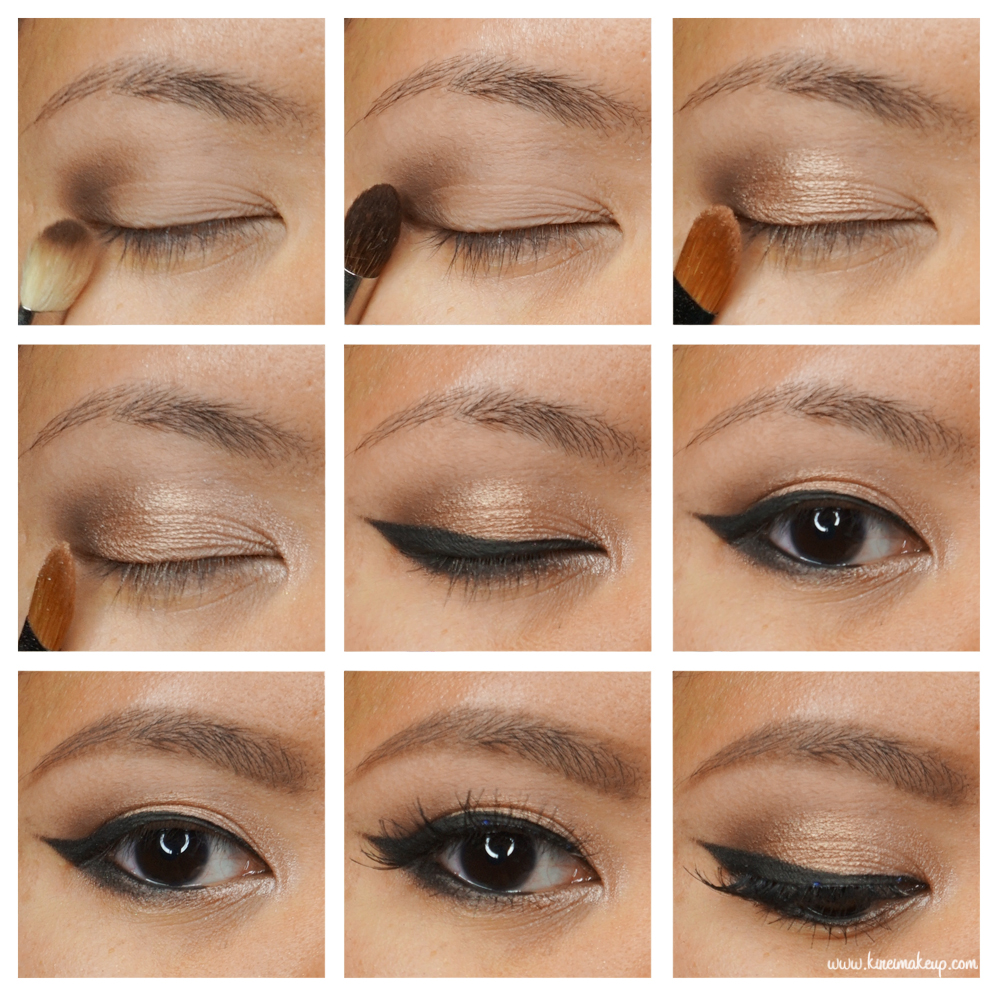
Anyways, I paired UD Naked Smoky with this berry lips. I went with a winged liner, and bronze on the lids. Nothing too dark on the crease since I want the focus to be on the winged liner itself. This look is quite heavy on both eyes and lips, but I don’t quite mind it. I think this will look nice for a party. For a day look, I probably will leave the eyes bare, just mascara and groomed brows, leaving the lips to be the focus of the attention.
I have done a smoky eye look using UD Naked Smoky in my previous tutorial, please check it out!
Products used
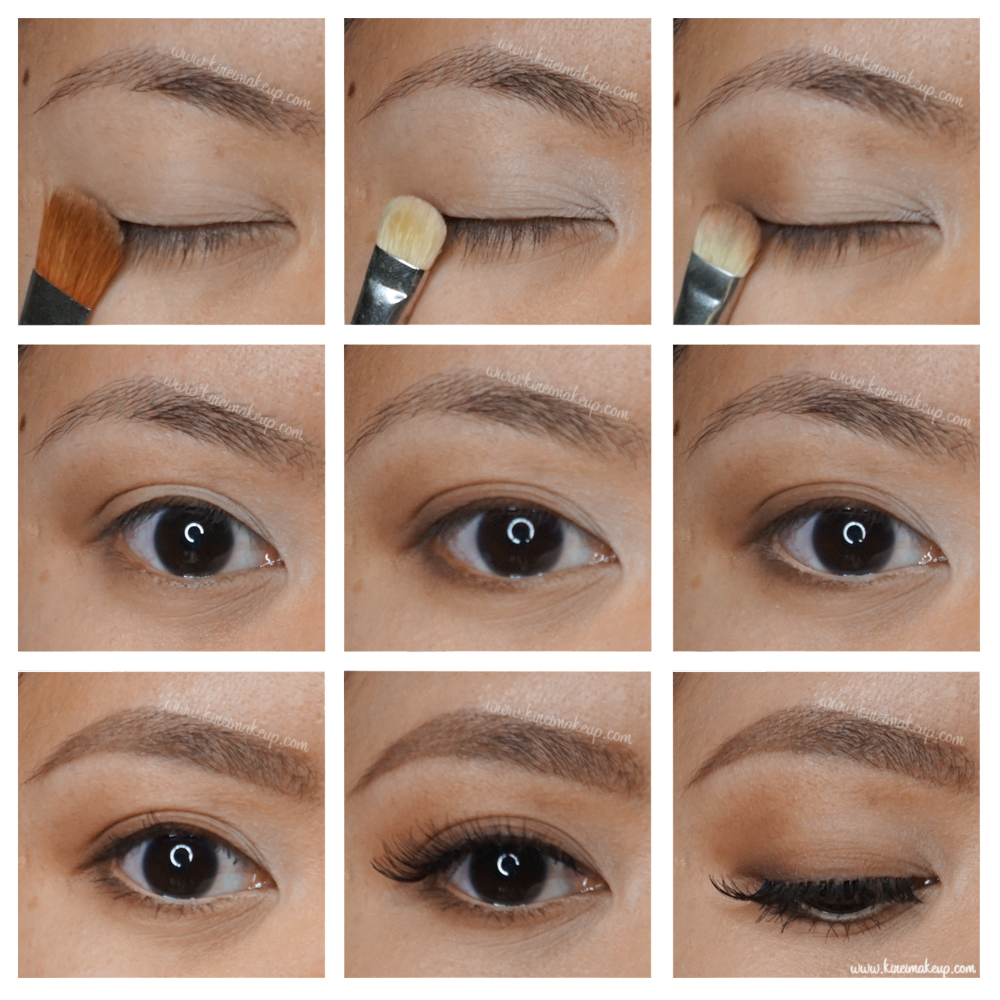
Eyes
- Primer – Urban Decay Primer Potion “Original”
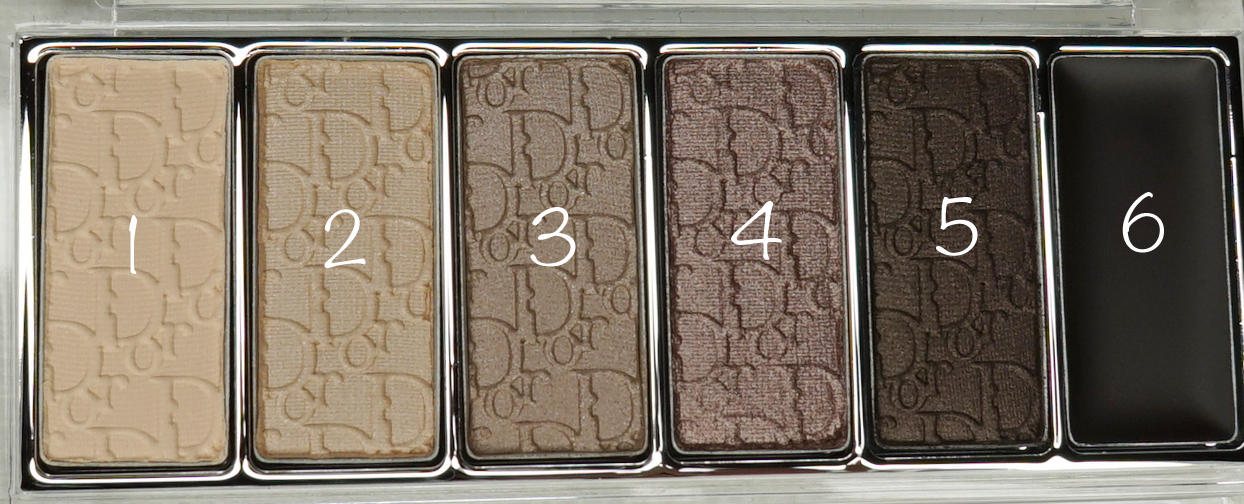
- Transition – UD Naked Smoky “Combust”
- Crease/outer lid – UD Naked Smoky “Whiskey”
- Middle lid – UD Naked Smoky “Dirtysweet”
- Inner corner – UD Naked Smoky “High”
- Winged liner/outer corner of lower lid – Maybelline “Eye Studio Lasting Drama Gel Liner in Black”
- Waterline – L’oreal “Voluminous Smoldering eyeliner”
- Brows – Anastasia Brow Wiz “Taupe” and “Medium Brown”
- Falsies – Gwiyomi Boutique false lashes “no. 3”
Face
- Primer – Becca “Ever Matte Poreless Priming Perfector”
- Foundation – NARS Luminous Weightless Foundation “Punjab”
- Concealer – NARS Radiant Creamy Concealer “Custard”
- Setting powder – CoverFX translucent setting powder
Cheeks
- Contour – Smashbox contour kit “contour” shade
- Cheeks – NARS “Mata Hari” blush
Lips
- Lipstick – MAC “D for Danger”